A multimedia banner is a powerful visual element that enhances your website’s appearance, grabs visitor attention, and communicates key messages instantly. Whether you want to promote an offer, highlight a new feature, or improve branding, a well-designed banner plays a crucial role in website engagement.
This simple web solution helps you showcase important content while improving user experience and conversions. Here are its major benefits:
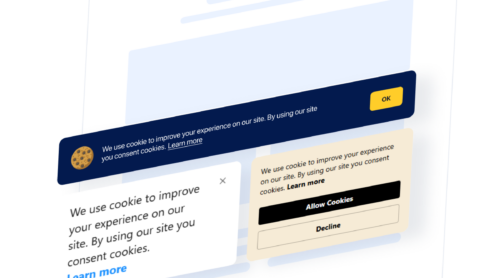
- Enhances Visual Appeal. A banner improves your website’s design by adding eye-catching graphics.
- Boosts Engagement. Well-placed banners encourage users to take action, whether it’s clicking a CTA or exploring an offer.
- Strengthens Branding. A custom banner ensures consistency with your brand’s colors, fonts, and messaging.
- Increases Conversions. Strategic use of banners can lead to higher click-through rates and better user retention.
With the right approach, a website banner becomes more than just an aesthetic feature — it’s a functional tool that drives results. See below how you can create one effortlessly using Elfsight’s widget.
Create a Website Banner in Minutes
Creating a website banner doesn’t have to be complicated. With Elfsight’s Banner widget, you can design and customize a professional-looking announcement message in just a few steps — no coding or design experience required. Follow this simple guide to get started:
- Open the Elfsight editor and select a ready-made template for your banner.
- Customize the layout by adjusting size, position, and display settings to fit your website’s design.
- Personalize colors, fonts, images, and animations to match your brand’s identity.
- Click “Add to website for free“, copy the generated code, and embed it into your website’s backend.
With just a few clicks, your banner will be live, helping you enhance your website’s visual appeal and boost user interaction.
Try it now – create a stunning website banner in minutes with our intuitive editor!
Why Choose Elfsight: Features and Benefits
Elfsight’s Banner widget offers a comprehensive solution for creating and managing website notifications, designed to enhance user engagement and streamline your promotional efforts.
The key features include:
- Customizable Design. Tailor your banner’s appearance by adjusting colors, fonts, and layouts to align with your brand identity.
- Versatile Media Integration. Incorporate images and videos seamlessly, allowing for dynamic and engaging content that captures attention.
- Responsive Layouts. Ensure your banners look great on all devices with layouts that adapt to various screen sizes, providing a consistent user experience.
- Interactive Elements. Add call-to-action buttons and links to drive user interaction and conversions directly from your banners.
- Flexible Sizing Options. Choose from standard sizes like Billboard, Medium Rectangle, Leaderboard, or customize dimensions to fit your specific needs.
- Custom JavaScript Support. Enhance functionality by adding custom scripts, allowing for advanced features and integrations.
With these robust capabilities, the widget empowers you to create effective promotional graphics that resonate with your audience. Next, let’s delve into a detailed guide on creating and customizing your banner.
How to Add a Banner to Your Website
Elfsight’s banner maker provides an intuitive way to create an engaging, interactive banner for your website. Whether you need a promotional graphic for special offers, a site header to display announcements, or a visually appealing call-to-action, this widget offers a simple, no-code solution.
Follow this step-by-step guide to design, customize, and install your banner.
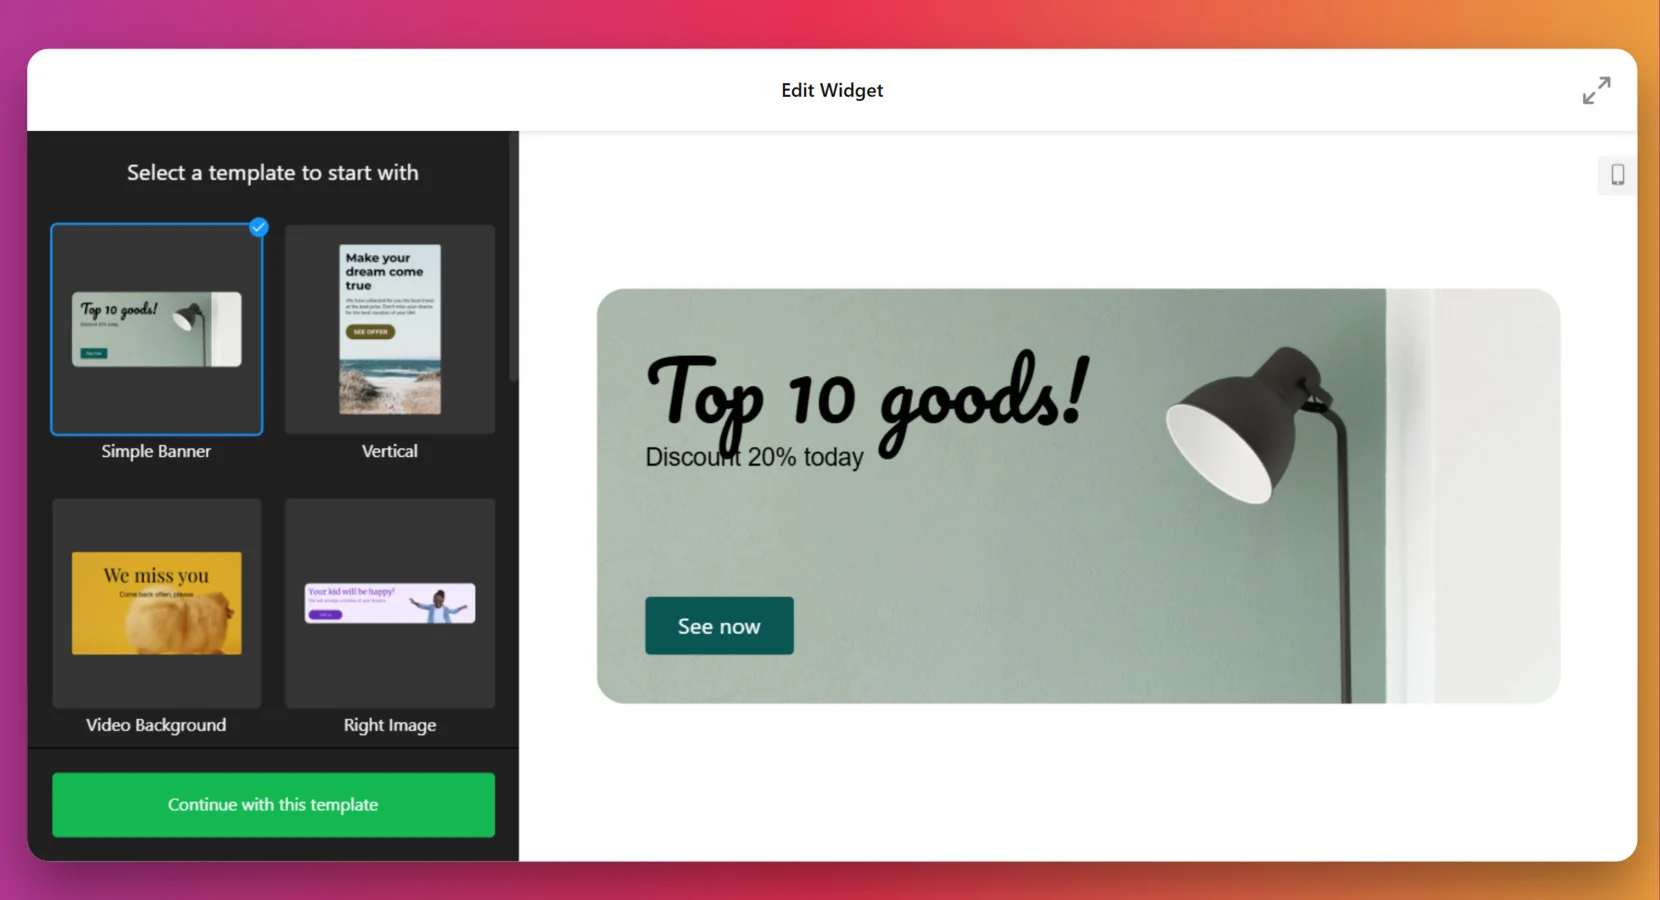
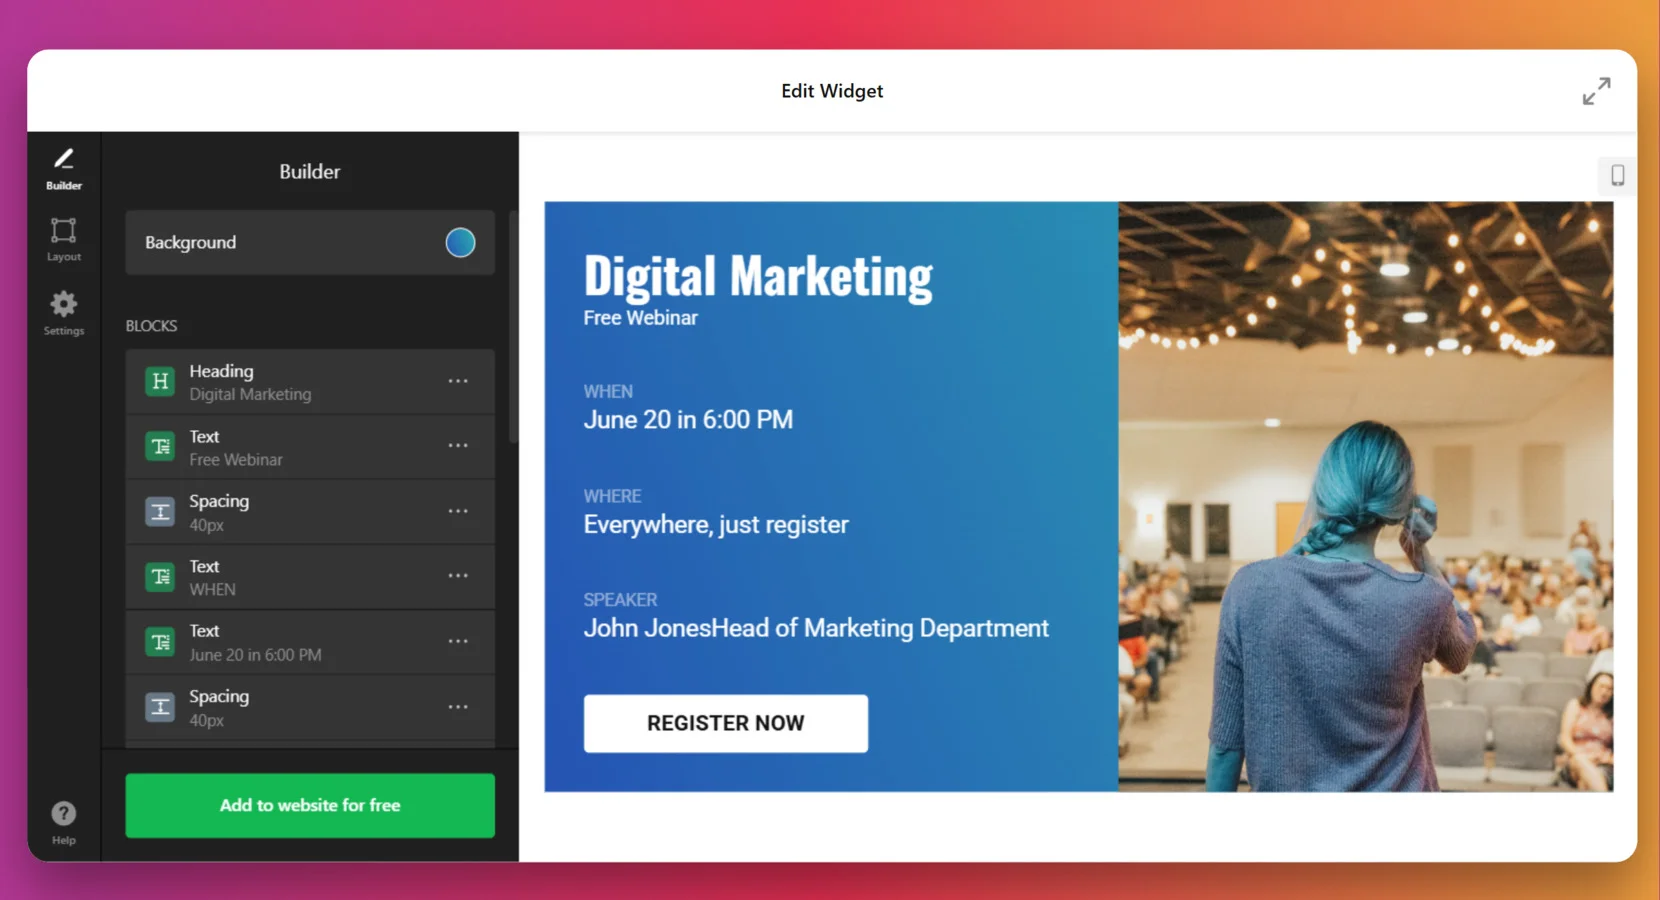
- Choose a Template. Open the widget editor and explore the available templates. Select a design that aligns with your website’s style and click “Continue with this template” to start customizing.

- Customize the Content. Edit the text, headings, and images to create a compelling banner message. Adjust the spacing and content blocks to ensure a visually balanced layout that enhances user engagement.
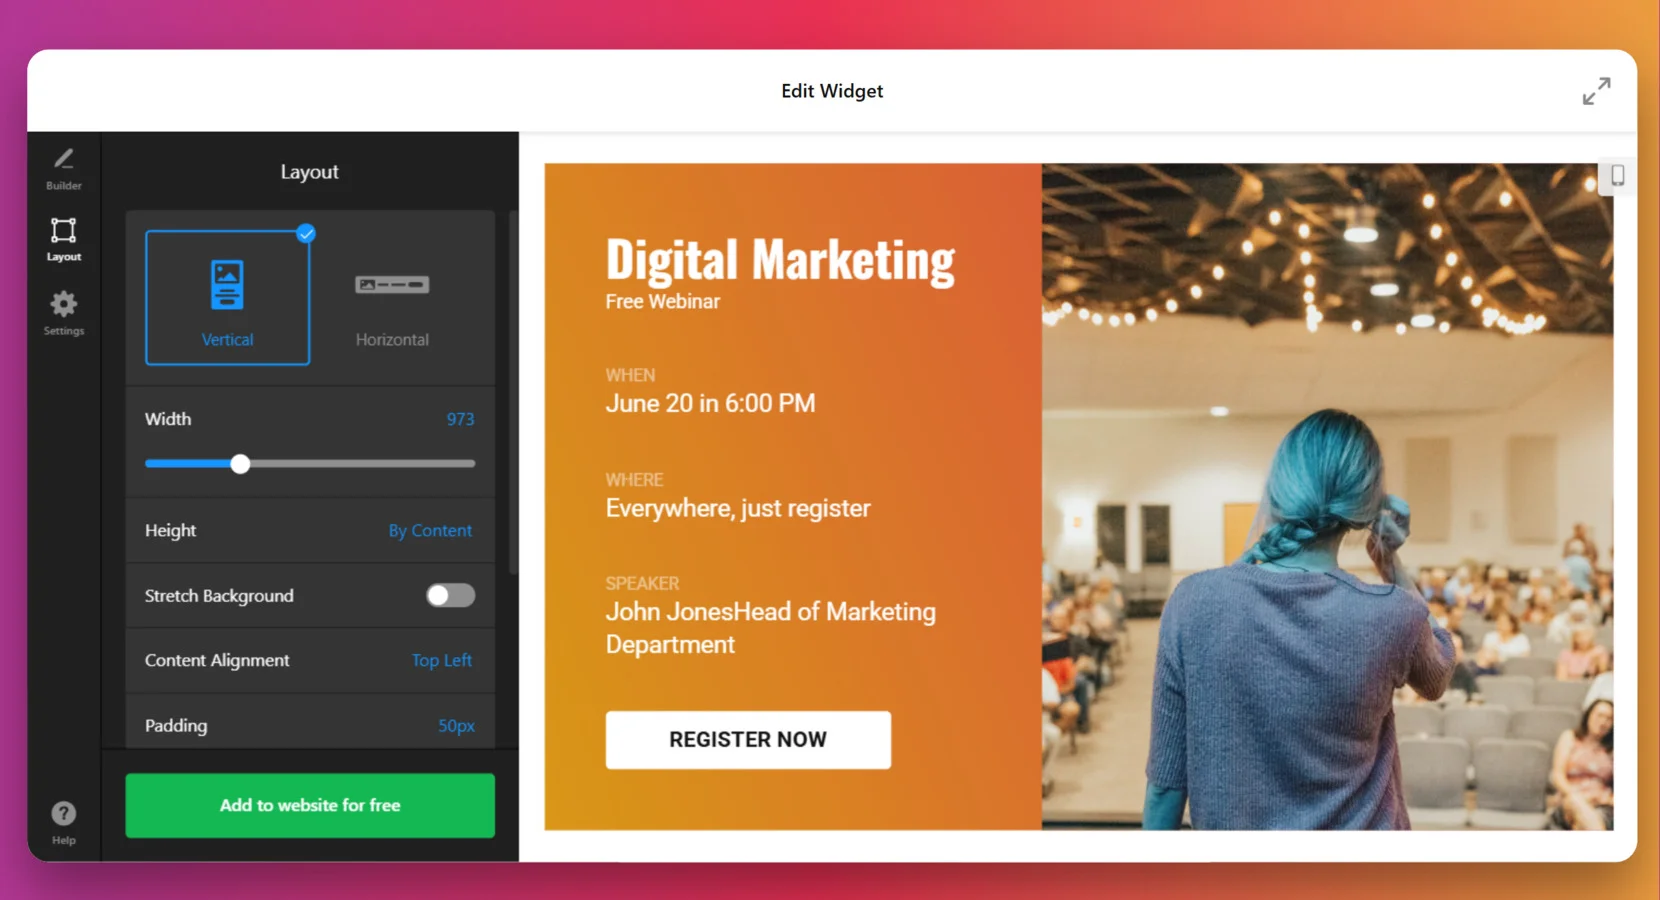
- Configure the Layout. Navigate to the “Layout” section to refine your banner’s structure. Choose between “Vertical” or “Horizontal” orientation, adjust the “Width” and “Height” to fit your website’s design, and toggle the “Stretch Background” option for a seamless full-width appearance.
- Apply Design Settings. Head to the “Settings” tab to enhance your banner’s style. Add “Custom CSS” for advanced design modifications or use “Custom JavaScript” to implement interactive features like animations or tracking.
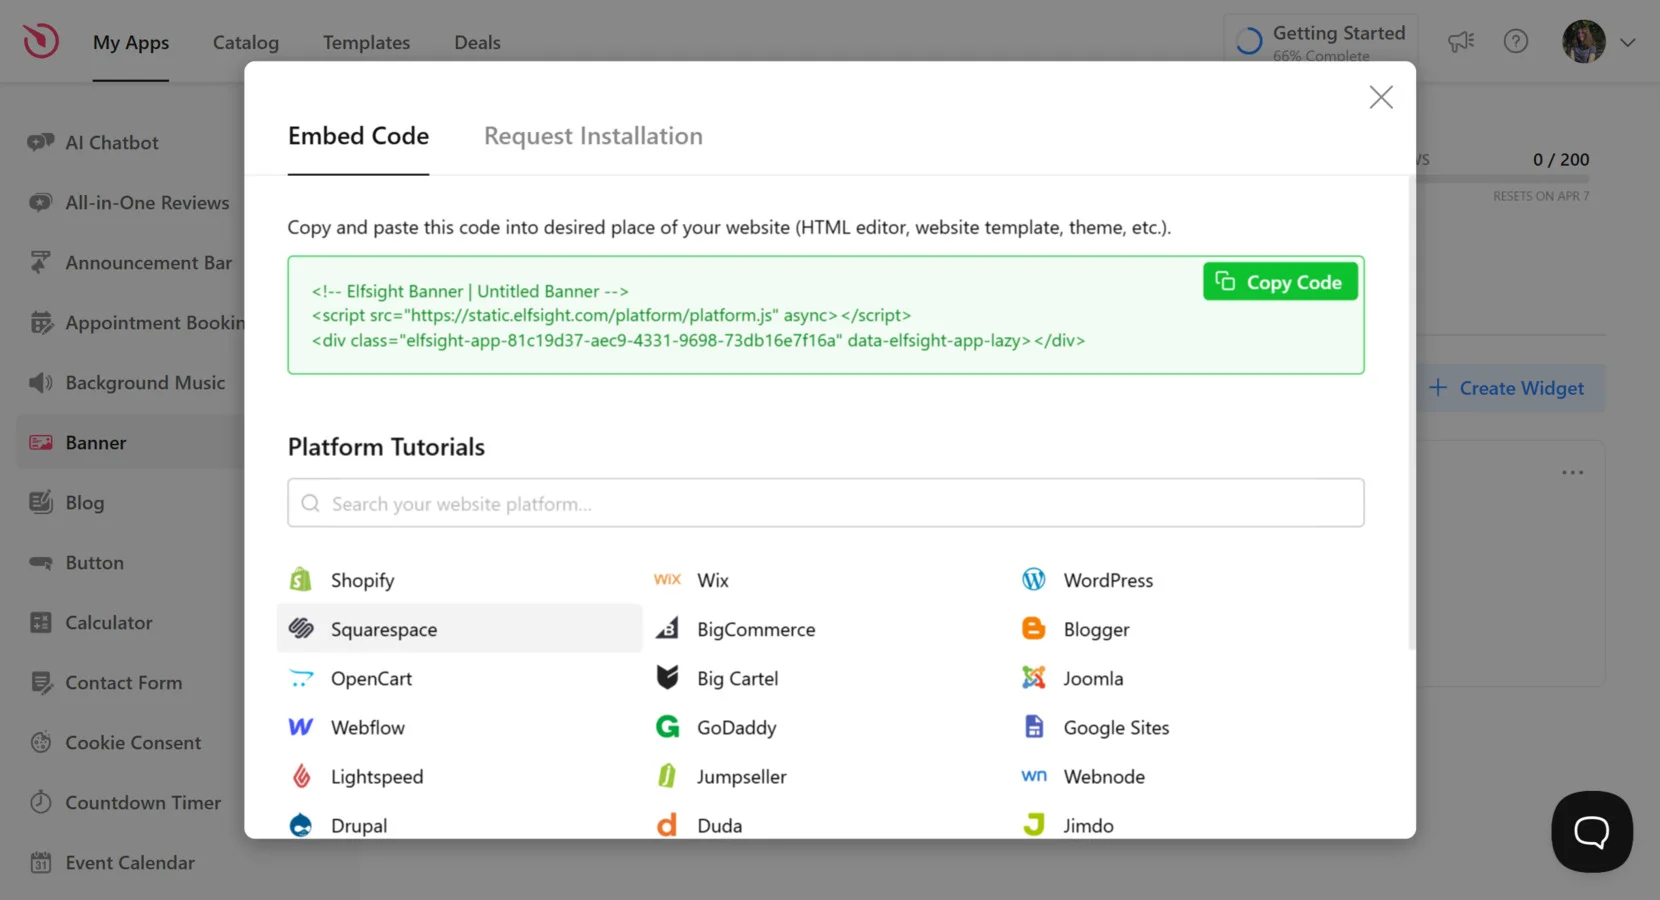
- Embed the Banner on Your Website. Click “Add to website for free” and copy the generated embed code. Access your website’s backend, locate the section where you want the banner to appear, and paste the copied code into the CMS editor. Save the changes and publish the page.

Once the banner is installed, you can always return to the widget editor to make adjustments, and any updates will automatically reflect on your website.
Other Ways to Add a Website Banner
While Elfsight provides a simple, no-code solution for adding banners to your website, there are other methods available for creating one. Below, we explore two alternative ways to create and embed a website banner. Some involve manual coding via APIs, while others use built-in website features or third-party plugins.
Using HTML and CSS for a Custom Banner
If you prefer full control over your website banner’s appearance and functionality, you can create one manually using HTML and CSS.
Here’s what you need to do to build a custom banner with this approach:
- Access Your Website’s Code Editor or CMS. Open your website’s backend where you can edit the HTML and CSS files. If you’re using a CMS like WordPress, Shopify, or Squarespace, navigate to the section where you can add custom HTML. If you have direct access to the website’s files, open your preferred code editor (e.g., VS Code, Sublime Text, or your hosting panel’s file manager).
- Create a <div> Container for the Banner. Inside the <body> section of your webpage, insert a <div> element that will serve as the banner container. Give it an ID or class name to style it easily:
<div id="custom-banner"> <h2>Special Offer – 50% Off Today!</h2> <p>Hurry up! Limited-time deal.</p> <a href="/shop" class="cta-button">Shop Now</a> </div> - Style the Banner Using CSS. Open your website’s CSS file (or add a <style> block in the HTML <head>) and define the appearance of your banner. Set background image, width, height, font styles, and positioning:
#custom-banner { background: url('banner-image.jpg') no-repeat center center; background-size: cover; width: 100%; height: 250px; text-align: center; color: white; padding: 20px; } #custom-banner h2 { font-size: 24px; margin-bottom: 10px; } .cta-button { background: #ff6600; color: white; padding: 10px 20px; text-decoration: none; font-weight: bold; border-radius: 5px; display: inline-block; } .cta-button:hover { background: #cc5500; } - Add Interactivity with JavaScript (Optional). If you want to include animations, auto-hide/show functionality, or click events, add JavaScript:
<script> document.addEventListener("DOMContentLoaded", function() { const banner = document.getElementById("custom-banner"); setTimeout(() => { banner.style.display = "none"; // Hides the banner after 10 seconds }, 10000); }); </script> - Save and Publish Your Changes. If editing directly in your CMS, save and publish. If working with code files, save the updated HTML, CSS, and JS files and upload them to your server via FTP or hosting control panel. Refresh your website to see the banner displayed live
Using a CMS-Built Banner Feature (e.g., WordPress Customizer)
Many website builders, such as WordPress, offer built-in options for adding banners through the theme settings or page builder tools. Let’s see how you can use WordPress Customizer for creating a web banner:
- Log Into Your WordPress Admin Panel. Go to yourwebsite.com/wp-admin, enter your username and password, and click Log In to access the WordPress dashboard.
- Open the WordPress Customizer. Navigate to Appearance > Customize in the left-hand menu. This will open the WordPress Customizer, where you can adjust your site’s design in real time.
- Find the Header or Banner Section. Look for the Header Image, Hero Section, or Homepage Banner settings, depending on your theme. If your theme supports widgets, check Widgets > Header Widget Area to see if you can add a banner manually.
- Upload a Banner Image or Choose a Template. Click the Upload Image button to select a banner from your Media Library or upload a new image from your device. If your theme includes pre-designed banner templates, select one and modify it to fit your needs.
- Customize the Banner Settings. Adjust the banner size, overlay transparency, text content, and positioning to ensure it aligns with your brand. Modify the Call-to-Action (CTA) button, update fonts, and choose a layout that works for both desktop and mobile devices.
- Preview and Publish the Changes. Use the Live Preview feature to check how the banner appears across different screen sizes. Click Publish to apply the changes and make the banner visible on your website.
Comparison of Website Banner Methods
Below is a comparison of different methods for adding a banner to your website, highlighting their strengths and limitations.
| Method | Pros | Cons |
|---|---|---|
| Elfsight | Easy to install with no coding required, offers full customization, works seamlessly on all platforms. | Free plan is available but comes with certain limitation. |
| Custom HTML & CSS | Provides complete creative freedom with unlimited customization options. | Requires coding knowledge and can be time-consuming to update and maintain. |
| CMS Built-In Feature | Simple and beginner-friendly, integrated directly within WordPress and other site builders. | Limited customization depending on the theme, and may not support dynamic content. |
Each method has its own benefits. Choose the solution that best fits your needs and available resources. Now, let’s explore some best practices for making the most of your website banner.
Best Practices for an Effective Banner
Now that you know how to create a website banner, it’s time to focus on best practices for making it an effective tool. A well-designed banner not only looks good but also serves its intented purpose — whether it’s driving clicks, promoting offers, or improving branding.
Here are some essential tips to help you make the most of your banner:
- Keep It Simple. Avoid cluttered designs. Use a clean layout with minimal text and clear visuals that communicate your message instantly.
- Use High-Quality Images. Crisp, professional images make a big difference. Blurry or pixelated graphics can make your website look unprofessional.
- Optimize for Responsiveness. Ensure your banner looks great on all devices. Test how it appears on desktops, tablets, and mobile screens.
- Choose Contrasting Colors. Use colors that stand out but still align with your brand’s palette. High contrast improves readability and engagement.
- Include a Clear CTA. Whether it’s “Shop Now”, “Learn More”, or “Get Started”, a strong call-to-action encourages users to take the next step.
- Limit Animation Effects. Motion can enhance engagement, but excessive animations can slow down your site and distract visitors.
- Keep File Sizes Small. Large image files slow down your website. Use optimized formats like WebP or compressed PNGs to balance quality and performance.
- Test and Iterate. Experiment with different layouts, text, and images to see what works best. Use A/B testing to optimize banner performance.
By following these tips, your banner will not only enhance your website’s design but also contribute to a better user experience and higher conversions. Next, let’s explore real-world use cases and see how different industries benefit from this utility.
Who Benefits from Website Banners: Use Cases
Website banners are widely used across industries to attract attention, increase engagement, and convey important messages. Whether for e-commerce, media, corporate branding, or online education, banners help businesses connect with their audience in a visually compelling way.
Below are some key industries that can benefit from banners implemented on company websites.
🛒 E-commerce and Retail
Online stores rely on banners to promote sales, highlight new arrivals, and encourage customers to make purchases. A well-placed banner can increase conversions by showcasing time-sensitive offers or exclusive deals.
📰 Media and Publishing
News and media platforms use banners to deliver breaking news, promote paid subscriptions, and showcase sponsored content. Interactive banners help capture reader interest and direct traffic to high-priority articles.
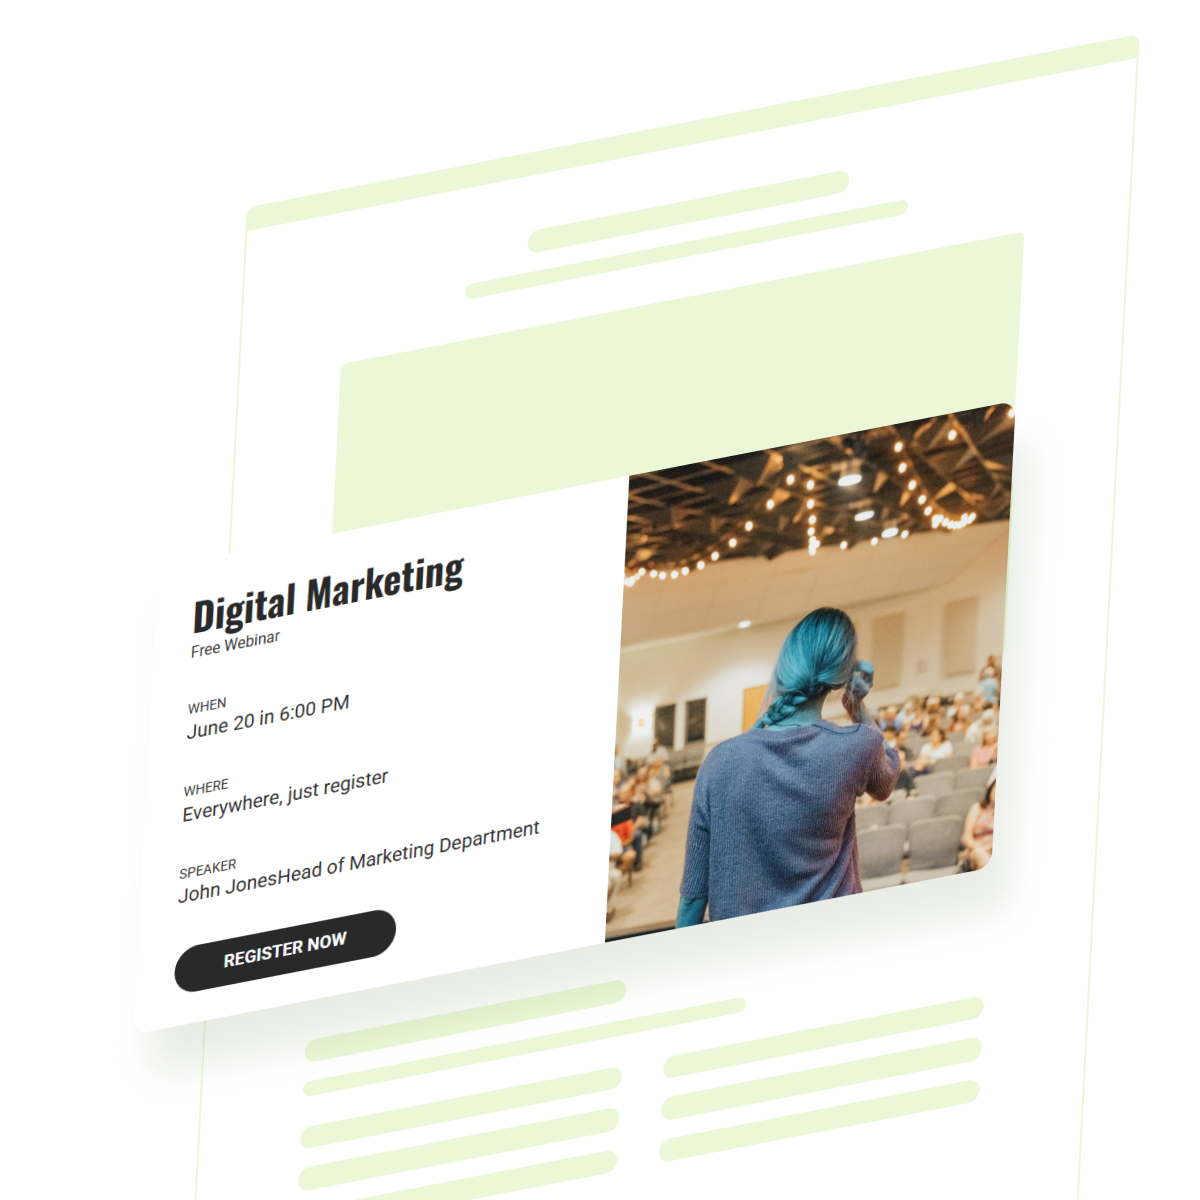
💻Corporate and SaaS Websites
Companies use banners to build brand awareness, generate leads, and promote events or new services. A banner on a corporate website can help drive sign-ups for webinars, free trials, or product launches.
🎬 Entertainment and Streaming
Streaming services and entertainment websites utilize banners to highlight trending content, exclusive releases, or upcoming events. Large, high-resolution banners create an immersive experience, enticing users to explore featured shows or movies.
🎓 Education and Online Learning
Online education platforms use banners to promote new courses, certifications, and limited-time enrollment offers. These banners help institutions and e-learning providers attract students by emphasizing course benefits and deadlines.
Website banners are a versatile tool that can be tailored to different industries and goals. Whether used for advertising, lead generation, or user engagement, they help businesses create a compelling online presence. However, banners can sometimes present technical or design challenges. In the next section, we’ll explore common issues users face with website banners and how to resolve them.
Common Issues and Fixes
While website banners are effective tools for engagement and promotion, they can sometimes present challenges. From design limitations to technical issues, users may encounter problems that affect the performance of their banners. Below are some common issues and practical solutions.
Why does my banner look blurry or pixelated?
How can I make my banner responsive for mobile devices?
Why is my banner slowing down my website?
How do I ensure my banner doesn’t look intrusive?
What’s the best call-to-action (CTA) for a banner?
Can I add a clickable link to my banner?
<a> tag. If using a banner widget, simply input the target URL in the settings.Why isn’t my banner displaying correctly on my website?
By addressing these common issues, you can ensure that your website banner remains visually appealing, functional, and effective. Now, let’s summarize everything we’ve covered and look at why banners are essential for a successful website.
Conclusion
Creating a website banner is an essential step in enhancing your online presence, improving user engagement, and promoting key messages. Whether you’re running an e-commerce store, a media platform, or a corporate website, a well-designed banner can make a significant impact.
From selecting the perfect design to embedding it seamlessly on your site, the process can be simplified with the right approach. Whether you prefer a no-code widget, a CMS-based solution, or custom HTML and CSS, the key is to focus on clarity, responsiveness, and user experience. Maximize the effectiveness of your banners and create a more dynamic and engaging website!
Need More Help?
We hope this guide has provided you with valuable insights into how to create an effective website banner. If you have any questions or need assistance, feel free to reach out to us. At Elfsight, we strive to offer simple, no-code solutions that help businesses enhance their online presence with ease.
Want to be part of an engaged Community? Join us and share your thoughts, ideas, and feature requests. Your feedback is important to us, and we’re always looking to improve our solutions. If you have suggestions, feel free to add them to our Wishlist — we’d love to hear from you!