A Quick Guide on Adding a Shopify Store Locator
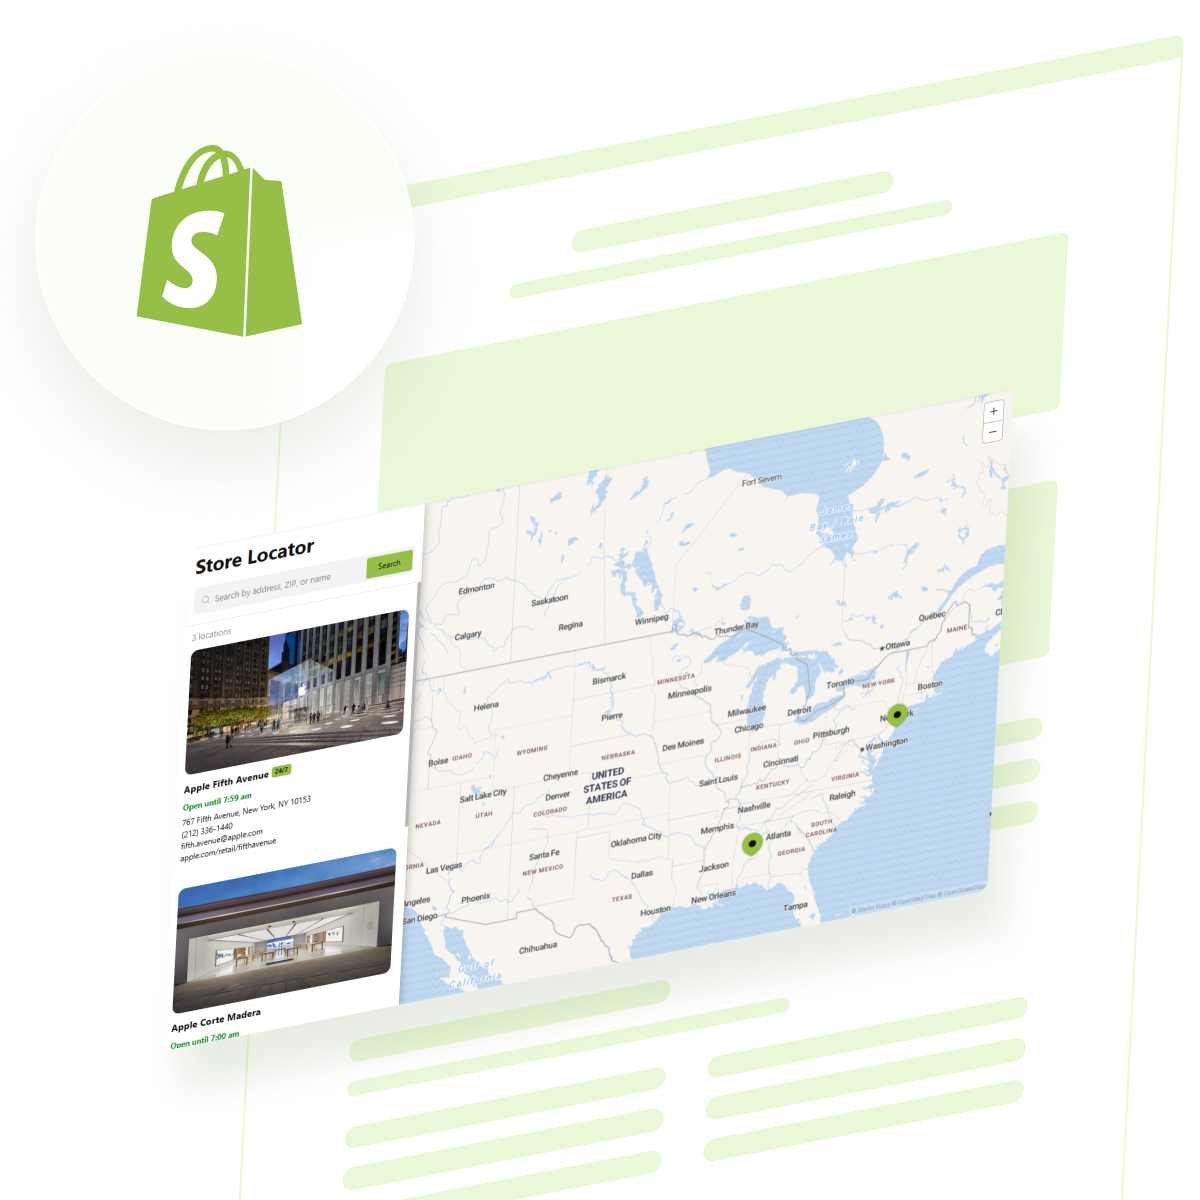
A store locator is an essential tool for Shopify merchants with physical stores. It allows customers to search for nearby locations, view addresses, and find contact information through a user-friendly store locator map. Whether you run a chain of retail shops, dealers, or a single physical shop, a store locator ensures seamless customer experience and boosts in-store visits.
Adding a store locator Shopify feature helps customers quickly find you using a zip code or Shopify map.
Integrate a powerful store finder app into your store following these simple steps:
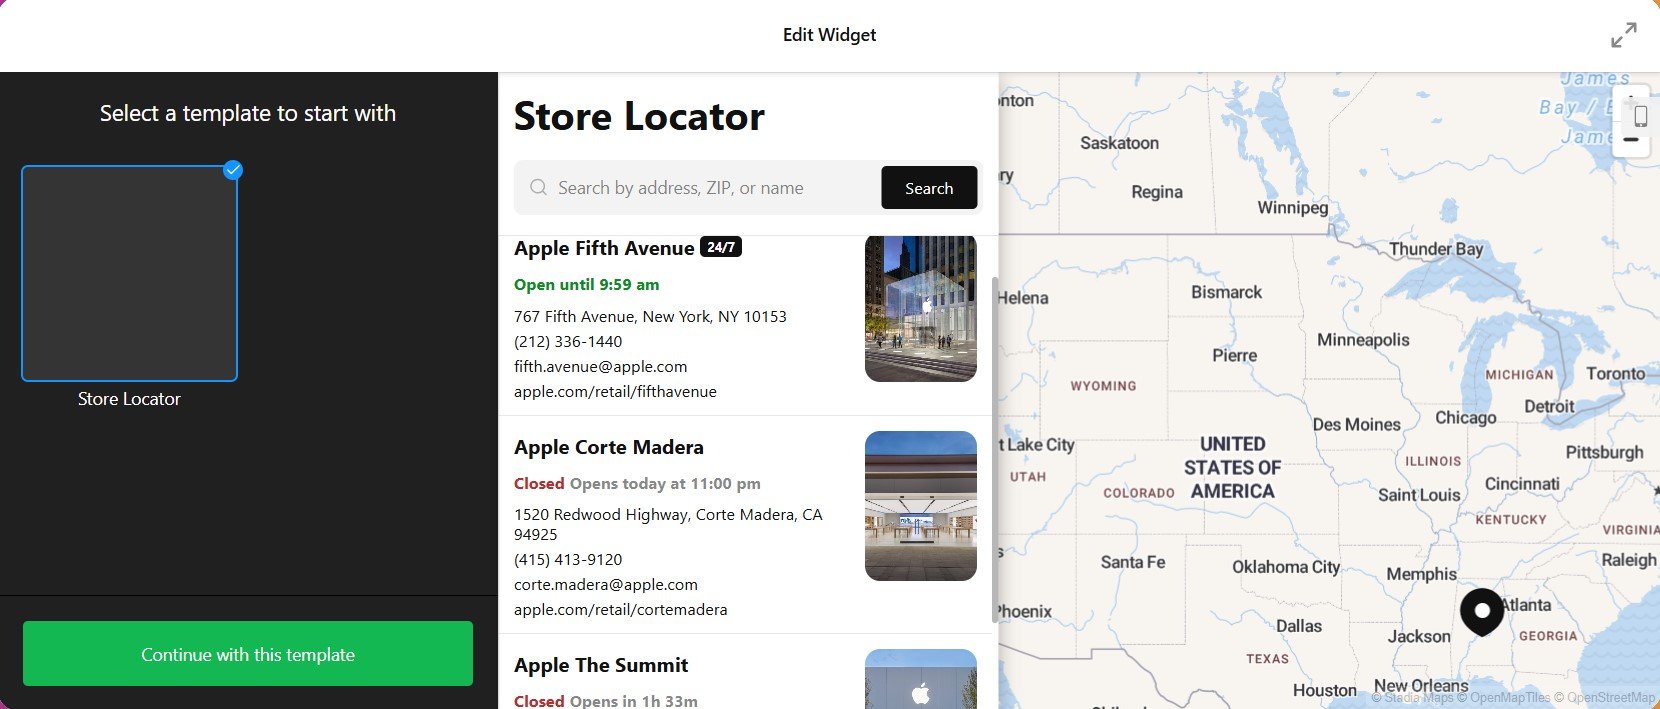
- Select a template for a free store locator for the website using the user-friendly editor.
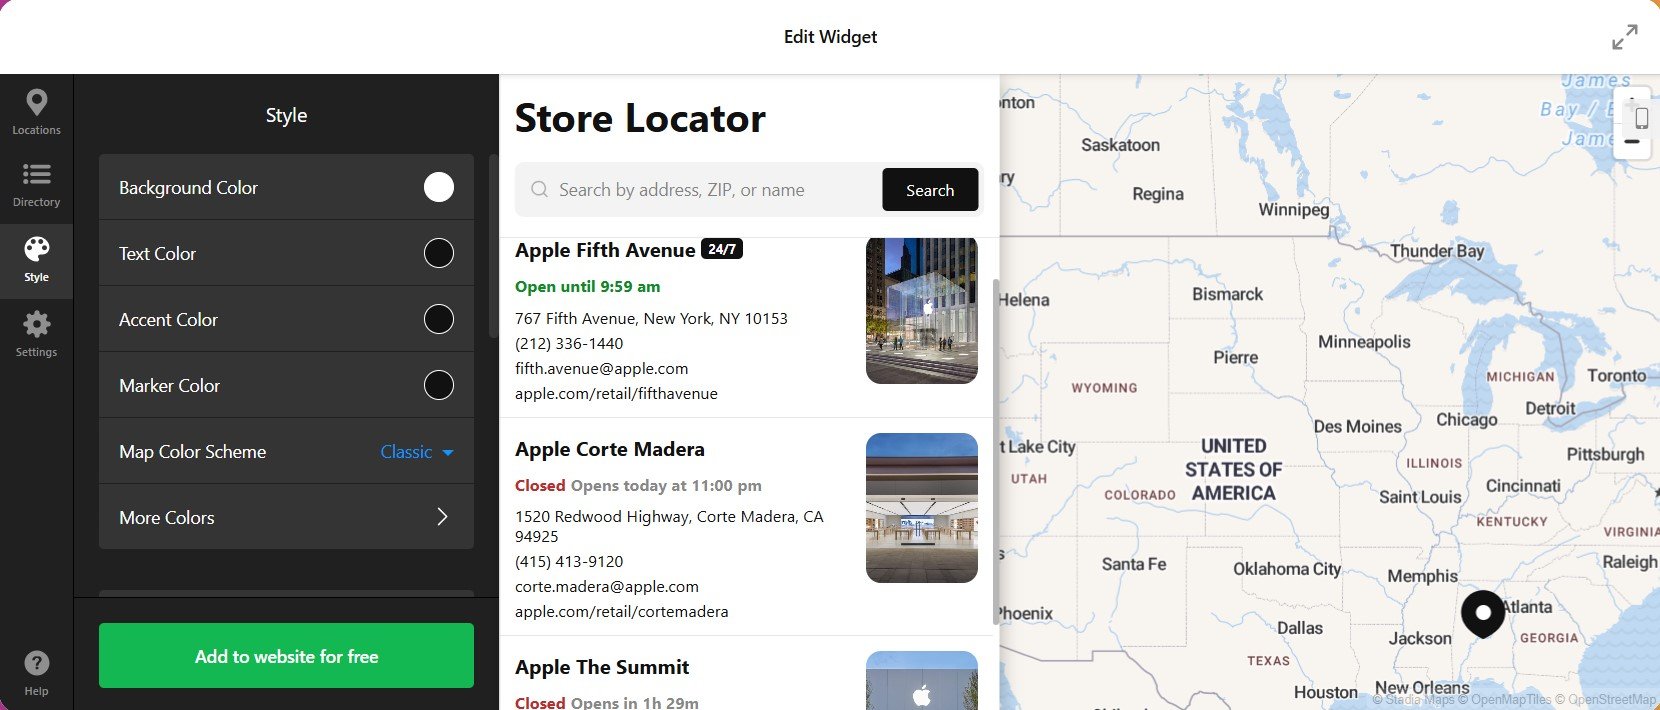
- Set location and adjust location settings. Configure the design elements to suit your website.
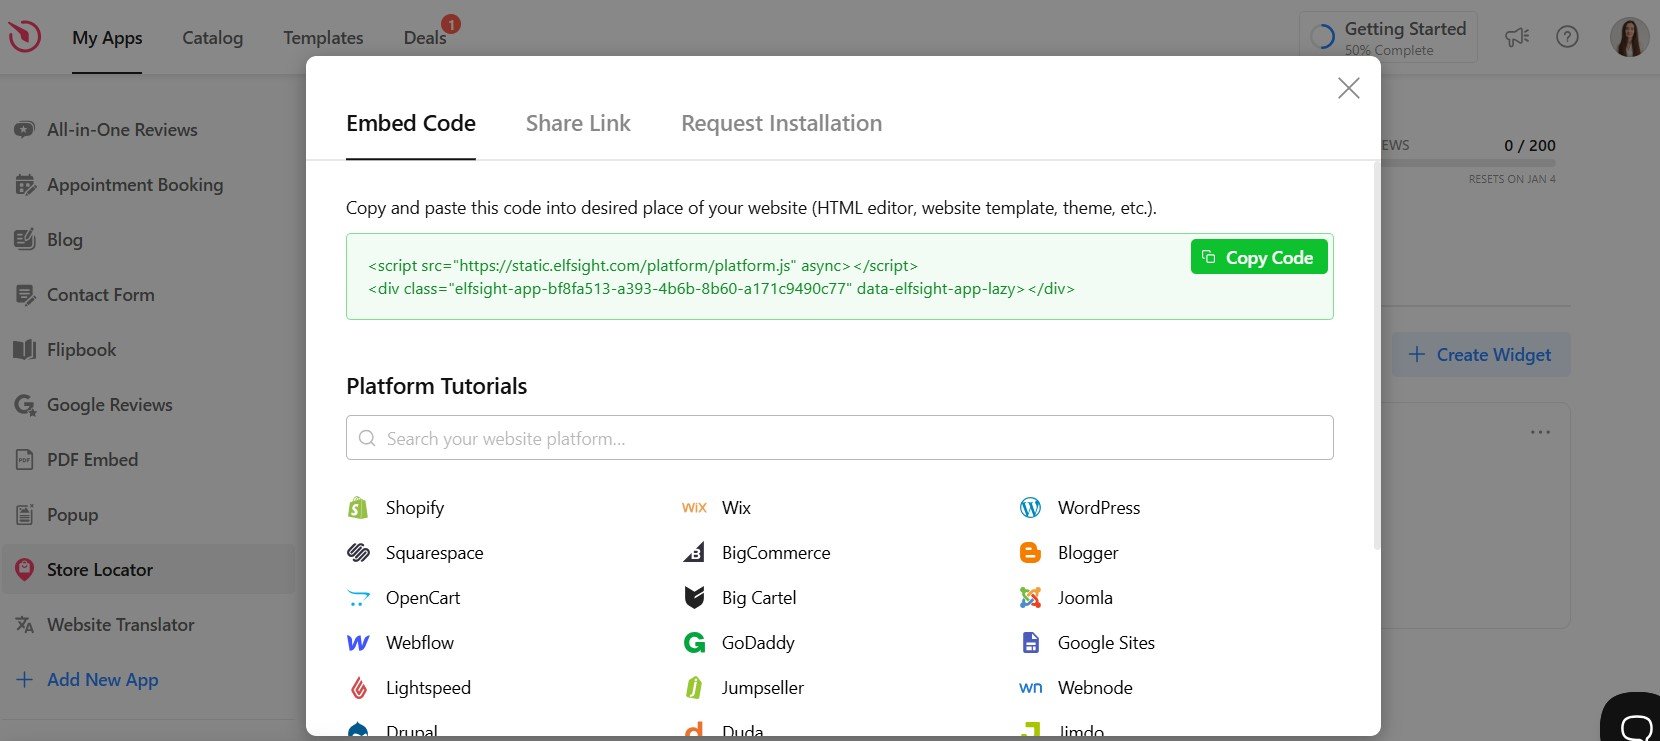
- Copy the embed code and insert the store locator map to your Shopify website, preferably on a dedicated page or the contact page.
This method provides a simple and intuitive solution for adding a Shopify store finder, offering seamless integration and design flexibility.
Try the intuitive editor and experience how easy it is to add a store locator to Shopify right now!
Detailed Instructions on How to Add Store Locator on Shopify
Adding a Shopify store locator to your website is a straightforward process when you use a dedicated app like Elfsight’s Store Locator app. These steps will help you effortlessly integrate a store finder app into your online store:
- Select a template. Start by choosing a suitable template in the Elfsight Store locator app editor.
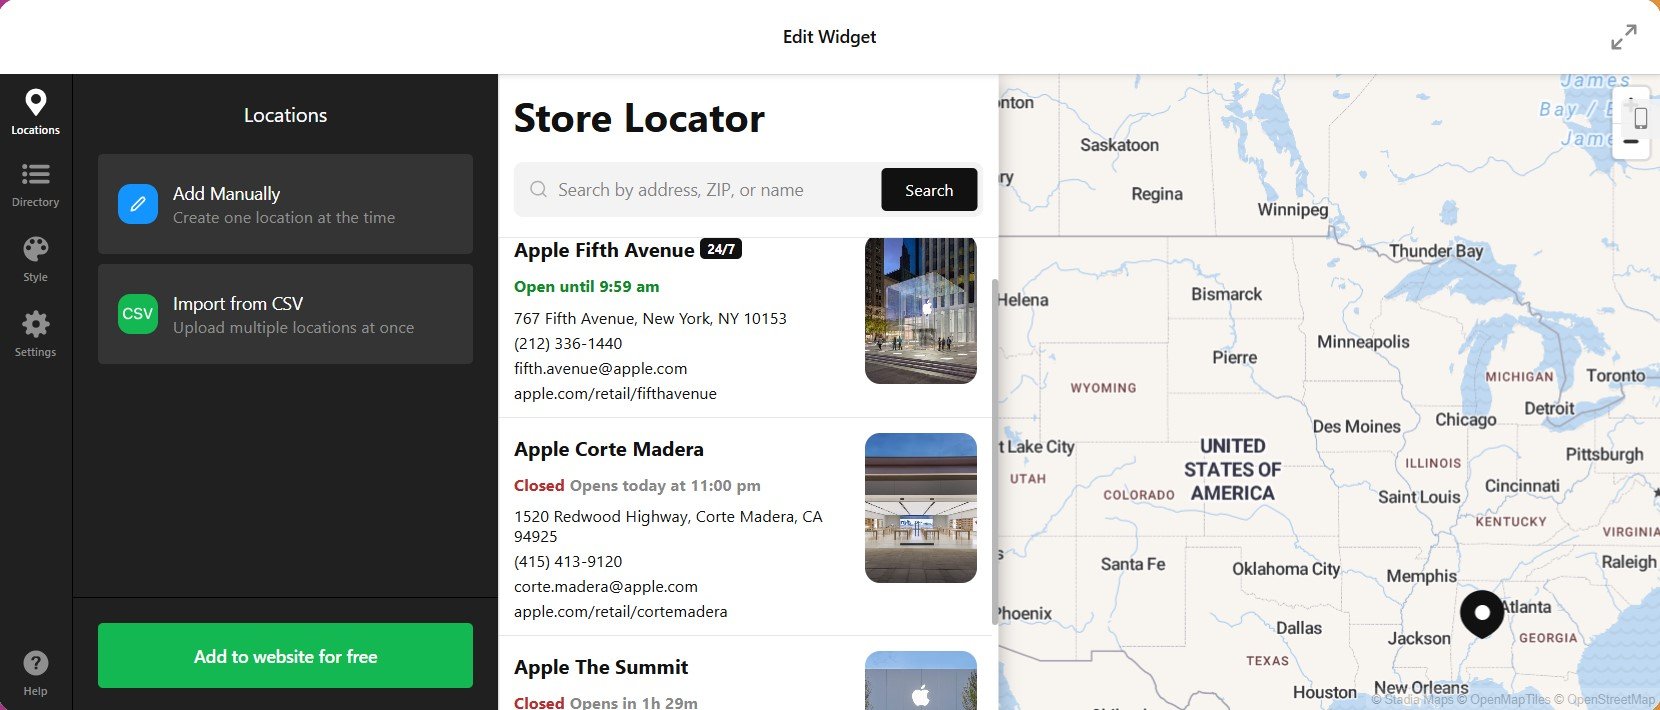
- Add your locations.
Effortlessly add your physical store locations using either manual entry or bulk upload using the CSV import feature to upload multiple locations in one go. - Customize the layout. Tailor the layout and style of your store locator map to suit your brand. Adjust colors, fonts, and icons for a cohesive look. Add multilingual support if you cater to international audiences. The editor allows real-time previews, ensuring the final design matches your expectations.
- Get the embed code. Once your store locations and design are finalized, click “Add to Website” in the widget editor. This generates an embed code tailored for your Shopify store.
- Embed the Store Locator in Shopify. Log in to your Shopify admin panel. Navigate to Online Store > Pages, and select the page where you want to display the store locator. Open the HTML editor by clicking the “<>” symbol in the editor toolbar. Paste the generated embed code into the HTML section of the page and publish your changes.
Your store locator map is now live and ready to assist customers in finding your physical locations.
- Add the store locator to high-visibility pages like the Contact Us or a dedicated “Find Us” page.
- Ensure the widget is responsive and functions well on desktops, tablets, and smartphones.
- Keep store details current by periodically refreshing location data or leveraging the CSV import feature for bulk updates.
Use Cases of a Shopify Store Locator
Integrating a Store Locator into your Shopify store is a strategic move to improve customer experience, build trust, and drive business growth.
Here’s how different industries and businesses can leverage a Store Locator Shopify app to enhance their operations and improve customer satisfaction:
| Industry/Business | Use Case | Key Benefits |
| Retail Chains | Highlight store locations for clothing, electronics, or grocery retailers. | Improve customer convenience, increase foot traffic, and promote local promotions. |
| Dealerships | Help customers find the nearest auto dealer for browsing or servicing vehicles. | Enhance accessibility, showcase inventory, and drive dealership visits. |
| Healthcare Providers | Make it easier for patients to locate nearby clinics or pharmacies. | Improve patient care by providing quick access to medical services and facilities. |
| Restaurants & Cafés | Display restaurant branches or coffee shop locations across cities. | Attract local diners, showcase menus, and promote branch-specific offers. |
| Fitness Centers | Show gym and fitness studio locations, including opening hours and services offered. | Drive memberships, improve accessibility, and highlight class schedules for nearby locations. |
| Real Estate Agencies | Help clients find branch offices or new property locations. | Simplify property tours, connect with local agents, and showcase available listings by location. |
| Event Venues | Indicate nearby event spaces or ticket centers for concerts, conferences, and more. | Increase attendance by making venues easy to find, along with ticketing information. |
| Tourism Agencies | Display pickup points for tours, excursions, or travel services. | Attract tourists, improve navigation, and highlight tour schedules or special packages. |
| Beauty Salons & Spas | Showcase salon or spa locations, along with contact information and services offered. | Attract nearby clients and promote service packages or special offers. |
| Pet Services | Help pet owners find nearby vet clinics, pet stores, or grooming services. | Provide convenience and encourage repeat visits for essential pet care services. |
By tailoring the Store Locator Shopify map to fit industry-specific needs, businesses can improve user experience, support marketing strategies, and strengthen customer relationships.
Elfsight’s Store Locator widget offers flexibility and features to cater to a variety of use cases, making it one of the best store locator apps Shopify has to offer.
If you’re also looking to showcase your business hours effectively, consider checking out how to embed business hours on a website to complement your store locator.
Features that Bring Value to Your Business
The Elfsight Store Locator app is packed with powerful features that go beyond simple store mapping. Each capability is designed to enhance functionality, streamline management, and elevate user experience.
1. Simplified location setup with auto-fetch
Automatically retrieve detailed location data – address, contact details, and more – directly from Google Maps. This feature ensures precision and minimizes setup time, enabling businesses to deploy their store locator with minimal effort.
Value: Save time and ensure data accuracy by eliminating manual entry errors.
2. Bulk location management made easy
Effortlessly add multiple store locations at once using CSV import. For updates or analytics, export your locations as a CSV file. Whether you’re managing five locations or 500, this feature ensures efficiency and scalability.
Value: Streamline location management, saving time and reducing operational bottlenecks.
3. Engage with detailed store cards
Provide users with rich store details, including addresses, phone numbers, business hours, and visual elements like logos or photos. Dive deeper with action buttons that link to third-party platforms like WhatsApp, TripAdvisor, or Uber Eats.
Value: Enhance user trust by offering comprehensive and visually appealing store profiles.
4. Dynamic navigation with location action buttons
Add customizable hot buttons that empower customers to take actions like booking, ordering, or messaging directly from the locator. Link to popular services or create tailored integrations to suit your business needs.
Value: Improve customer convenience and encourage direct engagement with your services.
5. Seamless mobile integration
Ensure flawless navigation on smartphones and tablets. With a layout optimized for smaller screens, the Store Locator guarantees smooth user experiences on all devices.
Value: Reach customers wherever they are, catering to the growing mobile-first audience.
6. Interactive map features
Engage users with automatic and manual map zoom options, customizable markers, and dynamic location selection. These tools allow for easy exploration and improved user interaction with your map.
Value: Offer an intuitive and engaging way for users to find and connect with your locations.
7. Fully customizable visuals
Tailor the locator’s appearance to align with your brand identity using custom color themes, fonts, and CSS. Advanced users can add custom JavaScript for enhanced functionality.
Value: Present a polished and cohesive brand image, leaving a lasting impression on visitors.
By incorporating these features into your website, the Elfsight Store Locator transforms the way businesses connect with their customers. Each tool delivers tangible value, helping brands enhance their digital presence while offering customers a seamless path to their physical locations.
If you’re interested in adding an interactive map for your locations, see our guide on how to embed Google Maps plugin on any website for more tips and inspiration.
Explore 30+ Store Locator templates
FAQ
How do I set up my first location with the Elfsight Store Locator?
Setting up your first location is quick and easy:
- Open the Elfsight widget editor.
- Add your location by entering the address, zip code, or business name.
- The auto-fetch feature will automatically pull in detailed information from Google Maps.
- Customize your location card with images, descriptions, and contact details.
- Save the changes, and your store location will be displayed on your website.
Can I add multiple locations at once?
Yes, you can add multiple locations effortlessly using the CSV import feature. Prepare a CSV file with your location data, including addresses, zip codes, and other details. Import the file into the Elfsight widget. All your locations will appear instantly, saving you time and effort.
You can also export locations as a CSV file to update or analyze them later.
Can users search by zip code or address?
Yes, the Elfsight Store Locator provides a built-in search feature that allows users to find stores by entering a zip code, city, or address. This ensures a seamless user experience and helps customers locate the nearest store quickly.
How do I set the default map view for my store locations?
You can set the default map view directly in the widget editor:
- Choose auto or manual map zoom and centering options.
- Define the default zoom level to display all your locations.
- Select a starting point for the map by entering an address or zip code.
What if I need to update or remove a location?
Updating or removing a location is simple. Open the widget editor. Find the location you want to edit or delete. Make the changes or remove the entry entirely. Updates will reflect immediately on your website.
Conclusion
The Elfsight Store Locator is a solution designed to connect your customers with your business effortlessly. Whether you’re managing a single location or a global network, the widget’s intuitive features, such as auto-fetching location info, bulk CSV import, and action buttons, make it a breeze to set up and maintain.
By enhancing the customer journey with interactive maps, detailed location cards, and seamless mobile integration, you’re not just offering convenience – you’re building trust, credibility, and stronger connections with your audience. Plus, with its highly customizable design and multilingual support, the Store Locator fits perfectly into your brand’s unique identity.
Start leveraging the power of Elfsight Store Locator today and watch as it drives in-store visits, simplifies user navigation, and boosts customer engagement. Try it now in the intuitive editor and turn your website into a gateway for customer connection and success!
Need More Info?
We hope this guide has helped you learn how to add a store locator on Shopify. If you have additional questions or need assistance, don’t hesitate to reach out to our Support team. At Elfsight, we’re dedicated to ensuring your experience is seamless and successful with our no-code widgets designed to empower your business.
Join our growing Community to share insights and discover ideas from other users. We’re always eager to hear your feedback and suggestions – feel free to add them to our Wishlist and help us make our products even better!


