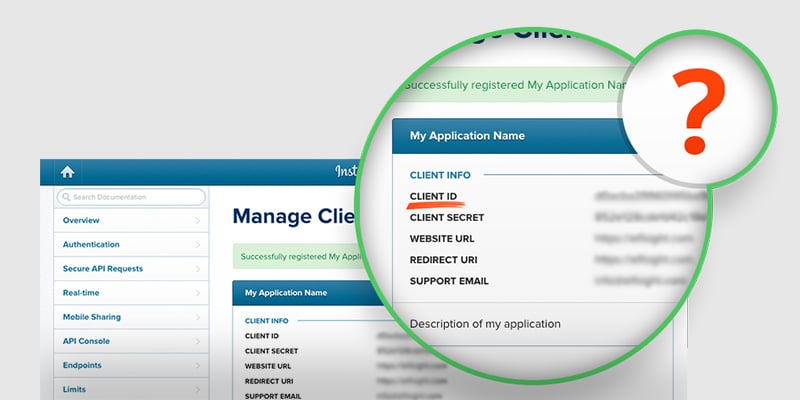
What are Instagram Client ID and Client Secret
Instagram Client ID and Secret are keys, which are generated from Instagram Developer Page by using an Instagram account. These keys are used by an application software which is installed on your website or mobile devices. You can use them in order to embed Instagram.
The Purpose of Using Client ID and Client Secret
Client ID and Secret are used by different apps, plugins, software extensions to communicate with Instagram API. These applications use Client ID and Secret to fetch photos, videos, hashtags and profiles information. When an application requests to the Instagram API, primarily service validates a Client ID and Secret then handles a request and returns a response to the application.
Client ID and Secret are essential for the usage of Instagram based apps.
To sum up, Client ID and Secret are required values. They define what kind of registered applications does a request. Without them you won’t be able to exchange data with the Instagram API.
How to Get Instagram Client ID and Client Secret
First of all, bare in mind that after the 2020 API update, there are two types of APIs for developers who want to fetch information from Instagram. Instagram Graph API allows to create an app for interacting with all the main functions of creators’ or business accounts, such as commenting, liking, subscribing and so on. Instagram Basic Display API provides access to the basic Instagram data, such as pictures, albums, videos and profile. Stories, comments and insights are, subsequently, not supported.
In this tutorial, we are going to use Instagram Basic Display API, as client secret and client id are needed in it. It will be very easy, just follow our 4-steps guide below! You will need the following instruments for getting the desired keys:
- A Facebook Developer Account.
- An Instagram account with some pictures and videos.
- Your live website.
- An instrument with a command line to make cURL requests.
For you to do all the steps correctly, we’ve prepared the detailed instruction with attached photos of the process.
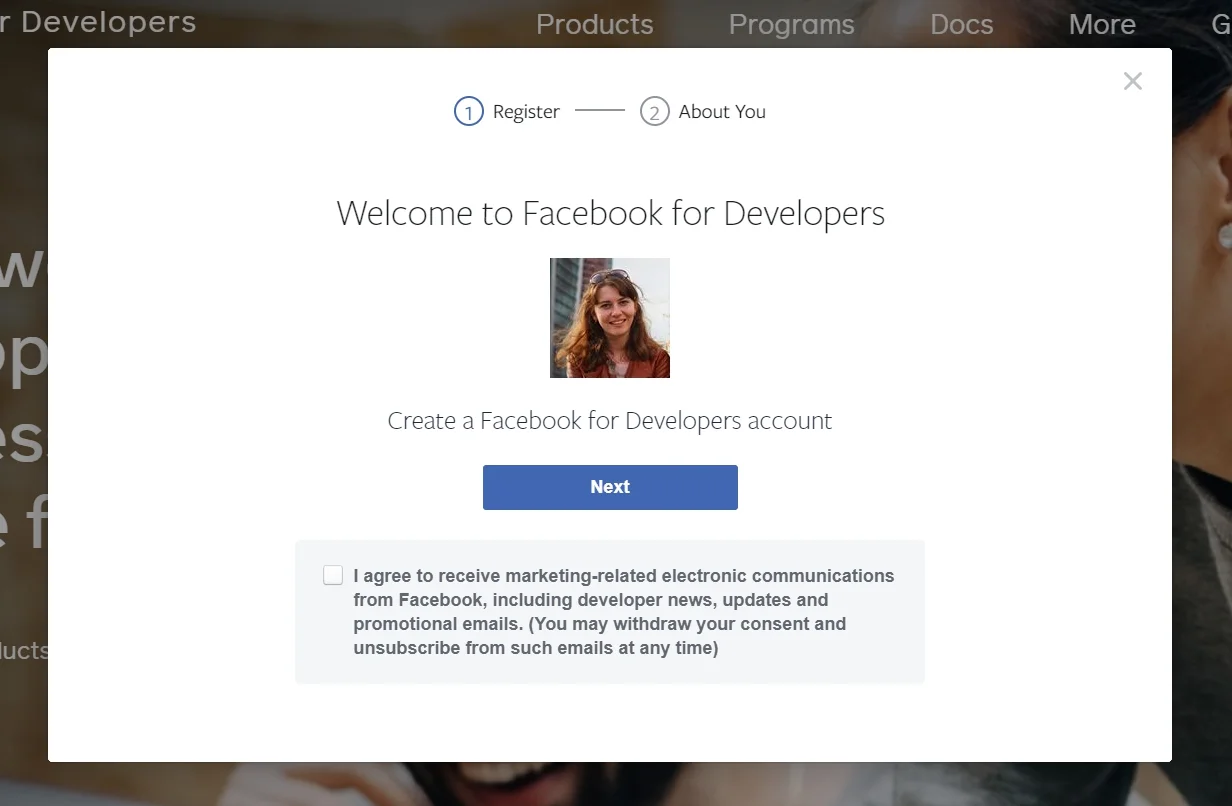
1. Create a Developer’s account
Visit a Facebook for Developers web page. Fill in the information about yourself and agree with the terms of use.
Name your app, provide your email and name.
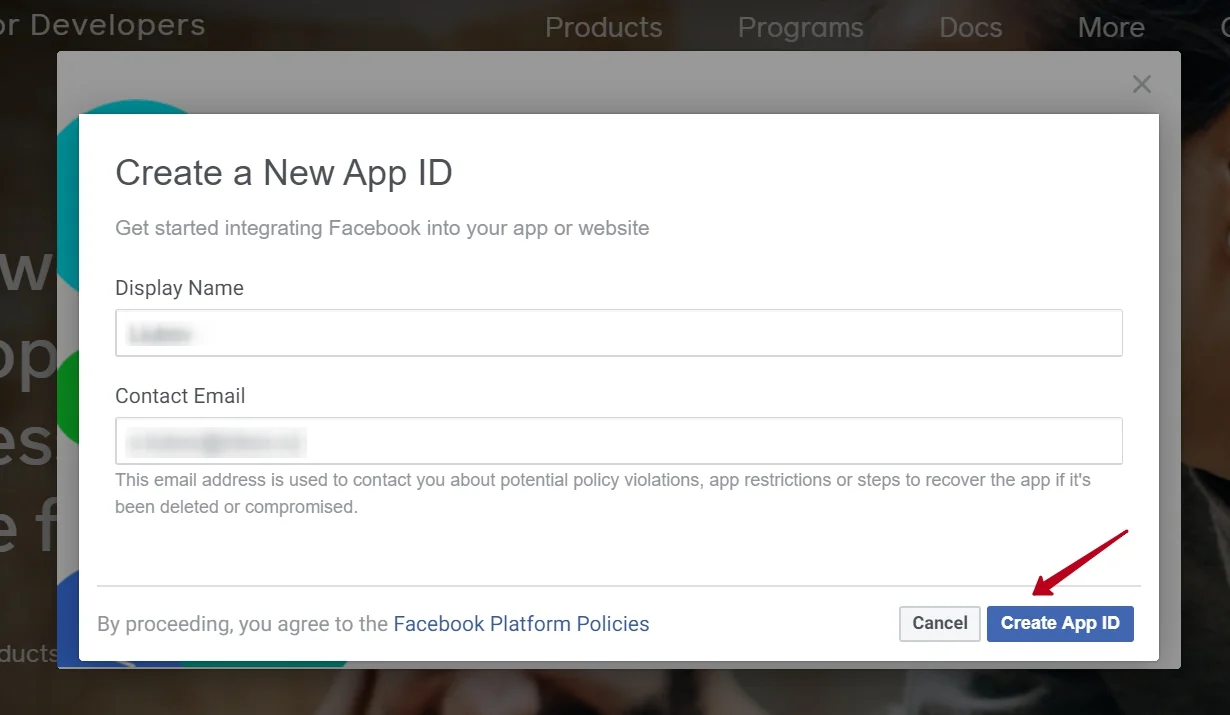
Now, it’s high time to create your first app. In this guide we are going to show you how to build a test app fetching information from Instagram.
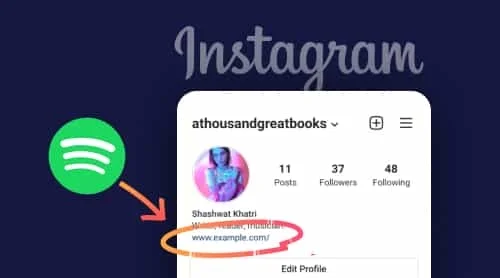
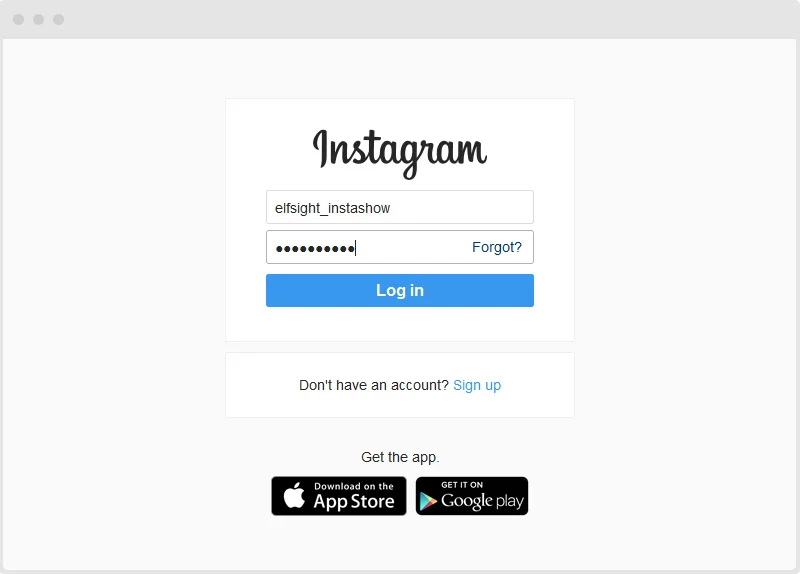
2. Log in to Instagram
To get a Client ID and Client Secret you’ll need to be registered in Instagram. Create an account or log in to proceed the guide.
See? Everything is easy. We promise that next steps will be the same.
3. Create an Instagram app
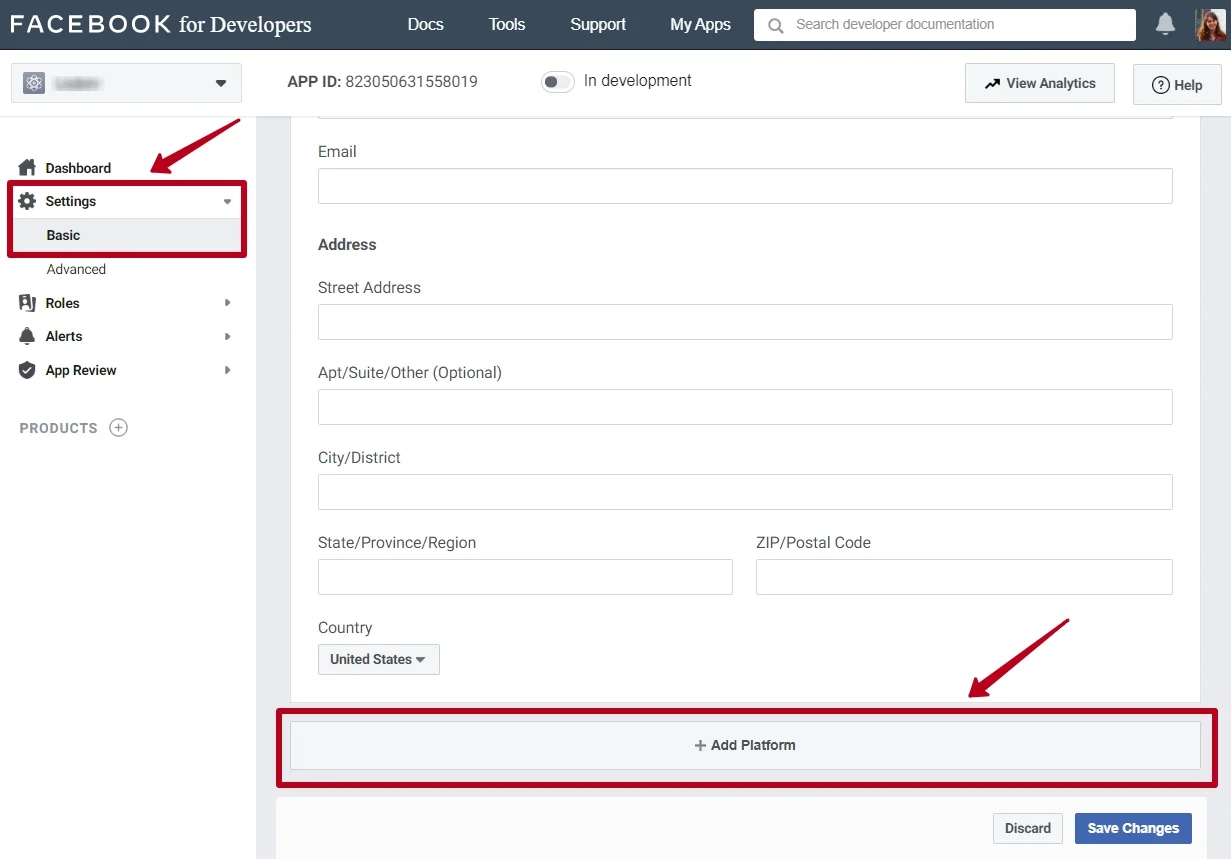
On a My apps tab click Settings, after that, go to the Basic section, scroll until you see an Add platform button. Click on it, so that a popup appears.
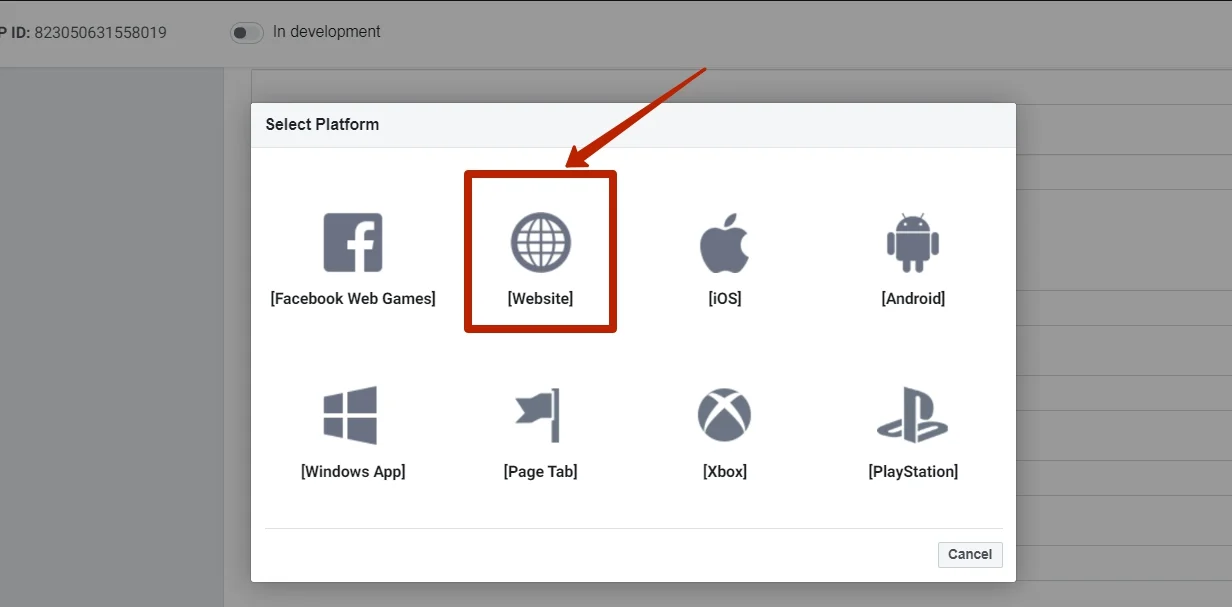
Choose Website:
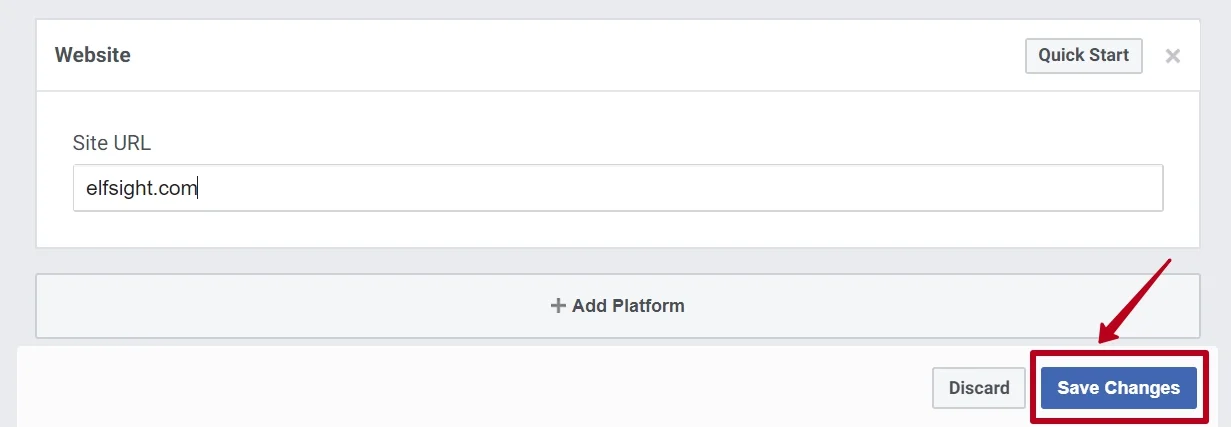
Enter your website’s URL. Pay special attention to this step, you’ll need a website URL in getting the Client ID and Client secret. However, you’ll have an opportunity to change it later.
Now, set up Instagram Basic Display. Find Products on the Dashboard tab, find Instagram Basic Display, and click Set Up. Please, mind, that if you would like to create a Business app, you’ll need to choose Instagram Graph API. You can select any other permissions and products, for example, Webhooks and Analytics.
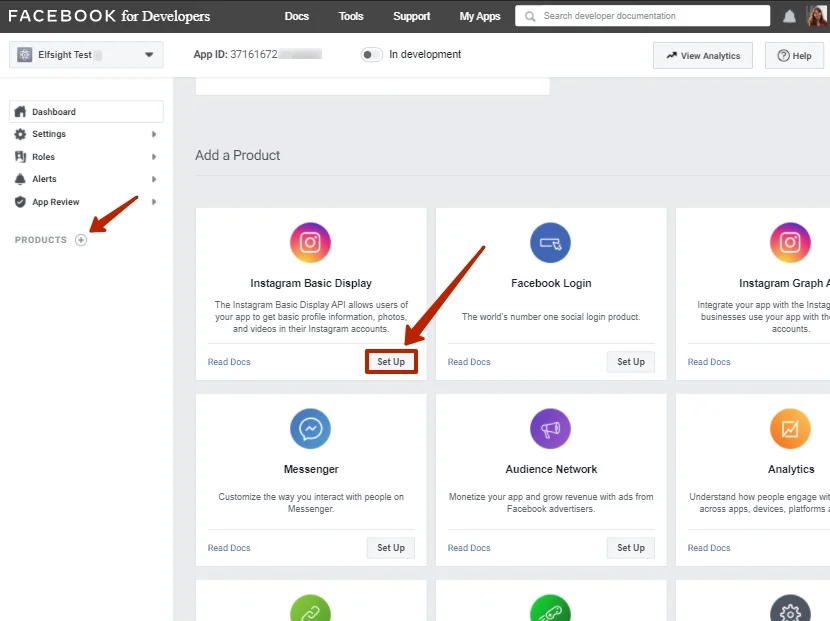
You’ll need Basic Display, click Create New App.
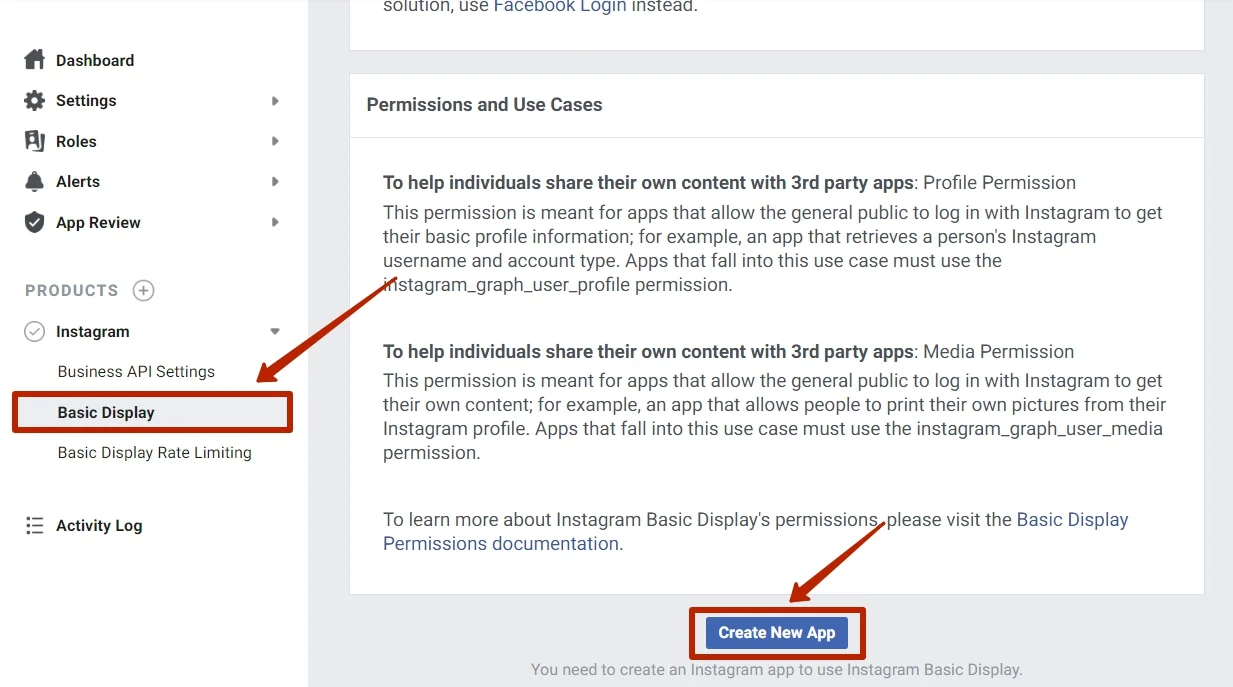
After completing this step, you’ll finally get your Instagram App ID (or client_id) and App Secret (or client_secret). To use them, you’ll have to configure some of the settings. But don’t worry, it won’t take long!
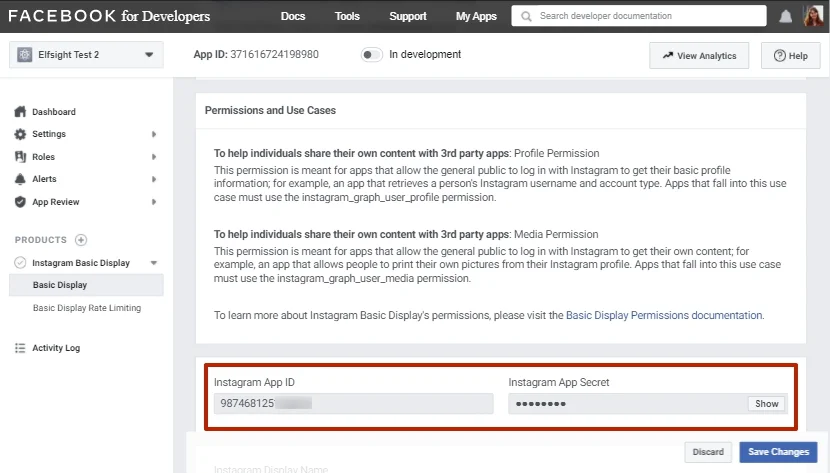
Fill in all the required fields by following the below explanations:
- Display Name – the name of the app you have just created.
- Valid OAuth Redirect URIs – your website URL.
- Deauthorize Callback URL and Data Deletion Request Callback URL – type in your website URL once again. You’ll have to change these fields’ entities later, but by now it will be enough to have this info for testing purposes.
- App Review – ignore this section for now since we are not going to go live with our created app.
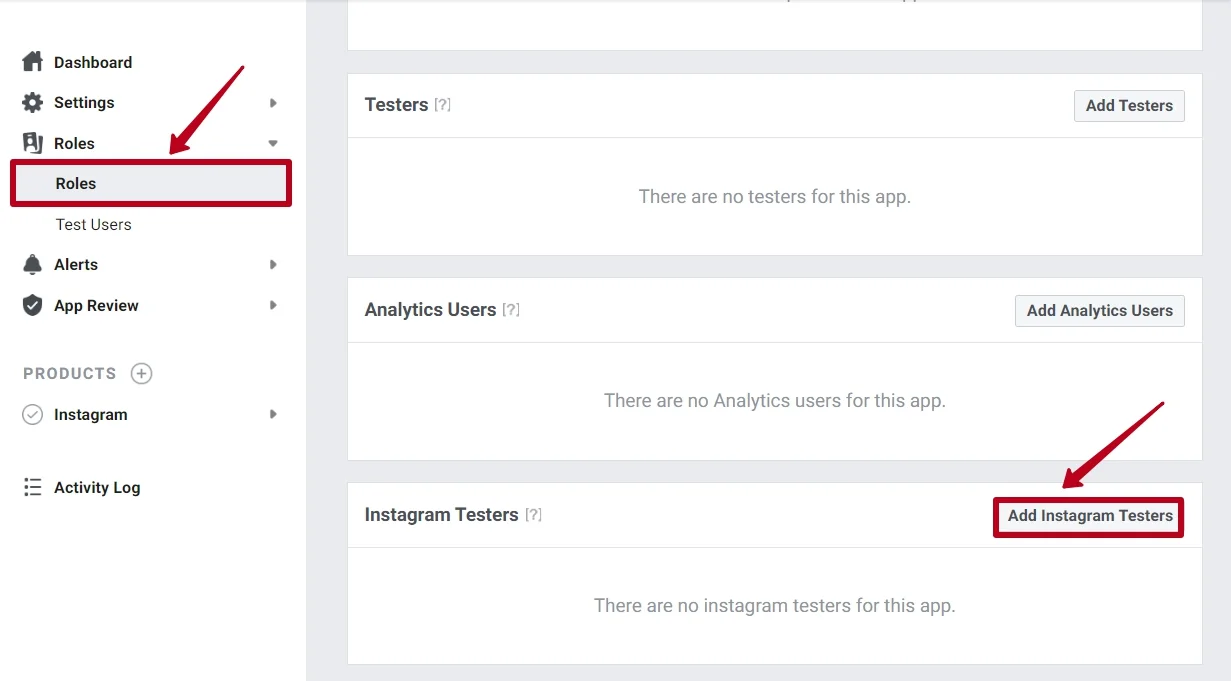
Hooray, there are only few steps left! Let’s add an Instagram Test User. Go to Roles tab and scroll down to the Instagram Testers section. Click Add Instagram Testers and enter your Instagram account’s username. Send an invitation.
Accept the invitation in the settings of your Instagram account. Navigate to the Apps and Websites section, choose Testers Invites and click Accept.
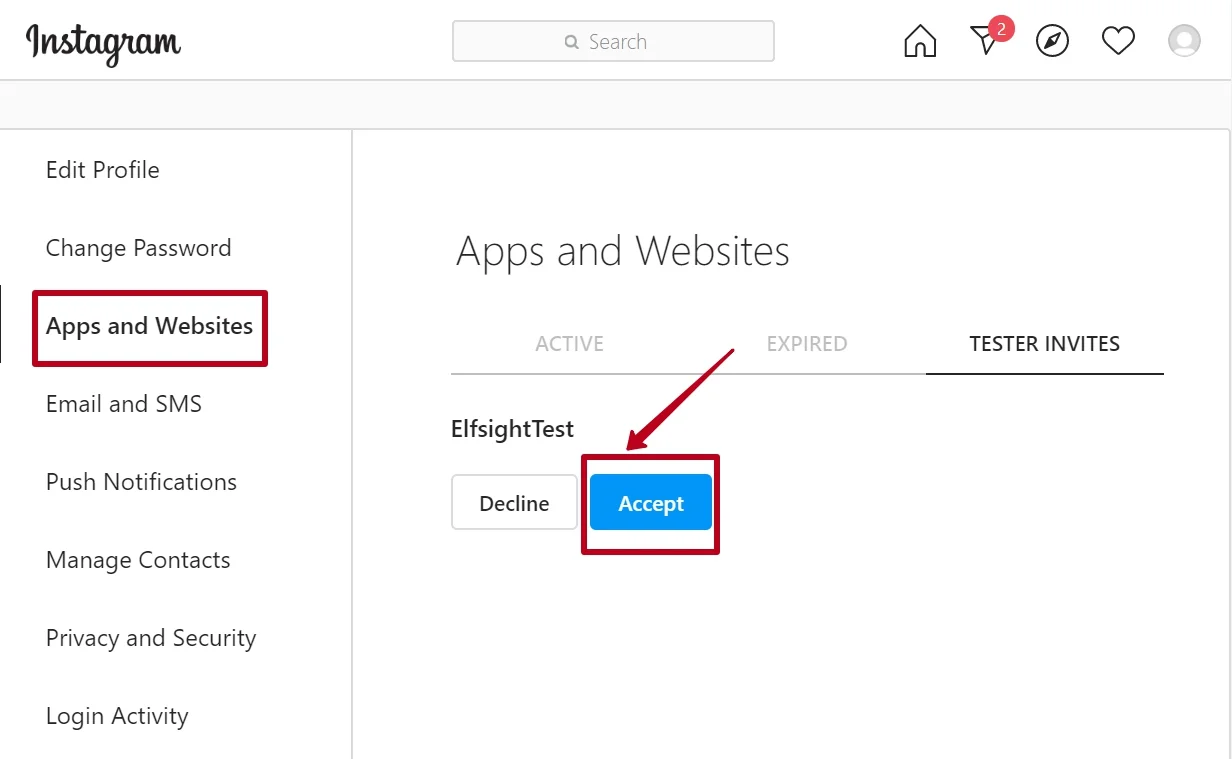
The next step is to authorize your new test user and, finally, get Client ID and Client secret.
4. Authenticate the Test User
You’ll have to work with code a little bit. Open a dashboard with a command line and enter the following command:
https://api.instagram.com/oauth/authorize

  ?client_id={app-id}

  &redirect_uri={redirect-uri}

  &scope=user_profile,user_media

  &response_type=code
Instead of {app-id} type in your app ID, instead of {redirect-uri} enter your website URL.
Below is an example of all the fields filled in properly:
https://api.instagram.com/oauth/authorize

  ?client_id=684477648739411

  &redirect_uri=https://testwebsite.com/auth/

  &scope=user_profile,user_media

  &response_type=code
Now, load the Authorization Window URL in the new browser tab. Click Authorize. The page will redirect you to the URI you’ve filled in the previous step and append an Authorization Code. For instance, the code will look this way:
https://socialsizzle.herokuapp.com/auth/?code=AQDp3TtBQQ...#_
Next, copy the code (without the #_) so you can use it in exchanging it for the access token.
Successful Result
The mission accomplished! You’ve got your all-new Instagram Client ID and Client Secret!
If you are going to work with our InstaShow or InstaLink on Envato market, you will not have to get Client ID or Client Secret. You will simply get an access token, and this approach is a lot more comfortable.
That’s it! You’ve achieved the task and got your Instagram Client Info. Be free to use it.
Key Usage Advice and Limitations
Please note that Authorization codes we’ve got in this tutorial are temporary, they are only valid for 1 hour. In case you need a long-lived Access Token, get it, as it is valid for 60 days and can be refreshed before expires.
You Feel Insecure?
You might have another question concerning your newly achieved Instagram plugin and its security: “What if someone gets my ID?”. Simply – nothing terrible. Here’s why.
If someone gets your ID then don’t worry.
You can’t do anything with Instagram ID except browsing photos. ID doesn’t give any access to your personal data. Moreover, it doesn’t allow making any action from your name.
Keep going and embed Instagram on the website to share your awesome feed.