A concise guideline on plugin integration on iFrame
A brief guideline for those familiar with the administration panel and able to introduce light changes to website HTML code.
- Build a plugin in the editor;
- Get a plugin code;
- Go to the admin panel of your site;
- Find a required page if you need to put the plugin on a single page, for instance, the main page. In case you need to place the plugin on the footer, header, sidebar, or some other element, then find an appropriate template;
- Apply the alterations and see the results!
Below you can see more info about each step of the tutorial, with screenshots and detailed descriptions. Address our support team to have free help with embedding. It is available for all Elfsight users.
A detailed manual on plugin installation on an iFrame website
A full instruction for each stage.
Step 1: Create and customize a plugin
The 1st stage – specify the interface and functions.
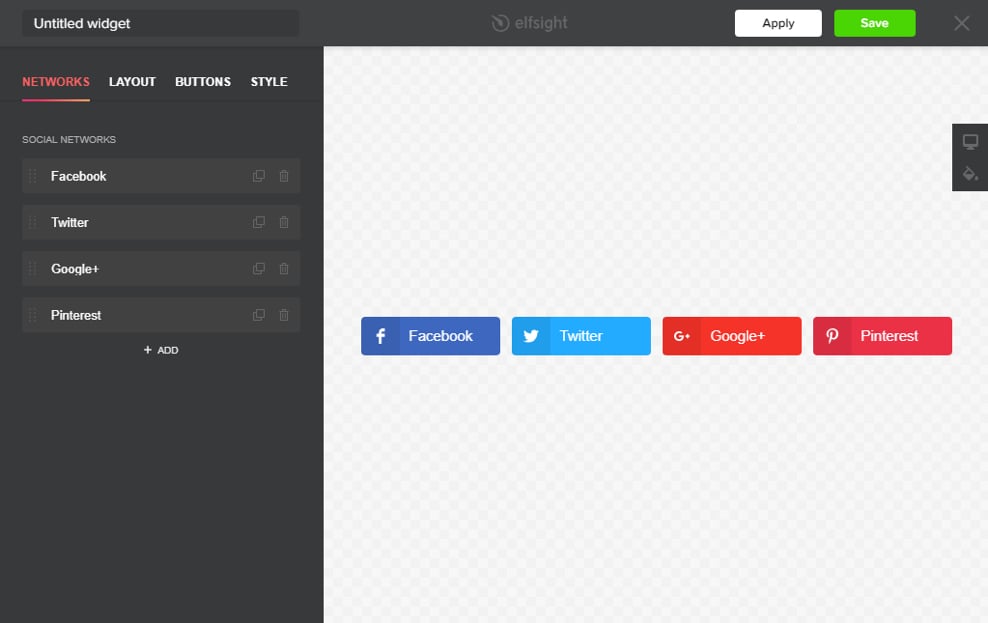
• Construct a desired plugin
Start designing a plugin with the help of the editor or register in the service.

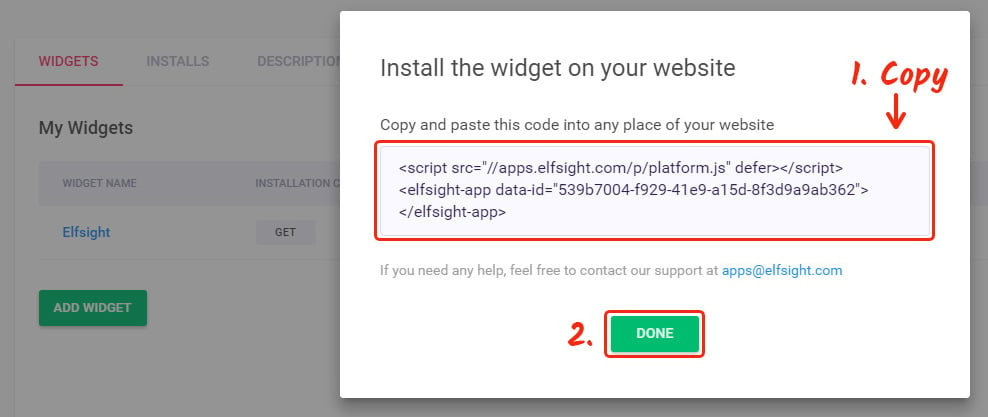
• Get a plugin installation code
Copy the plugin installation code that you has received at Elfsight Apps, to insert it on the website.

Step 2: Insert the plugin on an iFrame website
The 2nd stage – put the created plugin into the code of your web page or template.
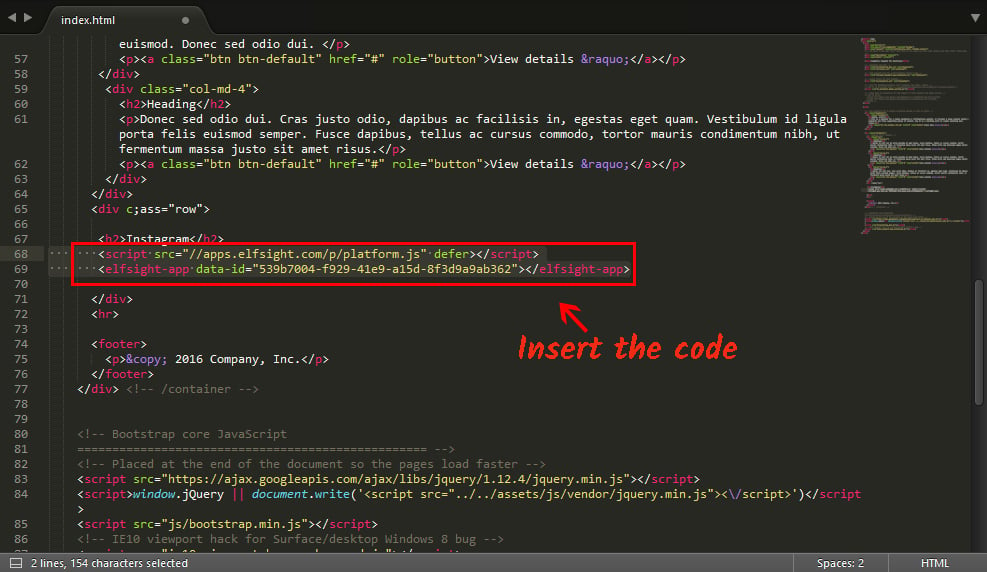
• Insert the plugin installation code
Reach a desired page or a required template and add the plugin code received at Elfsight Apps. Save the changes.

• Success! Installation was successful

How do I tune plugin settings after the embedding?
After the installation, you can enter your account at Elfsight and apply changes to the configuration or interface of the plugin. All the alterations are implemented automatically at once.

