Google Sites is a free and easy-to-use website-building platform that allows anyone to create a website without needing advanced technical skills. It’s part of Google Workspace, making it accessible for both personal and business use.
Google Sites doesn’t have built-in blogging tools like specialized blogging platforms. However, it can still be effectively used to create a simple blog by organizing posts as individual pages or sections. This flexibility makes Google Sites a great choice for beginners who want a straightforward blogging experience and easy integration with other Google tools like Google Drive and Google Analytics.
In this guide, we’ll walk you through the process of creating a blog from scratch on Google Sites, covering everything from setting up the site to structuring it for blog posts. We’ll also discuss an alternative solution—adding a blog plugin to your existing Google Sites website to achieve a more professional outcome.
Creating a Google Sites Blog from Scratch
Step 1: Launch a new Google Site
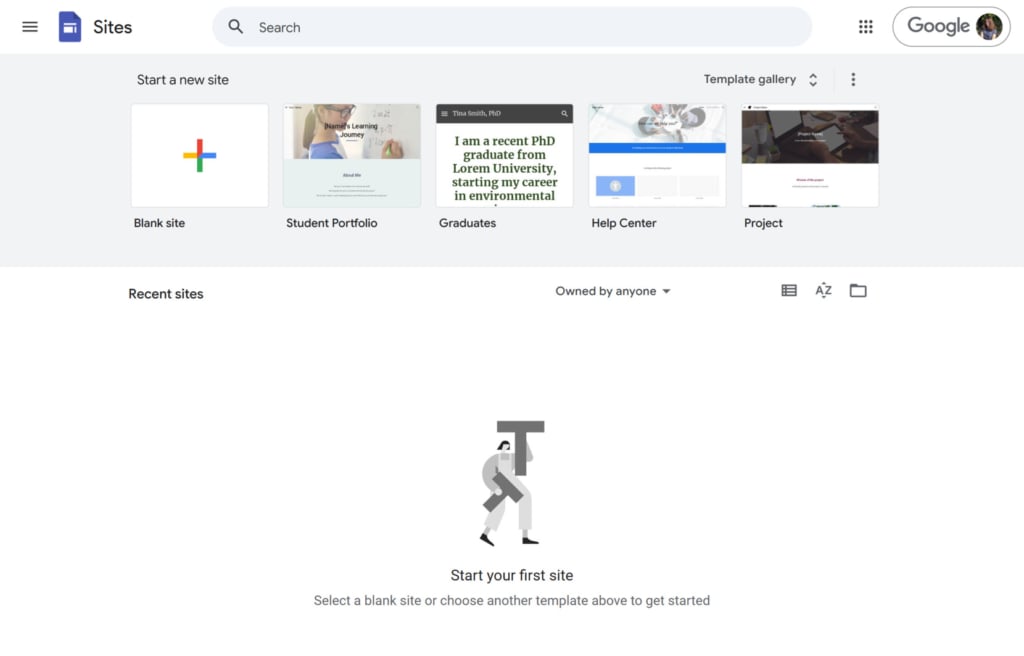
Open your browser and log in with your Google account. Go to Google Sites. Click on the ‘+’ button to create a new site. You can also choose from available templates.
Step 2: Customize the main page
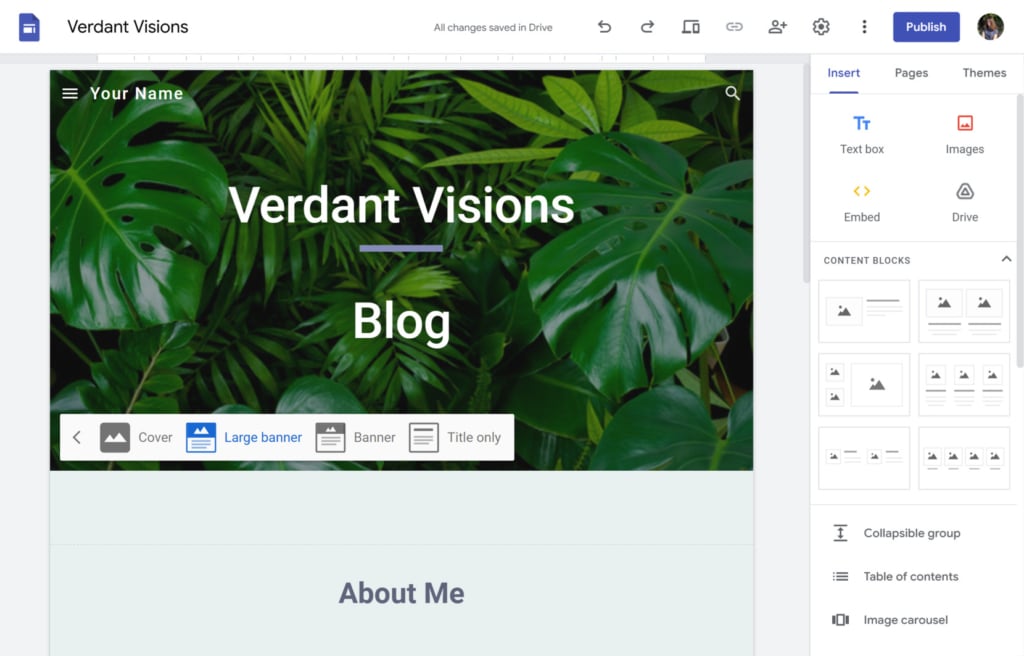
Click on the header area to enter your site’s name, such as ‘My Blog’ or a specific theme for your blog. Select the style for the header (e.g., ‘Banner’ or ‘Title Only’) and change the font and color scheme to match your blog’s personality.
Add a background picture for the banner. Consider adding the “About Me” block.
Step 3: Create blog pages
For each blog post, you’ll need to create a new page. Go to the ‘Pages’ menu, click the ‘+’ icon, and select ‘Page’. Title this page according to your blog post, e.g., “My First Post,” and add the date in the description if desired.
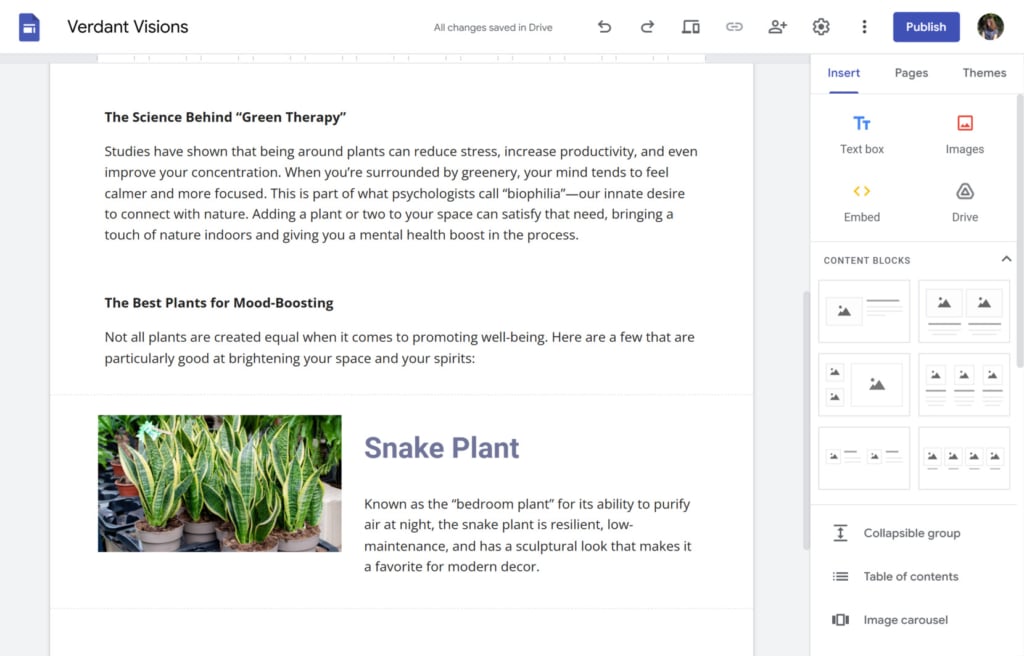
To add content, go to the ‘Insert’ tab. Use ‘Text Boxes’ to write the main content of your blog post. You can add images, videos, or embeds by using the tools on the right-hand sidebar, which allows for multimedia posts.
Step 4: Organize your posts
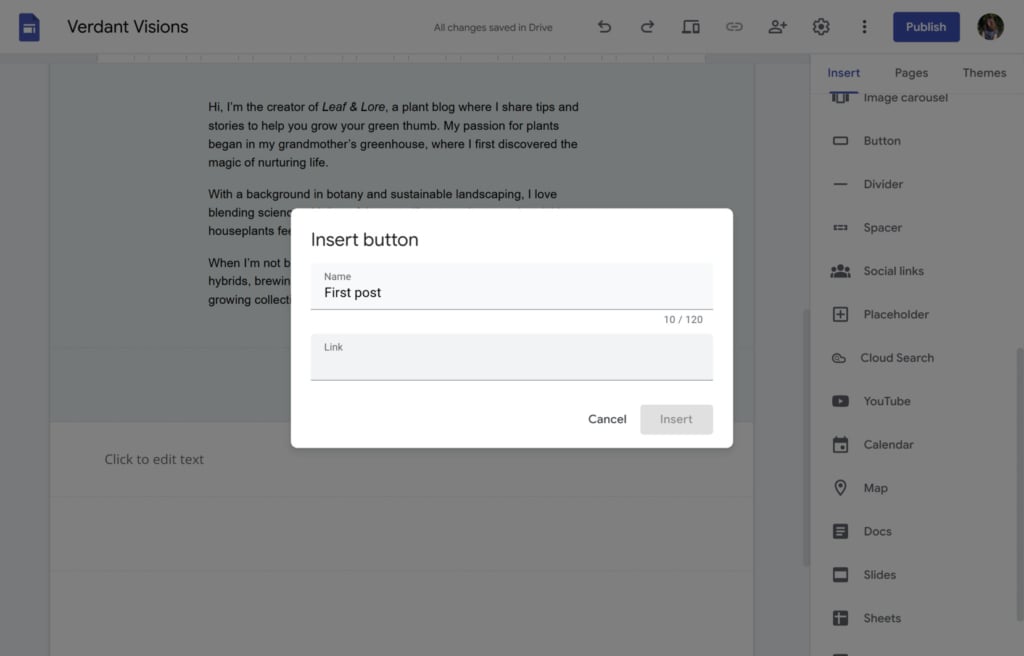
To make it easy for readers to find your posts, link each post to your Blog Home page. Go to your main page, add a ‘Text Box’ or ‘Button’ for each post, and link it to the specific post page.
Ensure that each blog category or post page is accessible through the main navigation menu. In the ‘Pages’ tab, you can drag and arrange the pages to be listed as drop-down options under the Blog Home Page or as separate menu items.
Step 5: Publish and share your blog
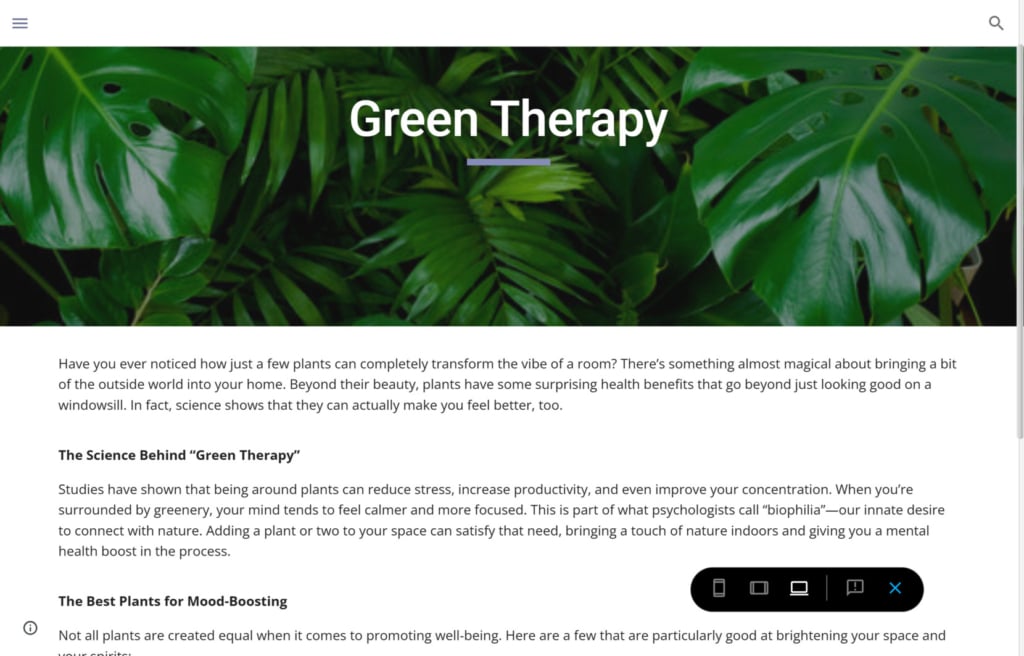
Click on the ‘Preview’ button to see how your website will look on desktop and mobile devices. Once satisfied, click ‘Publish’ in the top right corner.
Choose a custom URL (sites.google.com/view/yourblogname), or if you have a custom domain, use it for a more professional appearance. Copy the published URL and share it with your audience. You can promote your blog on social media or email it to friends and readers.
Why Google Sites Might Not Be the Best Option
While Google Sites provides a user-friendly platform for creating simple websites, it has some limitations that makes it not so appealing for blogging:
1. Limited blogging features
Google Sites lacks specific features such as post scheduling, tagging, categories, and comments, which are standard on most dedicated blogging platforms. This can make it harder to manage and organize a growing collection of blog posts.
2. Basic design customization
Although Google Sites allows for basic design changes, its customization options are limited compared to platforms like WordPress or Wix. For bloggers who want a unique and highly customizable look, this can be a drawback.
3. No built-in SEO tools
Google Sites doesn’t offer SEO tools for optimizing individual posts. This can make it challenging to improve search engine rankings and drive organic traffic compared to platforms designed with SEO in mind.
4. No monetization options
If you plan to monetize your blog with ads or affiliate links, Google Sites may not be the best fit. It doesn’t support plugins or widgets for easy ad placement, and embedding external ad code is often a hassle.
5. Lack of community and commenting features
Community interaction is essential for many bloggers, and Google Sites lacks built-in options for readers to comment or interact with posts. This can limit engagement and make it harder to build a community around your blog.
In summary, if you’re just starting out, Google Sites can be an accessible choice for creating a simple blog. But if you’re looking for long-term scalability, advanced features, or monetization options, a more specialized blogging platform might better suit your needs.
Improvement Solution: No-Code Blog Plugin
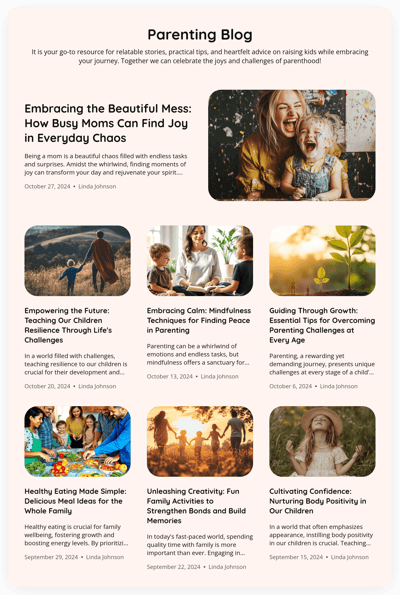
For Google Sites users looking to add a blog without rebuilding their website, the Elfsight Blog plugin offers a convenient and code-free solution. This utility allows you to add a fully operational blog to your Google Sites page in just a few steps. You can easily expand your website with a stylish, adaptable blog that aligns with your existing design.
With the Elfsight Blog plugin, setting up and customizing your blog is simple, so you can focus on producing content rather than navigating technical hurdles.
Here are some key advantages of using the Blog plugin:
- Effortless blog integration
Quickly embed a fully functional blog without technical know-how, letting you begin posting with minimal setup time. - Smooth alignment with current site design
Easily add a blog that complements your Google Sites layout for a seamless, polished appearance. - AI-powered content tools
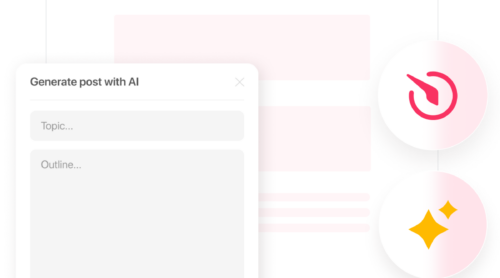
Improve the content quality using the plugin’s AI blogging feature. Make the creation process faster and give yourself more time to connect with readers. - Professionally designed templates
Choose from modern, engaging templates that maximize readability, making each post more impactful. - User-friendly customization
Adjust colors, layouts, and other design elements to match your brand identity without coding skills.
Now, let’s go through the steps on how to add the blog plugin to Google Sites.
Adding a Blog Plugin to a Google Sites Website
To add the Elfsight Blog app to your existing website, follow the steps below.
Step 1: Choose a template
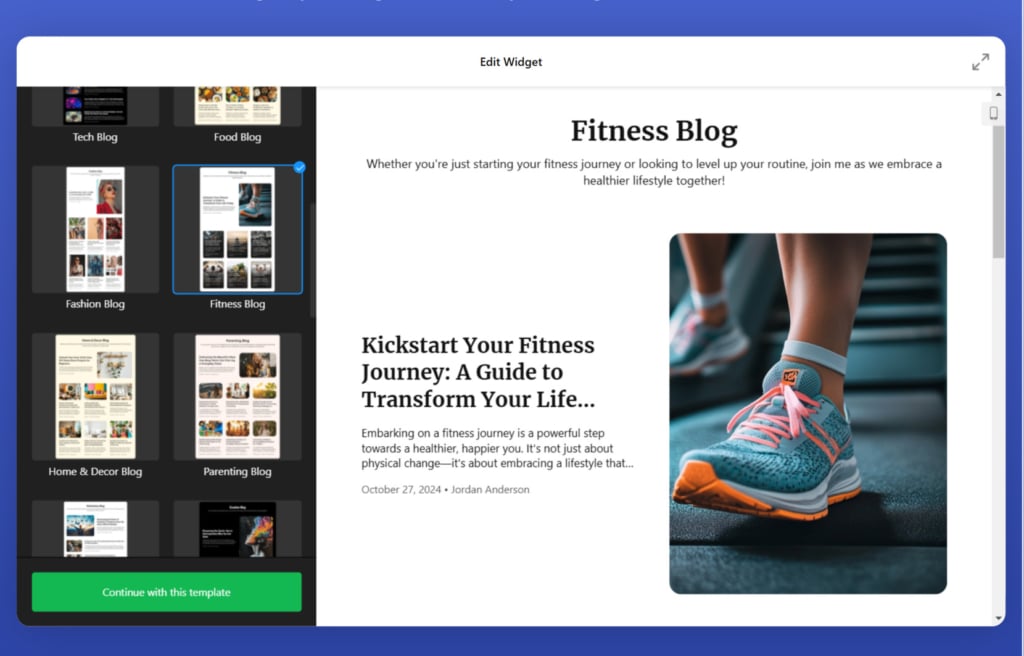
Start by opening the Blog plugin editor and selecting a template that best fits your blog’s theme. Click on ‘Continue with this template’ to get started.
Step 2: Create your content
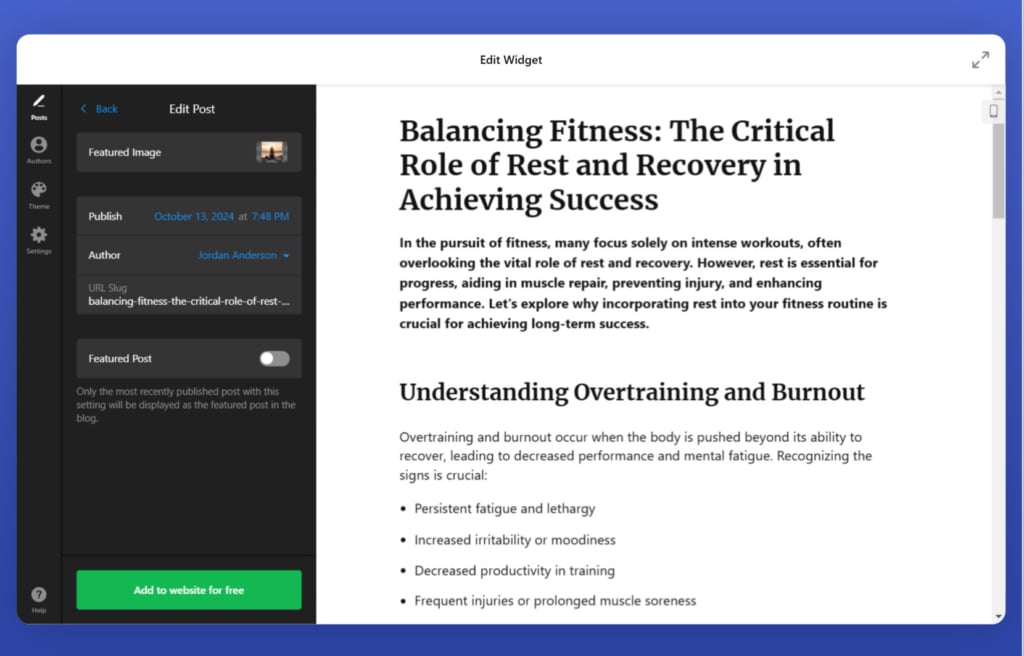
With the template selected, begin adding content to your blog. Create your first post by writing the text, uploading images, etc. Also, take advantage of the AI features of the Blog plugin that will help you brainstorm ideas and improve your content quality.
Set details such as the author’s name and publish date. If you want multiple authors on your blog, navigate to the ‘Authors’ tab to add new writers.
Step 3: Configure the plugin
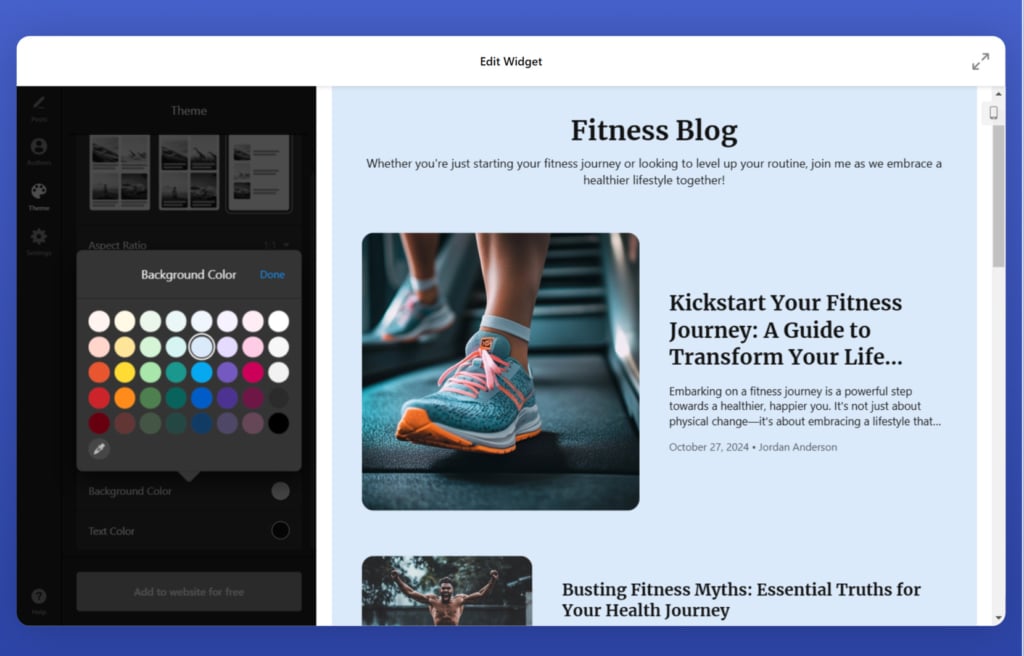
Customize the blog’s design to align with your website’s style by adjusting colors, fonts, layout, and post organization. With the user-friendly editor, you can preview changes in real-time, making it easy to ensure that the plugin matches your site’s look before you publish it.
Step 4: Customize blog settings
In the ‘Settings’ tab, add your blog’s title and description. You can also set the primary language of the blog here. For users with advanced needs, custom CSS and JS options are available for further customization.
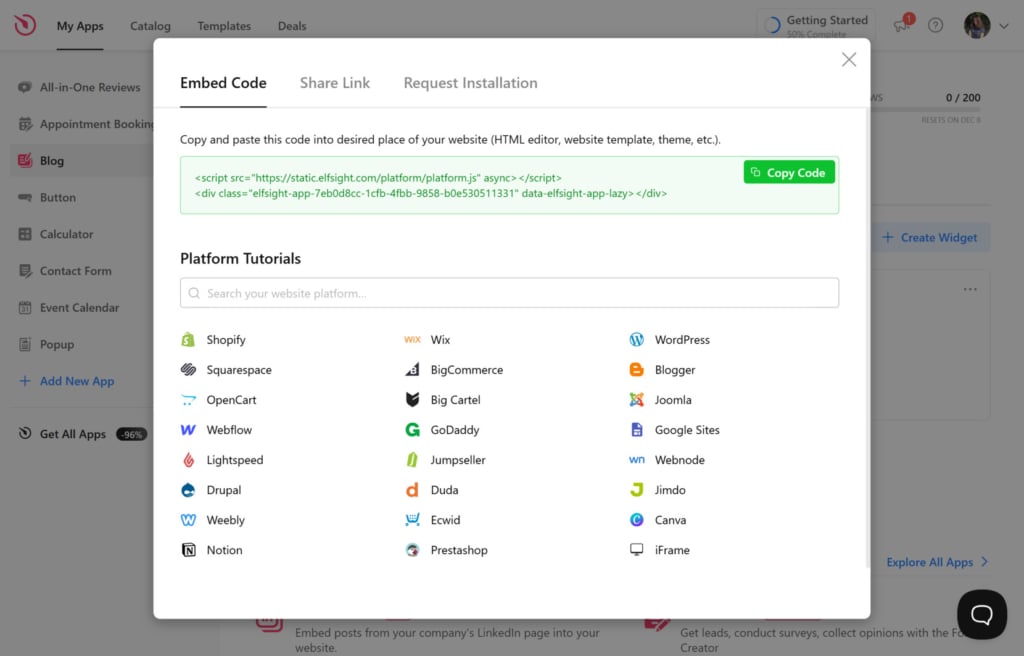
Once your blog plugin is customized, save it to generate a unique code snippet. Copy this code, then log in to your Google Sites account.
Step 5: Embed the plugin in Google Sites
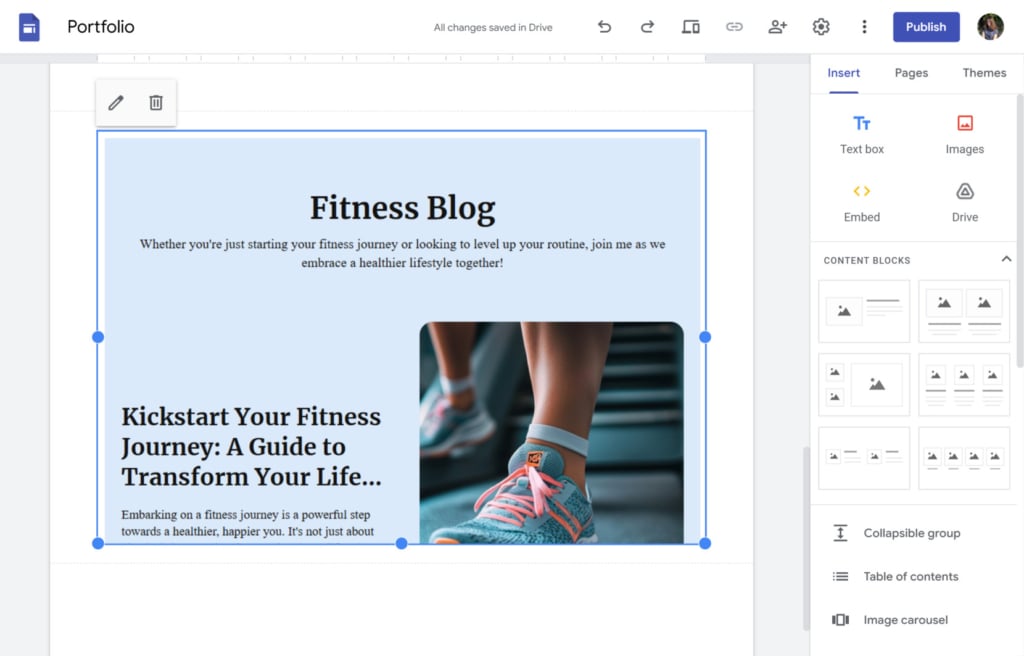
Open the editor and navigate to the page where you want the blog to appear. Click ‘Embed’, then paste the HTML snippet into the ‘Embed Code’ tab. Place the blog section where you want it on the page, and save your changes to publish it.
Your blog plugin is now live on your Google Sites website!
With your blog now live, it’s time to make the most of it. Focus on keeping your content fresh and relevant by updating it regularly. Engage your readers with high-quality posts that offer value, whether through informative insights, entertainment, or inspiration.
Pay attention to the design and layout of your blog, ensuring it is visually appealing and easy to navigate. Consistency is key—establish a publishing schedule that works for you and stick to it to build trust with your audience. Additionally, make use of available tools and features, such as analytics and SEO enhancements, to optimize your blog’s performance and reach.
Google Sites Blog Examples
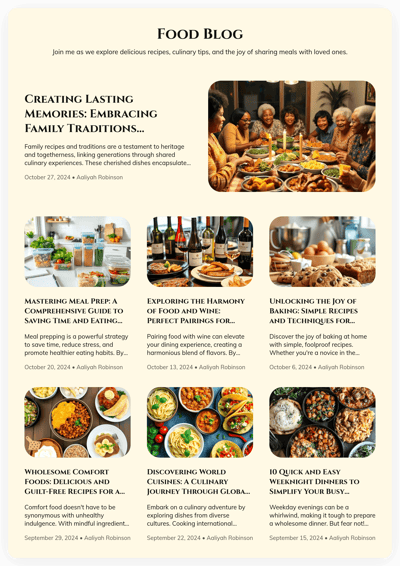
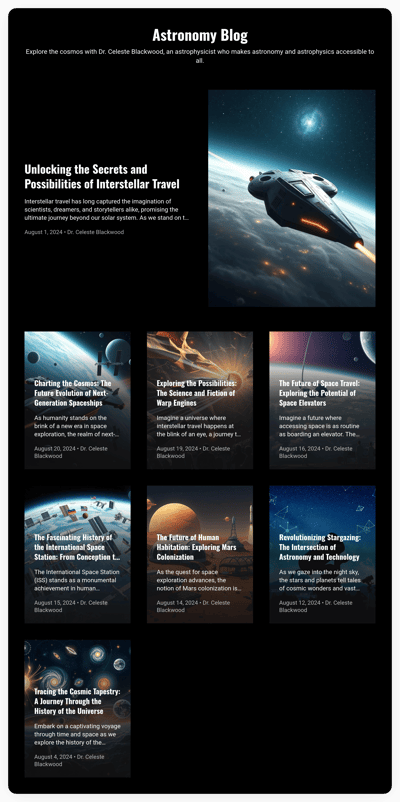
With the Elfsight’s Blog plugin, you can create various types of publications. Here are some Google Sites blog examples.
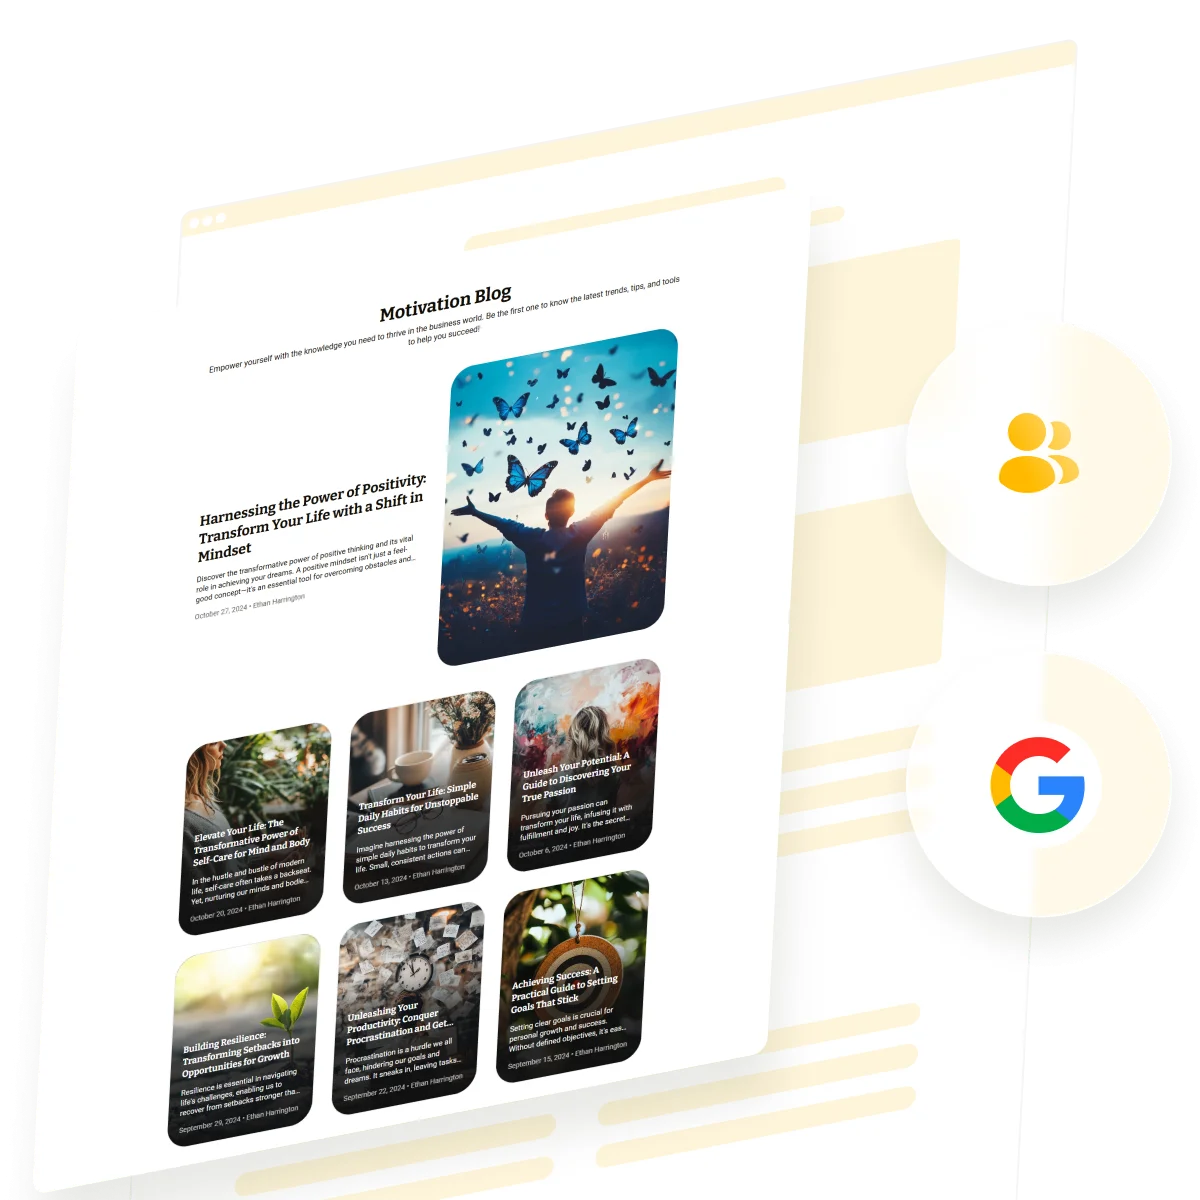
Motivation blog
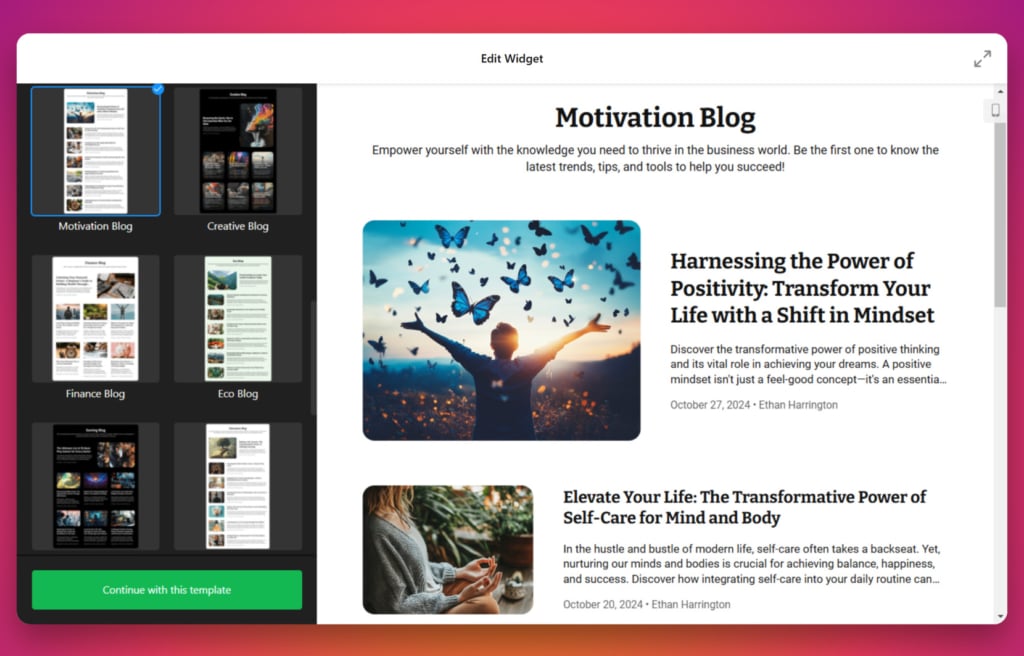
Perfect for sharing inspirational stories, life lessons, or personal growth tips, the Motivation Blog template features a clean, uplifting design.
With its simple layout, readers can easily browse through motivational quotes, detailed articles, and success stories. Bright colors and bold typography enhance the positive vibe, making it an ideal choice for personal development enthusiasts.
Business blog
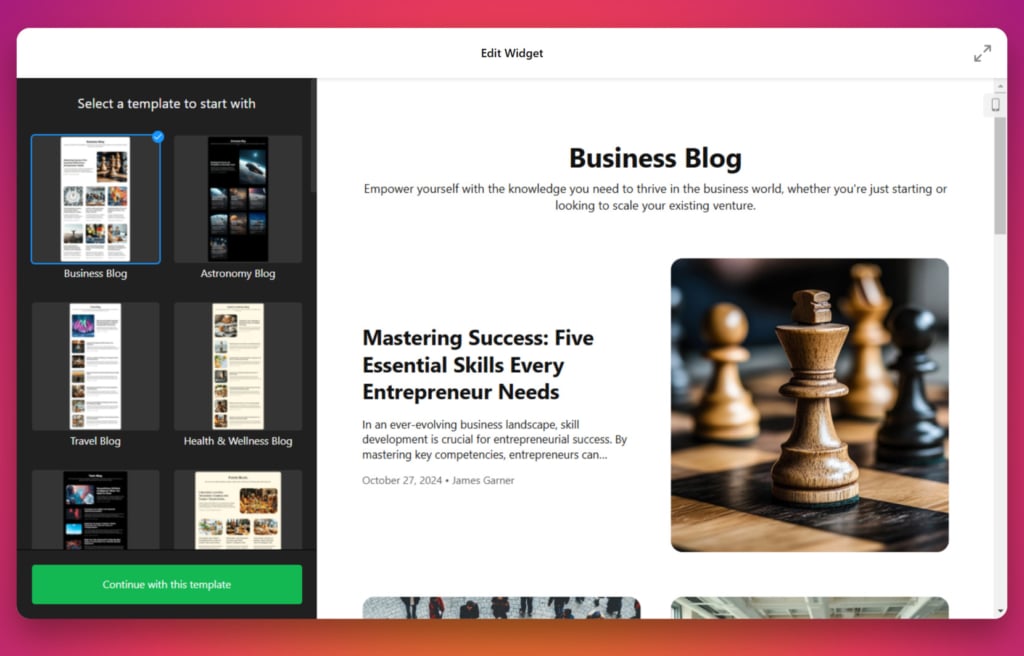
The Business Blog template is designed for professionals who want to share industry insights, updates, and strategies.
The sleek and modern layout allows you to organize posts into categories like “Leadership,” “Marketing,” or “Entrepreneurship.” The template also supports author bios, making it easy to showcase contributions from your team or guest writers.
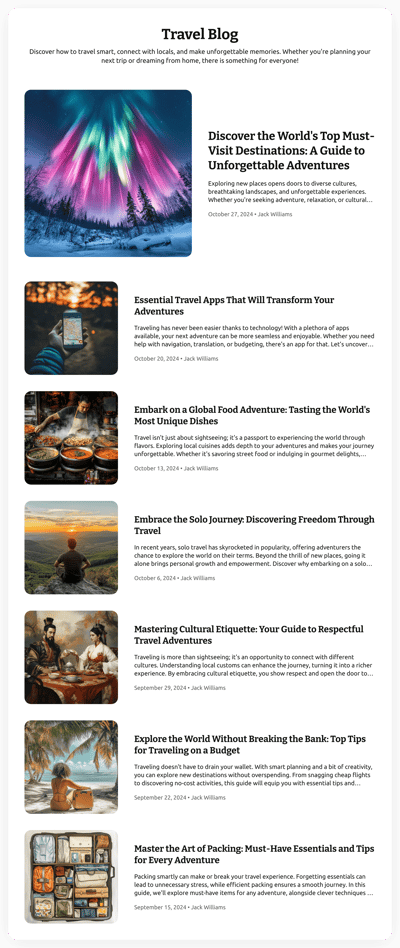
Travel blog
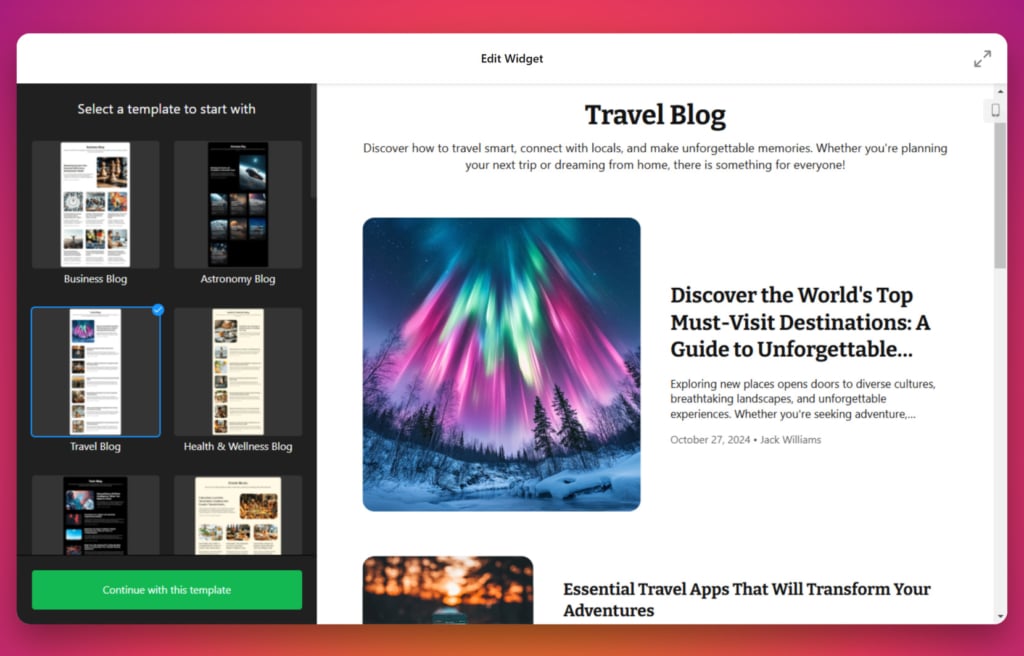
Capture the essence of wanderlust with the Travel Blog template, which emphasizes visuals with large, eye-catching images.
This template is great for sharing travel itineraries, destination guides, and photo essays. Its map integration feature allows you to highlight locations, and the post layout is optimized for storytelling, giving your readers a virtual tour of your adventures.
Finance blog

The Finance Blog template is ideal for breaking down complex topics like budgeting, investing, or market trends into easy-to-digest posts.
For those in the finance world, this template provides a professional and informative design. With a structured layout and customizable widgets, you can present data visually through charts and graphs for a more engaging experience.
Beauty blog
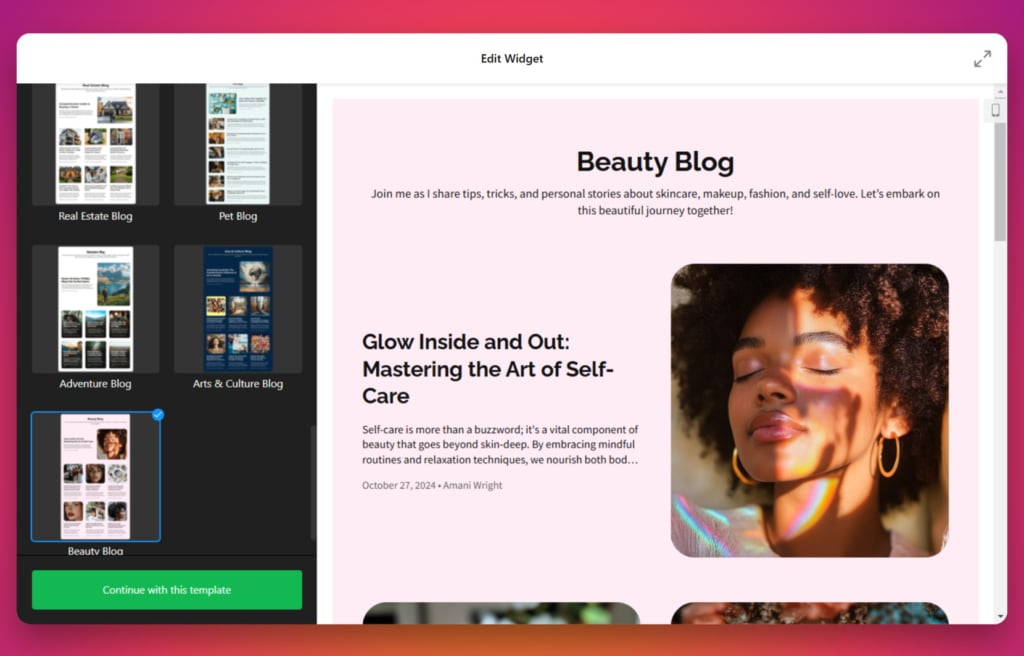
Share product reviews, makeup tutorials, and skincare tips with the Beauty Blog template. This stylish layout features a mix of image-centric designs and text areas to emphasize visuals while maintaining readability.
Categories like “Makeup,” “Skincare,” or “Hair Care” can be added for easy navigation, and the template’s vibrant design aligns perfectly with the dynamic nature of the beauty industry.
Check our catalog of Blog templates to pick the perfect one for you.
Explore 25+ Blog templates
Conclusion
Creating a blog on Google Sites is a great option if you’re looking for a simple, no-cost platform that integrates smoothly with other Google tools. While it may lack some advanced blogging features, the platform’s flexibility allows you to set up a blog that’s easy to update and maintain.
If you need more advanced blogging options, consider adding a blog plugin to enhance your site’s functionality. Whether you’re a hobbyist or looking to build a personal brand, Google Sites offers a straightforward way to share your voice and content with the world.


