Building customer relationships starts with making it easy for people to reach you. But if your contact form is buried in menus or cluttered with unnecessary fields, potential customers will abandon the process before they even send a message. When visitors can’t easily connect with you, you miss leads, feedback, and the chance to turn curious browsers into paying customers.
With the Contact Form widget, you can create a professional, customizable contact form right on your Shopify store – no coding required. It’s mobile-responsive, protects against spam, and integrates seamlessly with your email, CRM, or automation tools. Ready to try it on your website?
- Integrate a professional contact form to Shopify without coding.
- Add a contact form to Shopify via native & custom methods
- Optimize your form for better conversions.
- Fix common contact form setup issues.
To help you get started, we’ve split the instructions into two parts: a quick 4-step setup and a comprehensive walkthrough later on – choose one that fits your workflow.
Quick Guide: Set up Your Shopify Contact Form Right Away
This is a setup shortcut for anyone who wants to add a contact form to Shopify in just a few simple steps:
- Open Elfsight’s editor and choose a contact form template.
- Customize your form fields, layout, and branding.
- Click ‘Add to website for free’ and copy the generated code snippet.
- Paste the code into your Shopify store’s backend and publish.
🔧 Build your Shopify contact form in the live editor: no coding, free to try.
Key Features That Make the Contact Form Widget Stand Out
Now that you’ve seen how quick and simple the integration process is, here’s a brief overview of the features that make it so effective:
| Key Feature | Why it Matters |
|---|---|
| 15+ customizable field types | Create the exact form you need with fields like name, email, phone, message, date, time, file uploads, dropdown menus, checkboxes, and more – all without coding. |
| Spam protection built-in | Keep your inbox clean with automatic spam filtering so you only receive legitimate customer inquiries. |
| Mobile-responsive design | Your form looks perfect and works smoothly on any device – desktop, tablet, or mobile – so every visitor can submit easily. |
| Floating and embedded layouts | Choose between a persistent floating form, inline embedded form, or pane-style layout to match your store’s design and user flow. |
| Smart integrations | Connect to Google Sheets, Zapier, Mailchimp, and email services to automate lead management and never miss a submission. |
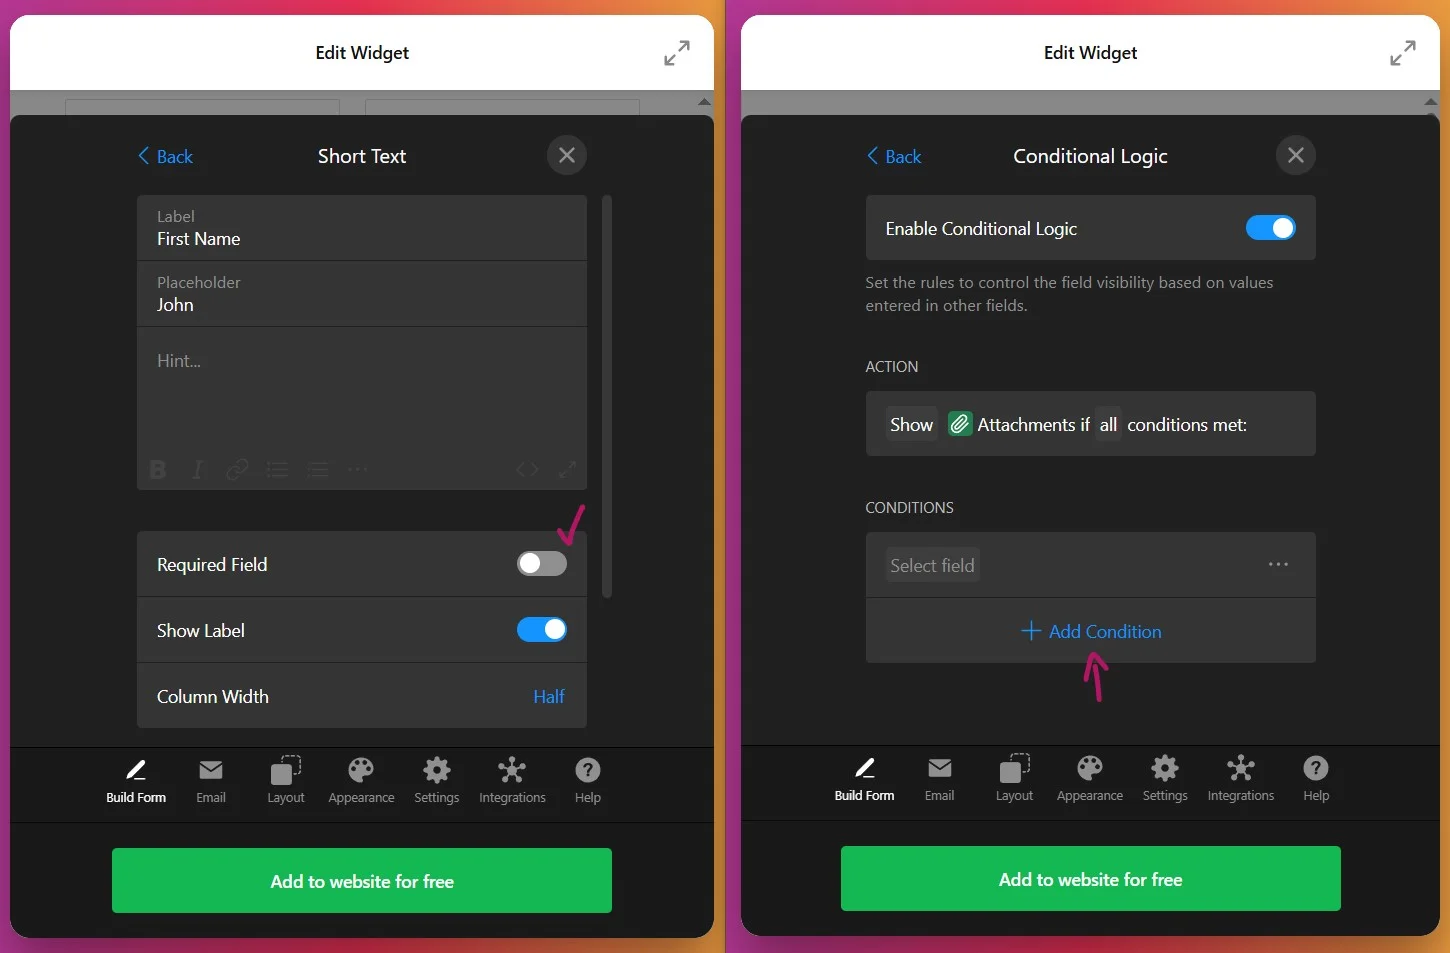
| Conditional logic | Show or hide form fields based on visitor responses to create personalized, streamlined experiences. |
| Custom thank-you messages | Set personalized post-submission messages or redirect to a thank-you page to reinforce your brand and next steps. |
These are just a few highlights of what the Contact Form widget can do for your business. For the complete feature list, check out the widget’s product page.
Full Installation Guide for Your Widget (With Tips)
With the widget’s primary functions in mind, let’s go through each step of setting up and customizing a contact form from scratch.
1. Choose a Template
When you open the Contact Form widget editor, the first step is selecting a template. Templates define the initial layout and purpose of your contact form — whether it’s a standard contact form, an email collection form, a support request form, or a callback form.
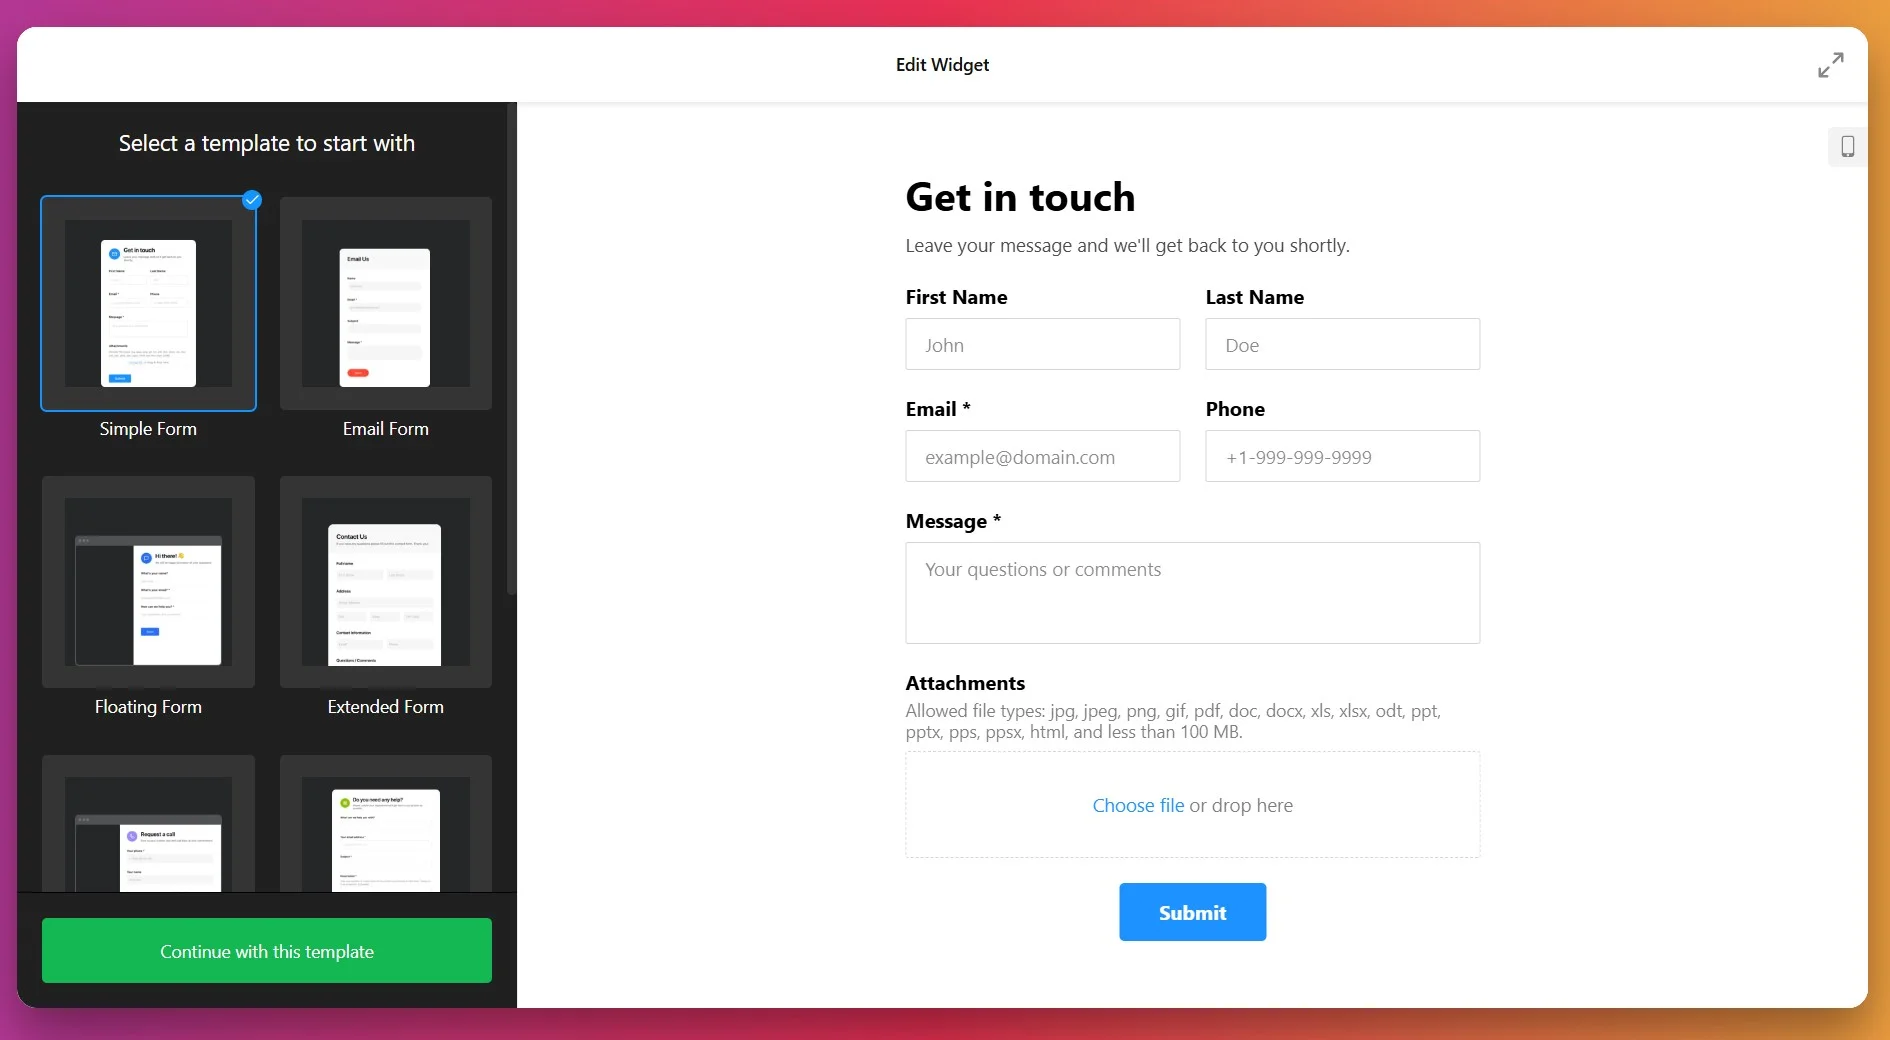
Select the layout that best matches your communication goals and click “Continue with this template” to move on to the next step.
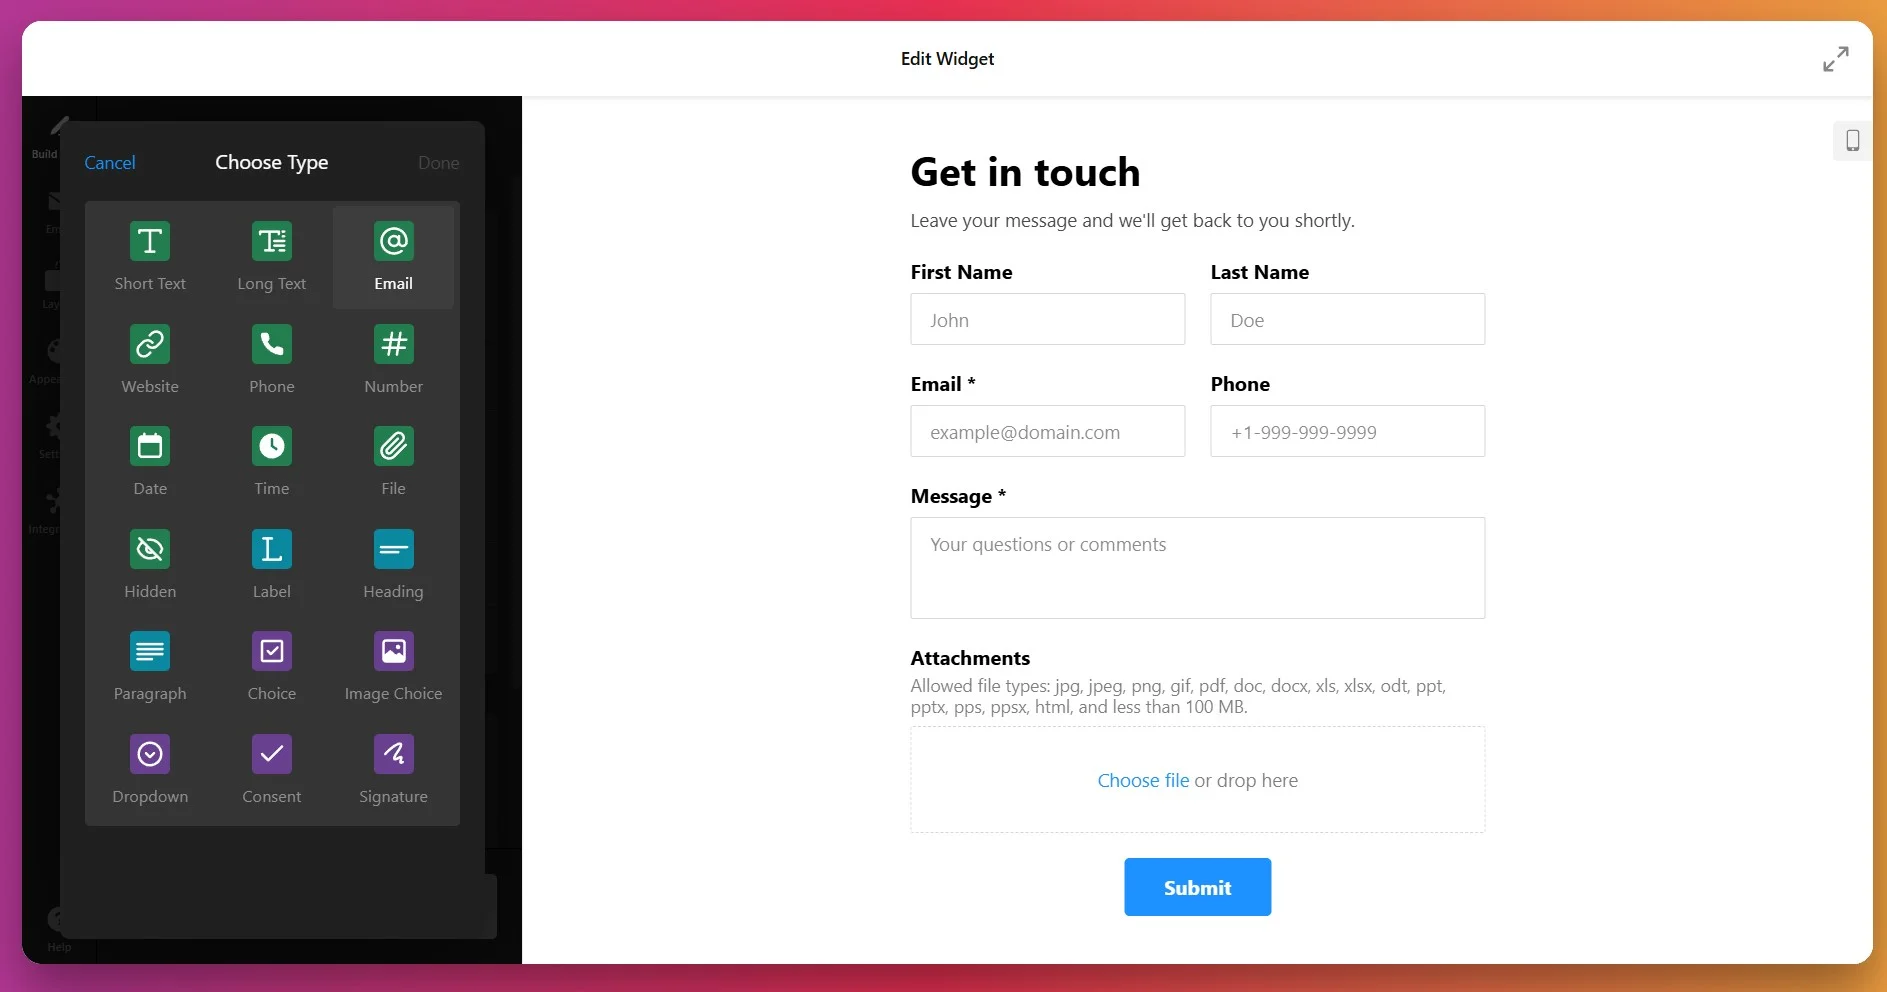
2. Build Your Form Fields
Under the Build Form tab, you can customize the fields that will appear in your contact form. Elfsight’s Contact Form supports 15+ field types, allowing you to collect exactly the information you need without overwhelming visitors:
- Text fields – Single-line and multi-line text inputs
- Email & Phone – Pre-formatted inputs for contact information
- Dropdowns & Selectors – Multiple choice, radio buttons, checkboxes, and image choices
- Date & Time pickers – Calendar selectors for scheduling or event information
- File uploads – Allow visitors to attach files up to 100 MB
- Dividers & headers – Organize form sections for clarity
For each field you add, you can customize the label, add a helpful placeholder text (like an example of what to enter), mark fields as required by toggling the “Required Field” option — which will display an asterisk (*) next to the field name, and enable Conditional Logic to control the field visibility.
Arrange your fields in the order that makes sense for your workflow by dragging them into position. You can also add dividers to visually group related fields together, making the form more scannable and user-friendly.
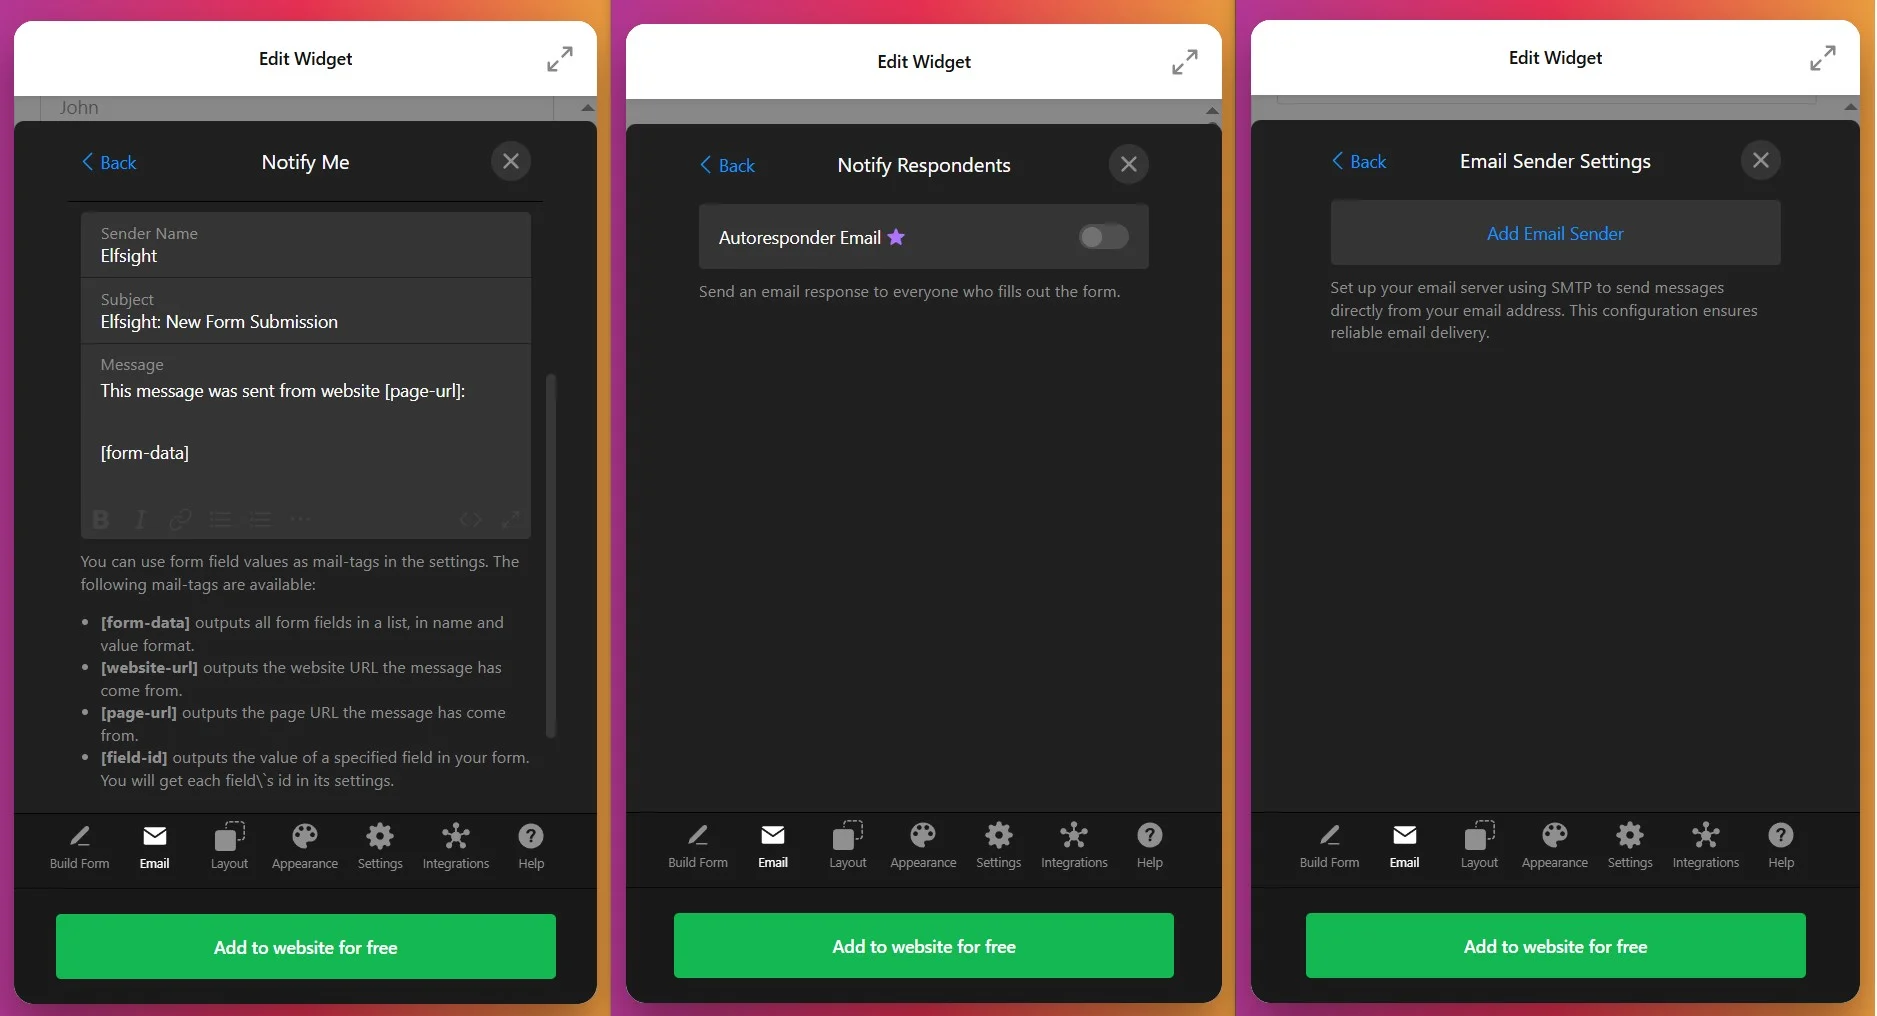
3. Set Up Email Notifications
Open the Email tab to configure where form submissions should be sent and how your visitors will be notified:
- Notify Me – Enter the email address(es) where you want to receive form submissions. You can add multiple email addresses to notify your entire team.
- Notify Respondents – Enable automatic confirmation emails sent to visitors after they submit the form.
- Email Sender Settings – Fine-tune sender details and delivery behavior for professional communication.
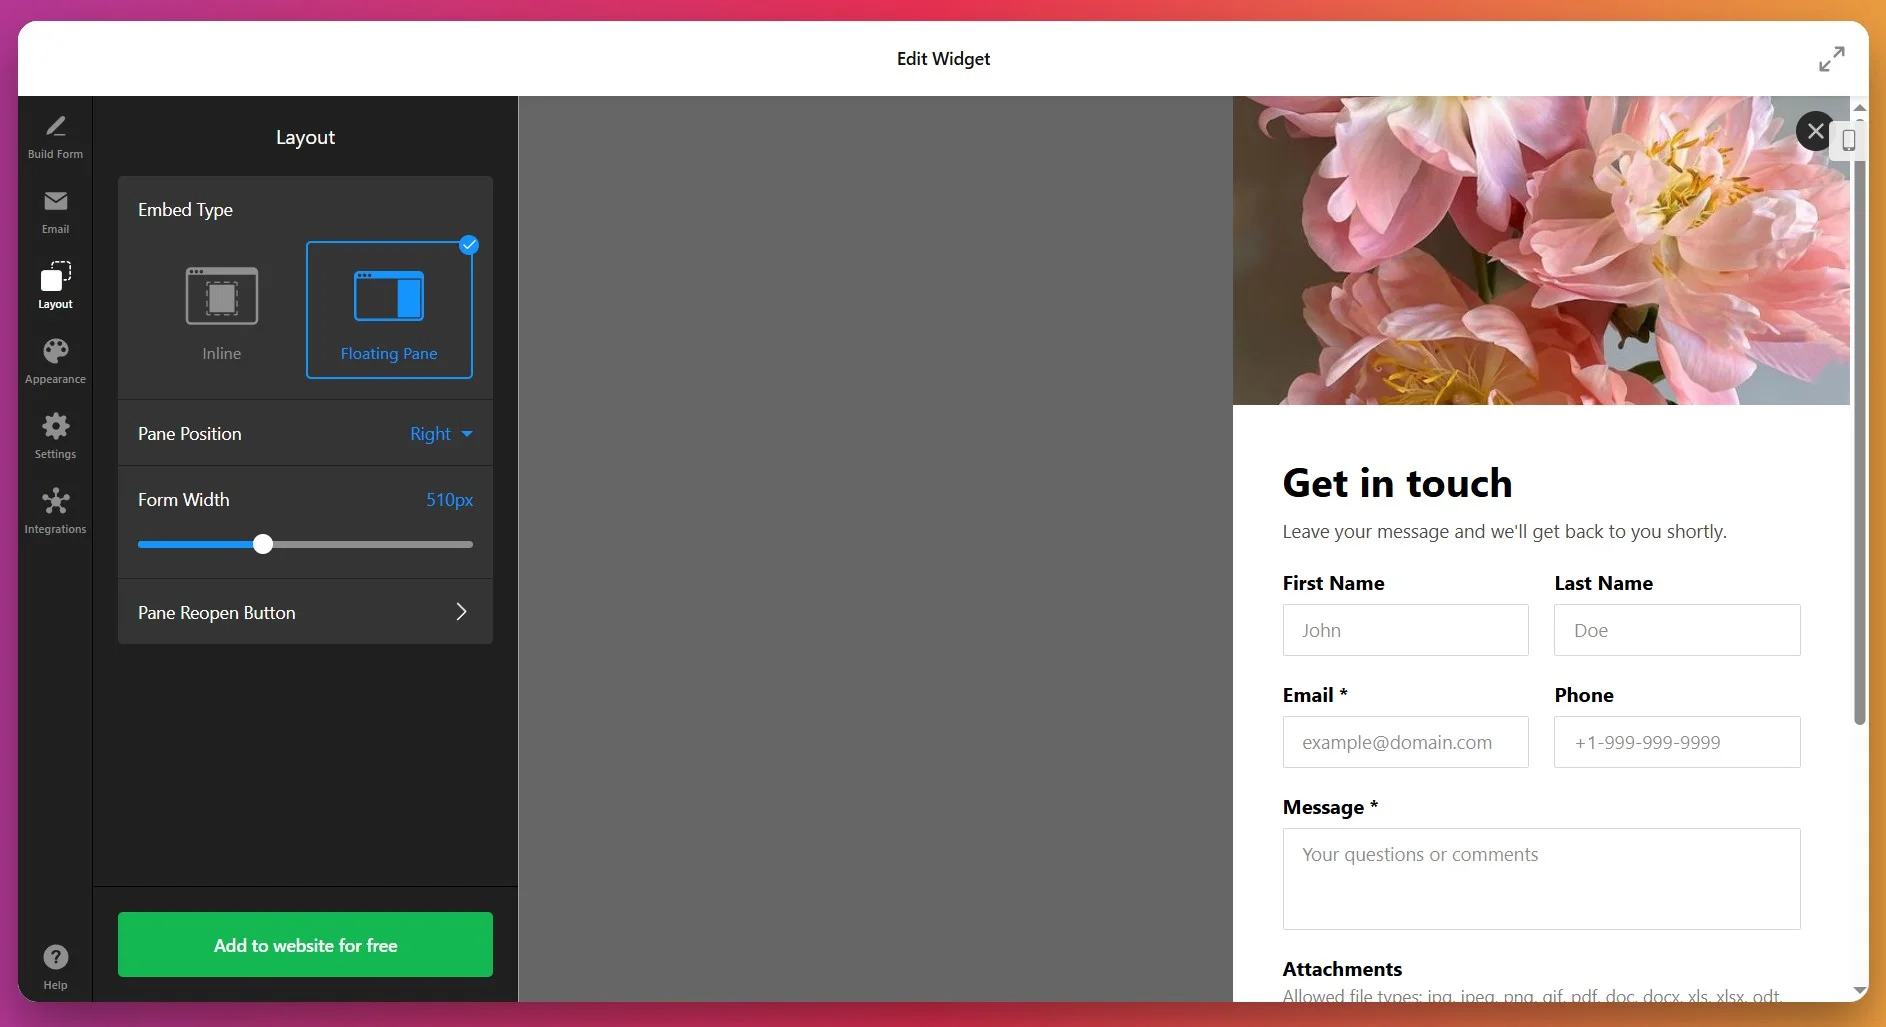
4. Configure the Layout
Switch to the Layout tab to decide how your form will be displayed on your website:
- Inline layout – The form appears directly within your page content. Perfect for dedicated contact pages or landing pages.
- Floating Pane layout – The form slides in from the side of the screen, remaining visible as users scroll. Ideal for capturing attention without disrupting page flow.
- Form Width – Customize the width (100px to 1200px) or enable Full Width to stretch across its container.
- Field Arrangement – Choose between vertical or horizontal field layouts depending on your design preferences.
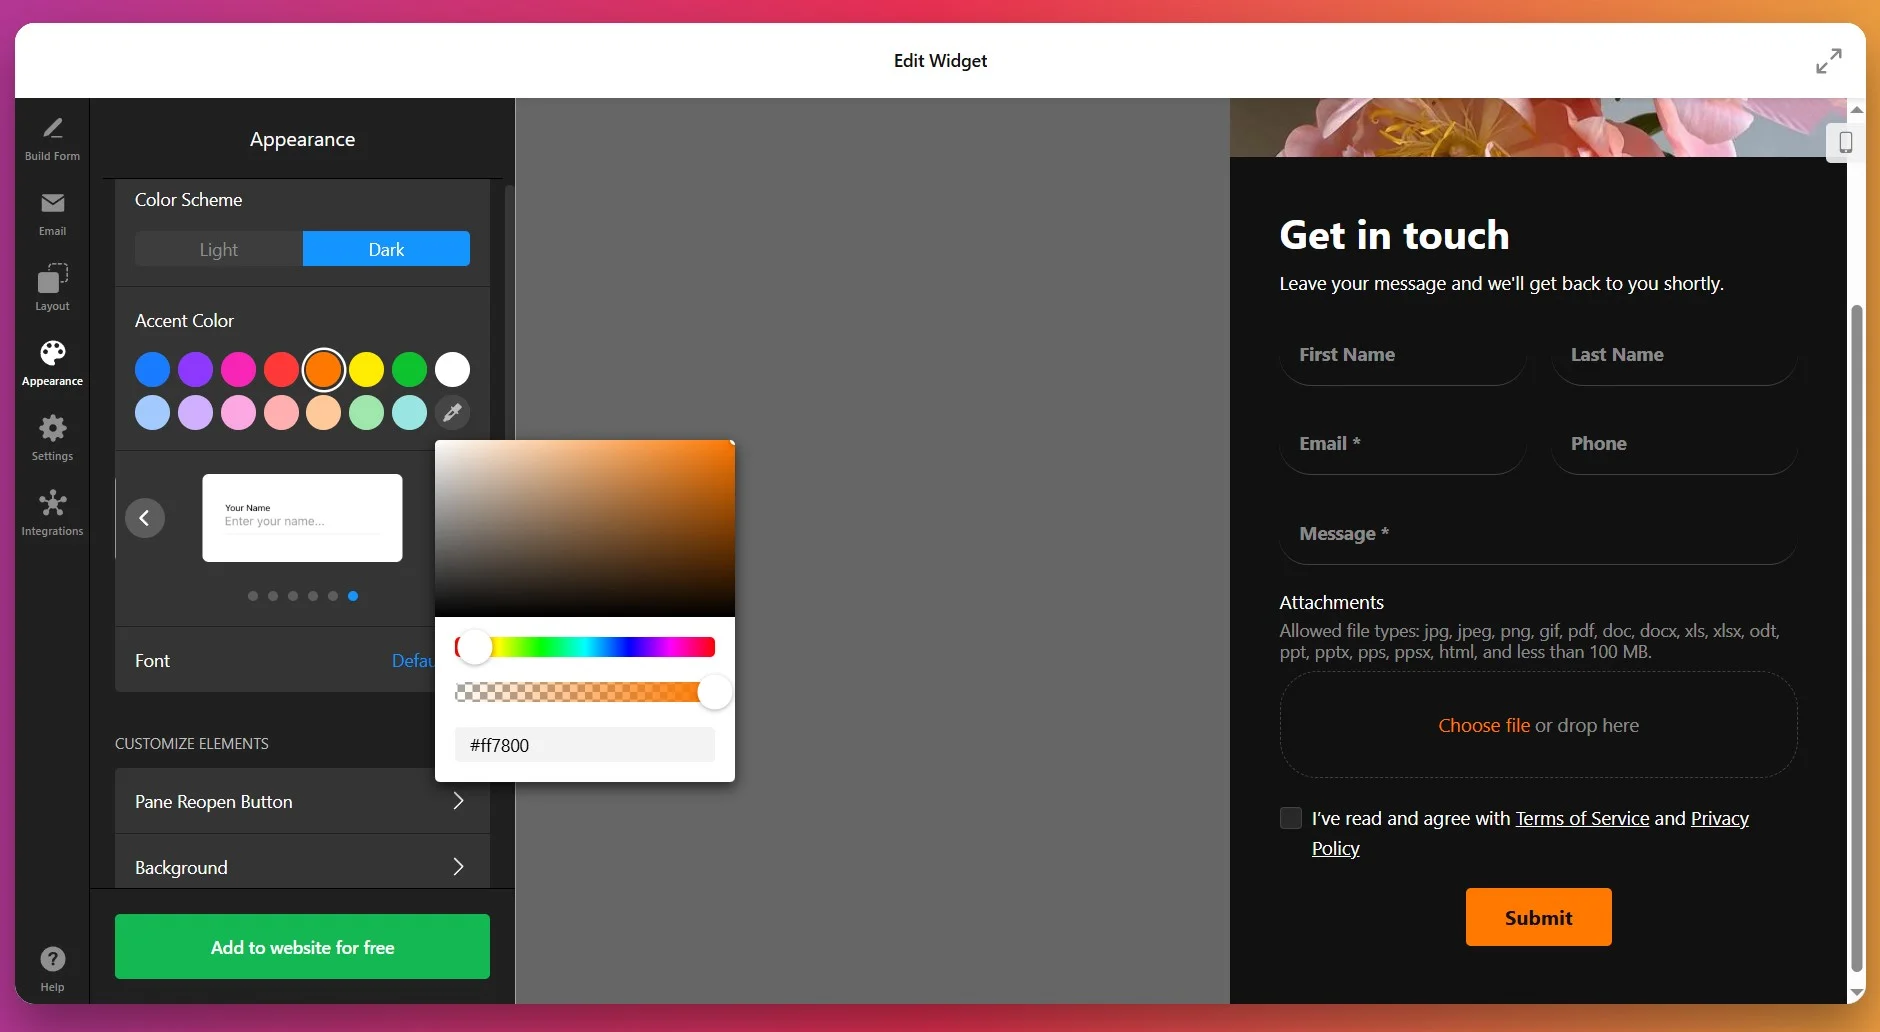
5. Customize the Appearance
Under the Appearance tab, match the form to your website’s brand and design system. You can customize:
- Color Scheme – Choose light, dark, or a custom color palette
- Accent Color – Set the primary color for buttons, links, and active elements
- Fonts & Typography – Select font family and sizes for headings and body text
- Background & Borders – Adjust the backdrop of the form and individual fields
- Button Styling – Customize the submit button appearance and hover states
If you have specific brand guidelines or need pixel-perfect styling, Elfsight also supports Custom CSS for advanced customization.
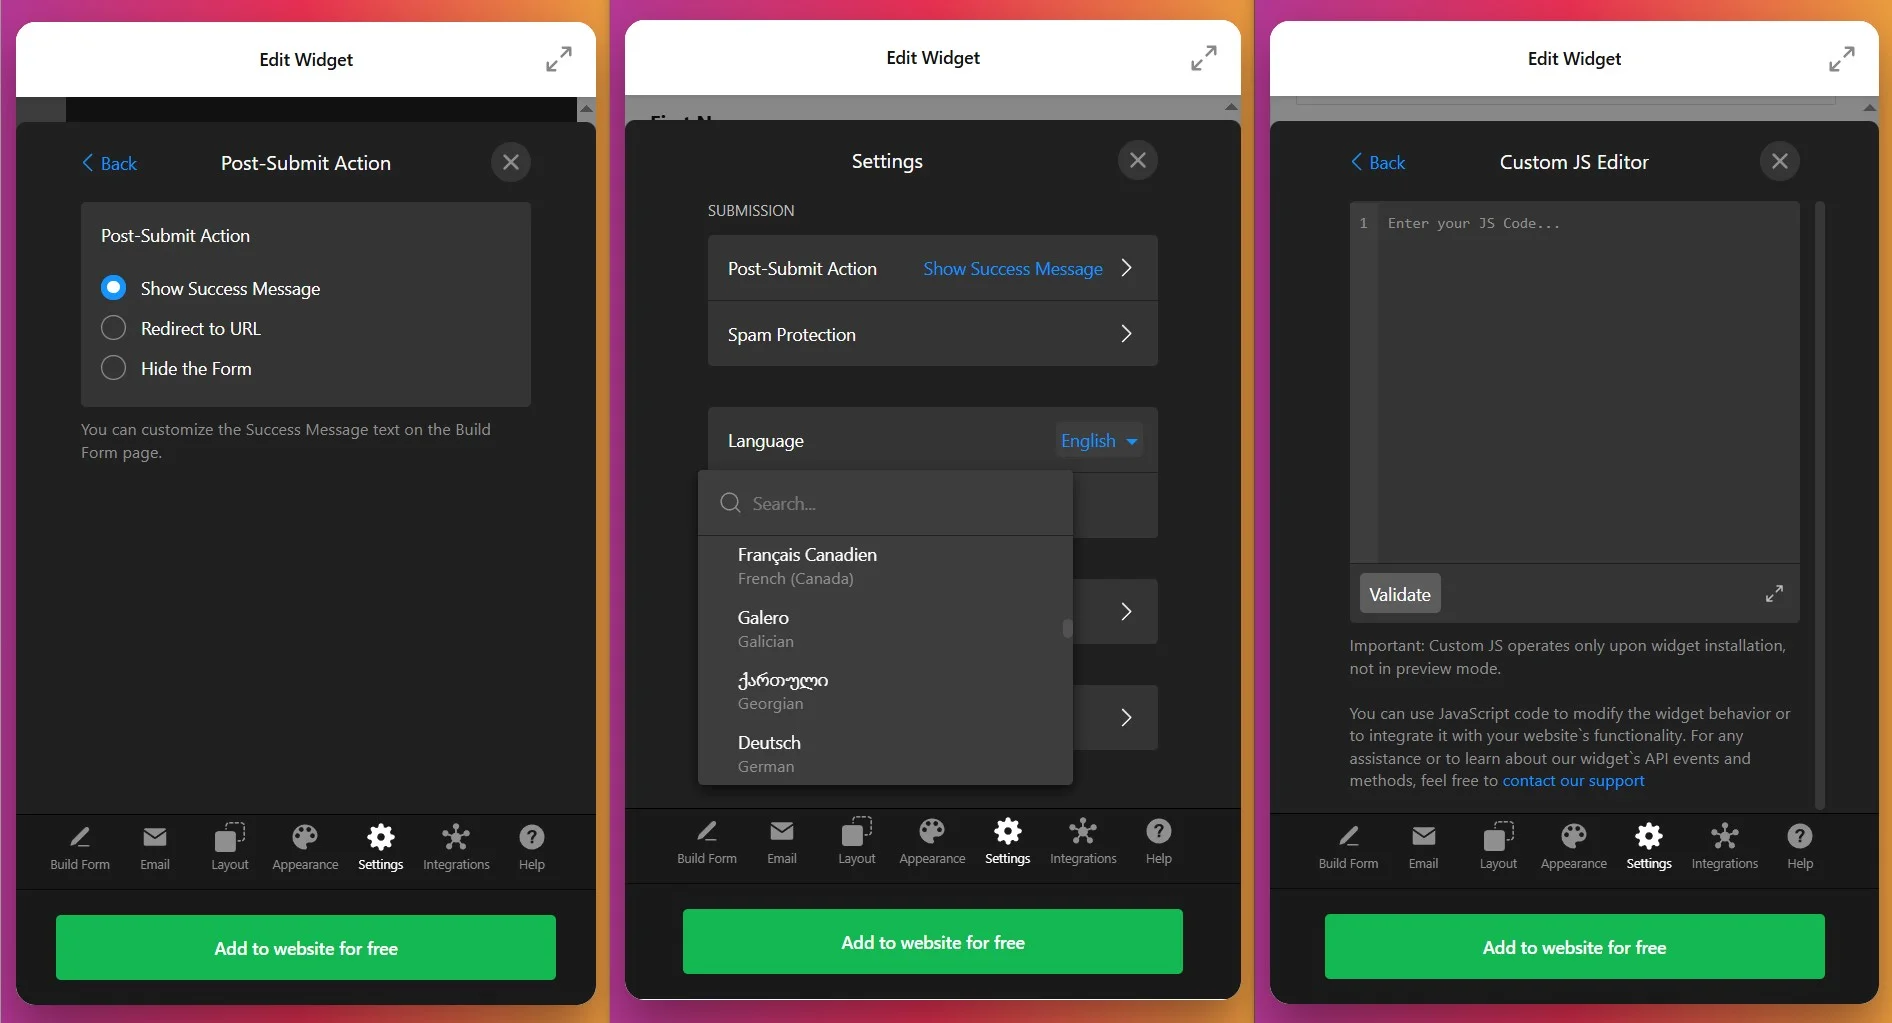
6. Set Post-Submission Actions & Settings
Open the Settings tab to define what happens after visitors submit your form and configure language preferences:
- Post-Submit Action – Choose to show a thank you message, redirect to a specific page, or hide the form after submission.
- Spam Protection – Enable reCAPTCHA to prevent automated submissions and protect your inbox from bot spam.
- Language – Select the language for form labels and interface elements from the drop-down menu.
- Advanced Options – Enable pre-fill parameters or add Custom JavaScript for additional functionality.
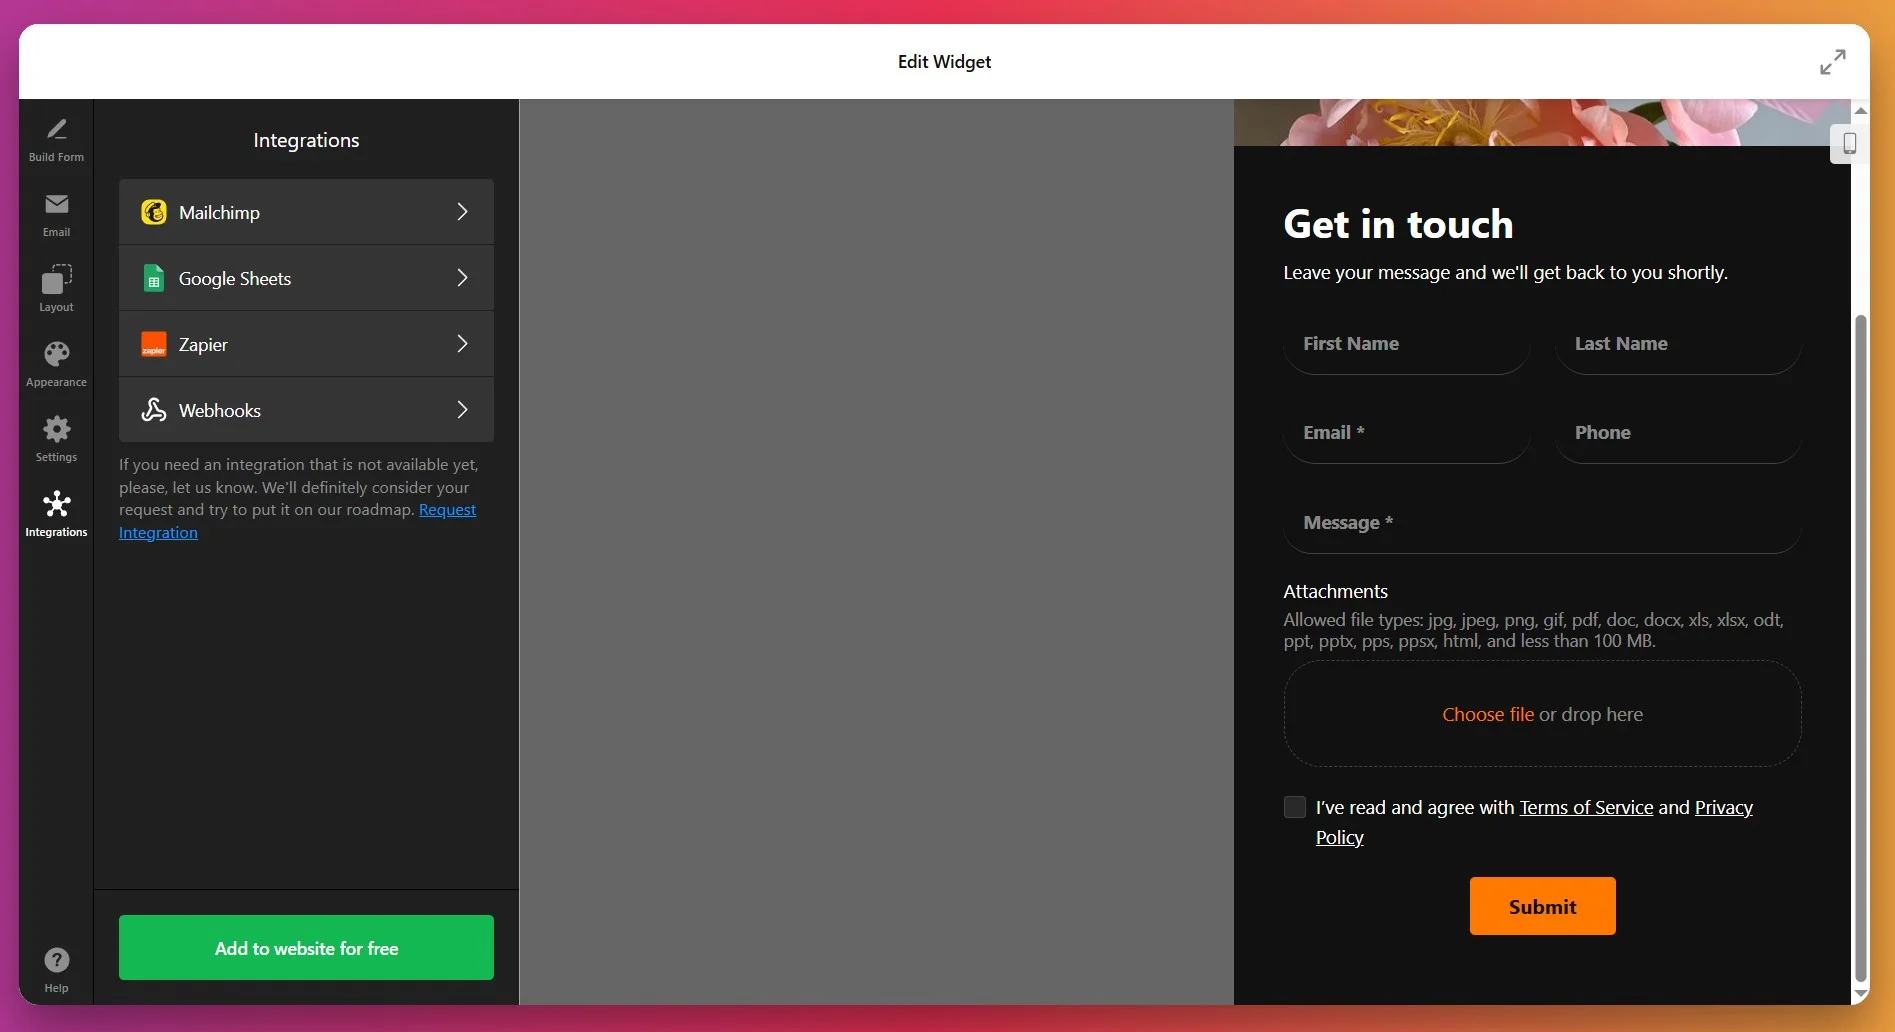
7. Connect Integrations
In the Integrations tab, you can connect your contact form to external services to automate your workflow and centralize lead data. Supported integrations include:
- Google Sheets – Automatically save all form submissions to a spreadsheet for easy tracking and analysis
- Mailchimp – Add form respondents directly to your email marketing lists
- Zapier – Connect to 3,000+ apps to automate actions like creating CRM records, sending Slack notifications, or scheduling follow-up tasks
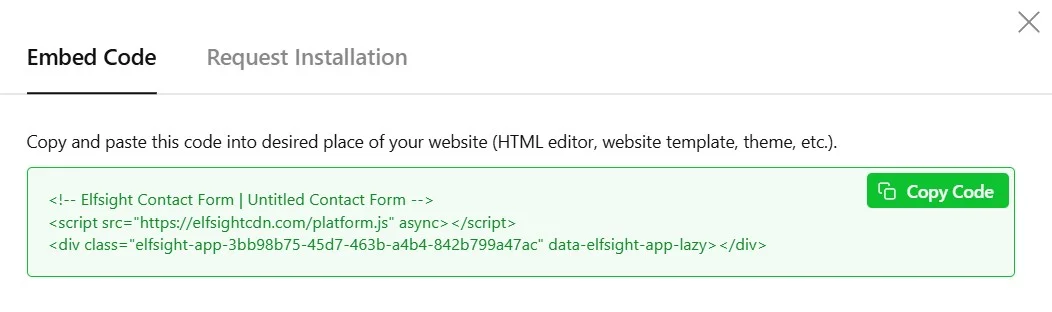
8. Get the Installation Code
Once your form is fully configured, click “Add to Website” (or “Save” if you already have an Elfsight account) — a popup will display your unique installation script. Copy this entire code snippet; you’ll use it to place the widget on your website.
9. Add Contact Form to Shopify
With your widget fully configured and the installation snippet copied, the final step is to embed it on your Shopify store. Below are the three most common installation methods:
Specific page — Online Store 2.0
- In Shopify admin go to Sales Channels → Online Store → Themes and click Customize.
- Select the target page from the dropdown at the top of the visual editor.
- Click Add section and choose Custom Liquid.
- Paste your snippet into the Custom Liquid field and click Save.
Specific page — Vintage themes
- In Shopify admin go to Online Store → Themes → Customize.
- Select the page to edit from the top dropdown.
- Click Add section → Custom Content. Inside the Custom Content block use Add block → Custom HTML if required.
- Paste your Elfsight embed code into the HTML field, set container width to 100% if needed, and click Save.
All pages (site-wide)
- In Shopify admin click the … menu and choose Edit code.
- Open
Layout → theme.liquid - Paste your Elfsight snippet before the closing tag and click Save.
Product pages
Adding to product description
- Go to Products and open the product to edit.
- Click
</>icon to open the HTML editor, paste your code, and click Save.
Adding to all product pages
- In Shopify admin go to Online Store → Themes → Actions → Edit code.
- Open
Sections → main-product.liquid - Paste your Elfsight code where you want it to appear and click Save.
If you’re exploring different ways to add a contact form to Shopify, the following section outlines native methods and alternatives.
How to Add Contact Form to Shopify: Available Alternatives
While Elfsight is a comprehensive solution, there are a few native and platform-specific ways to create contact forms on Shopify that you could consider. Each comes with different benefits and trade-offs.
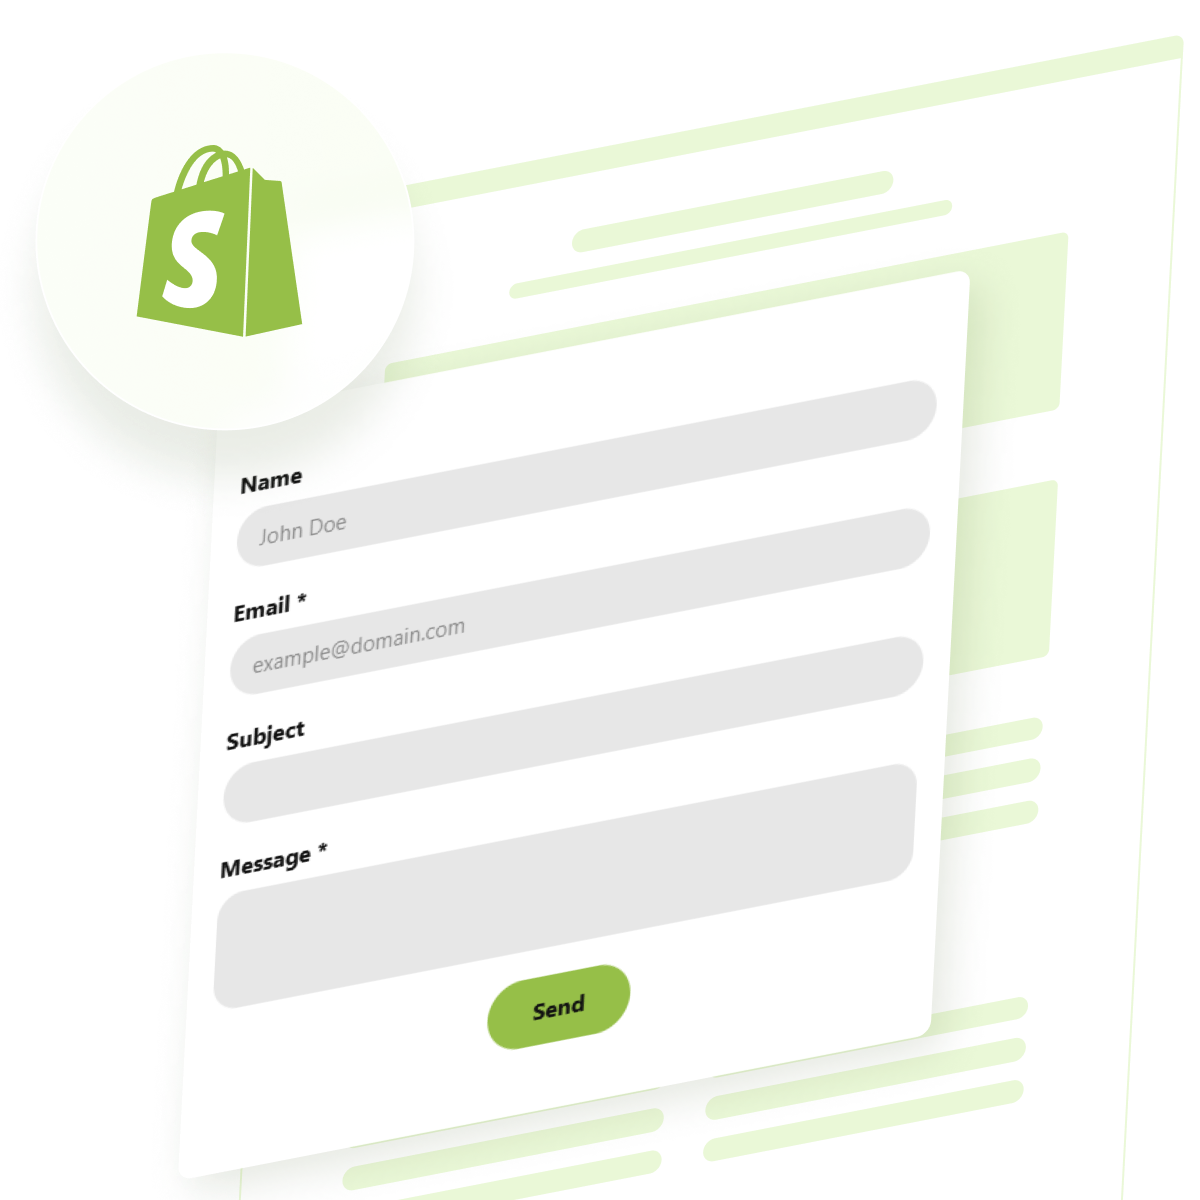
Shopify’s Native Contact Form
Shopify includes a built-in contact form feature that you can add to any page without third-party tools.
- Go to your page editor. In Shopify Admin, navigate to Pages and edit your contact page.
- Add a Contact Form section. Use Shopify’s built-in blocks or sections – look for “Contact Form” in the block menu.
- Customize basic fields. Shopify’s native form includes name, email, and message fields.
- Submissions go to your store email. All submissions are sent to your store’s primary email address.
For more information on the native contact form implementation, check out the Shopify Help Center.
Shopify Form Apps (App Store)
Shopify’s app store includes several contact form builders that offer more customization and features than the native option.
- Search the Shopify App Store. Browse apps labeled “Form Builder” or “Contact Form” to find options that match your needs.
- Review features and pricing. Compare customization options, integrations, and support between available apps.
- Install and follow setup. Most apps provide step-by-step installation guides within your Shopify admin.
Browse the Shopify App Store to find out more.
Custom HTML/Liquid Solution (For Developers)
If you have development resources, you can build a custom contact form using Shopify’s Liquid templating language and HTML. This gives you complete control over form logic and appearance.
- Write custom code. Build your form structure using Shopify’s Liquid templates mixed with HTML and CSS.
- Handle submissions. Set up backend processing using Shopify’s form endpoints or a backend service (Netlify, AWS Lambda, etc.).
- Configure email delivery. Connect to an email service to receive notifications.
- Maintain ongoing. You’re responsible for updates, security, and compliance.
For details, explore the Shopify Liquid Documentation | Shopify API Reference
How Do These Methods of Adding a Contact Form Compare?
| Method | Major Pro 👍 | Major Con 👎 |
|---|---|---|
| Elfsight Contact Form | Highly customizable with 20+ field types, integrations (Zapier, Google Sheets, Mailchimp), and no monthly fees – just embed code. | Requires account setup, though it’s free. |
| Shopify Native Form | Built-in, no setup needed, no external dependencies. | Very limited – only 3 fields, no customization, no advanced integrations. |
| Shopify App Store Forms | Native integration within Shopify admin, more features than native. | Often requires monthly subscription fees; app bloat. |
| Custom HTML/Liquid | Complete control over every aspect of the form. | Advanced workflows or highly specialized requirements. Coding skills needed. |
Our users find that Elfsight offers the ideal balance of flexibility, simplicity, and powerful integrations without the maintenance overhead of a custom solution. But before you finalize and publish your widget – there are several optimization tips to keep in mind.
📝 8 Steps to Make Your Contact Form Convert Better
From testing hundreds of Shopify contact forms, we know the right setup transforms casual browsers into engaged leads. Here’s our field-tested checklist for making your contact form effective, user-friendly, and conversion-ready.
- Keep your form short and focused. Each field you add reduces completion rates. Aim for 5-7 essential fields maximum – collect only the information you absolutely need upfront.
- Make your value proposition clear. Add a headline above the form explaining why they should submit – “Get a free quote,” “Let’s solve your problem,” or “Join our VIP list.”
- Use smart field ordering. Place easiest fields (name, email) at the top, tougher ones (detailed messages) in the middle, and required confirmations at the bottom to maintain momentum.
- Implement conditional logic. Show only relevant fields based on visitor input – reduces form fatigue and increases completion rates.
- Match your form to your brand. Ensure colors, fonts, and styling align with your Shopify store theme. A consistent visual experience builds trust and reduces abandonment.
- Set up multiple integrations. Connect to email, Google Sheets, and Zapier simultaneously so submissions reach your team instantly and don’t get lost.
- Personalize the thank-you message. After submission, show a warm, relevant message. For example, “Thanks for contacting us! We’ll respond within 2 hours during business hours.” This reinforces your commitment.
- Test on mobile and desktop. Preview your form on all devices and fix any layout issues. Mobile forms often have lower completion rates if not properly optimized.
Just a few minor tweaks can make the world of a difference. Let’s see a real-world example of how adding a well-designed contact form transformed customer engagement for one of our users.
Contact Form Driving Real Results
Let’s Go Peak District, a tourism website showcasing the best destinations, experiences, and accommodations in England’s Peak District, faced a common problem: their generic contact form wasn’t capturing inquiries effectively, and they had limited control over how it looked and functioned.
Before Elfsight
The team struggled with several challenges:
- The default contact form didn’t match the website’s aesthetic.
- The self-service directory lacked proper SEO and content control options.
- User control panels felt clunky and uninviting for potential customers.
- Custom tweaks to the default form often broke after platform updates.
Solution: Implementing Elfsight Contact Form
Phil integrated the Elfsight Contact Form widget across his tourism website and combined it with other Elfsight tools to create a comprehensive user experience. Here’s how he deployed it:
“We have made extensive use of Contact Forms, and we sell Review widgets or Instagram Feeds as an upsell or with our higher-rate listing packages. This works really, really well.”
Phil Sproson, founder of Let’s Go Peak District
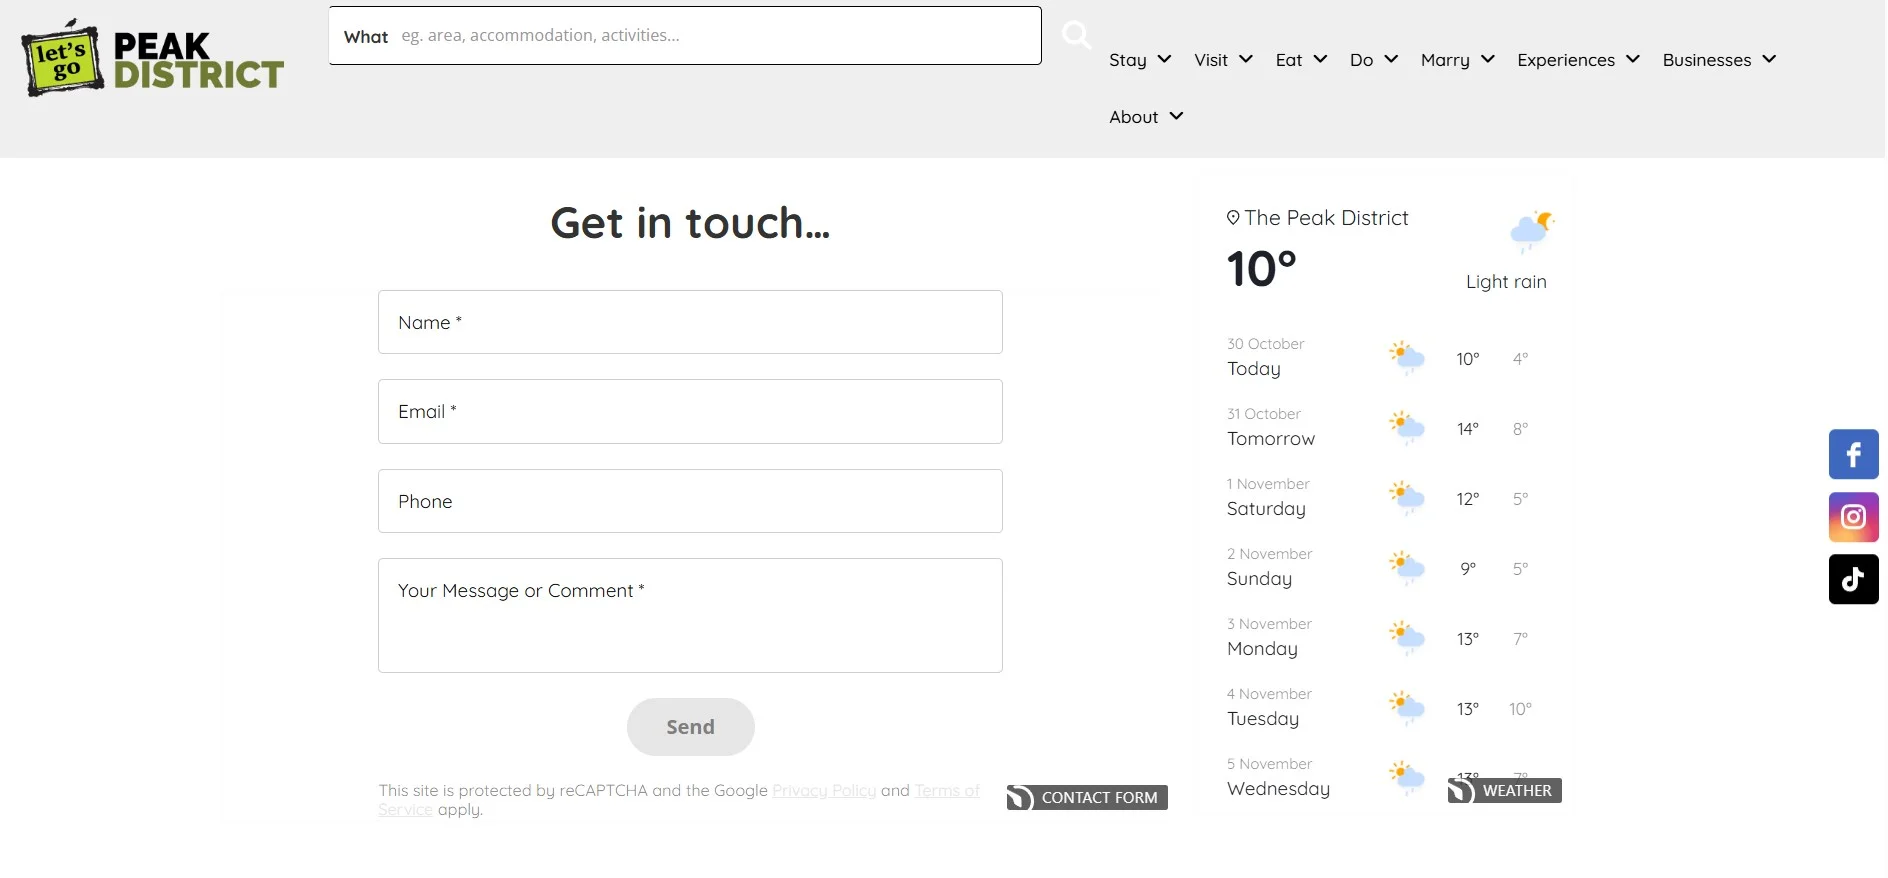
Phil strategically placed the Elfsight Contact Form on his contact page and alongside key tourism offerings like:
- Accommodation listings (for booking inquiries)
- Experience and activity pages (for event questions)
- Pricing pages (for package information)
The form’s professional appearance and smooth functionality gave visitors confidence that their messages would be taken seriously and answered promptly.
Real Results
After implementing the Elfsight Contact Form:
- Higher inquiry volume: Visitors who previously hesitated to contact them now submit inquiries confidently
- Better lead quality: The form captures specific information about what visitors are interested in (accommodations, dining, experiences, etc.)
- Reduced support burden: No more broken forms after platform updates — the widget stays reliable
- Upselling success: Tourism businesses using the platform now upgrade to premium packages that include Elfsight widgets like review displays and Instagram feeds
- Improved user experience: The form’s modern, responsive design encourages completion on mobile devices
The Bigger Picture: A Multi-Widget Strategy
Phil’s success extended beyond just the contact form. He leveraged multiple Elfsight widgets working together: the Instagram Feed to showcase stunning Peak District photography to inspire travelers, the All-in-One Reviews – to display testimonials from satisfied visitors, as well as Event Calendar, Store Locator and Pricing Table widgets.

By combining these tools, Let’s Go Peak District transformed from a static directory into an interactive platform that visitors enjoy using and tourism businesses want to advertise on.
A well-designed contact form isn’t just a support tool — it’s a revenue driver. For Let’s Go Peak District, the Contact Form became the cornerstone of a strategy that captured more qualified inquiries, reduced operational friction, and built visitor confidence.
Whether you’re running a tourism website, e-commerce store, or service-based business, the lesson is clear: a thoughtfully designed contact form that captures the right information, looks professional, and works reliably is an investment in your business growth.
Contact Form Issues & Fixes
Adding a contact form to Shopify usually takes just a few minutes, but sometimes users run into setup or display issues. Below are straightforward fixes for the most common problems:
Why isn't my contact form showing on my Shopify page?
Clear your browser cache and try again in an incognito window to rule out caching issues.
How do I add a contact form to a specific Shopify page?
Can I show the contact form on multiple pages?
How do I make certain form fields required?
Where do my form submissions go?
Can I customize the thank-you message after submission?
Is the contact form mobile-responsive?
How do I prevent spam submissions?
Questions or Thoughts?
It’s your turn now to add a professional contact form to your Shopify store and start capturing more leads. Stay connected with the Elfsight team: our support specialists are always here to assist, Community open for discussions, and wishlist ready for your creative ideas!