WooCommerce Appointment Booking plugin

Create your Appointment Booking app
Embed Appointment Booking on WooCommerce with the Elfsight plugin!
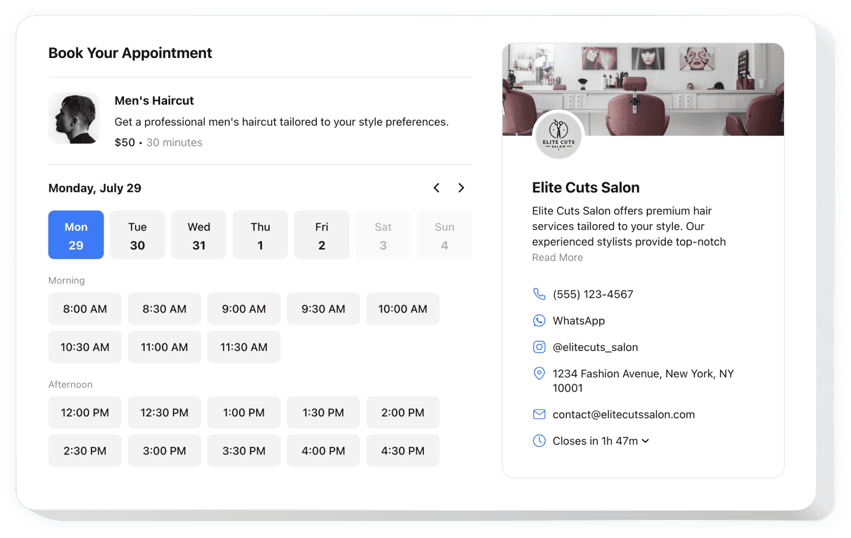
The Appointment Booking plugin is available to help potential customers reserve time slots conveniently on your WooCommerce website, reducing the manual workload—like constantly monitoring messages, calls, and emails—from you. It functions as a dedicated assistant working 24/7, also capable of dispatching automated notifications and syncing with specialized apps, like Google Calendar.
The moment has arrived to elaborate further on your service or occasion, define the time frame, share contact details, and clarify the pricing to facilitate clients’ decision-making process. What’s more, tailor the plugin’s appearance by tweaking around custom elements and features with no necessity to enhance the programming skills or engage a developer!
Let your business rock and be accessible to every potential customer with online booking for appointments on your website!
The widget includes valuable and uncomplicated features, here are some of them:
- Provide a concise portrayal of your service—name, details, picture, and duration—and set up the pricing in various currencies.
- Send automated notifications to validate the secured appointments to clients and yourself.
- Connect the widget with third-party services, such as Google Calendar, to always remain current.
- Present your business contact details as social proof and permit users to reach out in case of unforeseen scenarios.
- Advanced customization without a need to code: ready-to-use templates, colors, layout designs, fonts, Custom CSS editor, Custom JS editor, and more.
How to add the Appointment Booking to my WooCommerce website?
To add the Appointment Booking to your WooCommerce website, do the following:
- Perform our free editor and start creating your custom LinkedIn Feed widget.
Specify the suitable form and specifications of the widget and save the edits. - Acquire the personal code appearing in the special form on Elfsight Apps.
When the setting up of your personal plugin is over, copy the personal code from the appeared window and keep it for later occasions. - Initiate utilization of the plugin on your WooCommerce website.
Integrate the code you’ve saved before in your website and save the adjustments. - You’re done! The integration is fully ended.
Visit your website to examine the work of the widget.
On condition of confronting questions or running over any complications, do not be afraid to seek assistance from our customer service team. Our consultants are eager to help you with all the issues you might have with the widget.
