
WordPress Restaurant Menu plugin
Create your Restaurant Menu plugin
Screenshots
Why People Love Elfsight
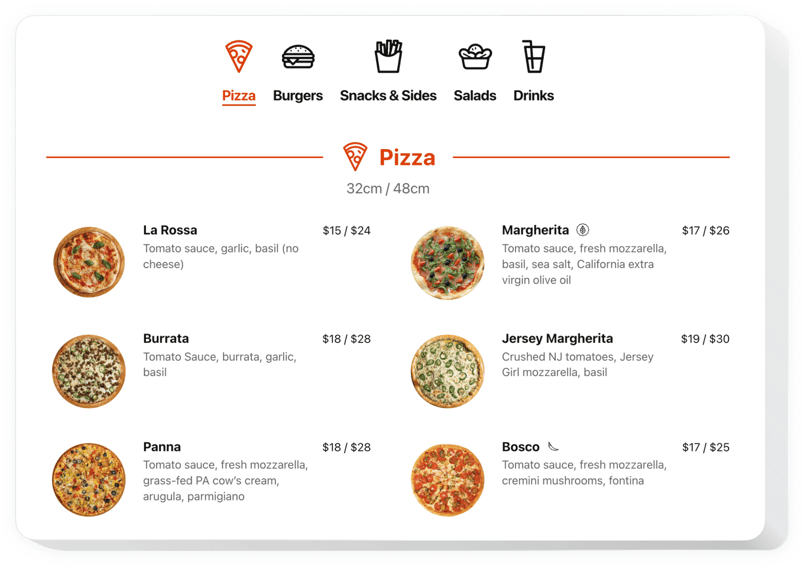
When someone’s hungry and looking you up online, the first thing they’ll click on is your menu. If it’s hard to read, outdated, or just a PDF they have to pinch and zoom, you might lose them. The Elfsight Restaurant Menu fixes that with a clickable menu that lives right on your WordPress website.
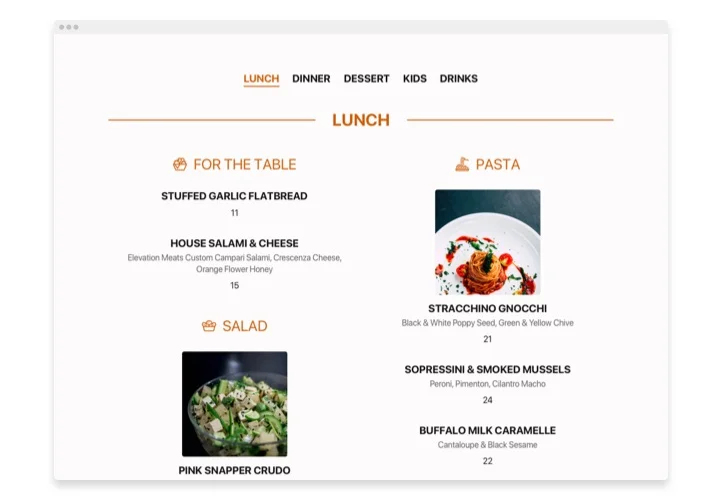
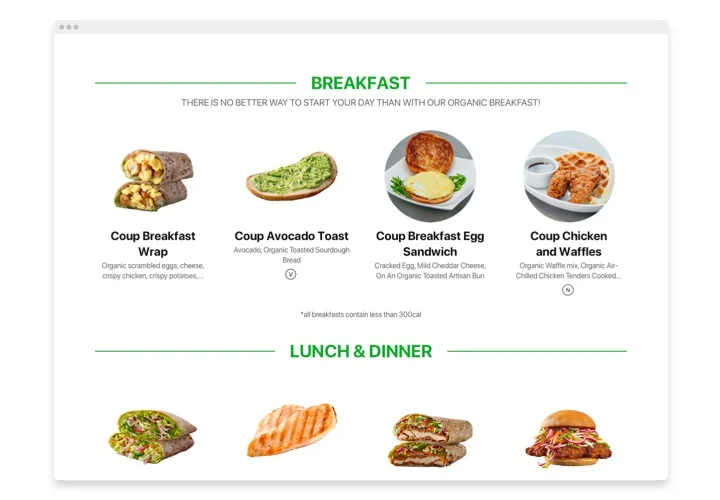
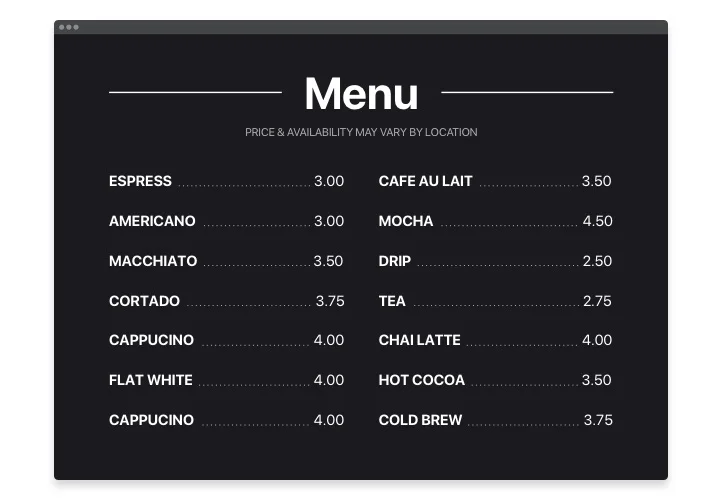
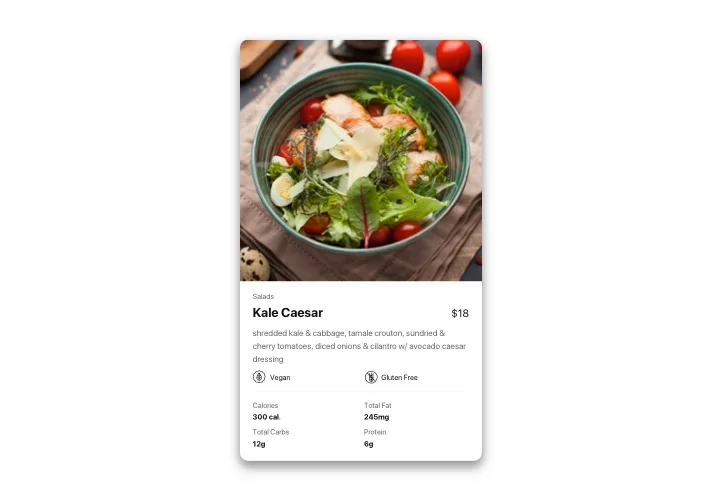
Sort dishes into categories, add a photo and allergen info to each one, and match fonts and colors to your brand. When a price changes or a new special arrives, edit it in Elfsight and the menu updates on every page where it appears – and it adapts to phones and tablets.
Embed the Elfsight Restaurant Menu on your WordPress website for free and let your food speak for itself – no clunky PDFs required.
Key Features of the WordPress Restaurant Menu Plugin
Everything you need to present your dishes the way you want:
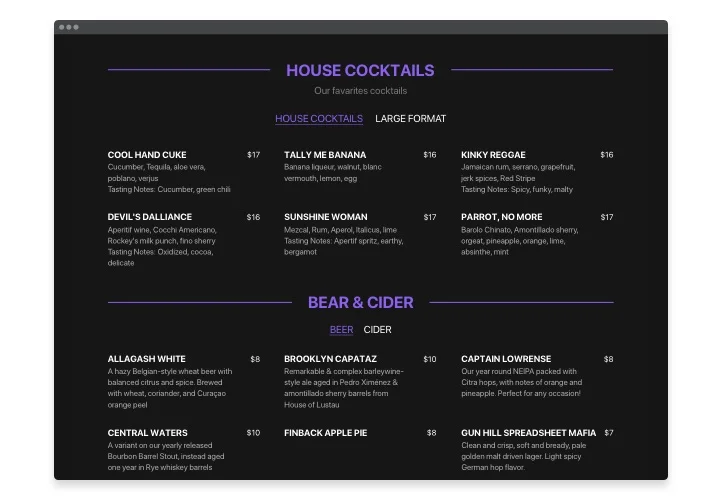
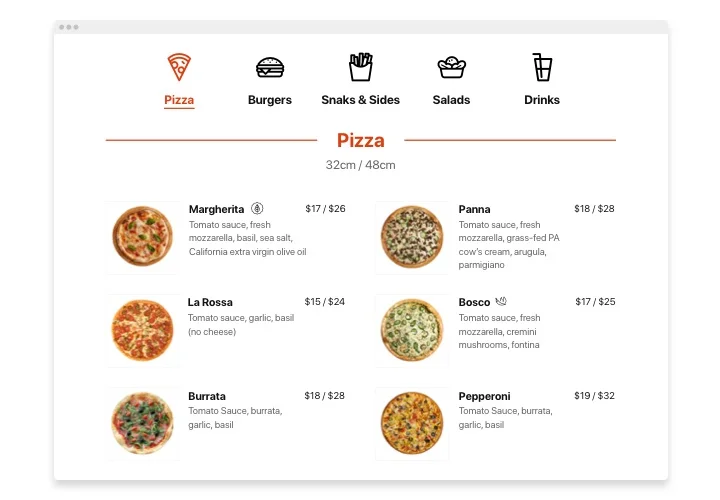
- Categories – split your menu into starters, mains, desserts or happy hour, so guests find what they’re after faster.
- Photos, ingredients and allergen info – add an image to every dish and list the details guests ask about.
- Quick edits – change prices or add a new item anytime, and the menu on your website updates too.
- Drag-and-drop order – rearrange categories and dishes right in the editor, without rebuilding the menu.
- Badges and tags – highlight featured or new dishes with labels or custom tags.
- Popups or inline – choose whether images and descriptions open in a popup or stay inline.
- Mobile-friendly layout – the menu adapts to phones and tablets.
- Brand matching – adjust fonts, colors and spacing so the menu feels like part of your brand.
Try it out in the live editor – no signup needed.
Made for WordPress
- No extra plugin – paste the installation code into the standard Custom HTML block, no separate plugin to install.
- Works with your theme and builder – use the Custom HTML block in classic and block themes, or the HTML element in the free version of Elementor.
- One account, many websites – Elfsight isn’t tied to one domain, so the same menu can run on all your WordPress websites.
- Update without reopening WordPress – edit dishes and prices in Elfsight, and the menu changes on every page where the code is placed.
How to Add the Restaurant Menu to WordPress
Build your menu in the Elfsight editor first, then click “Add to website for free” and copy the installation code. Choose how to place it: on one page, in Elementor, or on every page of your website.
Good to know: the code is saved only for users with the Administrator or Editor role. On WordPress.com you need a paid plan (Personal, Premium, Business or Commerce). If you use a caching plugin, clear the cache after installing.
Method 1: Add the menu to one page with a Custom HTML block
- In your WordPress dashboard, go to Pages and hover over the page you need.
- Click Edit.
- Click the blue + icon (Block Inserter) and select Custom HTML.
- Drag the block to where the menu should appear.
- Click Edit HTML and paste the installation code.
- Click Update, then click Save to publish the page.
Method 2: Add the menu in Elementor
- Open the page in Elementor.
- Drag the HTML element onto the page, where the menu should appear.
- Paste the installation code into the HTML field.
- Click Update to publish the page.
Method 3: Show the menu on every page (classic themes)
- In your WordPress dashboard, go to Appearance → Customize → Widgets.
- Open a widget area shown on every page – usually the footer.
- Click the blue + icon and select Custom HTML.
- Paste the installation code into the HTML field.
- Click Publish.
After publishing, open your page in a private window to see the menu as a visitor. Short on time? Add support@elfsight.com as an Administrator user, and our team will install the menu for you for free.