
Magento Appointment Booking extension
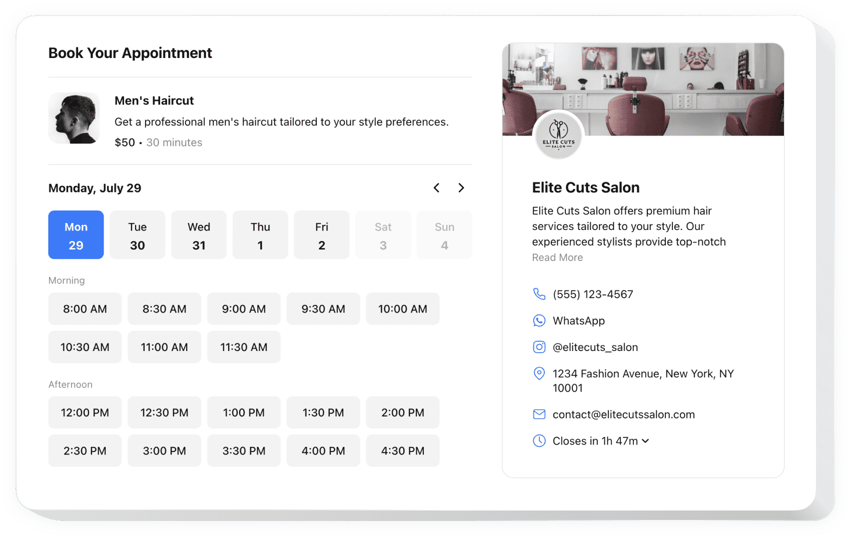
Create your Appointment Booking extension
Why use Elfsight Appointment booking on Magento
Clients reserve a slot on their own, and automated confirmations go to them and to you, so you don’t have to chase messages, calls and emails to arrange every appointment.
On Magento, you add the widget with Admin tools you already use – the HTML Code element in Page Builder, a CMS block or Design Configuration – with no module to install. The widget loads from Elfsight servers, so there is no module whose compatibility you have to check when you update or patch Magento 2.4.x.
Key features of the Magento booking extension
- Automatic confirmations – clients and you both get an alert when a time slot is booked.
- Google Calendar sync – keep your schedule up to date by syncing with your calendar.
- Service cards – describe each service with a name, details, a picture and its duration.
- Prices in different currencies – set the pricing for every service in the currency you need.
- Business contacts – show your contact information, so clients can reach you if plans change.
- Customization without code – start from templates and adjust colors, layouts and fonts, or go further with the Custom CSS and Custom JS editors.
You can see how the booking plugin works by trying out the live editor.
Made for Magento
- Installs without a module – add the widget with the HTML Code element in Page Builder, a CMS block or Design Configuration.
- Nothing to re-check after updates – the widget loads from Elfsight servers, so there is no module whose compatibility you must verify when Magento 2.4.x is updated or patched.
- One block for many pages – place a single CMS block with the widget through Content → Widgets and show it on all product pages, in categories or on all pages, without editing templates.
- Update without touching Magento – change services, prices or texts in the Elfsight editor and the widget in your store updates; no code change in Magento and no republishing are needed, so your reservation form always stays current.
- Made for store views – use the same code on all store views, or set different widgets for different languages.
How to add Appointment Booking to Magento
Set up the widget in the Elfsight editor first, then copy your installation code with the “Add to website for free” button. Magento offers a few places to paste it, so pick the method that fits your store.
Good to know: Page Builder is available in Adobe Commerce from 2.3.1 and in Magento Open Source from 2.4.3. Without it, the WYSIWYG editor works, so Method 2 covers that case. After editing blocks, widgets or Design Configuration, Magento shows a stale-cache message – refresh the cache in System → Tools → Cache Management. The Page Builder stage and previews may show the code or an empty container because the widget script may not run in Admin, so check the result on your storefront.
Method 1: Add the widget to a CMS page with Page Builder
- In Magento Admin, go to Content → Pages.
- Click Select next to the page and choose Edit.
- Expand the Content section.
- In Page Builder, open Elements and drag HTML Code onto the stage.
- Hover over the element and click the Settings icon.
- Paste the installation code into the text field and click Save.
- Click Save on the page.
- If Magento shows a cache message, go to System → Tools → Cache Management and click Refresh.
- In the pages grid, open Actions → View to check the widget on your storefront.
Method 2: Add the widget to a CMS page without Page Builder
- In Magento Admin, go to Content → Pages.
- Click Select next to the page and choose Edit.
- Expand the Content section and click Show / Hide Editor to switch the editor to HTML.
- Paste the installation code where you want the widget to appear.
- Click Save on the page.
- If Magento shows a cache message, go to System → Tools → Cache Management and click Refresh.
- In the pages grid, open Actions → View to check the widget on your storefront.
Method 3: Show the widget on all product pages or categories
- Go to Content → Blocks and click Add New Block.
- Fill in Block Title, Identifier and Store View, and set Enable Block to Yes.
- Paste the installation code into an HTML Code element (or switch the editor with Show / Hide Editor if you don’t use Page Builder) and click Save.
- Go to Content → Widgets and click Add Widget.
- Set Type to CMS Static Block, choose your theme and click Continue.
- Enter a Widget Title and assign the Store Views.
- Under Layout Updates, click Add Layout Update and choose Display on: All Product Types, a category type, All Pages or Specified Page.
- Under Widget Options, click Select Block… and choose the block you created.
- Click Save, refresh the cache if Magento asks, and check your storefront.
If something goes wrong during installation, contact our support team and they will help you out.