What is Webflow Website Localization and Its Benefits?
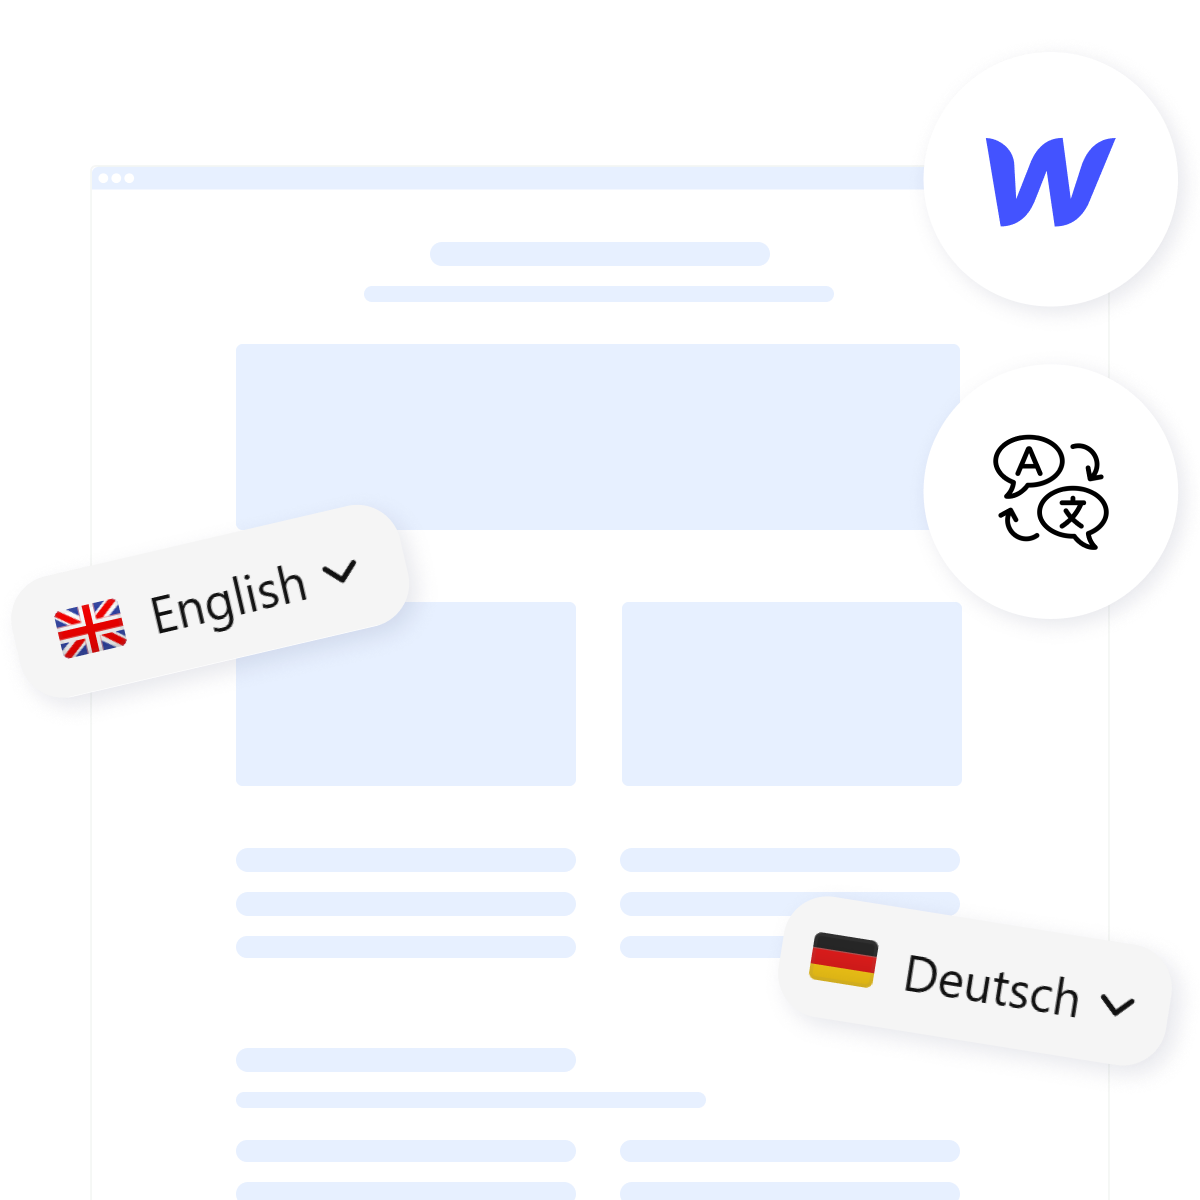
Webflow localization involves adapting your website to support multiple languages and regional preferences. This goes beyond mere translation. It includes adjusting visuals, currencies, and even date formats to match local expectations.
- Wider reach. Tap into new markets and connect with diverse audiences.
- Enhanced SEO. Improve search engine rankings with localized keywords and hreflang tags.
- Better user engagement. Offer a seamless browsing experience in users’ preferred Webflow languages.
- Increased conversions. Build trust by speaking your audience’s language.
How to Translate a Webflow Website Easily
The easiest way to make your Webflow website multilingual is by using Elfsight’s Webflow Translation Plugin. This no-code solution is quick, easy, and free to use.
Here’s how to get started
- Explore the intuitive Webflow translation plugin editor.
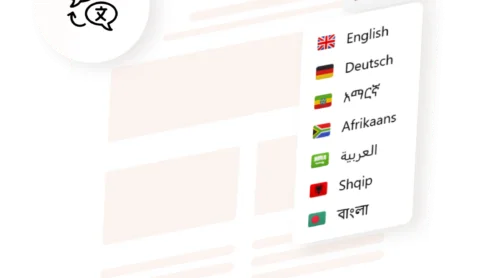
- Choose a customizable Webflow language selector for easy navigation.
- Embed the generated code to your Webflow site.
Try it out now and see your site translated instantly!
Step-by-Step Guide to Translate a Webflow Website
Creating a multilingual Webflow website may seem complex, but with the right tools and techniques, it’s a straightforward process. Here is how you can achieve Webflow localization effortlessly and fast:
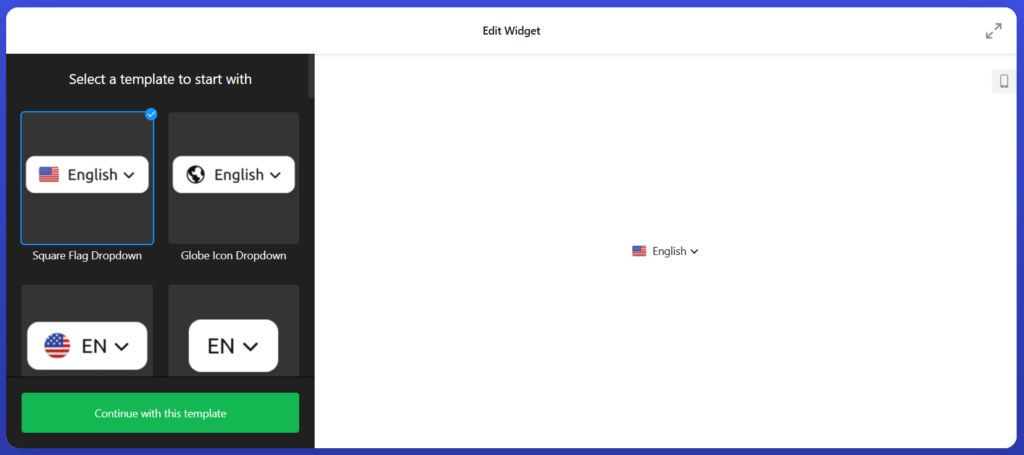
- Open the Elfsight Webflow Translation plugin editor and select a template to start with.
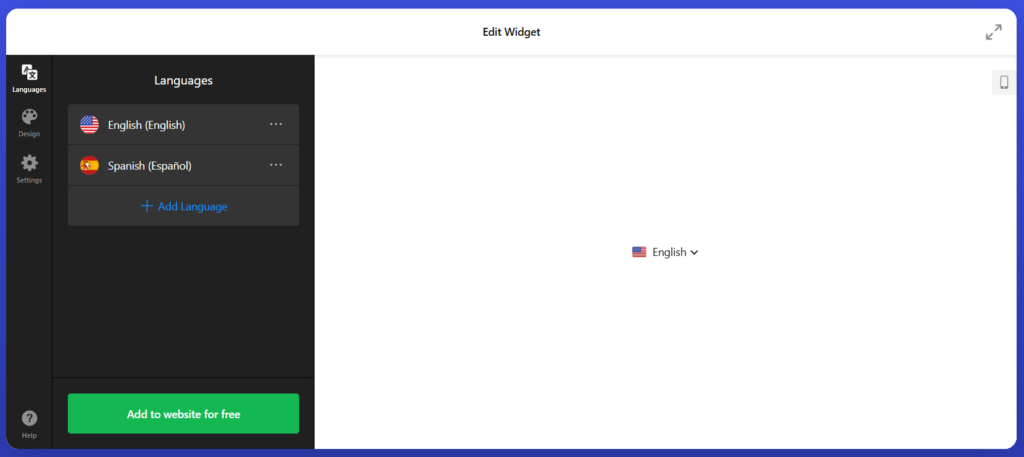
- Choose from over 100 supported languages to create a fully multilingual Webflow website. Whether you need just one or several Webflow languages, the plugin handles automatic translations efficiently.
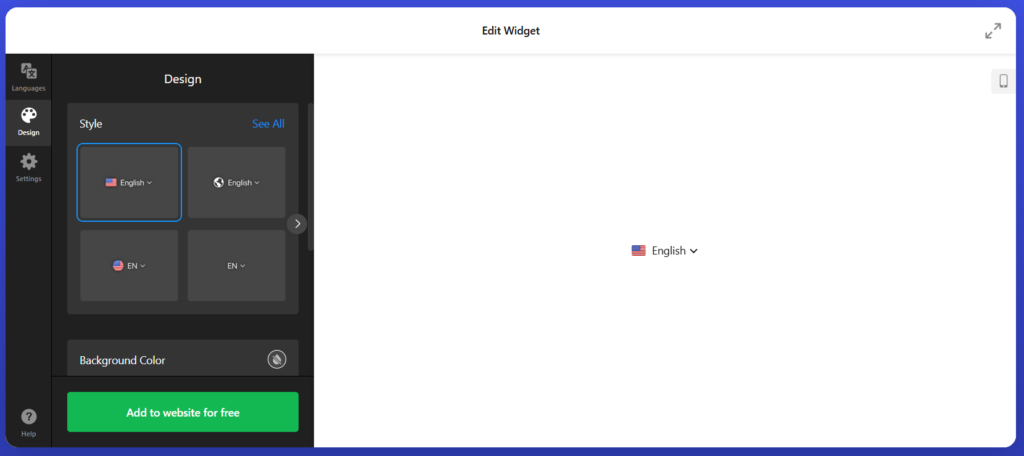
- Customize your Webflow language selector to align with your website’s design. You can modify its appearance, position, and functionality to enhance user experience.
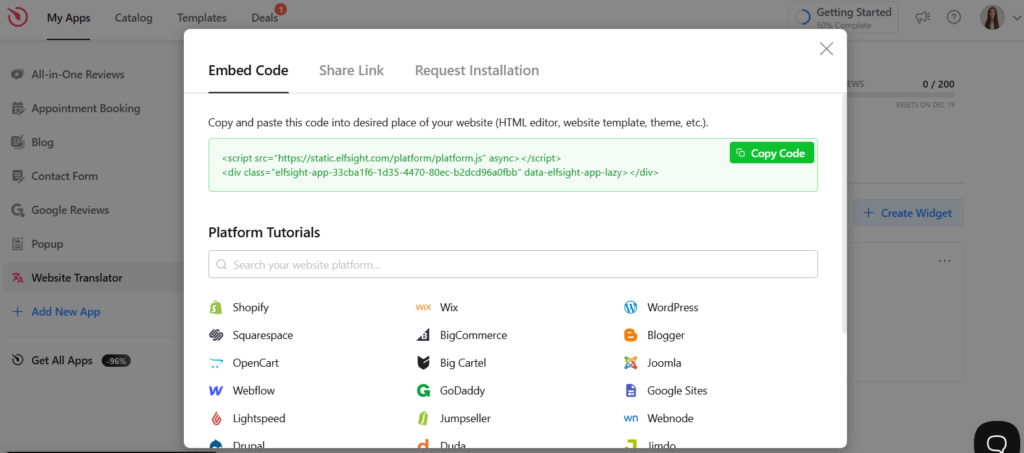
- Copy the generated installation code and paste it into your Webflow project. Usually, you’ll add this code to your website’s global custom code settings for seamless functionality.
- Once everything is set up, publish your site. Visitors can now switch between languages effortlessly, creating a localized experience for global audiences.
Using Elfsight’s plugin simplifies the translation process, making your site accessible to a global audience.
Alternative way: Webflow’s Native Localization Feature
If you prefer to work within Webflow’s built-in tools, you can create a multilingual Webflow website using manual methods. While this approach may require more effort, it offers flexibility for those comfortable with the platform’s features.
Here’s a brief overview of the steps:
- Start by opening Settings panel > Localization. Enable localization in your Webflow settings and assign subdirectories for each language.
- Create Language Versions. Use CMS collections to create separate content for each locale.
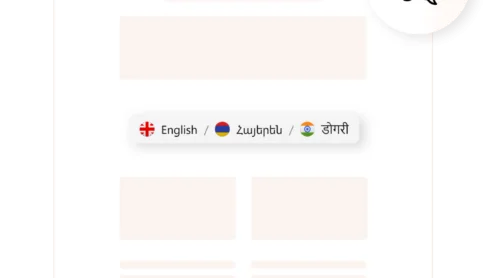
- Design a Locale Switcher. Add a dropdown or navigation element that allows users to switch between languages. This can include labels like “English” or “Español.”
- Publish Multilingual Content. Ensure all locales are enabled for publishing in your project settings. Each language version will be hosted on its dedicated subdirectory (e.g., /en for English).
Webflow’s native localization feature is a great option for those comfortable managing content manually and designing custom locale switchers.
Comparative Table: Elfsight vs. Webflow Native Localization
| Feature | Elfsight Webflow translation plugin | Webflow native localization |
| Setup process | Easy setup: add the plugin to your Webflow site and configure translations via the editor. | Requires manual setup. |
| Automation | Provides automatic translation for multiple languages powered by Google AI. | Semi-automated – some basic translation management features + manual translation. Or third-party integrations. |
| Language selector design | Offers customizable language selector templates. | Fully customizable but requires manual design and coding of locale switcher. |
| Supported languages | Supports over 100 languages with automatic translation options. | Supports any language you can manually configure using CMS or page duplication. |
| Content updates | Automatically syncs translations with updates on your original site. | Requires updating all language versions manually whenever content changes. |
| Customization | Customizable but simplified through the plugin editor. | High level of customization for locale switchers and content layout but time-intensive. |
| Cost | Free, and affordable paid plans available for more advanced features. | Starts at $9/mo also available as add-on to paid site plans. |
| Best suited for | Users seeking quick, automated translation with minimal effort. | Advanced users comfortable with manual localization and custom design. |
Webflow’s native features provide complete control over localization but demand more effort, while the Elfsight plugin streamlines the process, making it ideal for those prioritizing efficiency.
These two methods provide flexible options for achieving a fully localized Webflow website. For a more automated approach, consider using Elfsight’s Webflow Translation plugin, which simplifies the localization process, making it ideal for those prioritizing efficiency. Choose the one that fits your project’s complexity, resources, and goals!
Best Practices for Webflow Website Translation
Implementing Webflow localization effectively requires attention to detail and a strategic approach. Whether you’re using Webflow’s native features or an external solution like the Elfsight Webflow Translation Plugin, follow these best practices for a seamless multilingual experience.
1. Plan your content structure
Organize your website’s content for multilingual support from the outset.
2. Choose the right tool for your needs
- For automated translation, consider using a plugin like Elfsight’s Webflow translation plugin, which simplifies setup and supports over 100 Webflow languages.
- If you prefer full control, Webflow’s native features allow you to manually tailor your site for multiple languages but require more effort.
3. Design an intuitive language selector
Use a clear and user-friendly Webflow language selector. Make it accessible on all pages, ideally in the header or footer.
4. Test across all languages
Verify that your translations display correctly on different devices and browsers. This ensures a consistent user experience. If you’re using Webflow Google Translate integration or other automated tools, review translations for accuracy and cultural relevance.
5. Maintain consistency with updates
Regularly update all language versions whenever you modify the original content.
6. Adapt content to local preferences
Go beyond direct translation by customizing visuals, text, and layout for each audience. This is crucial for truly localized Webflow multilingual translation.
7. Keep performance in Mind
Avoid overwhelming users with heavy scripts or complex setups, optimize for performance, ensuring quick load times.
By following these practices, you can create a professional Webflow multilanguage website that appeals to diverse audiences while maintaining a high-quality user experience.
Conclusion
Localizing your Webflow website is a powerful way to engage global audiences, improve accessibility, and expand your reach. With Webflow’s native features, you have full control over your multilingual design, though it requires more effort and technical skills. Alternatively, the Elfsight Webflow Translation Plugin simplifies the process, offering automated translations, dynamic updates, and an easy-to-use interface.
Whichever method you choose, remember that the success of your multilingual website depends on thoughtful planning, intuitive design, and consistent updates. By leveraging tools like a customizable Webflow language selector and ensuring that your content resonates with each audience, you can create a seamless browsing experience across multiple Webflow languages.Ready to localize your Webflow website? Start today and make your content resonate with the world with the help of the intuitive editor.


