Not all Wix websites are ADA compliant by default. If you’re running a business, it’s critical to ensure your website meets legal accessibility standards to avoid penalties and create an inclusive experience for every visitor.
This is where an accessibility app comes in. With the right solution, you can upgrade your Wix website quickly and effectively — making it accessible, compliant, and user-friendly for people with disabilities.
- Stay legally protected under ADA requirements. A compliant website helps your business meet the legal obligations outlined in the Americans with Disabilities Act, reducing the risk of lawsuits and fines.
- Reach a wider audience and increase conversions. Making your website accessible opens it up to millions of users with disabilities who otherwise might be excluded from engaging with your brand.
- Improve your brand’s image and reputation. Showing that you care about digital inclusion strengthens trust and positions your business as socially responsible.
- Boost your website’s overall usability. Accessibility improvements benefit all users — not just those with disabilities — by making navigation, readability, and interaction smoother across devices.
In the next section, we’ll show you how to quickly make your Wix website accessible using an ADA compliance widget from Elfsight.
Make Your Wix Website Accessible: Quick Start
Now that you know why accessibility matters, let’s look at how you can quickly make your Wix website ADA compliant using Elfsight. The process is simple and doesn’t require coding skills.
Follow these steps to create your accessibility plugin in minutes:
- Open the Elfsight editor and select an accessibility widget template that fits your needs.
- Perform an accessibility scan on your website whenever needed to evaluate current performance.
- Adjust the widget’s configuration, including placement, language, color contrast, and extra options.
- Click “Add to website for free”, copy the generated code, and paste it into your Wix website.
In just a few steps, your visitors will benefit from an improved experience, and your business will be one step closer to compliance.
Build your own accessibility plugin in seconds – try the live editor!
What Elfsight’s Accessibility Widget Offers
After the quick setup, it’s important to know what exactly the Elfsight accessibility widget adds to your Wix website. This utility goes beyond basic options and delivers a wide range of features designed to improve digital accessibility for every visitor.
Here are the core features and benefits that make this website inclusion app a powerful addition to your Wix website:
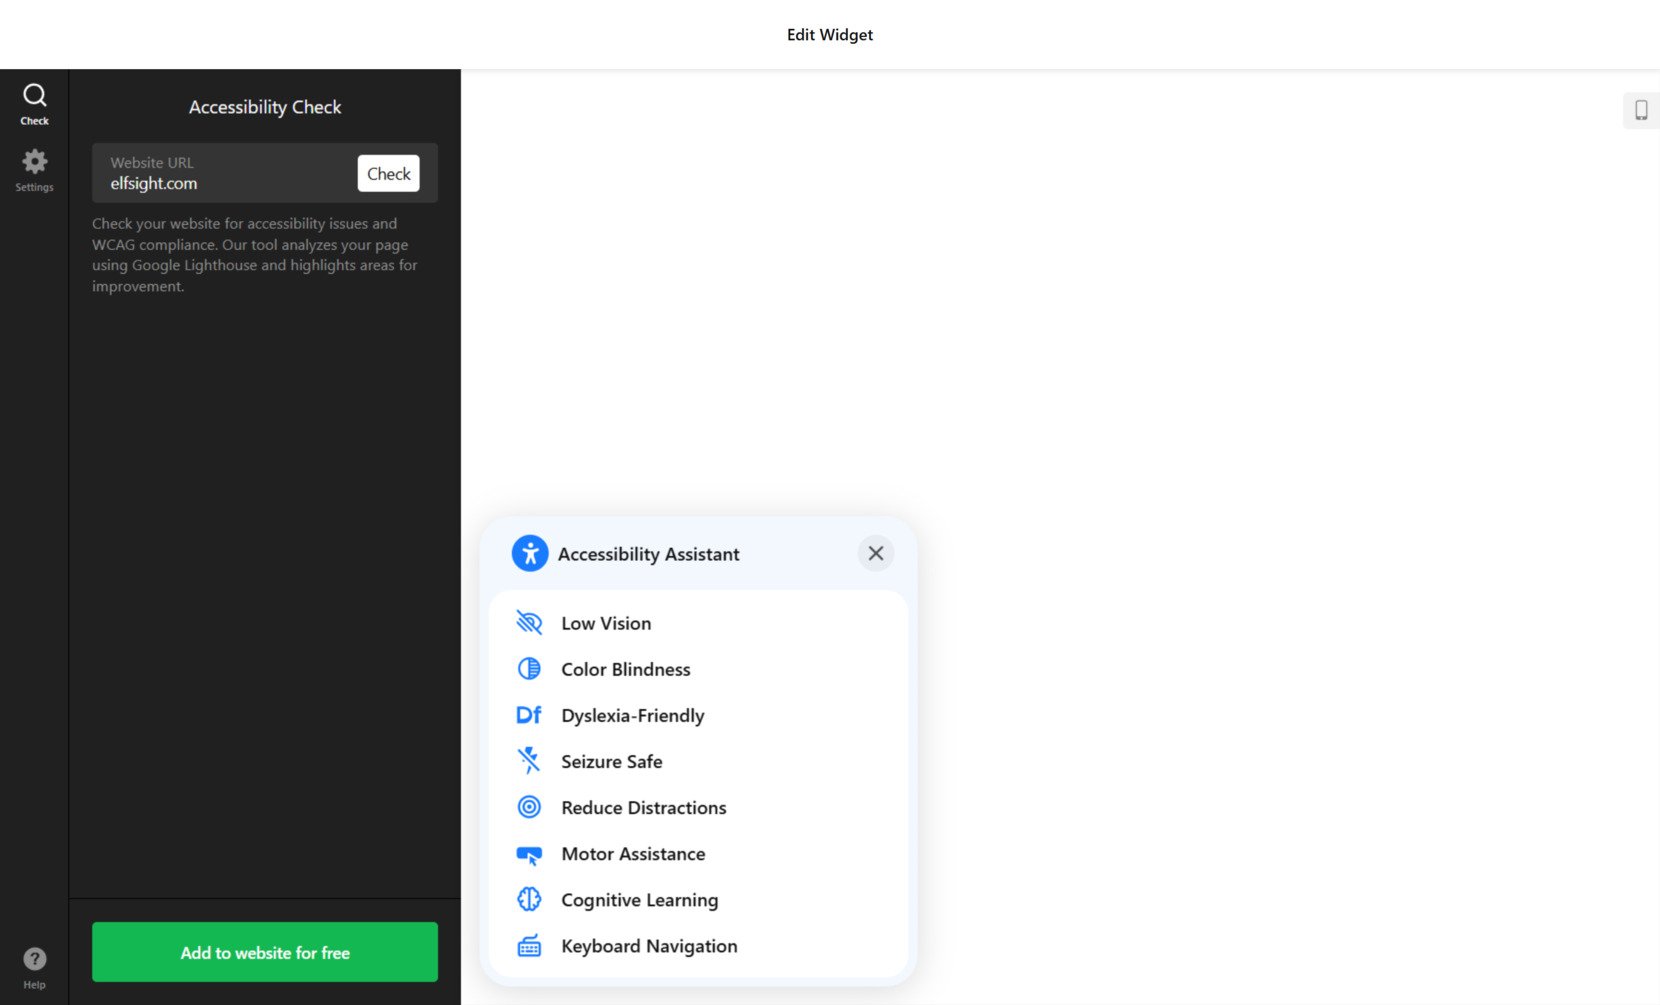
- Preset accessibility profiles for different needs. Offer quick modes like Vision Impaired, ADHD-Friendly, or Cognitive Disability to adapt your website in one click.
- Full text and visual adjustments. Let users change text size, spacing, font type, alignment, and even invert colors for better readability.
- Built-in screen reader and keyboard navigation. Improve interaction for visually impaired users and those relying on keyboard-only controls.
- Multi-language interface support. Make your accessibility settings available in over 20 languages to support a global audience.
- Positioning and visibility controls. Choose how and where the accessibility app appears on the page to balance functionality and design.
- Compliance support features. Meet WCAG 2.1 and ADA guidelines with built-in accessibility enhancements and best practices.
These features work together to enhance your website for all users while supporting compliance with modern legal standards. Next, let’s walk through the full process of creating and adding the widget to your Wix platform in detail.
Add ADA Compliance Features to Wix: Step-by-Step
To ensure your Wix website meets ADA requirements, Elfsight offers a flexible widget that can be easily customized and embedded. Follow these detailed instructions to create and configure your widget using Elfsight’s visual editor.
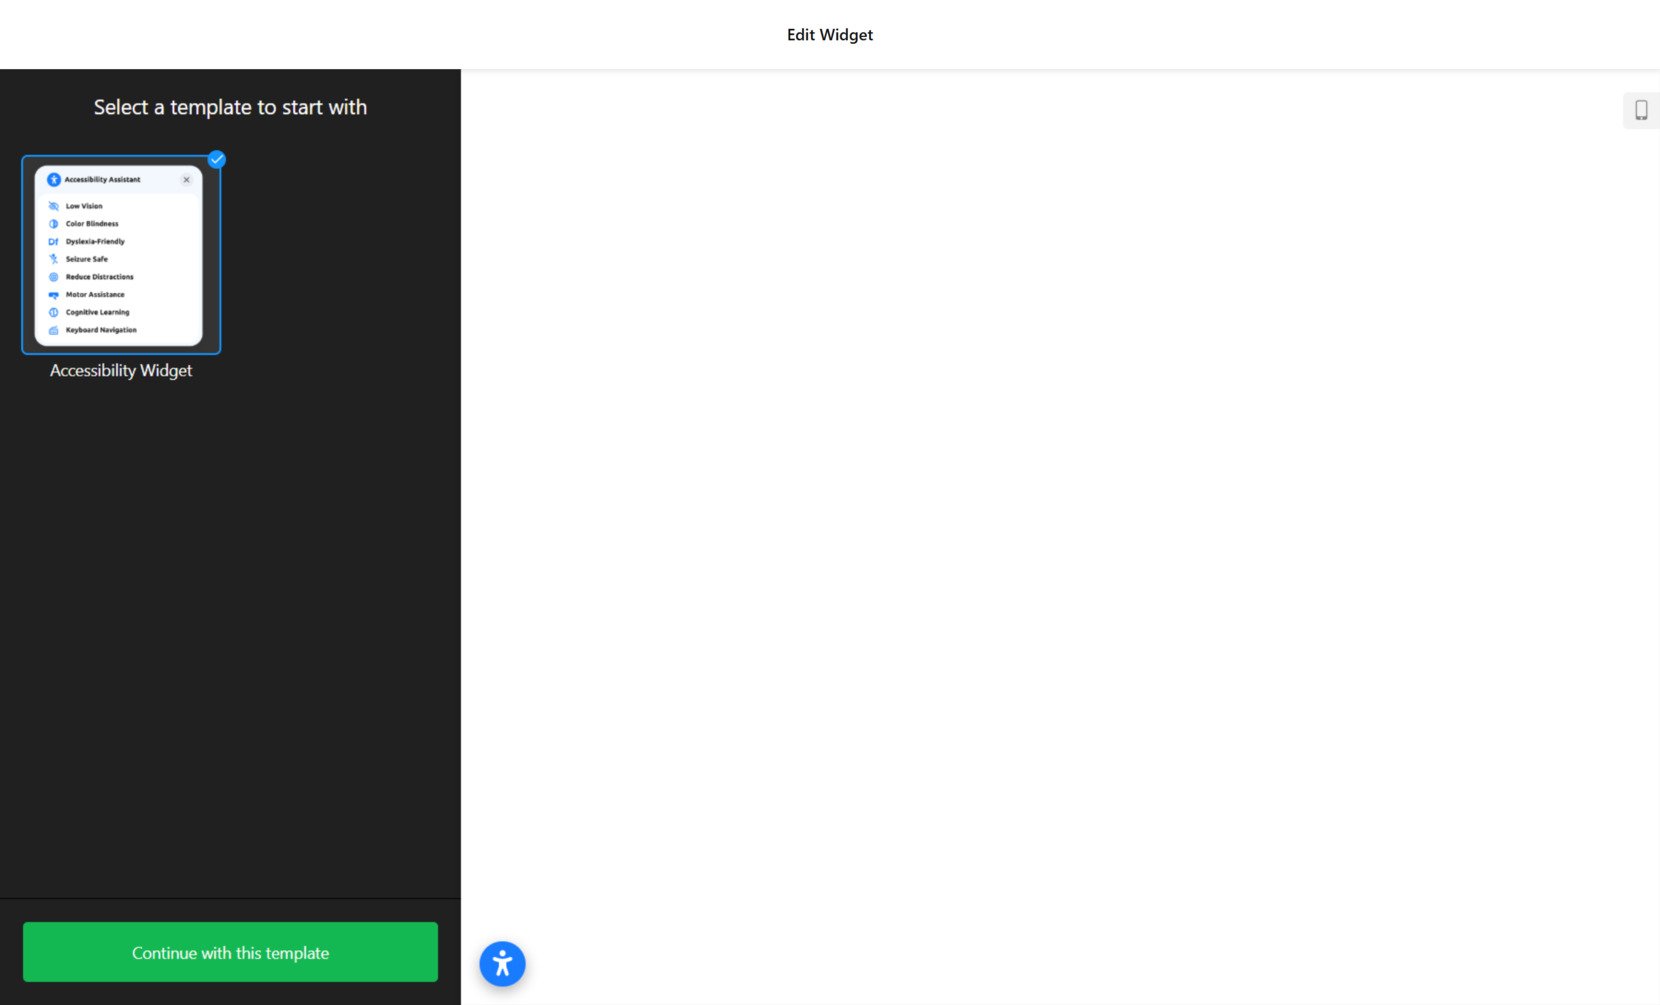
- Choose a Template. Start by opening the Elfsight editor. Select a template. Click “Continue with this template” to begin.

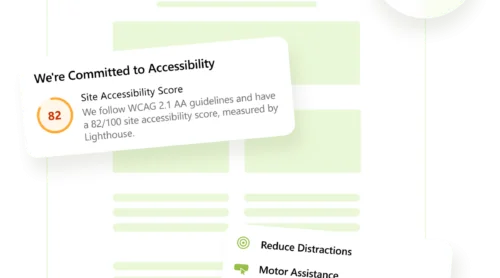
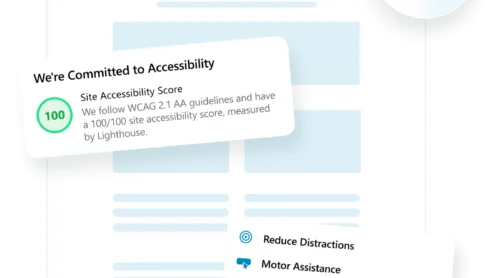
- Run an Accessibility Check. In the “Check” tab, enter your website’s URL and hit “Check”. This tool scans for WCAG compliance issues using Google Lighthouse and highlights areas that need attention.
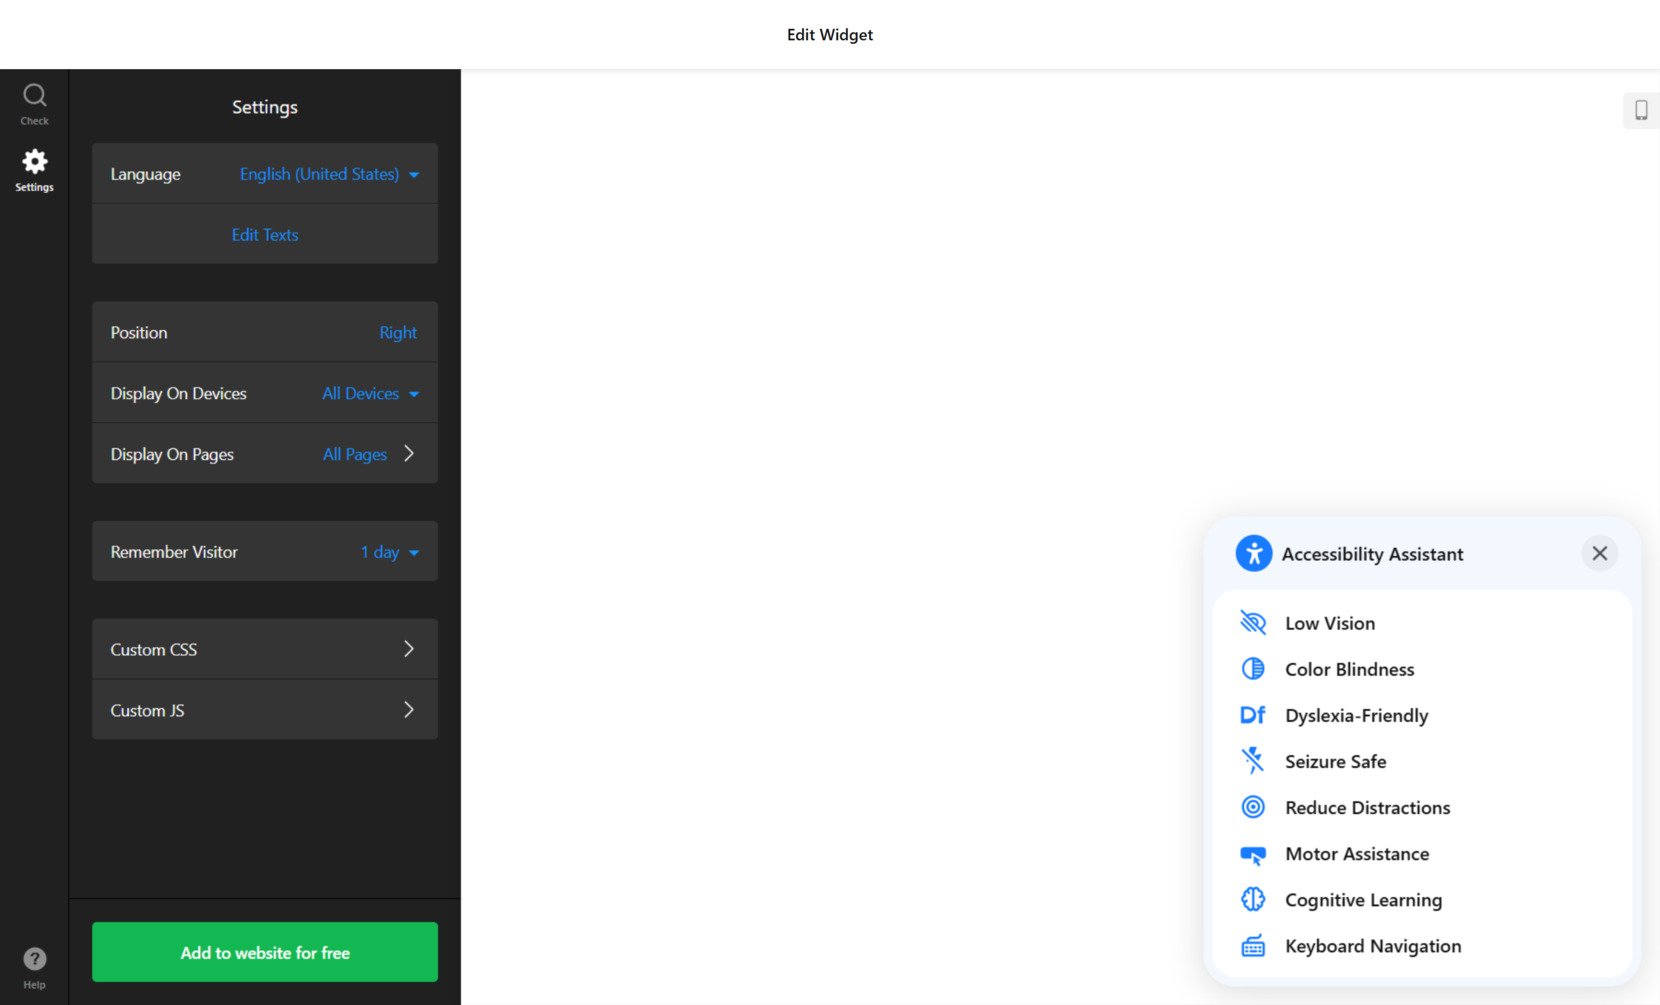
- Configure Widget Settings. Go to the “Settings” tab and adjust language, visibility across devices and pages, widget position, and session memory settings. You can also fine-tune behavior with custom CSS or JS if needed.
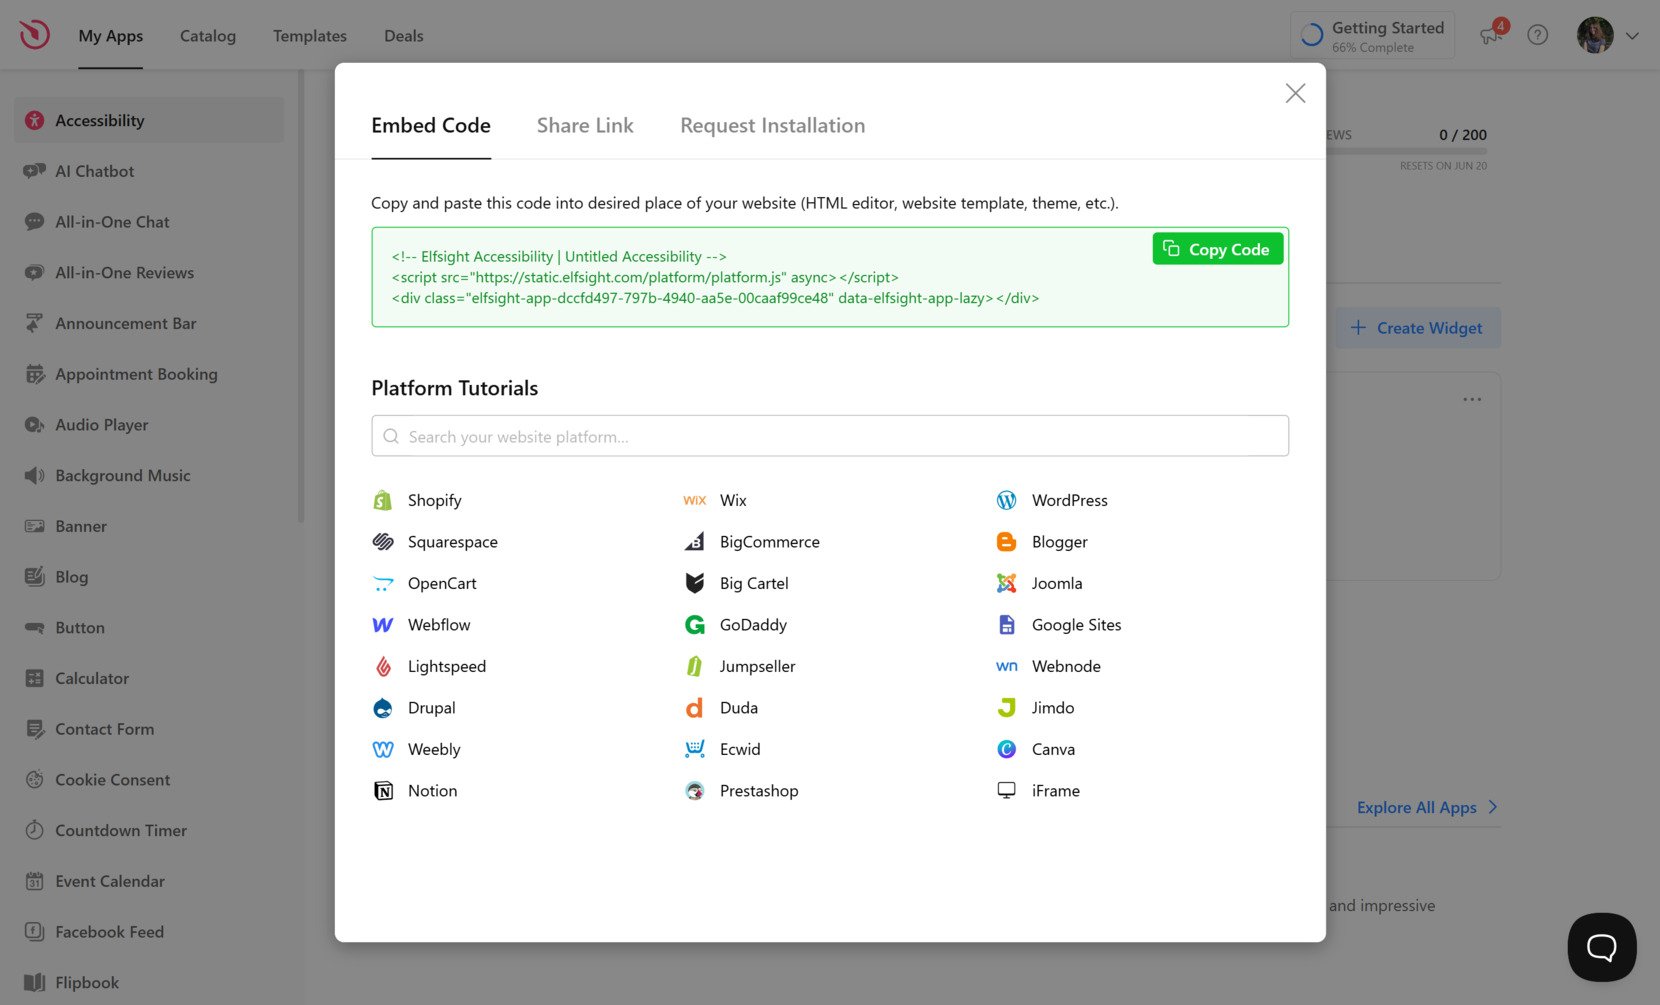
- Get the Embed Code. Click “Add to website for free”. Copy the generated embed code. Then go to your Wix editor, add an HTML embed element to your desired page section, and paste the code inside. Save and publish your changes.
Once installed, your accessibility app will immediately enhance the user experience, support users with different needs, and contribute toward meeting ADA and WCAG guidelines.
While Elfsight offers one of the easiest and most effective solutions, it’s worth looking at other accessibility methods to understand your options — let’s explore them next.
Other Accessibility Solutions for Wix
Besides using Elfsight, there are other ways to improve ADA compliance of your Wix website. While these approaches aren’t as dynamic as the widget, they provide a basic framework for making your Wix website more inclusive and aligned with accessibility standards.
Using Wix’s Native Accessibility Settings
Wix’s native accessibility features are designed to help users improve usability for all visitors, especially those with disabilities. These include tools like the Accessibility Wizard, options for managing keyboard navigation, and settings for customizing text structure and alternative content. Though the functionality is limited, it allows you to implement essential changes without touching any code or adding external integrations.
- Log in to your Wix dashboard. Navigate to your website’s editor by clicking “Edit Site” next to the project you want to update.
- Access accessibility settings. In the editor’s left-hand panel, click on “Settings” and then choose “Accessibility”.
- Run the Accessibility Wizard. Click “Start” to launch the wizard, which scans your content and offers a list of suggestions to help you improve compliance.
- Follow suggested actions. Go through the list and make real-time edits to things like alt text, heading structure, and contrast levels directly in the editor.
- Enable Skip to Content. Activate this feature to help keyboard users jump directly to main content, bypassing navigation elements.
- Adjust tab order. Set a logical tabbing sequence for elements on your page, enhancing usability for keyboard navigation.
While this method gives you control over structural improvements and text alternatives, it doesn’t offer assistive visual adjustments or user-controlled display settings.
Adding Accessibility Features via Manual Code
For developers and technically experienced users, adding accessibility features manually using HTML and ARIA attributes is another route. This method allows full control over your website’s structure and behavior, making it ideal for websites with custom code or advanced layout requirements.
- Open the custom code section in Wix. In your Wix editor, go to “Settings” > “Custom Code” and click “+ Add Code”.
- Insert ARIA roles and labels manually. Use attributes such as aria-label, role=”navigation”, and aria-hidden in HTML elements to define roles and enhance screen reader interpretation.
- Add keyboard accessibility scripts. Write JavaScript that enables users to navigate modals, dropdowns, or popups via keyboard alone.
- Implement Skip to Content manually. Create an internal anchor link at the top of the page pointing to the main content section and style it to appear on focus.
- Use semantic HTML wherever possible. Structure content using <main>, <nav>, <header>, and <section> tags to ensure meaningful markup.
- Test compliance manually. Use accessibility evaluation tools like Google Lighthouse or Wave to validate your implementation.
This method gives you full flexibility and control, but it’s time-consuming and requires in-depth knowledge of web accessibility standards and testing tools.
Comparing Elfsight vs Other Accessibility Methods
To help you choose the right solution for your Wix website, here’s a comparison of the most effective accessibility methods based on setup complexity, customization, and legal readiness.
| Method | Pros | Cons |
|---|---|---|
| Elfsight Accessibility Plugin | Delivers assistive profiles, custom visuals, and ADA/WCAG support with simple setup. | Initial setup requires pasting a code snippet into your Wix editor. |
| Wix Native Accessibility Settings | Fully integrated with Wix and includes a guided Accessibility Wizard. | Lacks visual control features and user interface personalization. |
| Manual Coding (ARIA & HTML) | Offers complete control and precision over every accessibility element. | Requires technical knowledge and time to implement and maintain correctly. |
While native and manual solutions can be helpful for partial compliance or advanced customizations, Elfsight offers the best balance between power, ease of use, and compliance. Now let’s explore how you can fine-tune your widget to match your website’s look and function.
Best Practices for ADA Compliance Implementation
Adding a widget is just one part of creating an accessible experience. To truly meet ADA compliance and serve users with disabilities, you need to improve the overall accessibility of your entire Wix website.
Below are essential tips to help ensure your website supports all users effectively.
- Use clear and consistent navigation. Keep menus and links predictable across all pages. This helps users who rely on screen readers or keyboard navigation find content without confusion.
- Write descriptive alt text for every image. Each image should include alt text that conveys its purpose or content, especially for buttons, banners, or icons with important information.
- Maintain proper heading structure. Use headings (<h1>, <h2>, etc.) in a logical order to create clear content hierarchy. This improves screen reader compatibility and page scanning for all users.
- Check color contrast for readability. Ensure that text and background combinations meet WCAG contrast ratio guidelines. Poor contrast can make content unreadable for users with visual impairments.
- Enable full keyboard accessibility. All interactive elements — like buttons, menus, forms — must be accessible using only the keyboard. Avoid traps where focus gets stuck.
- Label form fields clearly. Every input should have a visible label and accessible attribute to describe its function. Placeholders are not enough.
- Provide text alternatives for audio and video. Use captions, transcripts, or audio descriptions to make multimedia content accessible to users with hearing or visual impairments.
These improvements support both compliance and a better user experience. In the next section, we’ll take a look at the different types of accessibility widgets you can build depending on the features your audience needs most.
Examples of How Accessibility Features Help
Accessibility improvements are not limited to one niche — they enhance usability across a wide range of industries. Below are examples of how different sectors can apply accessibility features to make their Wix websites more inclusive and ADA-compliant.
Application in Education 🎓
Educational institutions rely on clear communication and equitable access. Accessibility plugins help ensure that students with disabilities can navigate course pages, access reading materials, and interact with forms or media content. By enabling features like keyboard navigation, text resizing, and screen reader support, schools and universities can create a more inclusive learning environment online.
Application in E-commerce 🛒
Online stores must ensure that all users, regardless of ability, can browse, filter, and complete purchases. Accessibility widgets support better navigation by improving focus indicators, enabling “skip to content” functionality, and adjusting visuals for color-blind users. Features like button labeling and input field instructions also ensure smoother checkout experiences.
Application in Healthcare 💉
Healthcare websites provide critical information that must be easy to find and understand. Accessibility tools make it easier for users to book appointments, read medical articles, and fill out forms. Features like readable fonts, high-contrast visuals, and ARIA labels ensure patients with vision or cognitive impairments can interact without barriers.
As these examples show, accessibility features directly impact real people and improve engagement across industries. Up next, we’ll cover the most common problems users face when working with accessibility tools — and how to solve them efficiently.
Troubleshooting Common Issues
Even with the right tools in place, achieving full accessibility can present challenges. Below are common problems users face when trying to make a Wix website ADA compliant, along with clear solutions to help resolve them effectively.
How can I check if my Wix website meets ADA compliance requirements?
Why doesn’t my widget appear on mobile devices?
How do I improve screen reader compatibility on my Wix website?
What should I do if the color contrast fails compliance checks?
Can I rely on automated tools alone to achieve compliance?
Being aware of these challenges helps you proactively build a more inclusive, legally compliant, and user-friendly experience.
Conclusion
Making your Wix website ADA compliant isn’t just about avoiding legal issues — it’s about creating a space where every user feels welcome and capable of navigating your content with ease. From built-in accessibility settings and manual coding methods to Elfsight’s customizable accessibility app, you have multiple paths to make your website more inclusive and aligned with WCAG standards.
Throughout this guide, we’ve shown you how to assess your current setup, apply the right tools, and follow best practices for digital accessibility. Whether you’re enhancing readability, enabling screen reader support, or adding keyboard navigation, each step helps build a better experience for all users. Start small, keep improving, and always prioritize accessibility in your design strategy.
Looking for More Help?
We hope this article helped clarify your accessibility goals. If you’re ready to take the next step, reach out to us and discover how to add advanced accessibility features to your website without coding. At Elfsight, we’re committed to giving you everything you need through simple, powerful widgets that fit your business.