Making your Webflow website accessible isn’t just about compliance — it’s about creating an inclusive, user-friendly experience that works for everyone. As web accessibility becomes more crucial than ever, ensuring your design meets modern standards is a smart and responsible move.
If you want to boost usability, stay compliant with regulations like ADA and WCAG, and serve all your visitors effectively, then adding a dedicated accessibility feature to your Webflow website is exactly what you need. It’s simple to set up and brings lasting value to your brand and users alike.
- Improves user experience for all visitors. A well-implemented accessibility feature helps users with visual, auditory, motor, or cognitive impairments navigate your content effortlessly.
- Supports ADA and WCAG compliance. Accessibility tools help your website meet important legal standards, protecting you from potential lawsuits and boosting your credibility.
- Expands your audience reach. Making your website more accessible opens the door to a broader audience, including millions of users who rely on assistive technologies.
- Enhances SEO and performance. Accessible design often overlaps with SEO best practices, improving readability, navigation, and mobile usability.
- Reflects positively on your brand. Prioritizing inclusivity shows that your business values every customer, helping build trust and loyalty.
Now that you understand the importance of making your Webflow website accessible, let’s take a quick look at how you can do it easily using Elfsight’s solution.
Add Accessibility to Webflow: Quick Solution
Now that you know why accessibility matters, the next step is to take action. With Elfsight, adding a powerful accessibility widget to your Webflow website is quick and beginner-friendly. You don’t need any coding skills to get started — just follow a few simple steps.
- Open the Elfsight editor and select the accessibility widget template.
- Perform an accessibility scan on your website whenever needed.
- Adjust the widget’s configuration, including placement, language, and additional options.
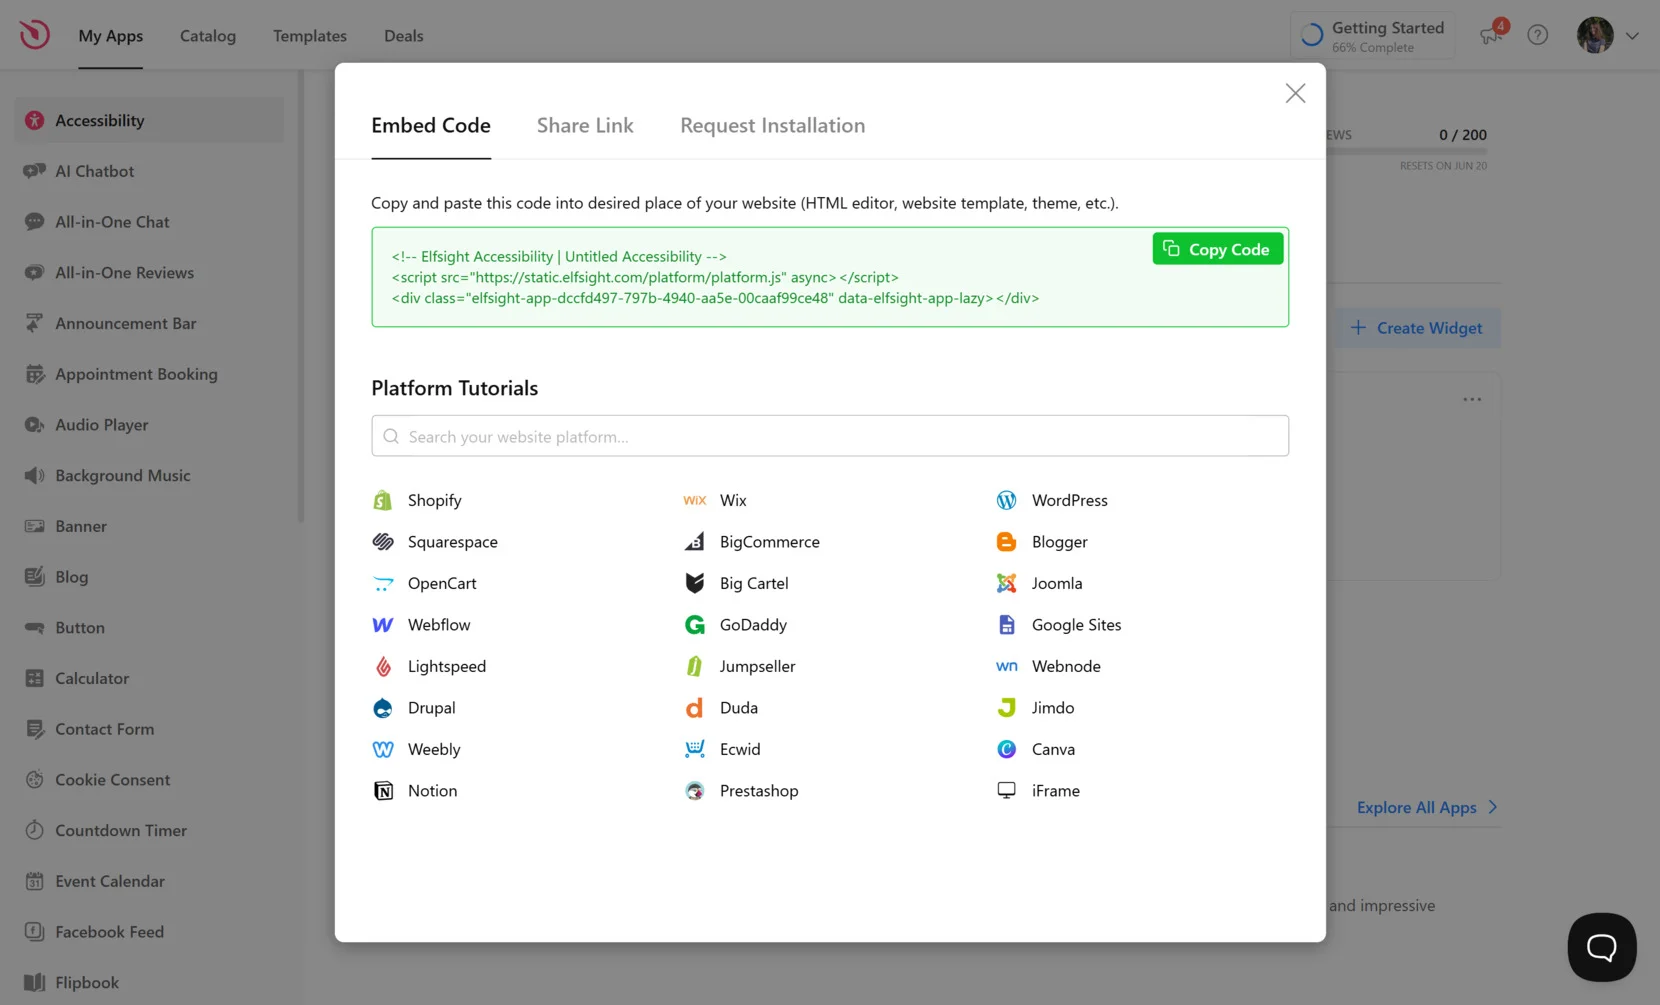
- Hit “Add to website for free”, copy the generated code, and insert it into your Webflow project.
This process takes just a few minutes and gives your visitors an improved, inclusive experience right away.
Try it yourself — create your own accessibility widget in minutes!
Overview of Elfsight Compliance Widget
Once you’ve added the widget to your Webflow website, it’s time to explore what makes the Elfsight solution stand out. This tool isn’t just easy to set up — it’s packed with powerful features designed to meet digital accessibility standards and enhance the experience for every user.
Here are the core features and benefits that make Elfsight’s accessibility widget a smart choice:
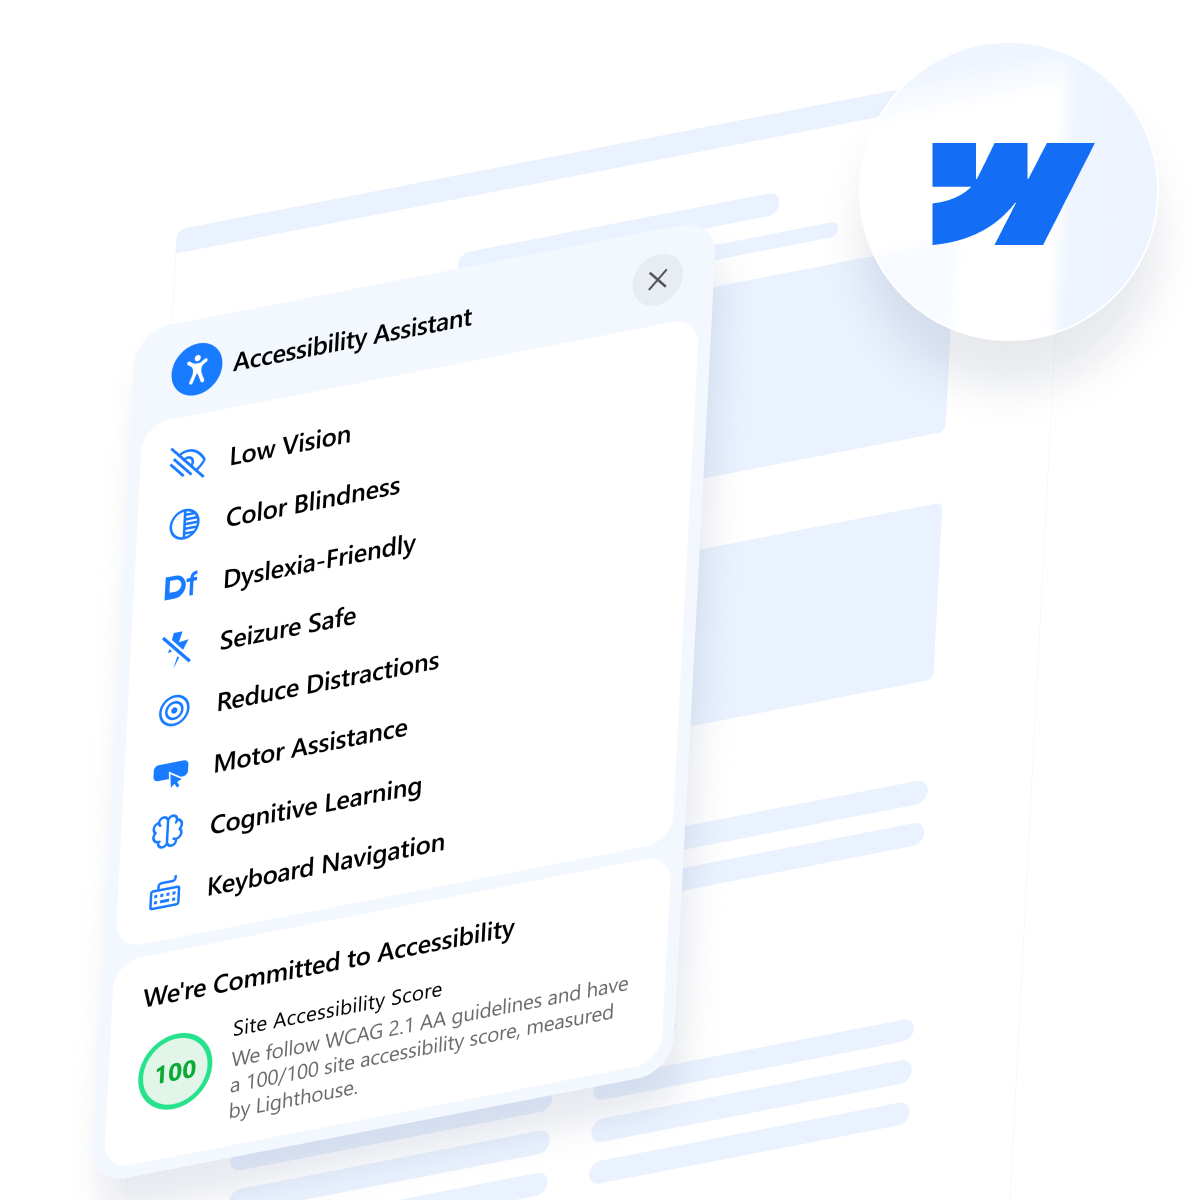
- Compliance assistance. Built with WCAG, ADA, and EAA standards in mind to help your Webflow project meet current legal and ethical guidelines.
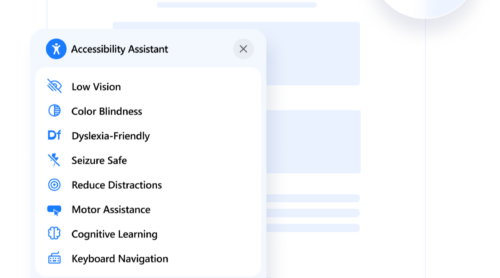
- Preset accessibility modes. Instantly activate visual profiles tailored for users with low vision, color blindness, dyslexia, and other conditions, improving accessibility for all.
- Text and display adjustments. Visitors can easily modify font size, spacing, alignment, contrast, and other visual settings to make the content easier to read and navigate.
- Content highlighting and screen reader support. Assistive tools like link highlighting and reader-friendly enhancements help make navigation more intuitive for users with cognitive and visual impairments.
- Multilingual interface. Automatically detect a user’s browser language or set a default, ensuring that accessibility settings are understandable and inclusive across languages.
- Compact and customizable design. Keep your website layout clean while offering full accessibility functionality with a lightweight, unobtrusive widget design.
These features not only ensure a user-friendly web experience but also help you stay aligned with accessibility regulations. Next, we’ll walk through the full setup process so you can customize and embed the widget seamlessly in your Webflow website.
Make Webflow Website Accessible: Step-by-Step
Now that you’re familiar with the key benefits and features of the Elfsight accessibility widget, it’s time to walk through the full setup process. This detailed guide will show you how to configure and embed the widget into Webflow from start to finish.
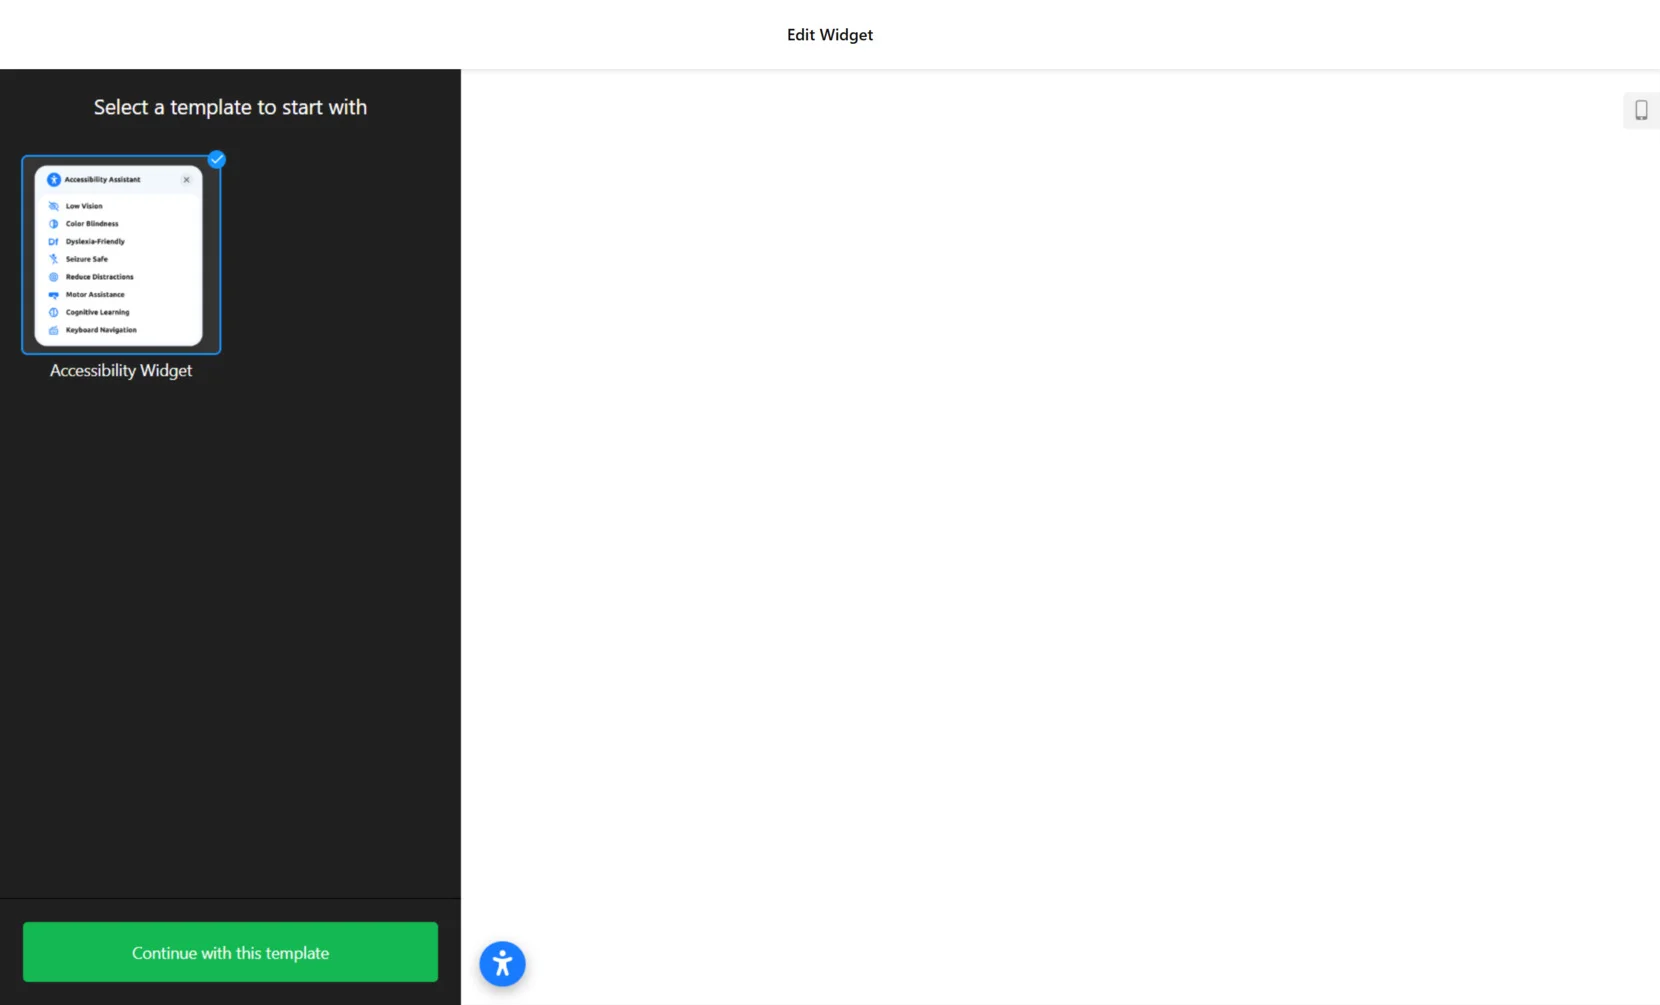
- Select a template. Open the Elfsight editor and choose a template. Click “Continue with this template” to move forward.

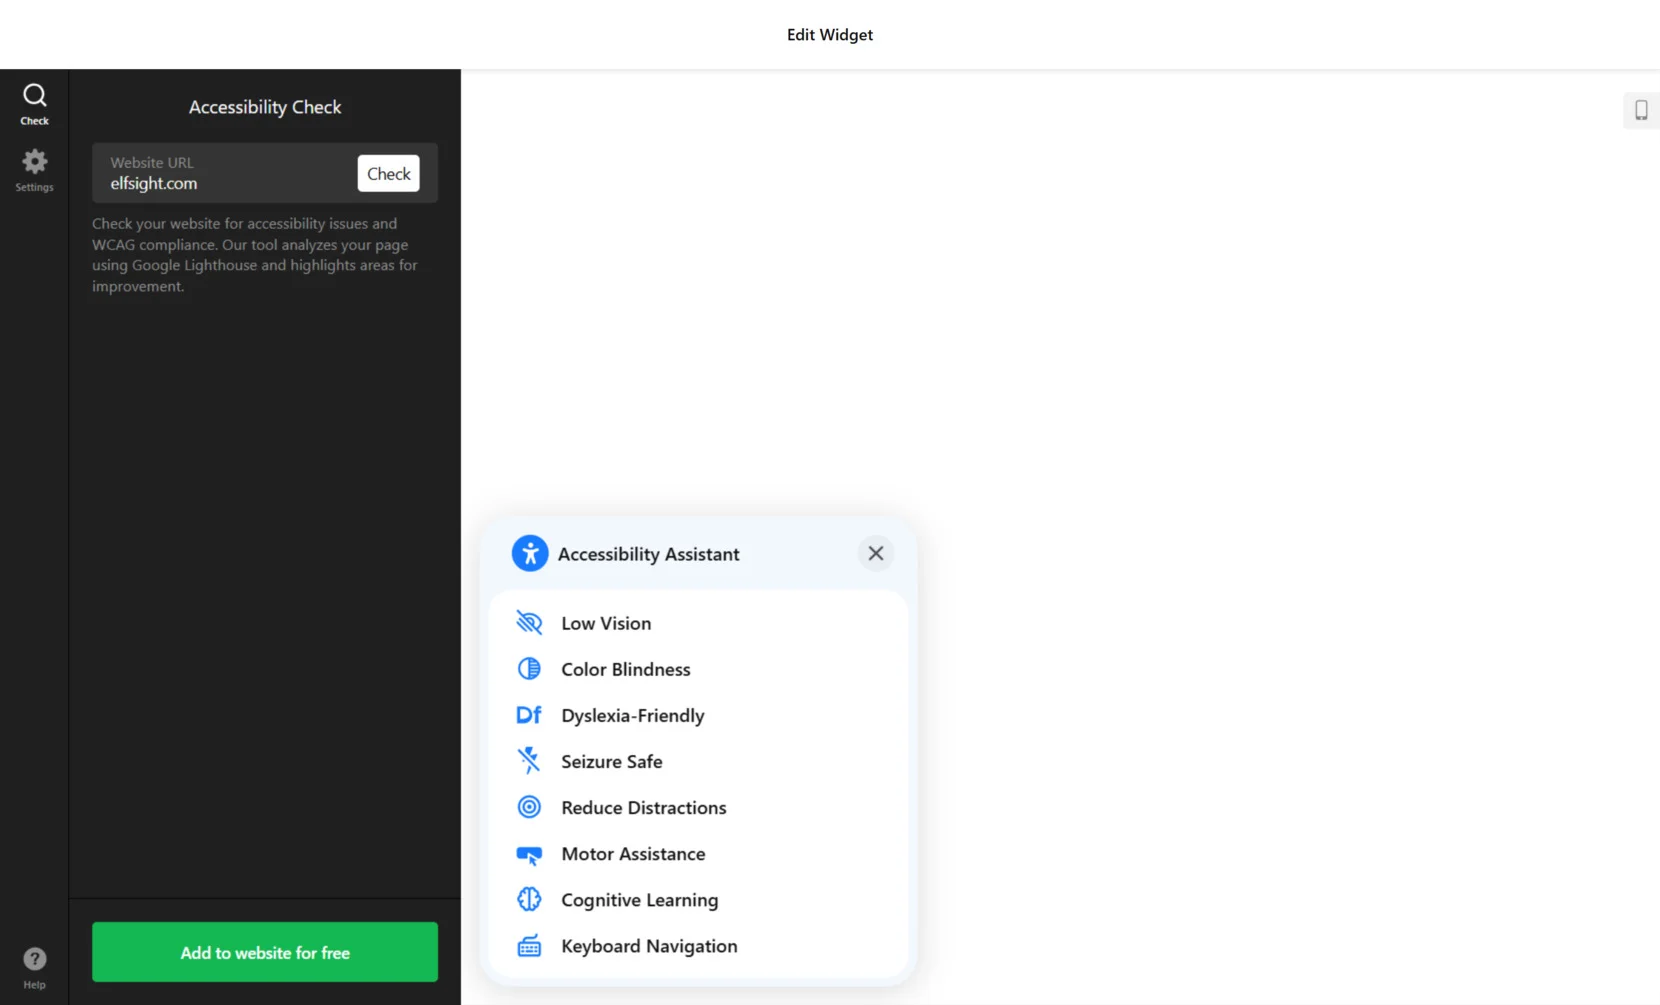
- Run an accessibility scan. Go to the “Check” tab and enter your website’s URL. Click “Check” to analyze accessibility issues. The scan highlights areas that need attention, helping you align with WCAG standards.
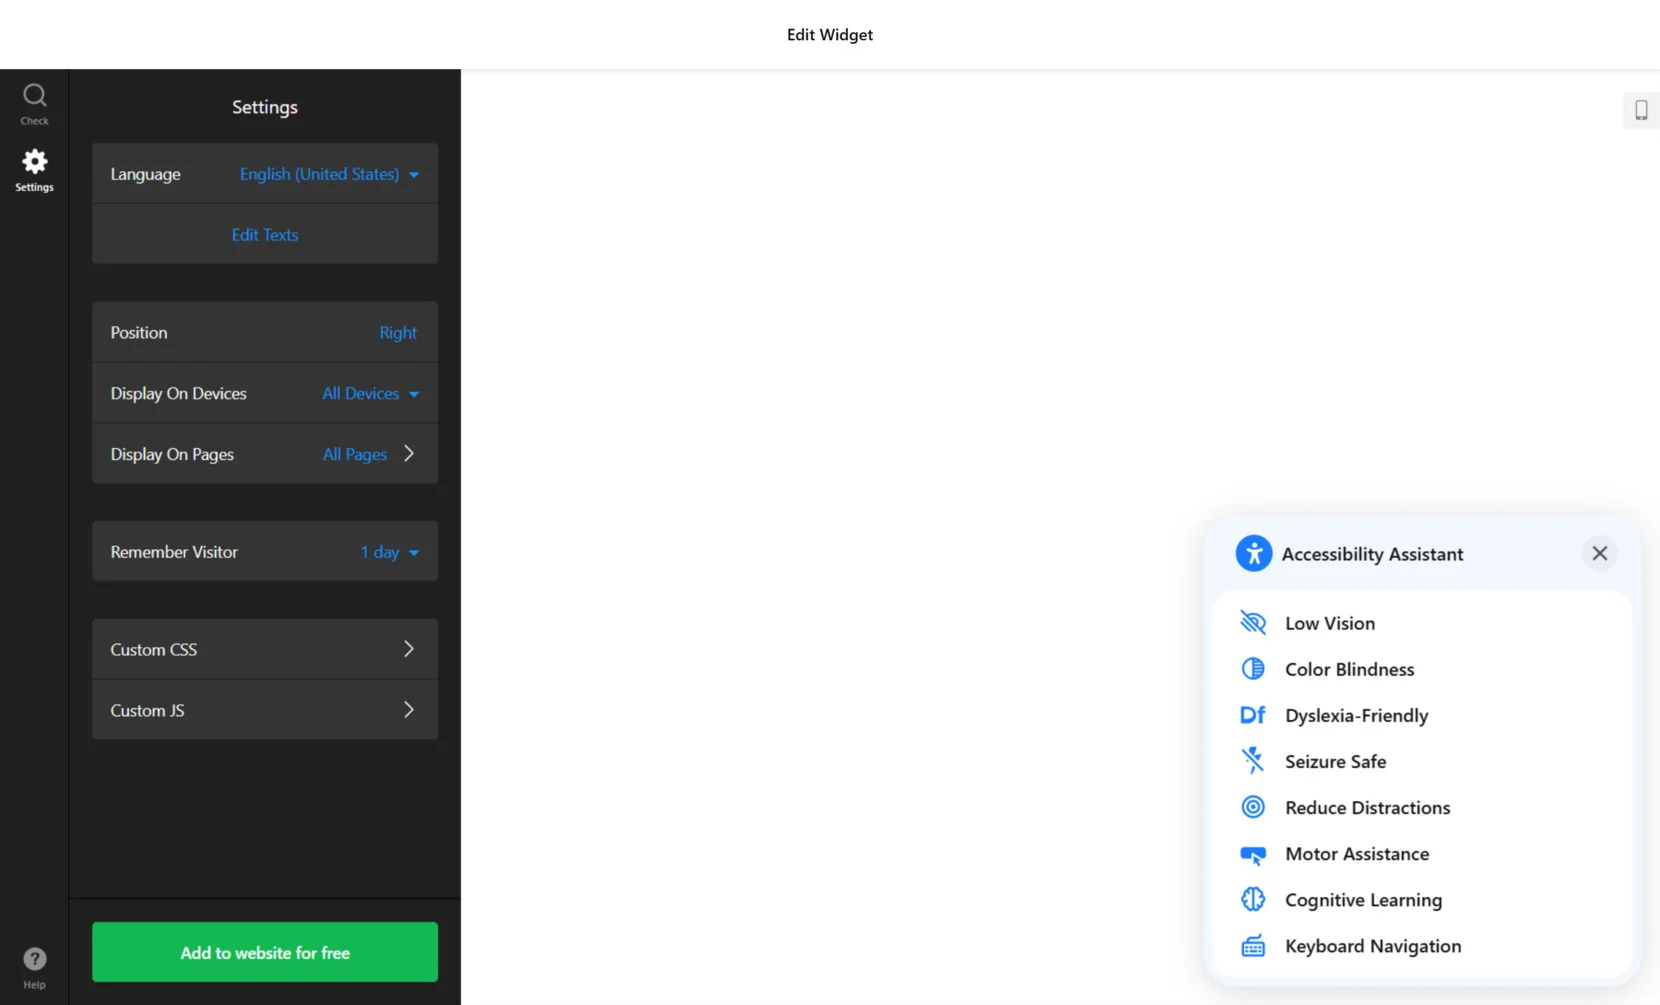
- Configure the widget settings. Under the “Settings” tab, choose your language, adjust text labels if needed, set the widget’s display position, choose on which devices and pages it should appear, and manage session behavior like how long the settings should be remembered.
- Embed the widget in Webflow. Click “Add to website for free” to generate your embed code. Copy the code, go to your Webflow dashboard, open the desired page or global embed section, and paste the script before the closing </body> tag. Save and publish the changes.
This setup gives your visitors immediate access to customizable accessibility features tailored to various user needs and helps your Webflow project comply with accessibility standards.
If you’re exploring different ways to improve accessibility, let’s take a look at some alternative solutions that can also support a compliant and user-friendly experience.
Alternative Methods to Enhance Webflow Compliance
If you’re exploring different paths to achieve WCAG compliance in your Webflow project, there are a few alternative solutions aside from using Elfsight. These options include manual adjustments within Webflow, as well as embedding accessibility features through open-source JavaScript libraries. While they provide valuable flexibility, they also come with unique technical requirements and limitations.
Manual WCAG Enhancements
Webflow offers native tools that allow you to implement accessibility improvements directly within your visual editor. By focusing on semantic structure, alt text, keyboard focus, and ARIA attributes, you can significantly increase the accessibility of your project without relying on external tools.
This approach is ideal for users with technical confidence or developer support, as it gives full control over each accessibility layer and allows you to align the output precisely with WCAG guidelines.
- Log in to your Webflow dashboard. Go to the Webflow dashboard and select the project where you want to improve accessibility.
- Structure your layout using semantic HTML5 tags. When building sections, use Webflow’s HTML tags like <header>, <main>, <nav>, and <footer> for proper content hierarchy and assistive technology readability.
- Add descriptive alt text to all images. Click on each image, open the element settings panel, and fill in the “Alt Text” field with concise, accurate descriptions of the image content.
- Ensure logical keyboard navigation. Use the Navigator to arrange interactive elements in a logical tabbing order. Add focus styles using Webflow’s built-in interactions or custom CSS.
- Implement ARIA labels and roles. In the “Element Settings” panel, use “Custom Attributes” to add roles like aria-label=”Navigation menu” or role=”button” for elements that need additional context.
- Test color contrast and typography manually. Use tools like the Chrome DevTools color contrast checker to make sure text is legible. Keep font sizes and spacing readable across all devices.
While this method allows for deep customization, it can be time-consuming and easy to overlook key accessibility practices.
Open-Source JavaScript Library
For those seeking a more automated approach without relying on a paid widget, you can install a JavaScript-based accessibility library. These are often minimal scripts that add basic visual support options like font resizing, high contrast mode, or dyslexia-friendly fonts.
This method suits developers who are comfortable with code and want lightweight enhancements without a full visual editor or monthly service.
- Choose a suitable accessibility script. Look for open-source libraries that support common features such as color contrast toggles, font size controls, and keyboard navigation assistance.
- Download the script and upload it to Webflow. Copy the script code and head to your Webflow “Project Settings” > “Custom Code”. Paste the code into the <head> or </body> section depending on script requirements.
- Design your accessibility panel (if applicable). If your script doesn’t include a UI, manually create buttons in Webflow and link them to functions in the script to control settings like zoom, contrast, or font toggle.
- Style the panel with custom CSS. Open your “Custom CSS” section and define styles that match your branding to maintain visual consistency across the website.
- Save, publish, and test across devices. Make sure the enhancements are working on desktop and mobile, and verify keyboard and screen reader compatibility where applicable.
This method allows you to add basic functionality at no cost, but it doesn’t offer compliance guarantees or automated updates.
Comparison: Elfsight vs. Other Accessibility Methods
To help you evaluate the best option for your needs, the table below compares Elfsight’s accessibility widget with the two alternative methods discussed above. Each method has its pros and cons, but Elfsight stands out for its all-in-one solution, ease of use, and built-in compliance support.
| Method | Pros | Cons |
|---|---|---|
| Elfsight Accessibility Widget | Offers an out-of-the-box accessibility panel with multiple profiles, visual controls, and WCAG/ADA compliance — no coding required. | Customization beyond available settings may be limited compared to manual coding approaches. |
| Native Webflow Adjustments | Gives developers complete control using Webflow’s built-in tools to structure and label content with precision. | This method demands deep accessibility knowledge, regular testing, and significantly more time to implement. |
| Open-Source JavaScript Library | Provides a lightweight and cost-effective way to add basic visual accessibility enhancements without platform lock-in. | It lacks a user interface, requires developer integration, and does not ensure compliance with legal accessibility standards. |
While each method has value depending on your project scope and technical resources, Elfsight remains the most streamlined and effective way to quickly enhance accessibility on a Webflow website.
Helpful Tips for Better Accessibility Setup
Accessibility can significantly improve user experience for those with visual, cognitive, and motor impairments. Here are key tips to help you make the most of such features and align the widget setup with inclusive design principles.
- Set a default accessibility profile that fits your audience. If you know a large portion of your users may have color vision deficiency or dyslexia, prioritize those profiles by placing them at the top of the list or activating them by default.
- Make the widget visible but non-intrusive. Position it in a fixed corner where it remains accessible but does not block navigation or content. Ensure the icon is universally recognizable and has sufficient contrast with the background.
- Use clear, plain language for toggle labels and tooltips. Avoid jargon. Instead, use terms like “Text Size” or “Highlight Links” to help users understand functionality at a glance.
- Customize font styles and color themes to match your branding. Accessible design doesn’t need to conflict with aesthetics. Adjust the widget’s appearance to integrate naturally into your website’s look and feel while keeping it functional.
- Limit unnecessary animation or motion. Excessive animations can be disorienting for users with cognitive or vestibular disorders. Enable settings that reduce motion and simplify transitions between interactions.
- Test on real devices using assistive technologies. After setup, check how the widget behaves with screen readers, keyboard navigation, and browser zoom features. This ensures a smooth experience across the board.
- Respect session memory settings. Use the session memory feature to save the user’s configuration preferences, allowing returning visitors to access the same accessibility state without needing to reset controls.
With these adjustments in place, your widget becomes a seamless part of your Webflow project — both functionally and visually. Now let’s explore how businesses in different industries benefit from making their website accessible to visitors with disabilities.
How Web Accessibility Compliance Helps Businesses
Different industries can apply accessibility features in tailored ways to support diverse audiences, improve user experience, and ensure compliance with legal standards. Let’s explore how various sectors benefit from and apply accessible design practices in real-world contexts.
Application in eCommerce 🛒
Online stores must ensure that every visitor can navigate, browse, and complete purchases without barriers. Adding accessibility features like text enlargement, contrast controls, and keyboard-friendly navigation directly enhances usability for shoppers with disabilities. These features make it easier to interact with product galleries, shopping carts, and checkout forms — boosting satisfaction and reducing cart abandonment.
Application in Education 🎓
Educational institutions need to offer barrier-free access to course materials, registration systems, and learning resources. Accessibility features like dyslexia-friendly fonts, adjustable text spacing, and content highlighting empower students with learning differences to succeed. Custom widgets allow institutions to comply with legal standards like Section 508 or ADA, while providing a better learning experience for everyone.
Application in Government Services 📝
Government websites are required to maintain high standards of accessibility to serve all citizens equally. Features like font scaling, screen reader compatibility, and high-contrast modes are vital for making forms, public records, and legal documents accessible to everyone. A well-implemented widget ensures transparency, legal compliance, and equal access to digital services.
These examples highlight how accessibility widgets can be effectively adapted across industries to meet both compliance needs and user expectations. Next, we’ll look at common issues that may arise during implementation — and how to solve them efficiently.
Solving Common Issues
While setting up an accessibility widget is generally straightforward, users can face specific challenges when integrating it into Webflow or managing its features. Below are common questions and solutions related to usability, performance, and compliance.
Why isn’t the widget displaying on my Webflow website?
Can accessibility tools impact website performance?
How do I make sure the widget doesn’t block content or navigation?
Does using a widget ensure full legal compliance?
Understanding these challenges helps ensure smoother integration and a more reliable user experience.
Conclusion
Webflow website accessibility is more than a legal necessity — it’s an essential step toward building a digital space that welcomes all users. From implementing user-friendly accessibility features to customizing your widget and choosing the right integration method, each action helps your business meet digital accessibility standards and provide a better experience for everyone.
Using Elfsight’s no-code solution allows you to streamline compliance efforts while ensuring your Webflow project is inclusive, visually consistent, and easy to manage. Whether you’re enhancing an eCommerce store, an educational platform, or a government portal, prioritizing accessibility boosts usability, trust, and overall engagement.
Need Help Moving Forward?
We hope this walkthrough has given you clarity and confidence. If you’d like guidance on creating an accessibility feature for your Webflow project, contact us — our team is here to help you every step of the way. At Elfsight, our goal is to make powerful, no-code widgets accessible to every business owner — without technical hurdles.