
That little blue checkmark next to an Instagram username carries more weight than ever. But here’s the thing: getting verified today looks completely different than it did just a few years ago. Whether you’re a local business owner wondering if you even qualify, or a creator tired of impersonation accounts stealing your audience, this guide breaks down exactly what it takes to earn that badge – and which path makes the most sense for your situation.
- Understanding the two distinct verification pathways: free and Meta Verified
- Complete breakdown of Meta Verified’s 5-tier system with pricing and features
- Step-by-step application processes for both verification options
- Documentation requirements and notability proof needed for approval
- Common rejection reasons and realistic reapplication strategies
- Regional pricing differences and what changed in late 2025
What the Instagram Verified Badge Really Means
The blue checkmark signals one fundamental truth: this account is authentic. It confirms that the person or organization behind the profile is exactly who they claim to be. Meta has repositioned verification from a status symbol reserved for celebrities into a credibility marker accessible to a much broader range of accounts.But let’s clear up what verification is not.
It’s not a growth hack. It won’t magically unlock viral reach or flood your account with new followers. While verified accounts do receive better placement in search results and some algorithmic prioritization, the badge itself doesn’t create audience growth. Its primary job? Building trust and protecting you from impersonators.
Verified Badge vs Meta Verified: Two Distinct Paths
Instagram now operates a dual verification system. Understanding which path suits your goals saves time and frustration.
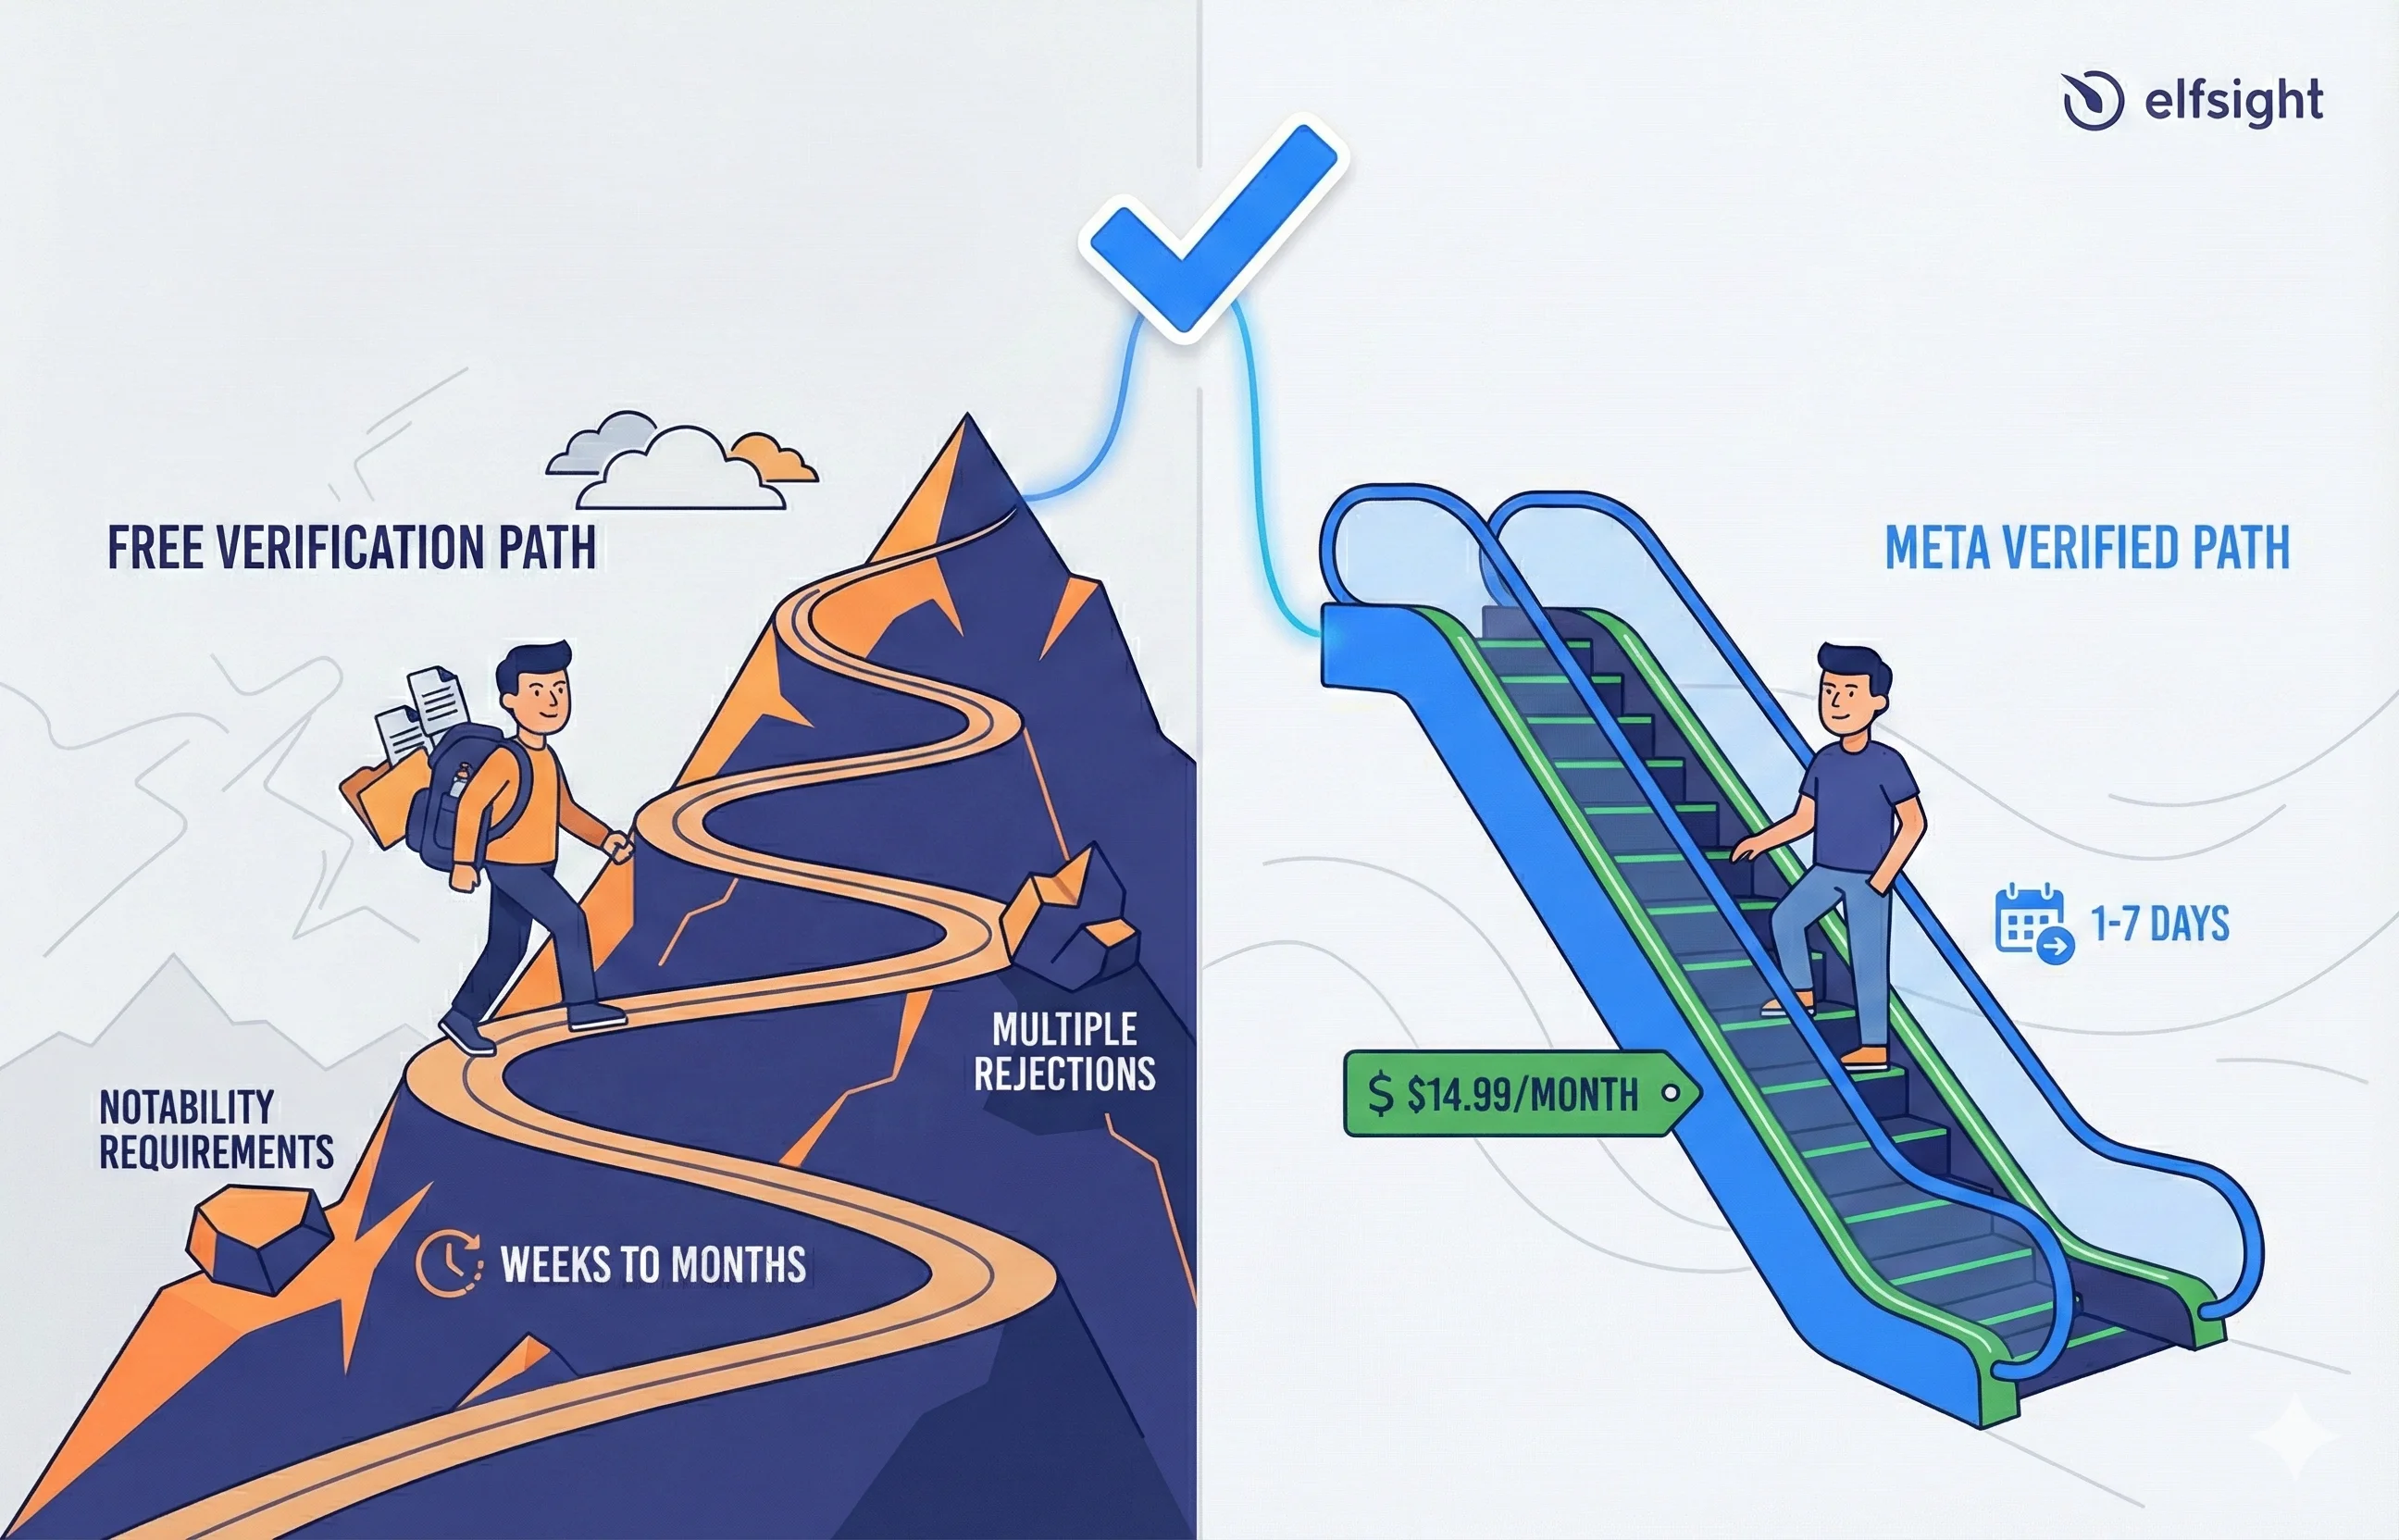
The Traditional Verified Badge (Free) follows Instagram’s original model. You earn verification by demonstrating genuine public notability—media coverage, search interest, authentic audience relevance. It’s harder to qualify for, but it costs nothing and carries historically stronger credibility signals.
Meta Verified (Paid Subscription) opened the gates for creators and professionals who lack traditional celebrity status but want credibility and account protections. You subscribe monthly, verify your government ID, and gain the blue badge plus enhanced features like priority support and impersonation alerts.
| Factor | Free Verification | Meta Verified |
|---|---|---|
| Best For | Public figures, celebrities, notable businesses | Emerging creators, local businesses, professionals |
| Cost | $0 | $11.99-$14.99/month (varies by region) |
| Primary Requirement | Proven notability + media coverage | Government ID + profile completeness |
| Approval Timeline | Weeks to months (increasingly difficult) | 1-7 days typically |
| Support Access | Standard | Priority customer service |
| Additional Features | None | Impersonation alerts, enhanced visibility, security features |
Who Should Choose Which?
Choose the free verification path if:
- You have significant media coverage from reputable outlets
- People actively search for your name or brand
- You’re concerned about appearing “too commercial”
- You have the patience for a lengthy review process with uncertain outcomes
Choose Meta Verified if:
- You want faster approval (days, not months)
- You need additional account protections and priority support
- You lack traditional notability but have a legitimate professional presence
- You’re willing to pay for convenience, features, and the badge itself
For public figures with established media presence, free verification makes more sense, it’s authentic to their status. For businesses, micro-influencers, and emerging creators, Meta Verified offers faster access and practical benefits that justify the monthly investment.
Two Ways to Get Verified: Free vs Paid
If you’ve been searching for how to get verified on Instagram for free, or wondering whether you can get that blue tick without being famous, here’s your answer: both are possible, but through different doors.
Option A: Apply for the Verified Badge (Free)
The free path to verification is straightforward in theory but selective in practice. Instagram looks for four core requirements, and notability is the variable that trips most people up.
Eligibility Checklist
Your account must be:
- Authentic: Represent a real person, registered business, or legitimate entity (not parody or fan accounts)
- Unique: Only one verified account per person or business (language-specific accounts are exceptions)
- Complete: Include a profile picture, bio, and at least one post; account must be public
- Notable: Demonstrate you’re a well-known, highly searched-for person, brand, or entity
That fourth requirement – notability – deserves special attention. Unlike follower count (which has no minimum), notability requires external validation. Instagram looks for:
- Media coverage: Features, interviews, and mentions in reputable news outlets, blogs, and industry publications
- Public interest signals: Evidence that people actively search for your name or brand
- Search visibility: Wikipedia pages, knowledge panels, or significant online presence
- Community engagement: Strong follower loyalty and interaction patterns
Here’s encouraging news for local accounts: you don’t need national media coverage. A boutique business featured in local newspapers, chamber of commerce mentions, or industry trade publications can build legitimate notability. Regional recognition counts – but you’ll likely need more of it than in previous years.
Option B: Subscribe to Meta Verified (Paid)
If the free path feels like climbing a mountain, Meta Verified is the chairlift. You still need to meet certain requirements, but the notability barrier disappears entirely. Instead, you pay for the badge and gain access to a suite of features.
Meta Verified Tier System (Complete Breakdown)
Meta Verified launched a 5-tier system in 2025, replacing the previous 2-tier model. Here’s what each tier includes:
| Tier | Price (Monthly) | Best For | Key Features |
|---|---|---|---|
| Standard | $11.99 (web), $14.99 (iOS/Android) | Creators, small business owners | Blue checkmark, impersonation alerts, priority support, ad-free experience, account security features |
| Plus | $44.99 (intro), $49.99 (standard) | Small-to-medium content creators | All Standard features + enhanced visibility in search and recommendations, advanced analytics dashboard |
| Premium | $119.99 (intro), $149.99 (standard) | Agencies, high-volume creators | All Plus features + team member management (up to 3 people), advanced creator tools, dedicated account manager access |
| Max | $349.99 (intro), $499.99 (standard) | Large agencies, multi-account businesses | All Premium features + team management (unlimited), priority support escalation, custom feature requests |
| Business Subscriptions | Varies by account type | E-commerce, service businesses | Shop verification, customer messaging tools, payment processing features, business analytics |
Benefits Beyond the Badge
Meta Verified includes the blue checkmark plus concrete features that justify the monthly cost for many users:
- Identity verification: Government ID confirmation provides impersonation protection
- Dedicated support: Priority customer service access for account issues
- Enhanced visibility: Boost in search rankings and recommendations
- Account security alerts: Notifications if someone attempts to access your account
- Advanced features: Some subscription tiers include extended video uploads or other platform benefits
Expert Insight: “Verified accounts experienced a +30.2% increase in engagement metrics and +79% increase in profile activity post-verification.” — Industry Case Study Analysis
Eligibility Requirements
The bar here is much lower than free verification:
- Be at least 18 years old
- Located in a country offering Meta Verified
- Government-issued photo ID matching your profile name and picture
- Profile picture that includes your face
- Minimum activity history (evidence of prior posting)
- Two-factor authentication enabled
- Compliance with Instagram Terms of Service
Critical Subscription Information
Meta Verified is a subscription, not a one-time achievement. Your badge persists only while you remain subscribed and compliant. You’ll lose it if:
- You cancel your subscription
- You violate Meta’s Community Guidelines
- You change your username, display name, or profile photo (temporary removal until re-verification)
- Your profile information becomes misleading
Step-by-Step: How to Apply for Verification on Instagram
Once you understand the two verification paths and their differences, the next step is actually applying for the badge. Here’s how the process works from start to finish for both methods.
Applying for Free Verification
Step 1: Prepare Your Account
Before you even open the verification form, make sure your profile is bulletproof:
- Switch to a Creator or Business account (free and required for most)
- Add a clear profile photo showing your face
- Write a compelling bio with relevant keywords
- Post at least 3-5 pieces of content
- Enable two-factor authentication
- Set your account to public
Step 2: Access the Verification Form
On the Instagram app:
- Tap the hamburger menu (three lines) in your profile’s top right
- Select “Creator tools and controls” or “Business tools and controls”
- Tap “Request verification” at the bottom
Step 3: Choose Your Category
Instagram displays category options. Select the one most accurately representing your account:
- News/Media
- Sports
- Government/Politics
- Music
- Fashion
- Entertainment
- Blogger/Influencer
- Business/Brand/Organization
- Other
Pick carefully—this affects how Instagram evaluates your application.
Step 4: Fill Out the Form
Provide the following:
- Full name or trading name: Exactly as it appears on your ID
- Government ID upload: Clear photo of driver’s license, passport, or national ID
- Country/region specification: Where you’re primarily known
- Alternate names (optional): Any other names you or your business operates under
Step 5: Submit Notability Evidence
This is where applications succeed or fail. Include supporting documentation such as:
- Links to 3+ articles from reputable publications featuring you
- Additional social media accounts showcasing your public presence
- Wikipedia pages or knowledge panels (if applicable)
- Business website or official domain
- Professional credentials or industry recognition
Step 6: Submit and Wait
Tap Submit. Instagram’s review typically takes a few days to several weeks, though some applications clear in 48 hours. You’ll receive a notification in the Instagram app (not via email) confirming approval or denial.
Applying for Meta Verified
The paid path is faster and more straightforward:
Step 1: Verify Eligibility
Confirm you meet the basics: 18+, located in a supported country, public or private profile with real name and face photo, prior posting activity, and two-factor authentication enabled.
Step 2: Access Meta Verified Signup
In the Instagram app:
- Go to Settings & Privacy → Account
- Scroll to Meta Verified
- Tap “Upgrade” or “Subscribe”
Step 3: Choose Your Subscription Tier
Review the tier table above and select which option best matches your needs. Consider:
- Do you need enhanced visibility features (Plus+)?
- Do you manage multiple accounts or a team (Premium/Max)?
Is the Standard tier sufficient for your goals?
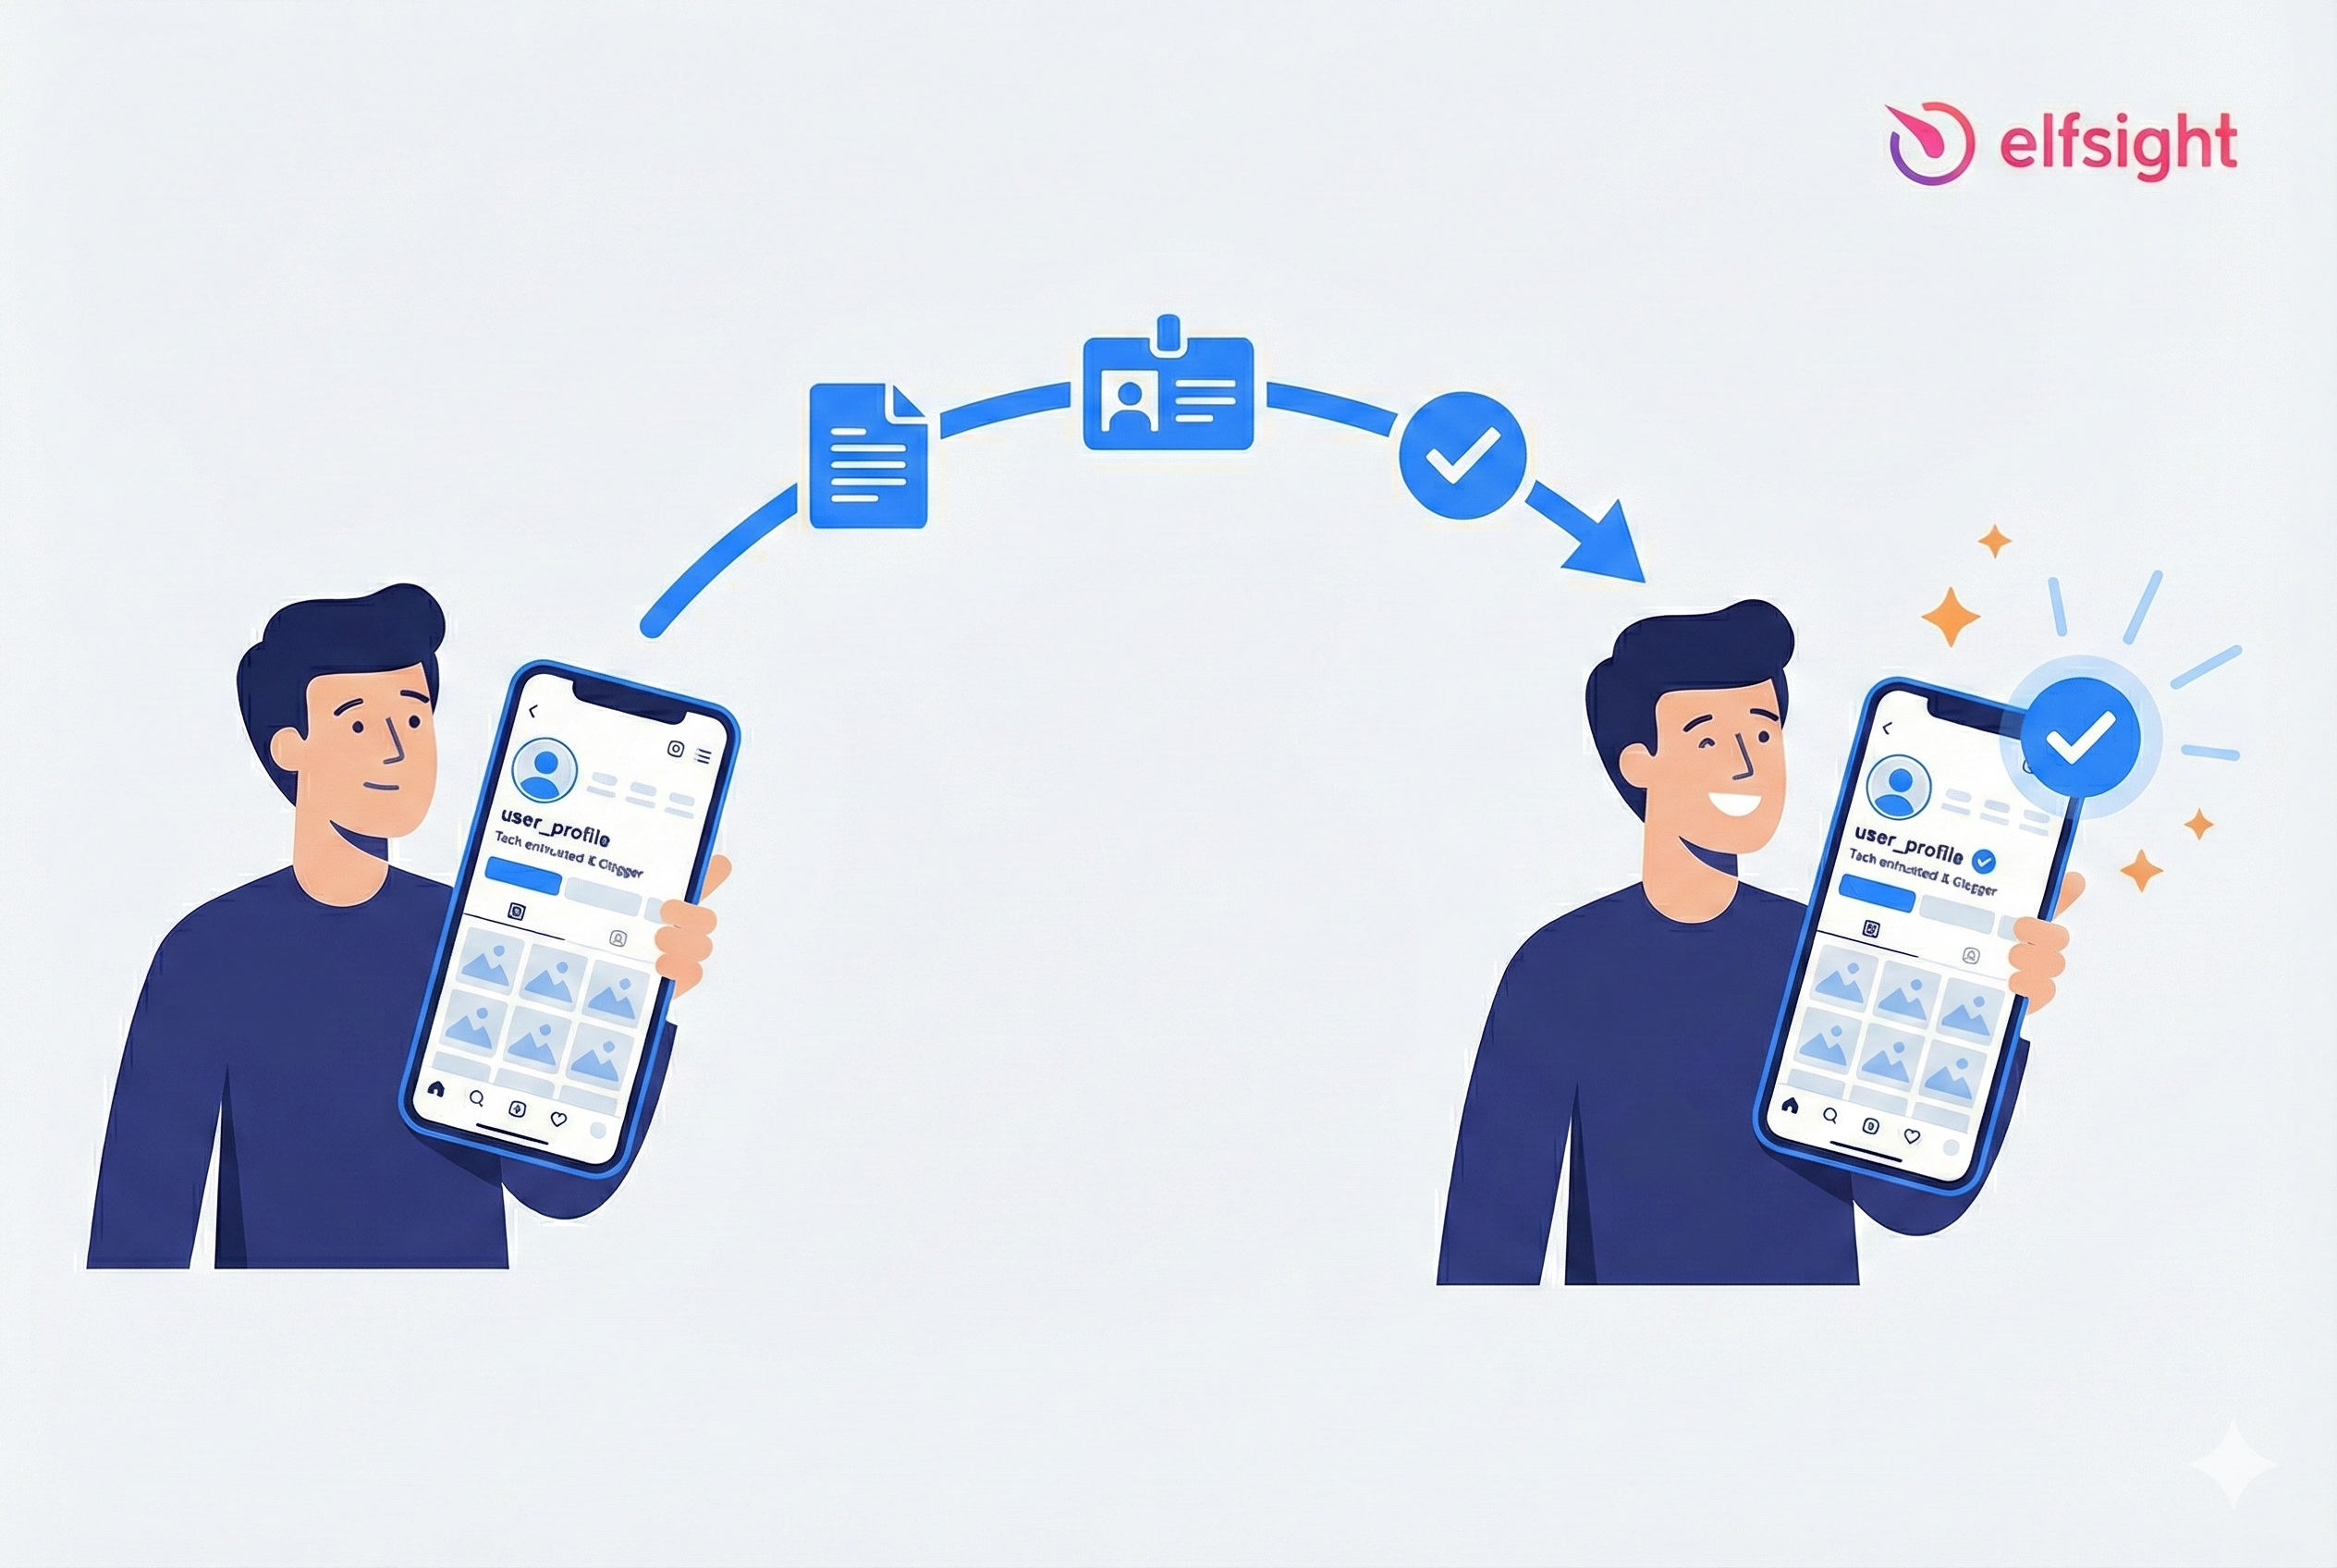
Step 4: Verify Your Identity
Upload a clear photo of your government-issued ID and take a selfie for facial recognition matching. Meta uses AI to verify the ID photo matches you. ID must be valid (not expired).
Step 5: Complete Profile Verification
Confirm your full legal name, profile information accuracy, and profile picture (must show your face).
Step 6: Process Payment & Receive Badge
Complete payment via your app’s payment method (Apple Pay, Google Pay, credit card, or billing account). Meta typically adds the badge within 1-7 days after ID verification clears. You’ll receive a notification when your subscription is active.
Documentation & Proof: What to Prepare
Having the right documentation ready before you apply saves headaches.
For Individuals
- Unexpired passport, driver’s license, or national ID card with current photo
- Links to articles, interviews, podcasts, or published content featuring your name
- Consistent naming across all platforms
For Businesses
- LLC formation documents, incorporation certificate, or business license
- Proof of official domain ownership
- Recent tax filing or utility bill in the business name
- Brand consistency between Instagram username and official registration
For Notability Proof (Free Verification)
- Feature articles and news coverage from publications with established authority
- Wikipedia pages or knowledge panels (helpful but not required)
- Industry awards, certifications, or mentions from respected sources
- Verification on other platforms like YouTube, TikTok, or X
- At least 3 articles strongly recommended; 5+ articles increases odds significantly
Pricing & Regional Availability (What Changes by Country)
Meta Verified pricing varies by region, device type, and subscription tier. Here’s a device & pricing breakdown table for your reference:
| Platform | Standard | Plus | Premium | Max |
|---|---|---|---|---|
| Web Browser | $11.99/mo | $44.99/mo | $119.99/mo | $349.99/mo |
| Android (Google Play) | $12.99/mo | $49.99/mo | $129.99/mo | $369.99/mo |
| iOS (Apple App Store) | $14.99/mo | $54.99/mo | $149.99/mo | $399.99/mo |
Why the difference? iOS pricing is higher because Apple charges a 30% platform fee. Web browser subscriptions are typically cheapest and are the recommended purchasing method if cost is a factor.
Regional Variations
Pricing varies internationally:
- Australia: AU$20.99 (Standard) – AU$599 (Max)
- Canada: CA$17.99 (Standard) – CA$599.99 (Max)
- EU: €9.99 (Standard) – €399.99 (Max)
- UK: £9.99 (Standard) – £339.99 (Max)
Introductory Pricing
Meta offers discounted rates for the first 3 months of new subscriptions, then increases to standard pricing shown above. The discount is approximately 30% for most regions and tiers.
What If Meta Verified Isn’t Available in Your Country?
Meta Verified is rolling out gradually but is now available in most major markets. If you don’t see the option in your settings:
- The feature appears in Settings > Account > Meta Verified only if available in your country
- Meta expands to new countries quarterly
- Focus on free verification or check back in 30-60 days
- You can always apply for free verification while waiting for Meta Verified availability
Regional Verification Tips
For local businesses and regional creators without national media presence, building credible local authority is key.
How to Build Regional Notability
- Target local media: Small newspapers, city blogs, chamber of commerce publications
- Industry publications: Trade journals and niche business publications relevant to your field
- Regional partnerships: Collaborations with local influencers, businesses, or community organizations
Handling Name Differences Across Languages
If you operate under different names in different markets (say, “María González” in Spanish-speaking regions and “Mary Gonzalez” in English ones), consistency matters. Upload ID that matches one version and explain the naming variance in your application. Instagram understands multilingual markets exist.
If You Get Rejected: Fixes, Appeals, and Reapply Strategy
Rejection stings. But it’s not the end of the road, though the path forward is more uncertain than it was in previous years. Instagram doesn’t explain rejection reasons in detail, but the most common issues fall into predictable categories. Here’s a rejection troubleshooting checklist you can reference:
| Issue | Likely Cause | Fix |
|---|---|---|
| Profile incompleteness | Missing bio, unclear photo, private account | Complete all profile fields, go public, ensure clear face photo |
| Insufficient notability | Lack of media coverage or public interest signals | Pursue press features, industry mentions; aim for 5+ articles |
| Policy violations | Past guideline strikes or borderline content | Audit and remove problematic posts |
| Identity mismatch | Name on profile doesn’t match ID | Align naming across ID and Instagram exactly |
| Documentation issues | Blurry ID photo, expired documents | Resubmit clearer, valid documentation with current expiry |
Current Approval Reality Check
Important caveat for free verification: As of December 2025, even accounts with strong credentials experience rejection. Users with 30,000+ followers, international media coverage, and platform verification have reported continuous denials over 5+ months. This suggests:
- Instagram’s notability standards may have become more strict
- The approval process is more discretionary than purely data-driven
- Media coverage is necessary but not sufficient for approval
- Account category and timing may play undisclosed roles
If rejected for notability despite media coverage, understand that reapplication with additional documentation is not guaranteed to succeed. Some accounts may simply not meet Instagram’s current, and undisclosed, approval threshold.
Reapplication Timing & Strategy
You can reapply after 30 days from denial. Don’t resubmit immediately with the same application—use that month strategically.
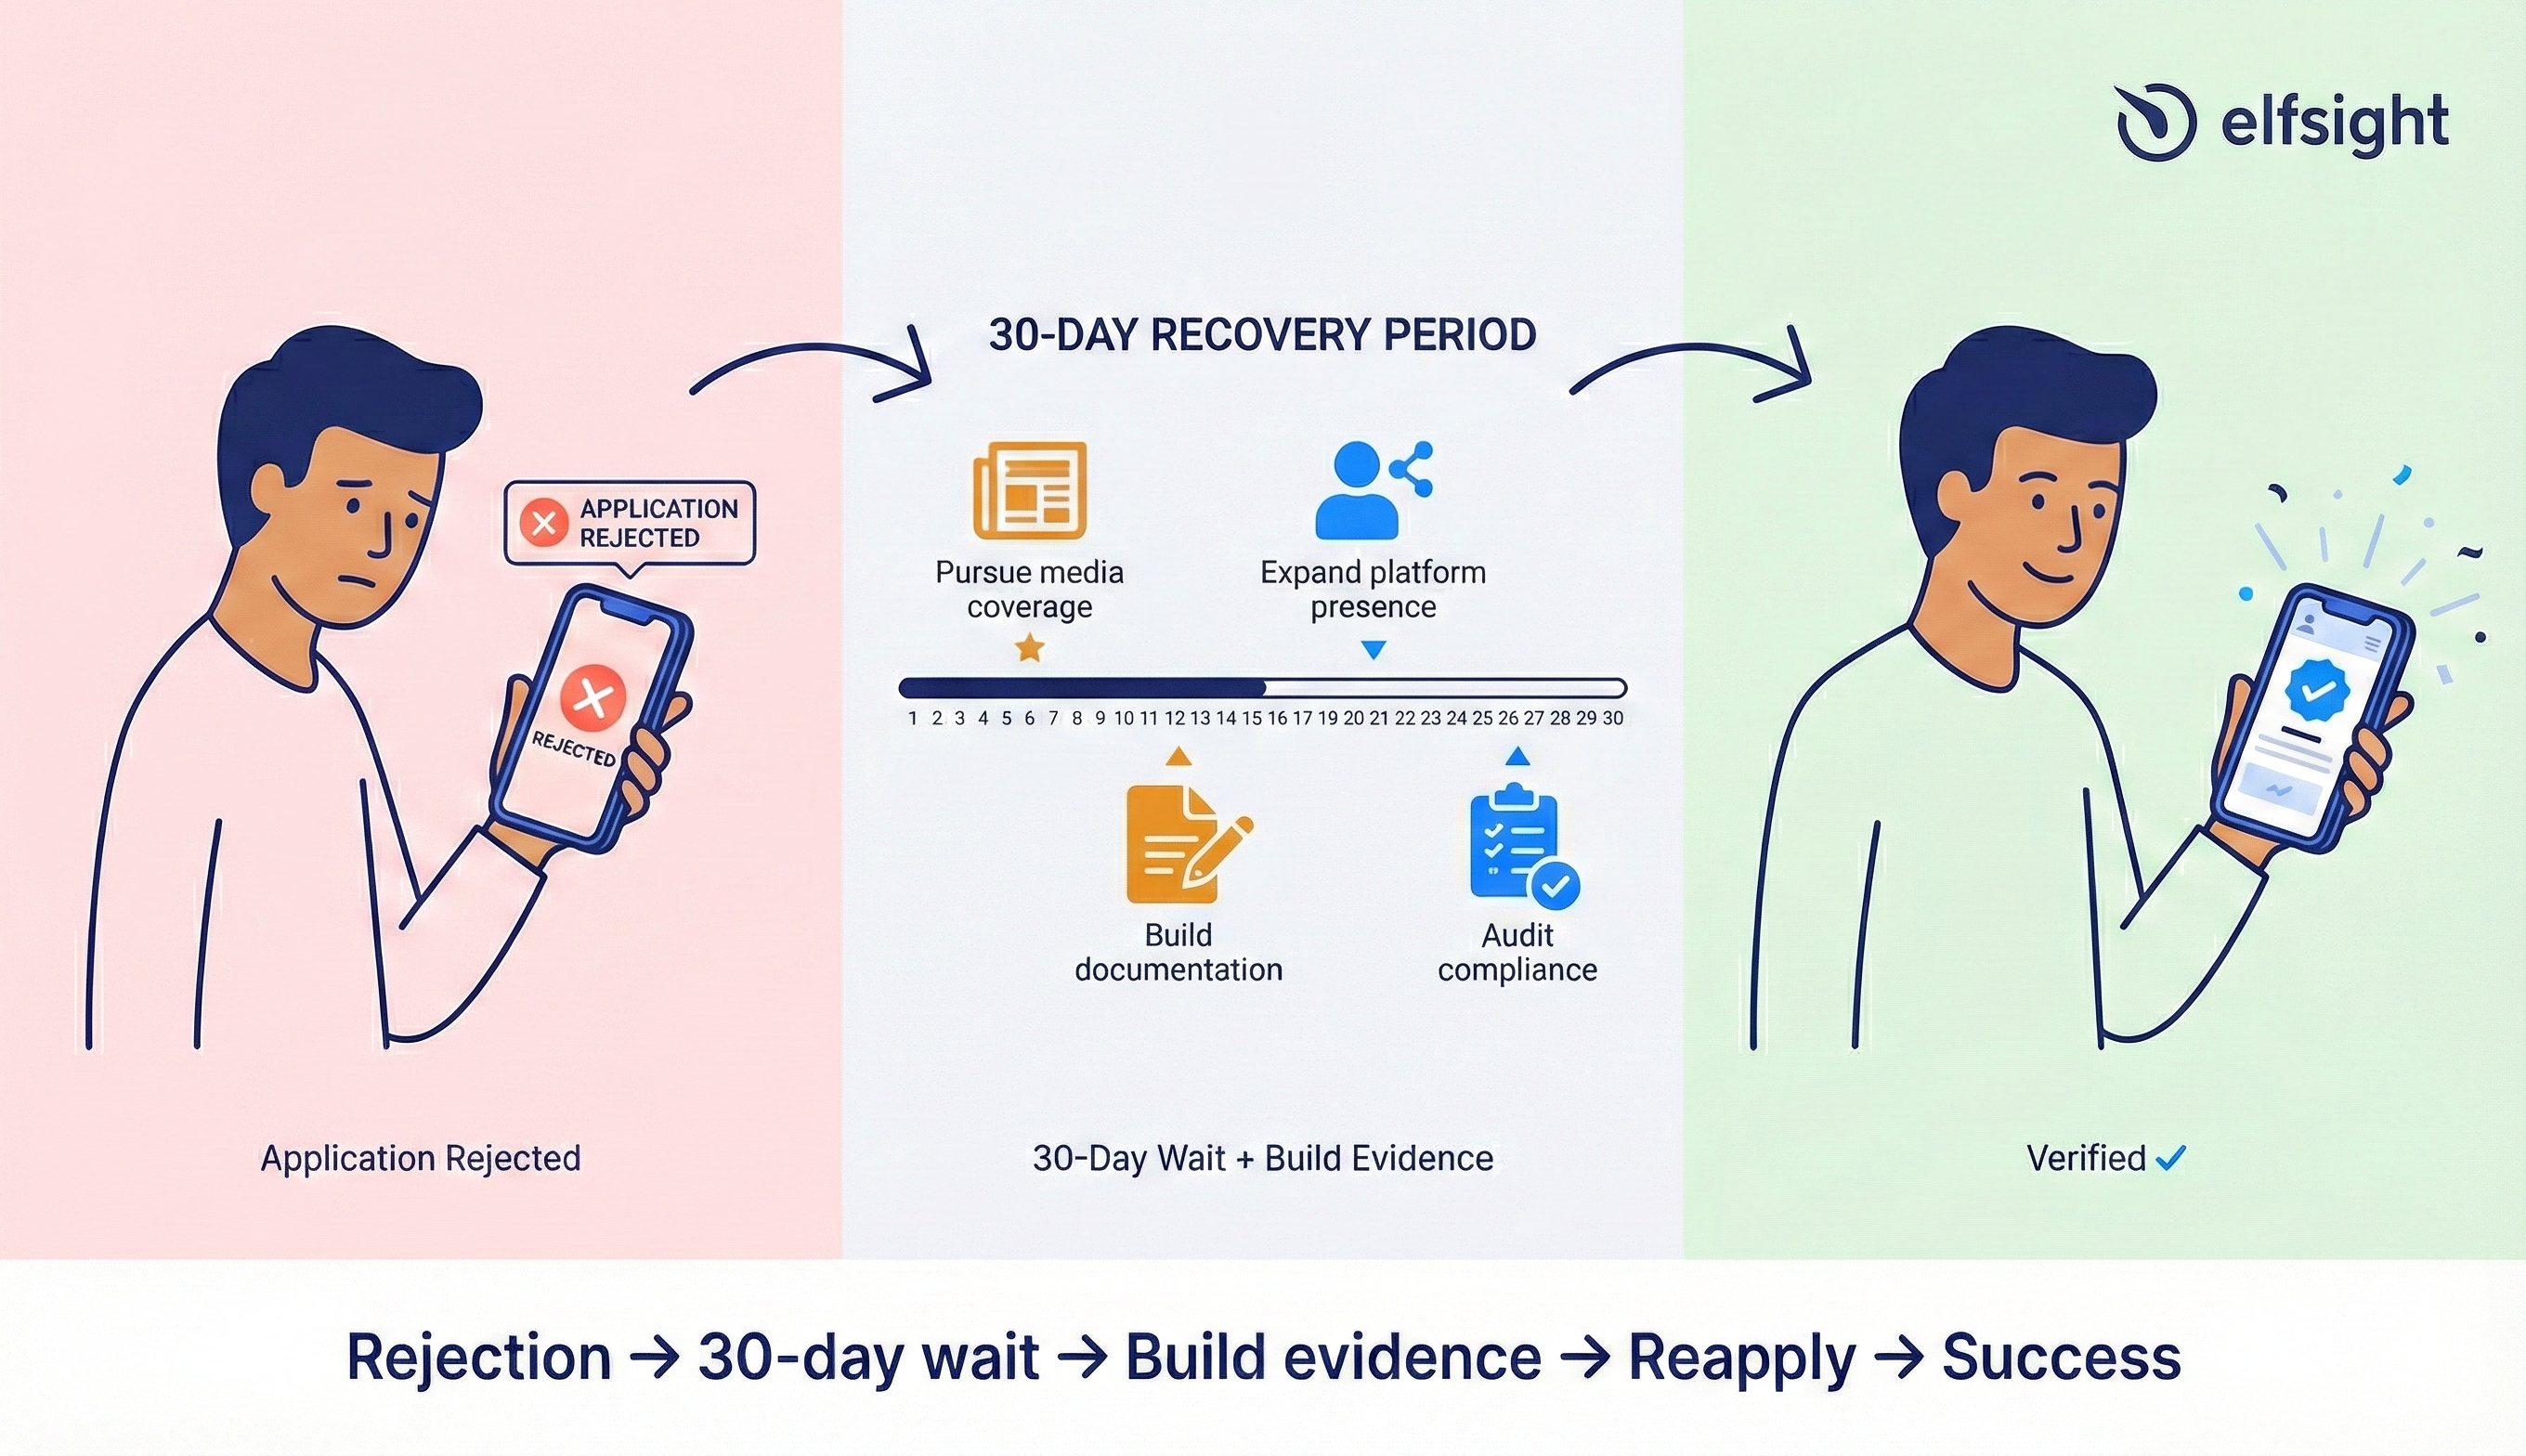
If rejected for notability
- Pursue at least 2-3 new pieces of media coverage
- Start with smaller, niche publications; major outlets notice emerging names after local coverage builds
- Expand presence on other platforms (TikTok, YouTube, LinkedIn verification helps)
- Understand that approval is not guaranteed even with solid documentation
If rejected for profile incompleteness
- Rebuild your profile from scratch: clear photo, detailed bio, consistent naming across platforms
- Ensure two-factor authentication is enabled before reapplying
- Post 5-10 pieces of high-quality content to establish activity history
If rejected for policy violations
- Audit all posts and stories for Community Guideline compliance
- Remove anything borderline or controversial
- Ensure no past strikes remain on your account
- Consider waiting 60+ days before reapplication to demonstrate sustained compliance
The Appeals Process
Unfortunately, Instagram doesn’t offer a formal appeals process for the free verified badge. Your only option is resubmitting 30 days later with strengthened documentation.
For Meta Verified, if your subscription is flagged for removal or denied, you can contact Meta support directly through the app’s Help section. Include documentation showing profile legitimacy and community guideline compliance.
Realistic expectations: If you’ve been rejected 3+ times for free verification despite media coverage, you may have simply not reached the notability threshold Instagram currently requires. Consider Meta Verified as an alternative, or continue building media presence and reapply annually.
Avoid These Verification Killers
Certain behaviors will tank your application, or get an existing badge removed:
- Fake engagement: Bot likes, bought followers, engagement pods
- Misleading identity: Parody accounts, impersonation, profile misrepresentation
- Username instability: Frequent name changes or inconsistent profile information
- Policy violations: Repeated Community Guideline strikes, hate speech, copyright infringement
- Impersonation reports: Multiple reports of fake account behavior
If any of these violations apply to your account, clean house before applying. Fake engagement, policy violations, and misleading identity information will immediately disqualify your verification request.
How Instagram Compares to Other Platforms
Thinking about verification across multiple platforms? Here’s how they stack up:
| Platform | Paid Option | Free Option | Key Requirement | Typical Timeline |
|---|---|---|---|---|
| $11.99-14.99/mo | Yes | ID + notability (free) or ID only (paid) | Days (paid) to weeks (free) | |
| TikTok | No | Yes | Strong notability + authenticity | Weeks to months |
| X (Twitter) | $8-16/mo | Limited | Subscription or significant influence | Days (paid) |
| YouTube | No | Yes | 100K+ subscribers | Automatic at threshold |
Frequently Asked Questions
How many followers do I need to become verified on Instagram?
Can a normal user get verified on Instagram?
How much does it cost to be verified on Instagram?
What makes you eligible for verification on Instagram?
Can I get verified with 500 followers?
Final Thoughts
Instagram verification has evolved into a two-tier credibility system. The free path remains theoretically accessible but increasingly selective, while the paid subscription path democratizes access for anyone with a legitimate identity.
Getting verified on Instagram in 2025 comes down to understanding which door you’re walking through. If you have the press coverage and public interest to prove notability, the free path rewards that credibility without ongoing costs. If you need faster access, account protections, and priority support—and you’re willing to pay for convenience – Meta Verified removes the notability barrier entirely.
The bottom line: Whether you pursue free or paid verification, your primary focus should remain content quality, authentic audience building, and genuine engagement. The checkmark is a supporting credibility signal, not the foundation of a successful presence.
Choose your path based on your circumstances, understand what each offers honestly, and proceed with realistic expectations about what verification will and won’t do for your account.


