A company timeline is a powerful way to visually organize events, milestones, or historical data on a website. Visitors have the chance to follow the journey and learn how far your business has come.
If you want to enhance your website with a dynamic and interactive element, a Timeline widget is exactly what you need. It not only improves content presentation but also helps users quickly grasp key moments without scrolling through endless text.
Here are the main benefits of displaying a company history on a website:
- Enhances user engagement. A well-structured timeline makes information more accessible and visually appealing.
- Showcases growth and achievements. Perfect for businesses looking to highlight company history or key milestones.
- Improves storytelling. Helps brands and organizations present their journey in an intuitive, chronological format.
- Easy integration. Modern timeline widgets allow you to embed and customize without coding.
With a variety of tools available, adding a timeline to your website is easier than ever. Go to the next section to see how to quickly set up such a web element in no time!
How to Quickly Add a Timeline to Website
With Elfsight, you can build and embed a timeline in just a few minutes — no coding required. Follow these steps to add a company timeline to your website effortlessly.
- Open the editor and choose a ready-made template or start from scratch.
- Add events and customize descriptions to design a visual history timeline that fits your needs.
- Configure display options to showcase milestones on a webpage. Customize colors, fonts, and other design elements to match your website’s branding.
- Click “Add to website for free“, copy the generated code, and paste it into your website’s backend.
Try it now – create your own interactive timeline in minutes!
Elfsight Timeline Features and Benefits
Elfsight’s Timeline widget offers a seamless solution for integrating interactive chronology of your company into your website. Its robust features are designed to enhance user engagement and effectively showcase your company’s history or project milestones.
- Customizable Layouts. Choose between vertical or horizontal orientations.
- Interactive Elements. Engage visitors with clickable events that reveal detailed information.
- Multimedia Support. Enrich your timeline by incorporating images and videos.
- Responsive Design. Ensure optimal viewing experiences across all devices.
- No Coding Required. Easily integrate the widget without technical expertise.
With these features, the process of adding dynamic timelines to your website is simple and straightforward. Next, we’ll delve into a comprehensive guide on creating and embedding your timeline using Elfsight.
Step-by-Step Guide to Creating a Timeline
Creating and embedding a timeline on your website is a simple process with Elfsight. Whether you want to showcase company history, project milestones, or key events, this guide will walk you through each step — from selecting a template to embedding the final timeline on your website.
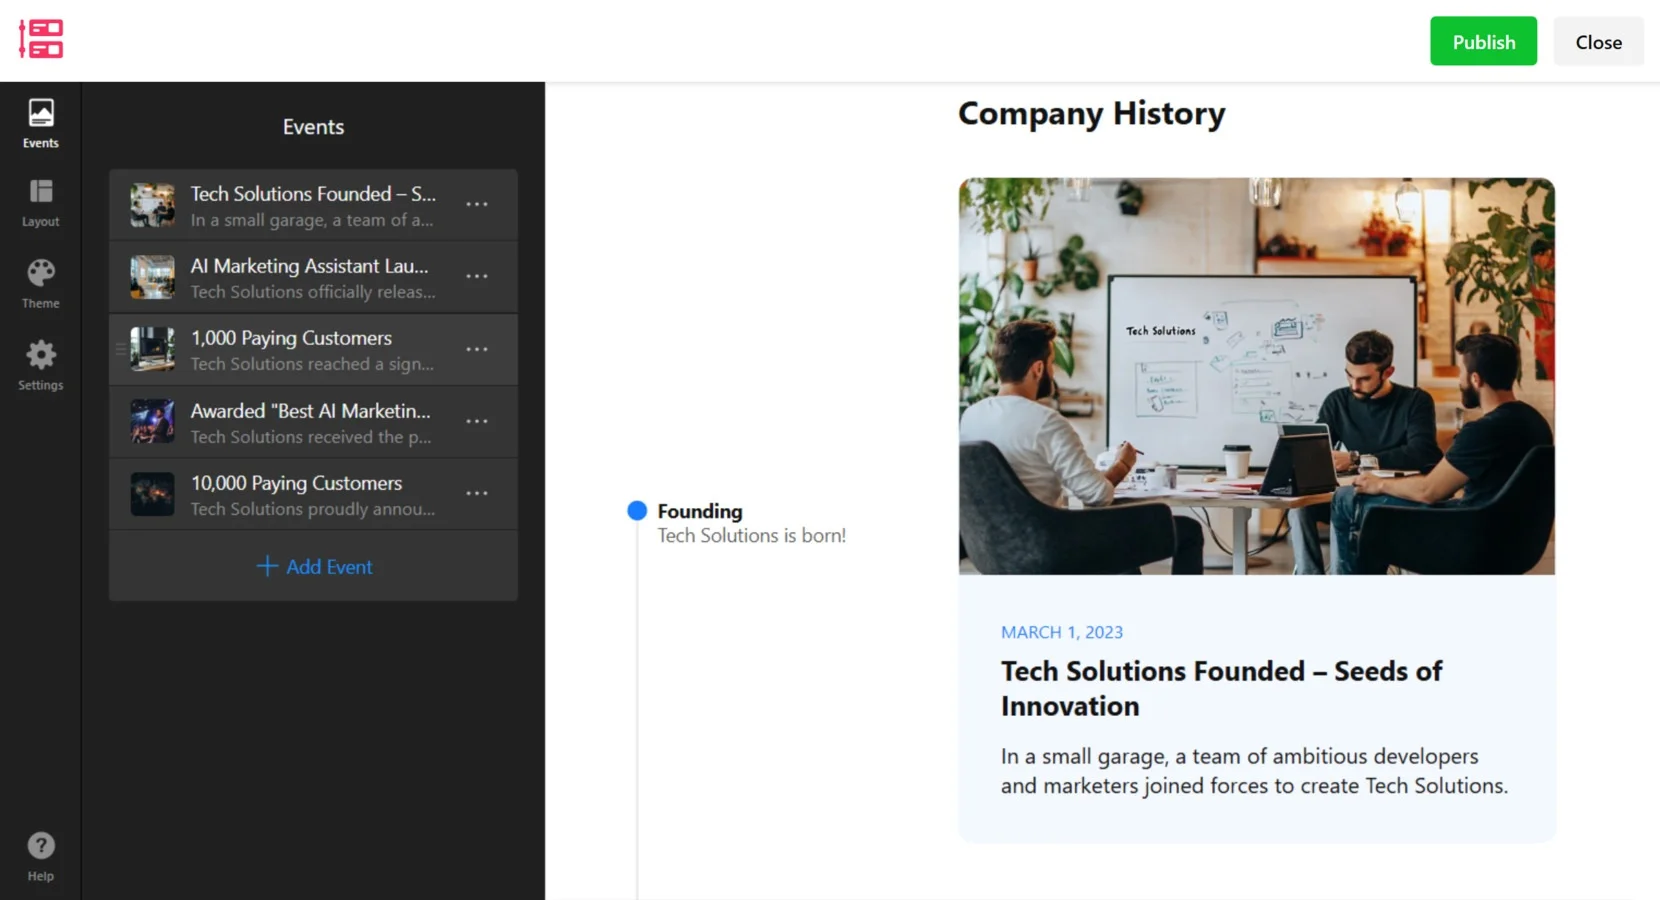
- Pick a Suitable Timeline Template. Go to the widget editor and choose a template (more templates are coming soon!). Navigate to the “Events” tab.

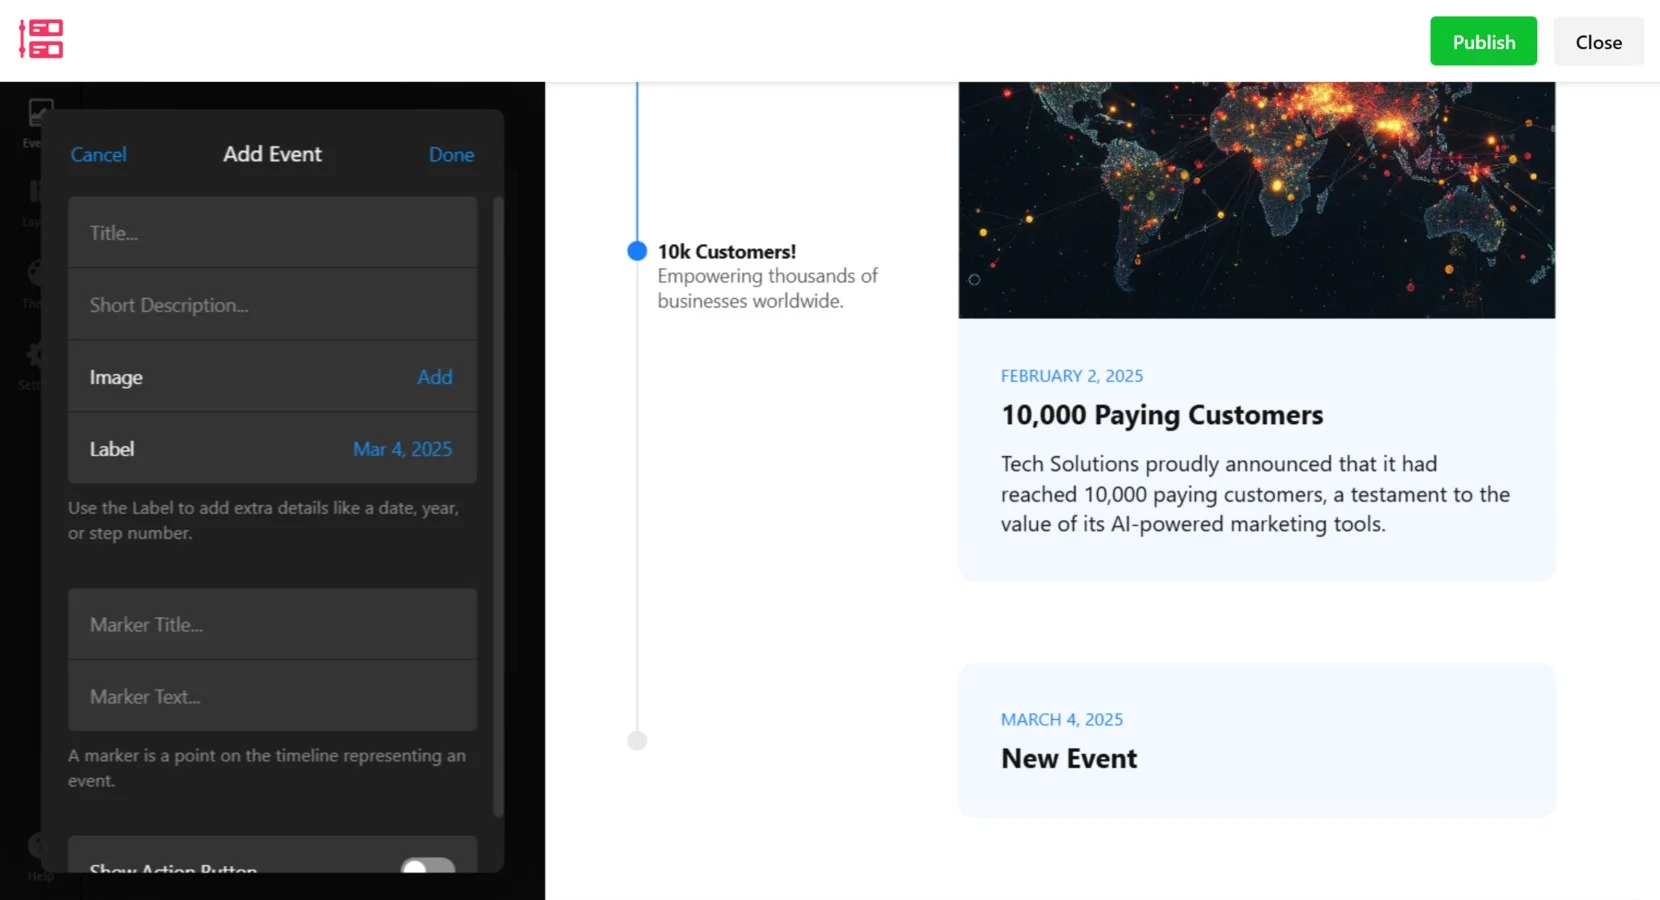
- Add Events to Your Timeline. Click “+ Add Event” to create a new event. Enter a “Title”, “Short Description”, and “Date (Label)”. Optionally, add an “Image” and adjust the “Marker Title” and “Marker Text” for better clarity. Hit“Done” to save. Repeat this process to build a complete timeline.
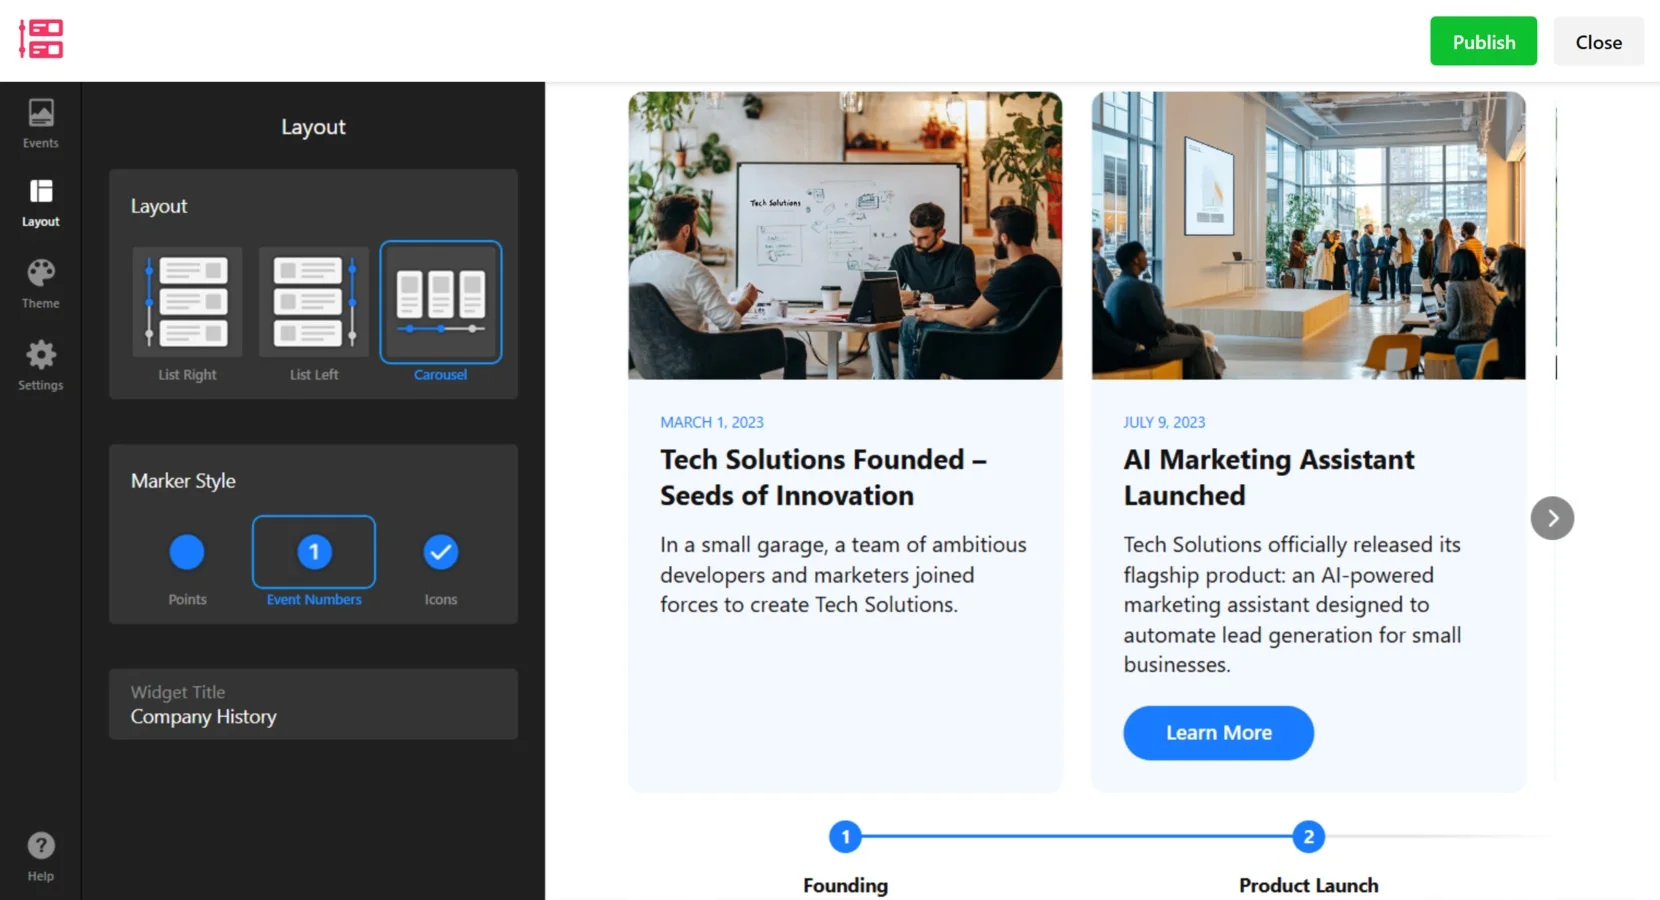
- Set a Layout and Marker Style. Open the “Layout” tab. Select your preferred timeline layout: List Right, List Left, or Carousel. Choose a “Marker Style”: Points, Event Numbers, or Icons.
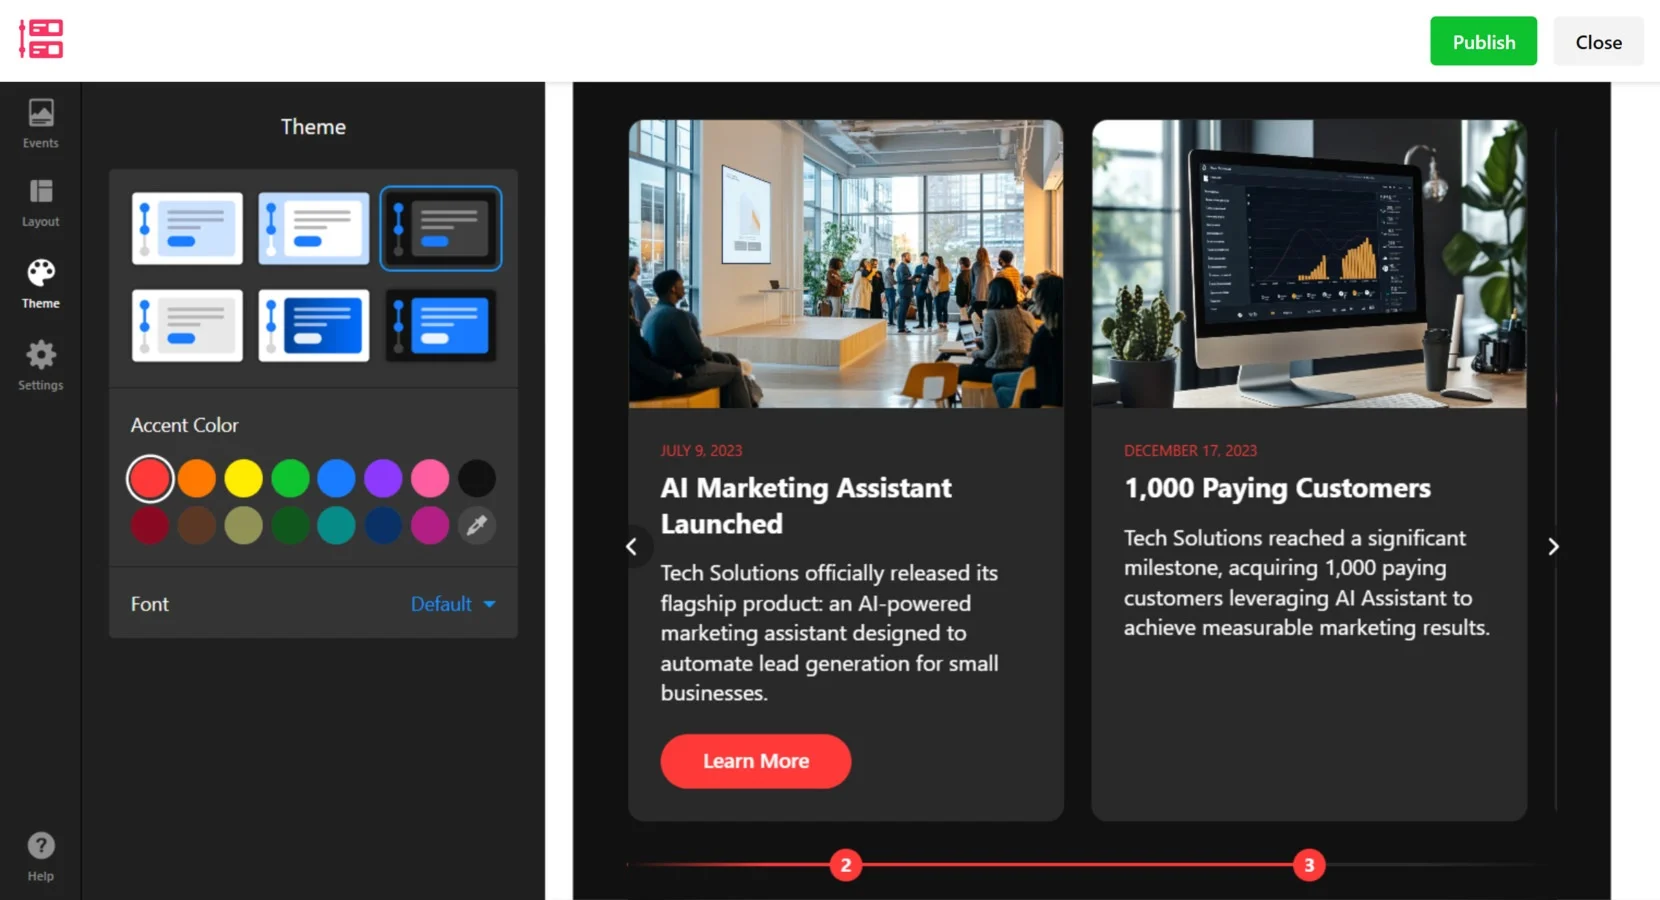
- Customize the Theme. Go to the “Theme” tab. Select a “Timeline Theme” that best matches your website’s style. Adjust the “Accent Color” by choosing from the palette or using a custom color. Modify the “Font Style” if needed.
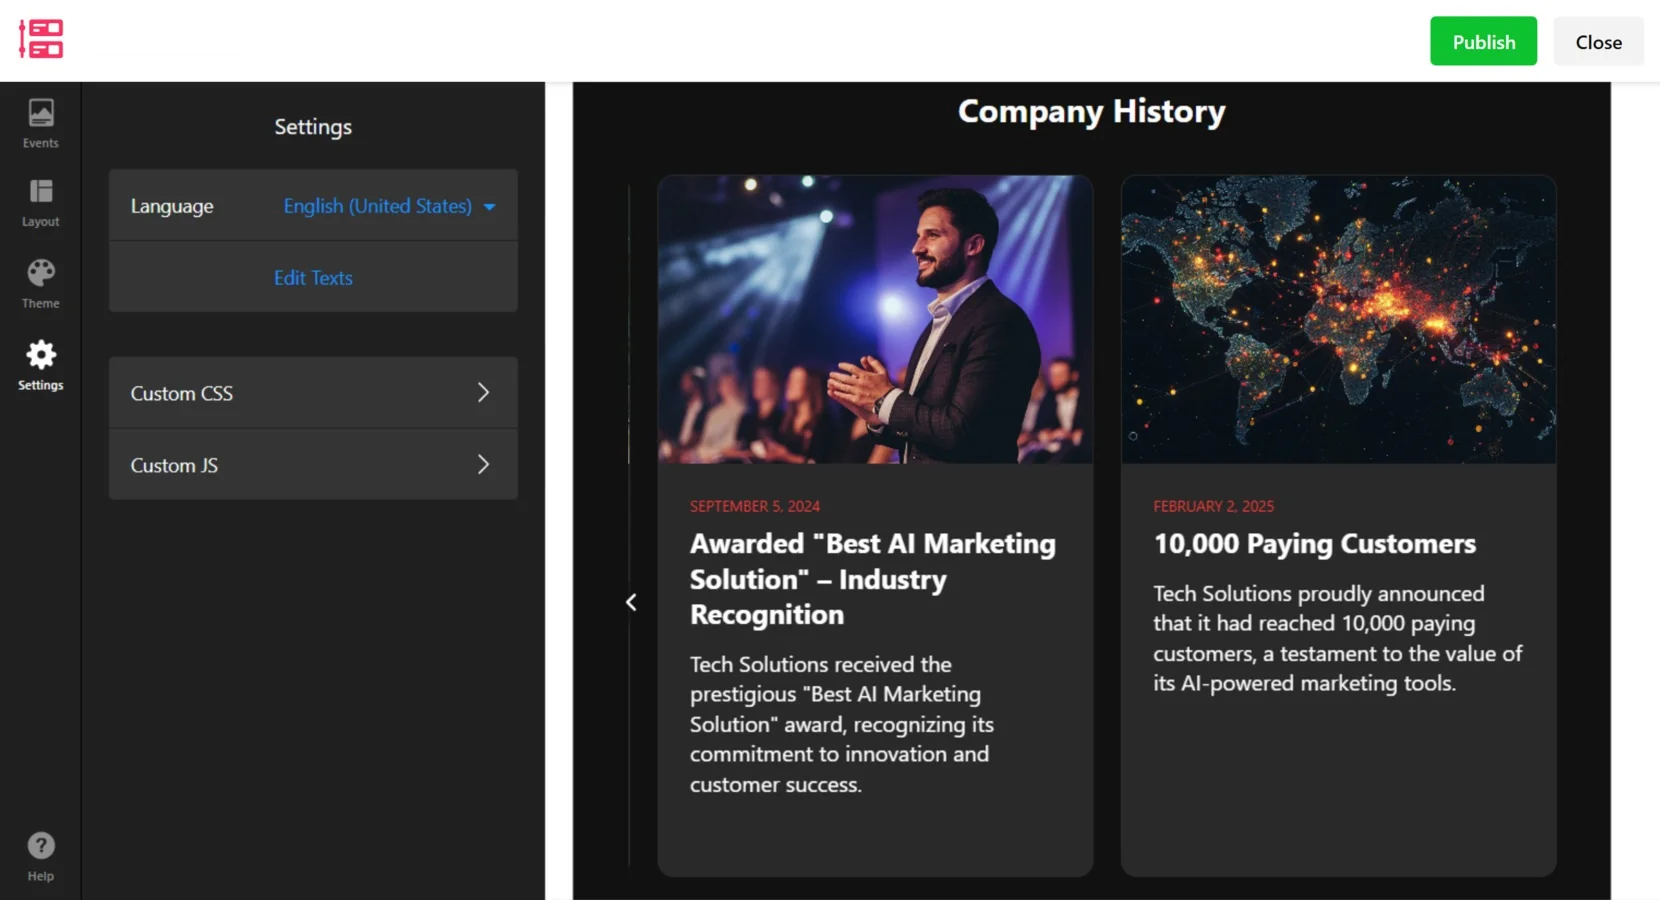
- Configure Settings. Navigate to the “Settings” tab. Choose the “Language” for your timeline. Click “Edit Texts” to modify default labels. Use “Custom CSS” or “Custom JS” for advanced styling and functionality.
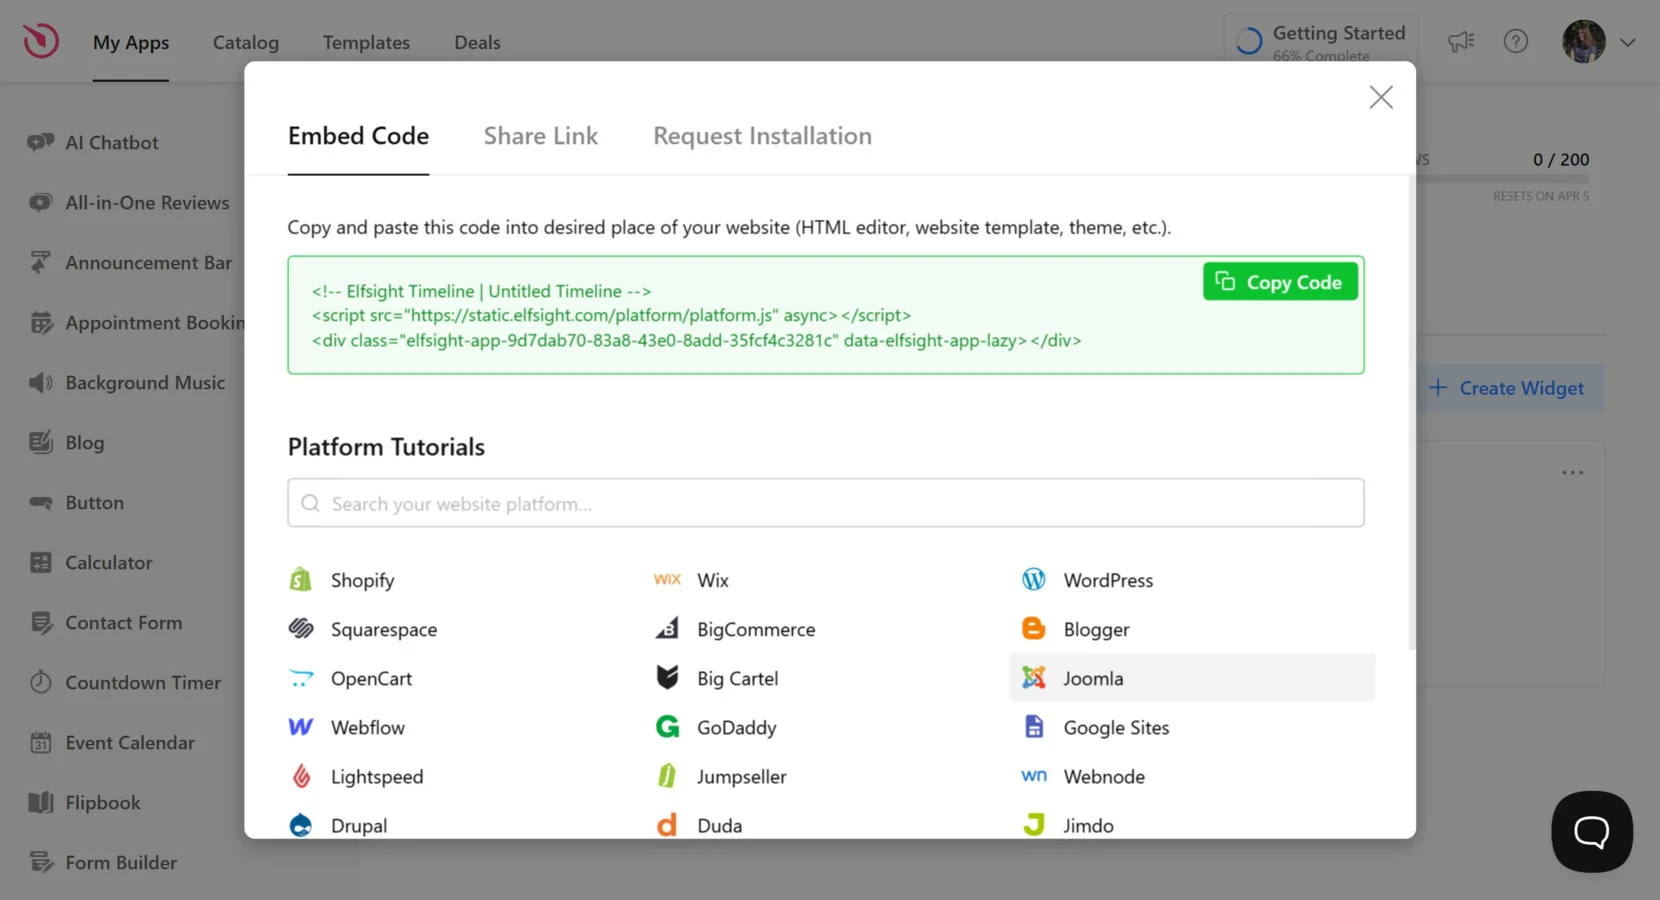
- Embed the Widget to your website. Click the “Publish” button in the top-right corner. Open the “Embed Code” tab and copy the provided snippet. Paste the code into your website’s backend.
Now that you know how to showcase company history with a widget, let’s explore alternative ways to integrate timelines into a website.
Other Ways to Embed a Timeline
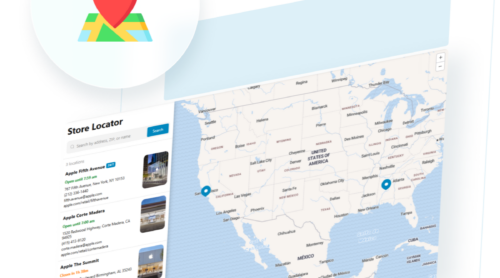
While the Elfsight’s widget is one of the easiest and most customizable solutions, there are other ways to embed a timeline on your website. Below, we explore two alternative methods: using the official Google Timeline API and manually embedding a timeline with HTML & CSS.
Using Google Timeline API
The Google Timeline API allows you to create dynamic, data-driven timelines using Google Charts. This method is best suited for developers who need a fully customized solution.
Here’s what you need to do to build a timeline with this solution:
- Go to the Google Charts documentation and find the Timeline API section.
- Create a new HTML file and add the Google Charts JavaScript library by inserting this script in the “head” section:
<script type="text/javascript" src="https://www.gstatic.com/charts/loader.js"></script> - Initialize the Google Timeline API by adding the following script before the closing “/body” tag:
<script> google.charts.load('current', {packages:['timeline']}); google.charts.setOnLoadCallback(drawChart); function drawChart() { var container = document.getElementById('timeline'); var chart = new google.visualization.Timeline(container); var dataTable = new google.visualization.DataTable(); dataTable.addColumn({ type: 'string', id: 'Position' }); dataTable.addColumn({ type: 'date', id: 'Start' }); dataTable.addColumn({ type: 'date', id: 'End' }); dataTable.addRows([ ['Event 1', new Date(2023, 2, 1), new Date(2023, 2, 10)], ['Event 2', new Date(2023, 5, 15), new Date(2023, 5, 25)] ]); chart.draw(dataTable); } </script> - Add a “div” with an ID to display the timeline:
<div id="timeline" style="height: 500px;"></div> - Upload the HTML file to your web server and open it in a browser to see the interactive timeline.
Embedding a Timeline Manually with HTML & CSS
If you want full control over your design without using third-party tools, you can manually create a timeline with HTML and CSS. This method gives you complete flexibility over styling and functionality
Below is the instruction on how to set up a timeline for website with this tool:
- Open your website’s HTML editor and create a “div” to hold the timeline content:
<div class="timeline"></div> - Add timeline events using nested “div”elements:
<div class="timeline-event"> <span class="date">March 2023</span> <h4>Company Founded</h4> <p>Our company was officially launched in March 2023.</p> </div> - Style the timeline using CSS by adding the following code to your stylesheet:
.timeline { border-left: 4px solid #ddd; padding-left: 20px; } .timeline-event { margin-bottom: 20px; position: relative; } .timeline-event .date { font-weight: bold; color: #555; } - Save your changes and preview the timeline on your website.
Comparison of Different Timeline Creation Methods
Below is a comparison of the different methods available for embedding a timeline, including their advantages and disadvantages.
| Method | Pros | Cons |
|---|---|---|
| Elfsight | Offers a user-friendly, no-code solution with full customization and easy embedding. | Requires a subscription for advanced features. |
| Google Timeline API | Provides extensive customization options and dynamic data integration. | Requires coding knowledge and setup, making it unsuitable for beginners. |
| Manual HTML & CSS | Gives complete design control without relying on third-party services. | Time-consuming to maintain and lacks interactivity. |
As seen in the comparison, while alternative methods exist, Elfsight provides the simplest and user-friendly solution for embedding a timeline. However, for those with coding knowledge, more advanced methods can serve as suitable solutions.
Now that you know how to create and add a timeline to your website, we’ll explore some best practices for getting the most out of your business history widget.
Best Practices for Using a Website Timeline
Adding a timeline to your website is a great way to present chronological events, company development over time, or project milestones. To ensure your timeline looks professional and functions smoothly, here are some essential tips to simplify the process and optimize the display.
- Keep It Concise. Avoid overwhelming users with too many details. Focus on key milestones and essential information.
- Choose the Right Layout. A vertical timeline works best for mobile users, while horizontal layouts are better suited for desktop viewing.
- Use Engaging Visuals. Adding images or icons to timeline events makes them more interactive and easier to follow.
- Ensure Mobile Responsiveness. Check that your timeline adapts well to different screen sizes for the best user experience.
- Maintain a Consistent Style. Stick to a uniform color scheme, font, and spacing to create a visually appealing timeline.
- Test Before Publishing. Review your timeline on different devices to ensure everything displays correctly.
By following these tips, you can create a visually appealing and well-structured timeline that enhances your website’s storytelling. Now, let’s explore some real-world use cases where timelines can be most effective.
Who Needs a Timeline on Their Website?
Timelines are versatile tools utilized across various industries to present information chronologically, enhancing user engagement and comprehension. Below are some examples of industries and well–known companies where timelines are effectively employed.
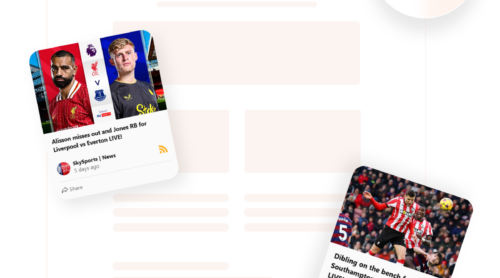
Media and Publishing
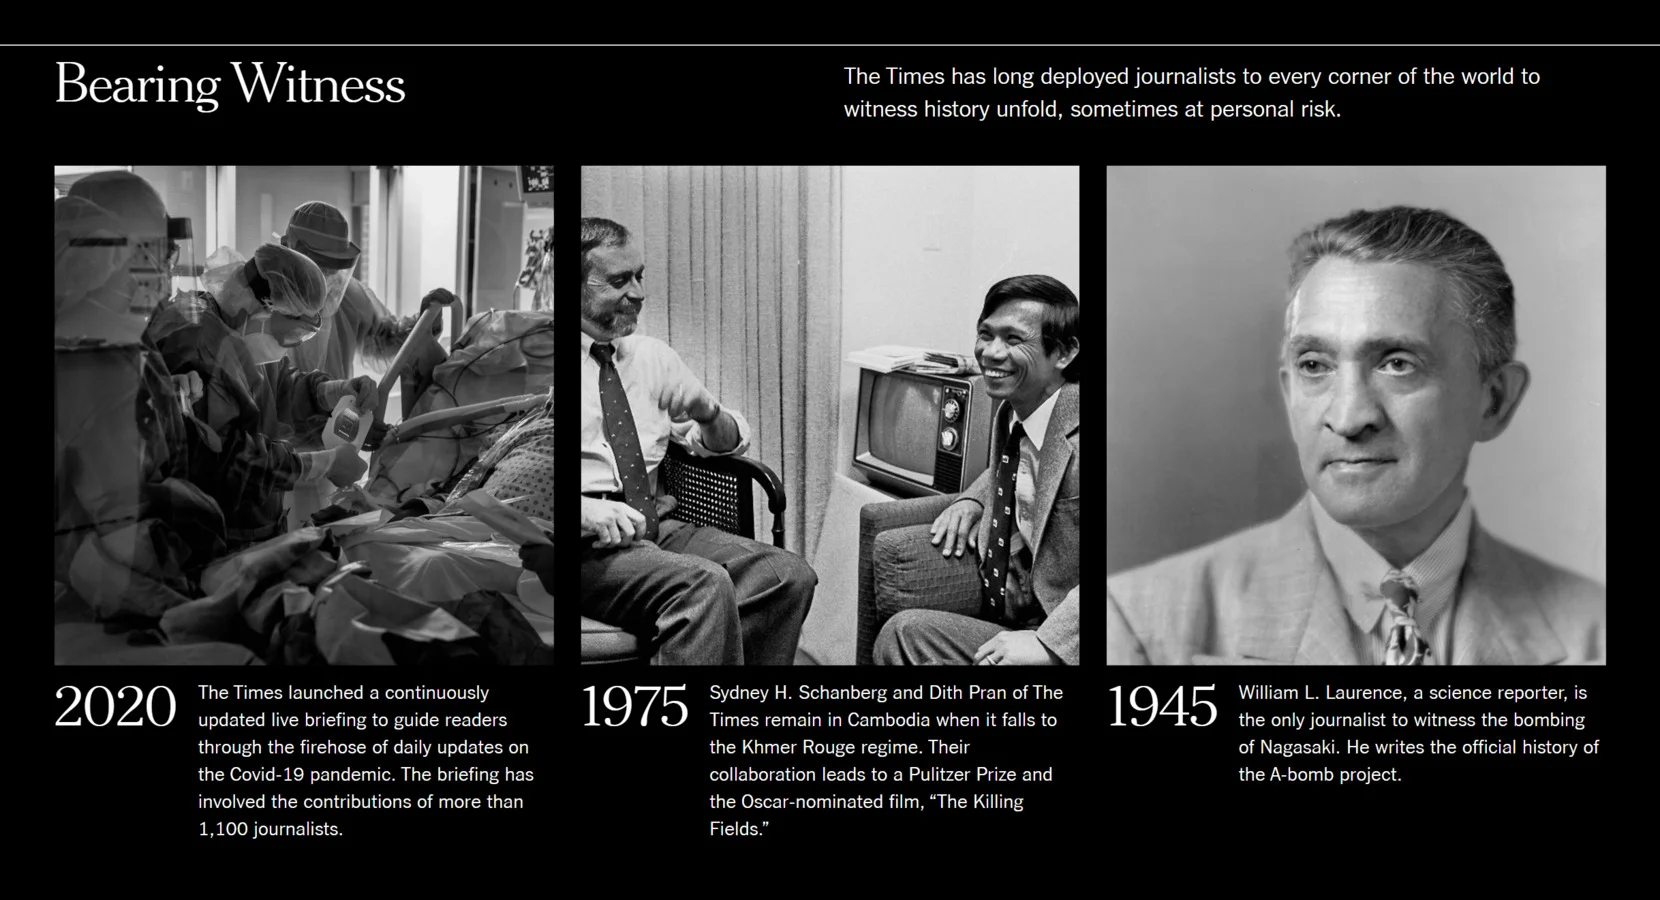
Media organizations leverage timelines to highlight significant events, anniversaries, and the evolution of their publications. This approach provides readers with a historical perspective and showcases the organization’s legacy.
The New York Times presents a detailed timeline on its website, chronicling major milestones since its inception in 1851. This interactive feature allows readers to explore the newspaper’s rich history and its role in shaping journalism.
Hospitality and Travel
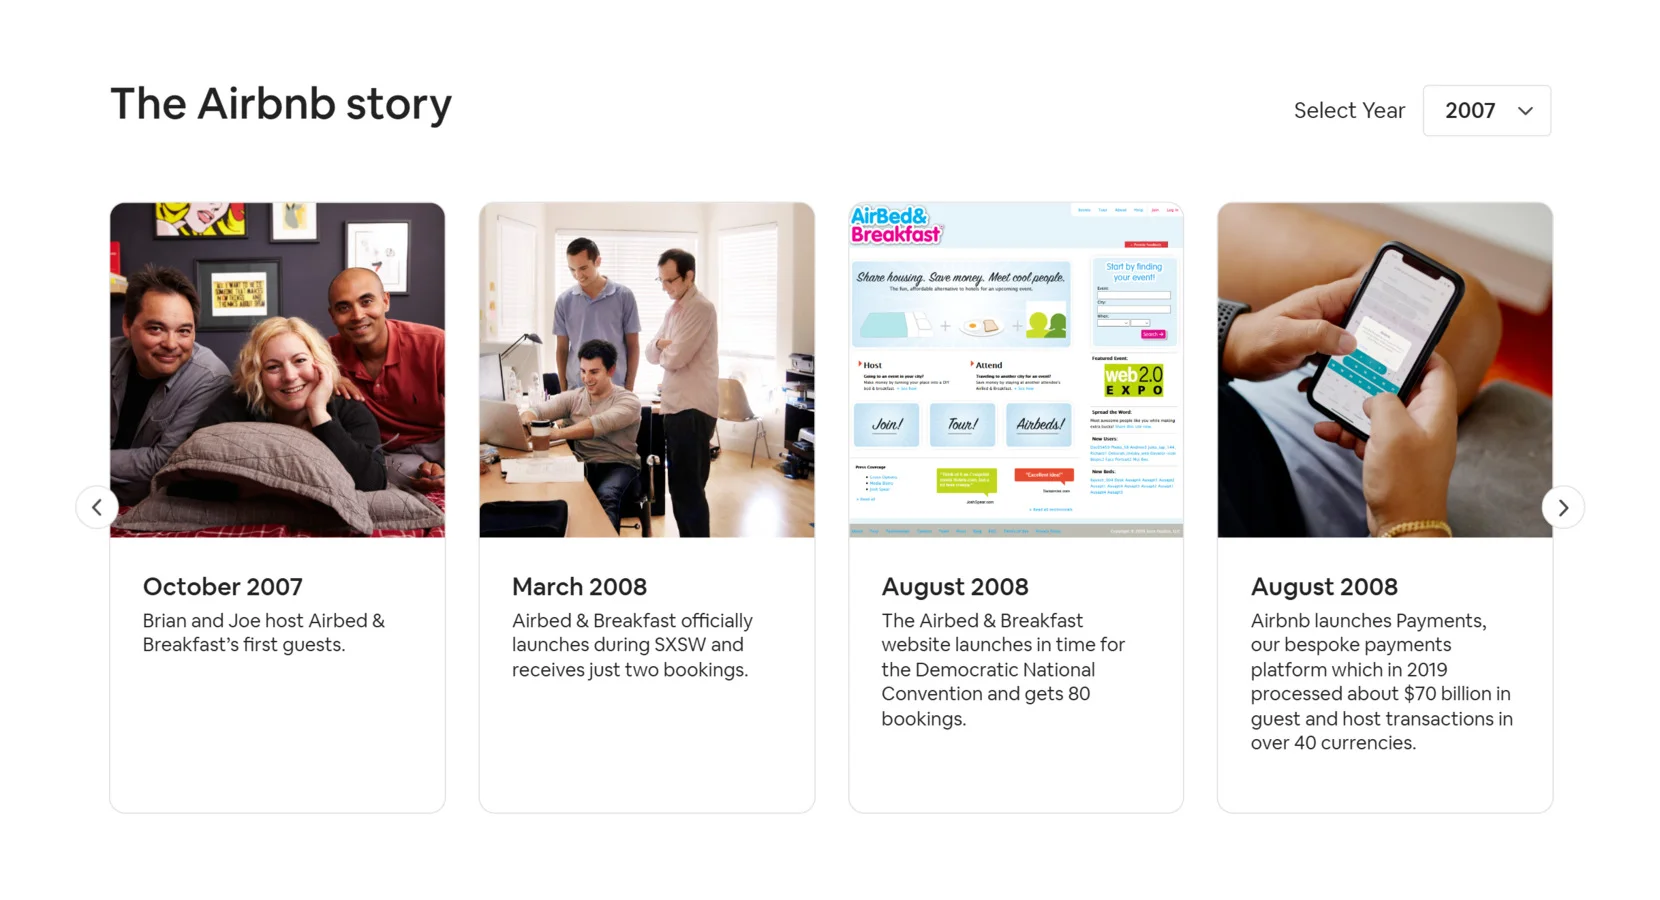
Companies in the hospitality and travel industry use timelines to narrate their growth, significant milestones, and the evolution of their services. This storytelling approach fosters a deeper connection with customers by sharing the brand’s journey.
Airbnb showcases its journey from a startup to a global hospitality platform through a comprehensive timeline. This feature highlights key events, expansions, and innovations, providing users with insight into the company’s evolution.
Technology and Innovation
Technology companies often utilize timelines to illustrate product development, technological advancements, and corporate milestones. This method effectively communicates the brand’s commitment to innovation and progress.
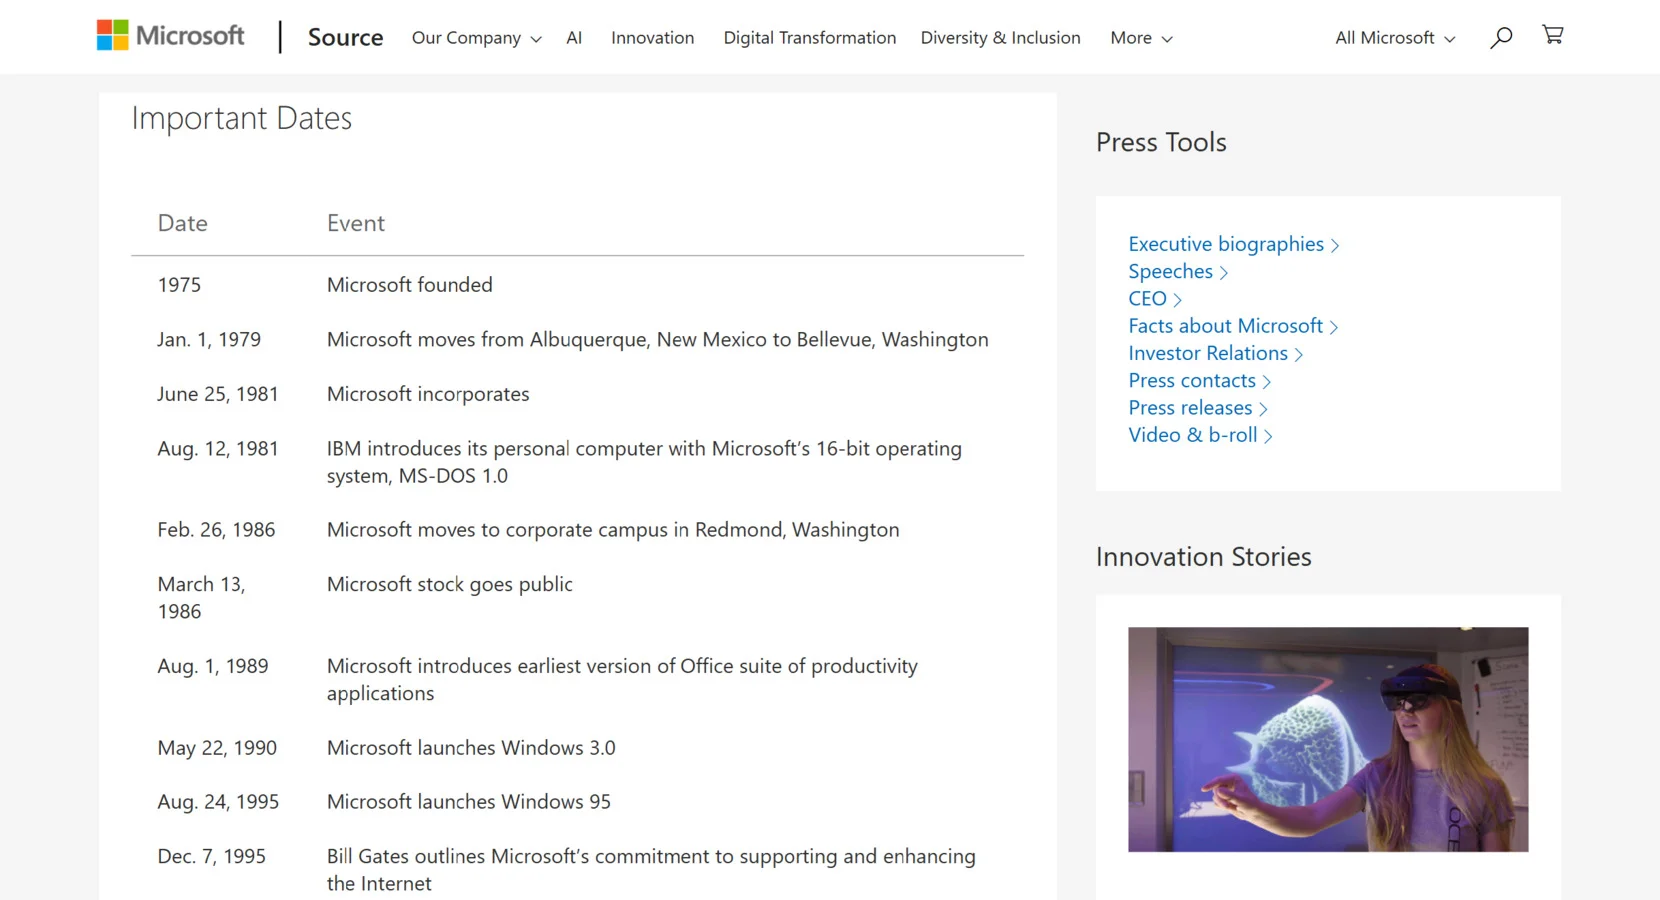
Microsoft provides an interactive timeline detailing the release dates and evolution of its major products, such as Windows, Office, and Surface devices. This visual representation showcases the company’s innovation trajectory and product development history.
Incorporating timelines into websites serves as a powerful strategy to convey historical data, celebrate achievements, and engage audiences through visual storytelling. By examining these examples, businesses can draw inspiration on effectively utilizing timelines to enhance their digital presence.
Troubleshooting Common Issues
While adding a timeline to a website can significantly enhance its structure and visual appeal, some challenges may arise during setup and integration. Below, we address common issues and provide solutions to ensure a smooth experience.
Why isn’t my timeline displaying correctly on my website?
How can I make my timeline mobile-friendly?
Why is my timeline loading slowly?
Can I integrate a timeline into any website platform?
How do I update my timeline with new events?
What should I do if my timeline isn’t aligning with my website’s design?
Understanding these potential issues can help you avoid common pitfalls and ensure a smooth integration. Now that you know how to set up and troubleshoot a timeline, let’s wrap up with key takeaways and final thoughts.
Conclusion
Adding a timeline to a website is an effective way to showcase company history in a structured and visually engaging format. A well-designed timeline enhances user engagement and helps visitors quickly grasp key events without navigating through blocks of text.
From easy-to-use widget solutions to fully customized implementations, there are different ways to integrate a timeline seamlessly into your website. By following best practices, ensuring responsiveness, and addressing potential issues, you can create a compelling timeline that fits your brand identity and improves website navigation.
Need More Help?
We hope this guide has provided the insights you need to successfully embed a timeline on your website. If you have any questions or need further assistance, feel free to reach out to us. At Elfsight, we’re dedicated to offering easy-to-use, no-code solutions that help businesses improve their websites effortlessly.
Join our growing Community to exchange ideas, get expert tips, and share feedback. Have suggestions for new features? Add them to our Wishlist — we’re always listening to improve our solutions based on user needs.