Embedding a Mailchimp signup form on your website is one of the simplest and most effective ways to grow your email list, collect leads, and stay connected with your visitors. It allows you to integrate your marketing efforts directly into your digital presence without needing any technical skills.
If you’re looking for a reliable way to capture emails and convert website visitors into subscribers, this is exactly what you need. A sign-up form widget is not just a block of fields — it’s a powerful marketing tool that drives engagement and delivers measurable results.
- Seamless email collection: Visitors can quickly subscribe to your list without being redirected or interrupted, making the process smooth and effortless.
- Improved user experience: A well-placed form blends naturally into your layout, ensuring it complements the overall design without disrupting content flow.
- Higher conversion rates: With clear calls-to-action and intuitive formatting, signup forms can significantly boost newsletter and offer signups.
- Better list segmentation: Capture specific user data through custom fields and use it later to create targeted campaigns.
- Automated follow-ups: New subscribers can be instantly enrolled into welcome sequences or drip campaigns for consistent engagement.
Now that you understand how valuable a signup form can be, let’s move on to the quickest way to build and place one on your website.
Quick Way to Embed Mailchimp Form to Website
Now that you know why a signup form is a must-have, let’s look at how you can build one using a simple, drag-and-drop editor. With no coding required, you can create a fully responsive form that fits perfectly into your website layout and matches your brand style.
- Open the editor and select a suitable Mailchimp Form template.
- Add form fields, choose your layout, adjust spacing, and set alignment for optimal placement.
- Pick background colors, font styles, and button accents to match your branding.
- Click “Add to website for free“, copy the embed code, and paste it into your website backend.
This quick setup ensures that your form looks great on all devices and starts collecting new subscribers right away. You don’t need technical knowledge — just a few clicks and your form is ready to go live.
See how it works – build your own Mailchimp form in seconds!
Features of the Elfsight Form Builder
Once your form is built and ready, it’s time to see what makes this solution stand out. Elfsight offers a complete set of features designed to simplify form creation and maximize results from every visitor interaction.
- Flexible layout options. Display your form as a popup, embed it inline, show it in a floating panel, or trigger it on user actions like scroll or exit intent.
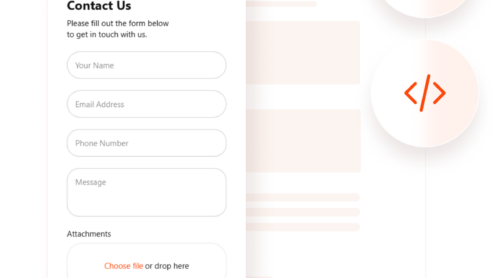
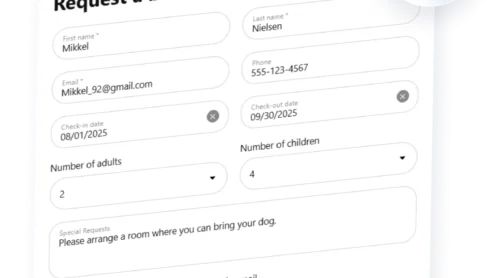
- Advanced field customization. Add unlimited fields, from basic text inputs to dropdowns, checkboxes, ratings, dates, and more — perfect for detailed contact form configuration.
- Seamless Mailchimp integration. Automatically sync submitted data with your Mailchimp audience, making list growth and segmentation easier than ever.
- Mobile-optimized display. Every form is fully responsive, adapting smoothly to all screen sizes and device types without breaking layout or usability.
- Visual design editing. Style your form with custom fonts, colors, borders, and backgrounds—no coding needed.
- Anti-spam protection. Enable CAPTCHA to filter out bot submissions and keep your list clean and relevant.
- Notifications and autoresponders. Send real-time alerts to your email and set up automatic messages for new subscribers.
- Submission management panel. View, export, and manage collected data right from your dashboard for better control over user data collection elements.
With all these features combined, your Mailchimp form becomes more than just a subscription box — it turns into a powerful lead generation engine. Next, let’s walk through the full process of creating and adding it to your website.
Create and Add a Mailchimp Form: Step-by-Step
To get the most out of your Mailchimp form, it’s essential to set it up properly. Below is a detailed step-by-step walkthrough on how to create and configure the widget using Elfsight’s intuitive form builder. This guide covers everything from layout settings to Mailchimp integration and final installation.
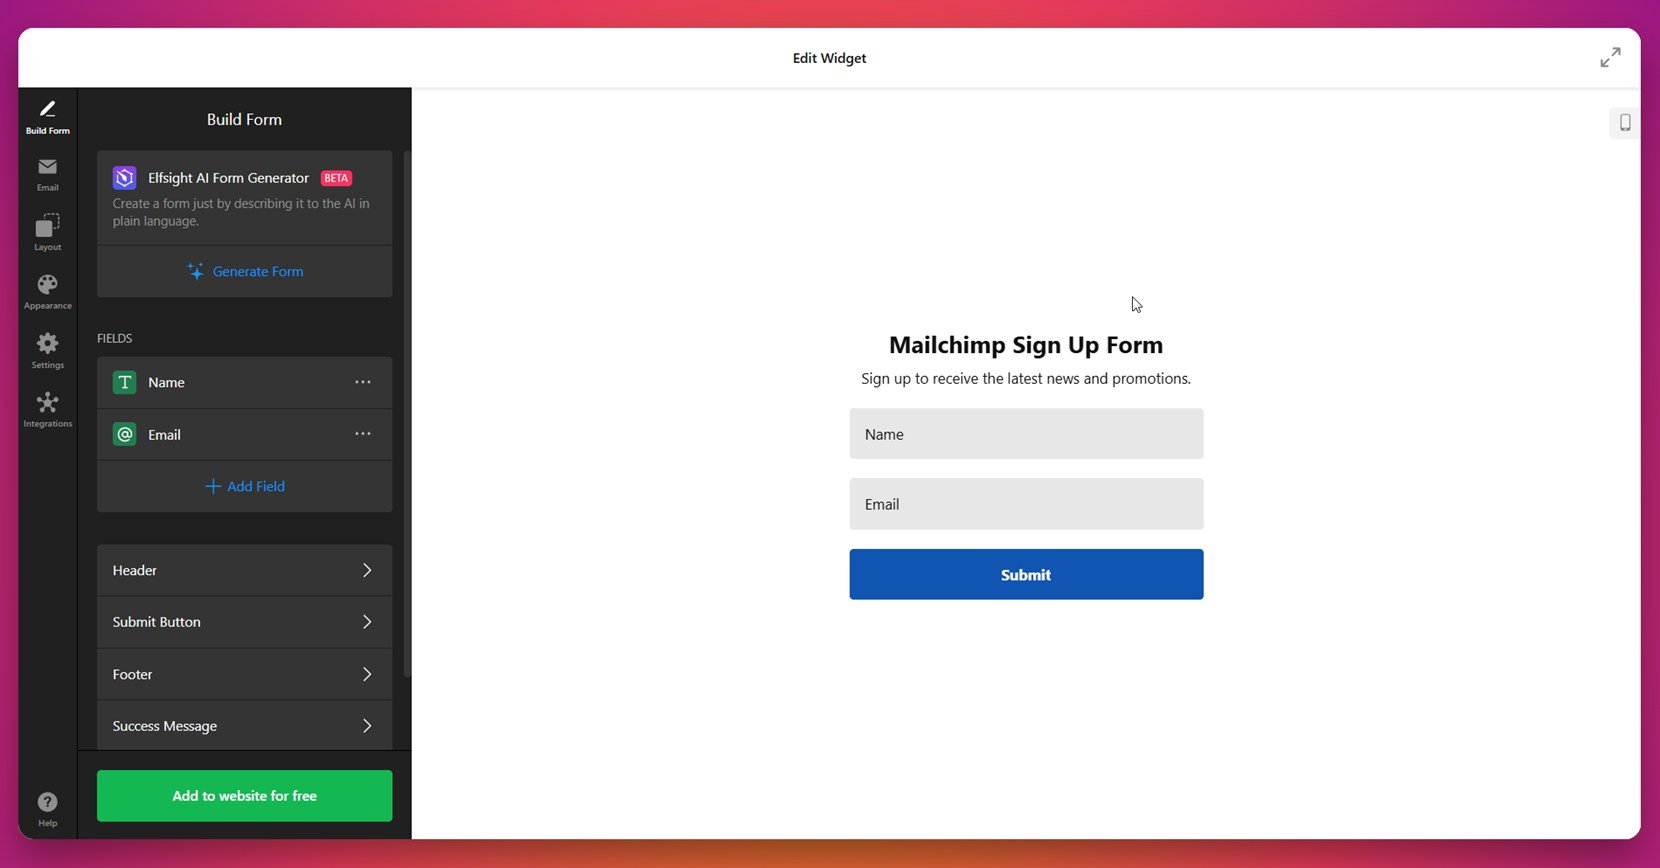
- Start by building the form. Launch the editor and select a suitable form template. Create the form with the AI form generator or manually add all the necessary fields such as Name and Email using the drag-and-drop panel.

- Set up email notifications. Configure alerts for yourself and autoresponder messages for subscribers. You can also customize sender email settings through SMTP.

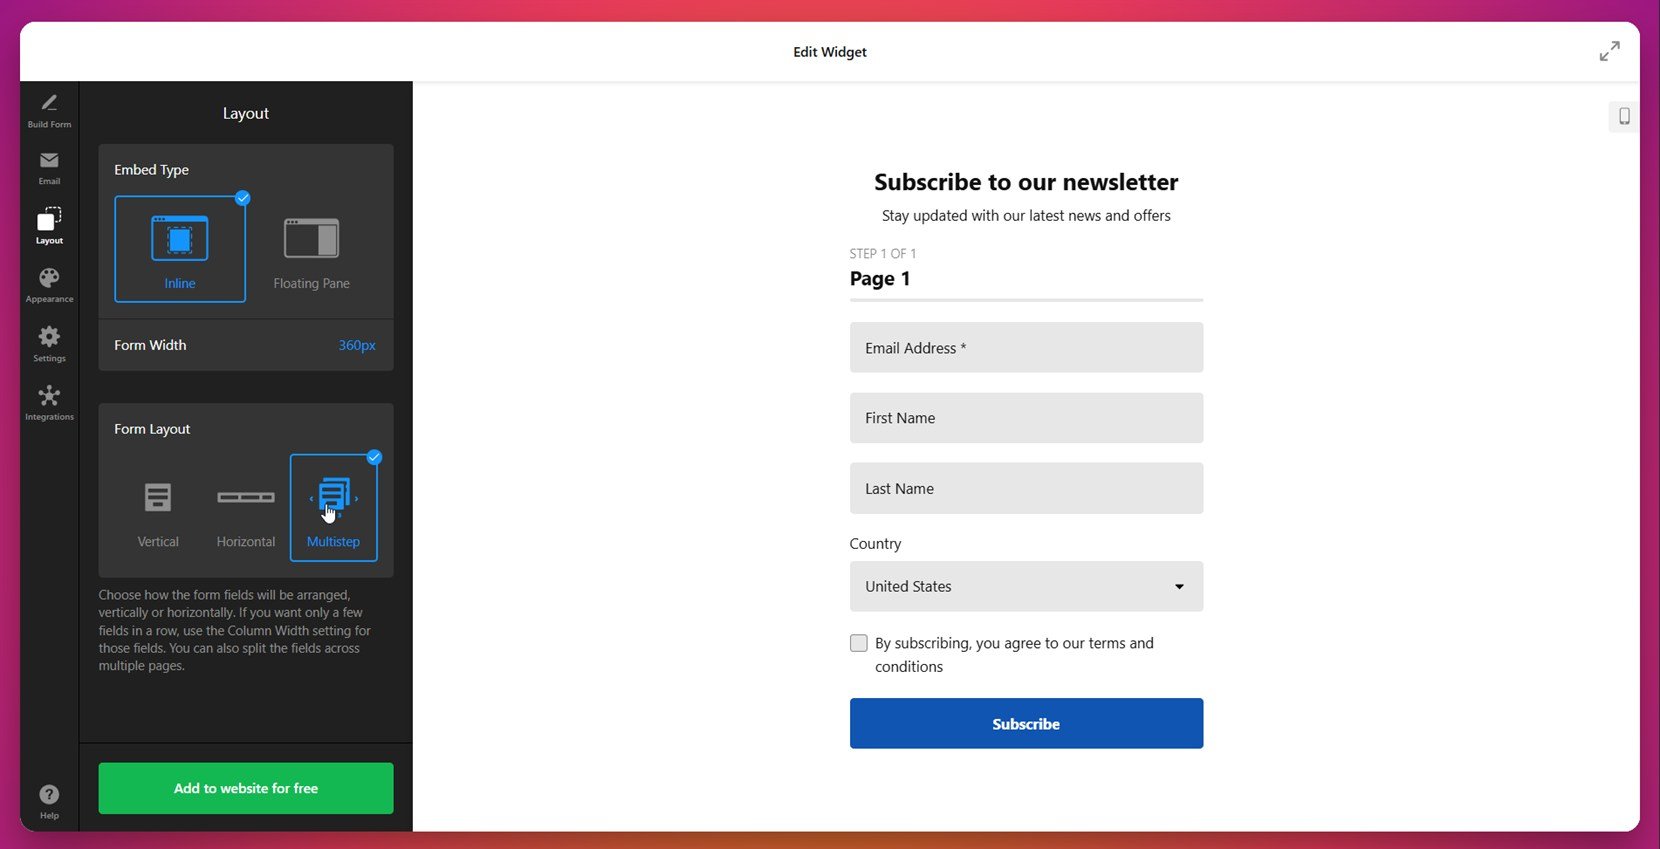
- Customize layout preferences. Head to the Layout tab and choose the embed type (Inline or Floating), adjust width, and pick between Vertical, Horizontal, or Multistep layout.

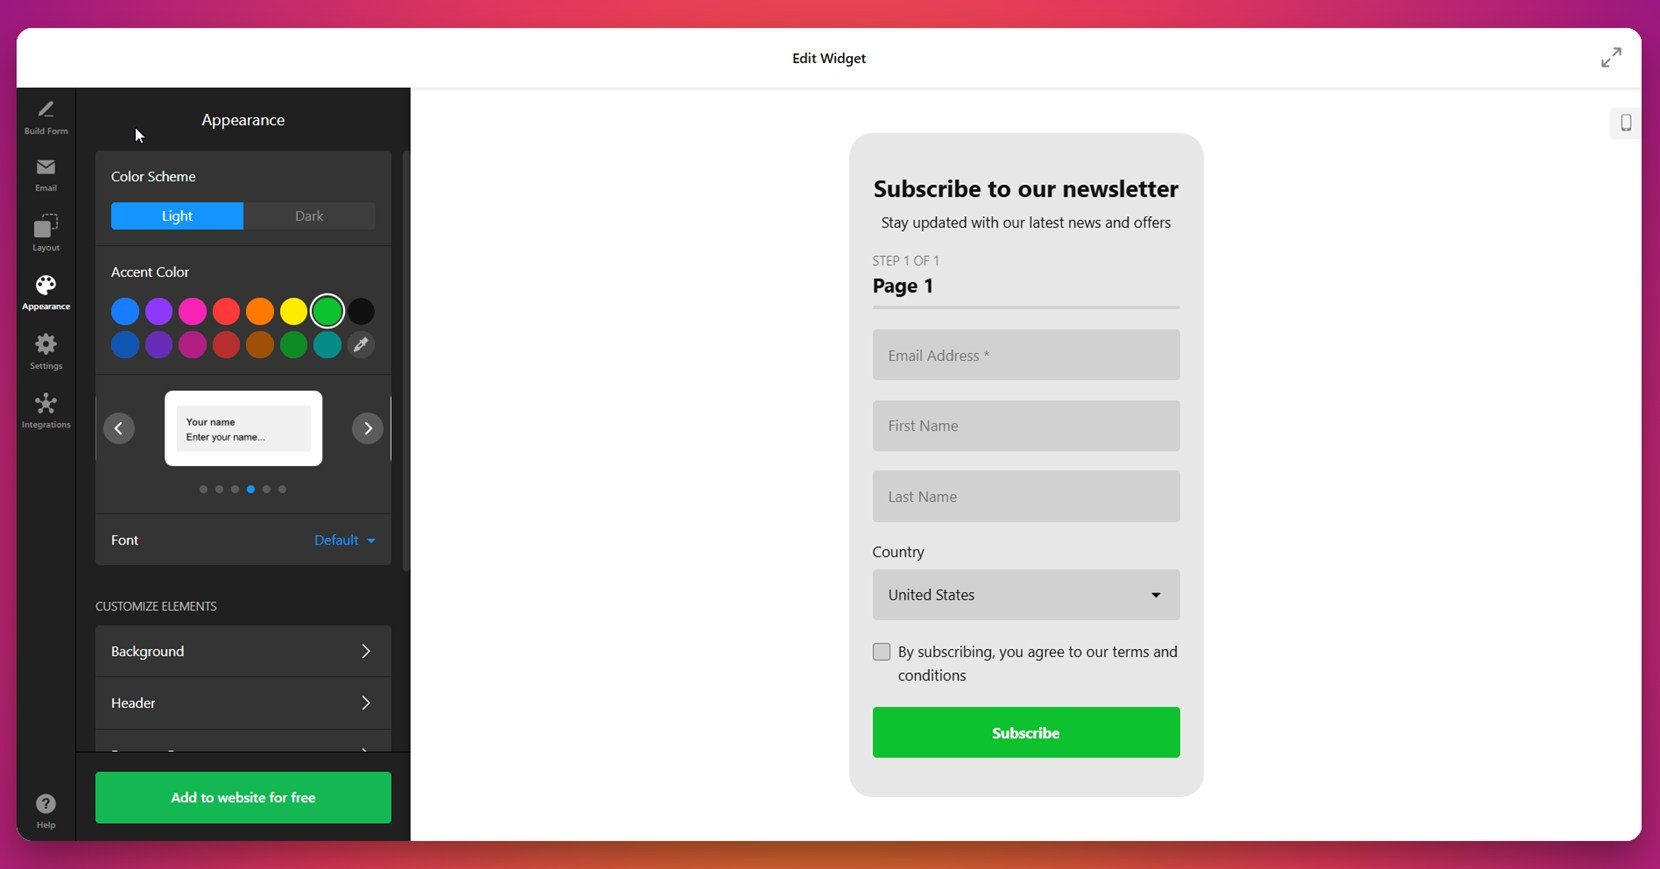
- Edit the form’s appearance. In the Appearance tab, select a color scheme, accent colors, and font. You can also change background, header, and button styling for a consistent look.

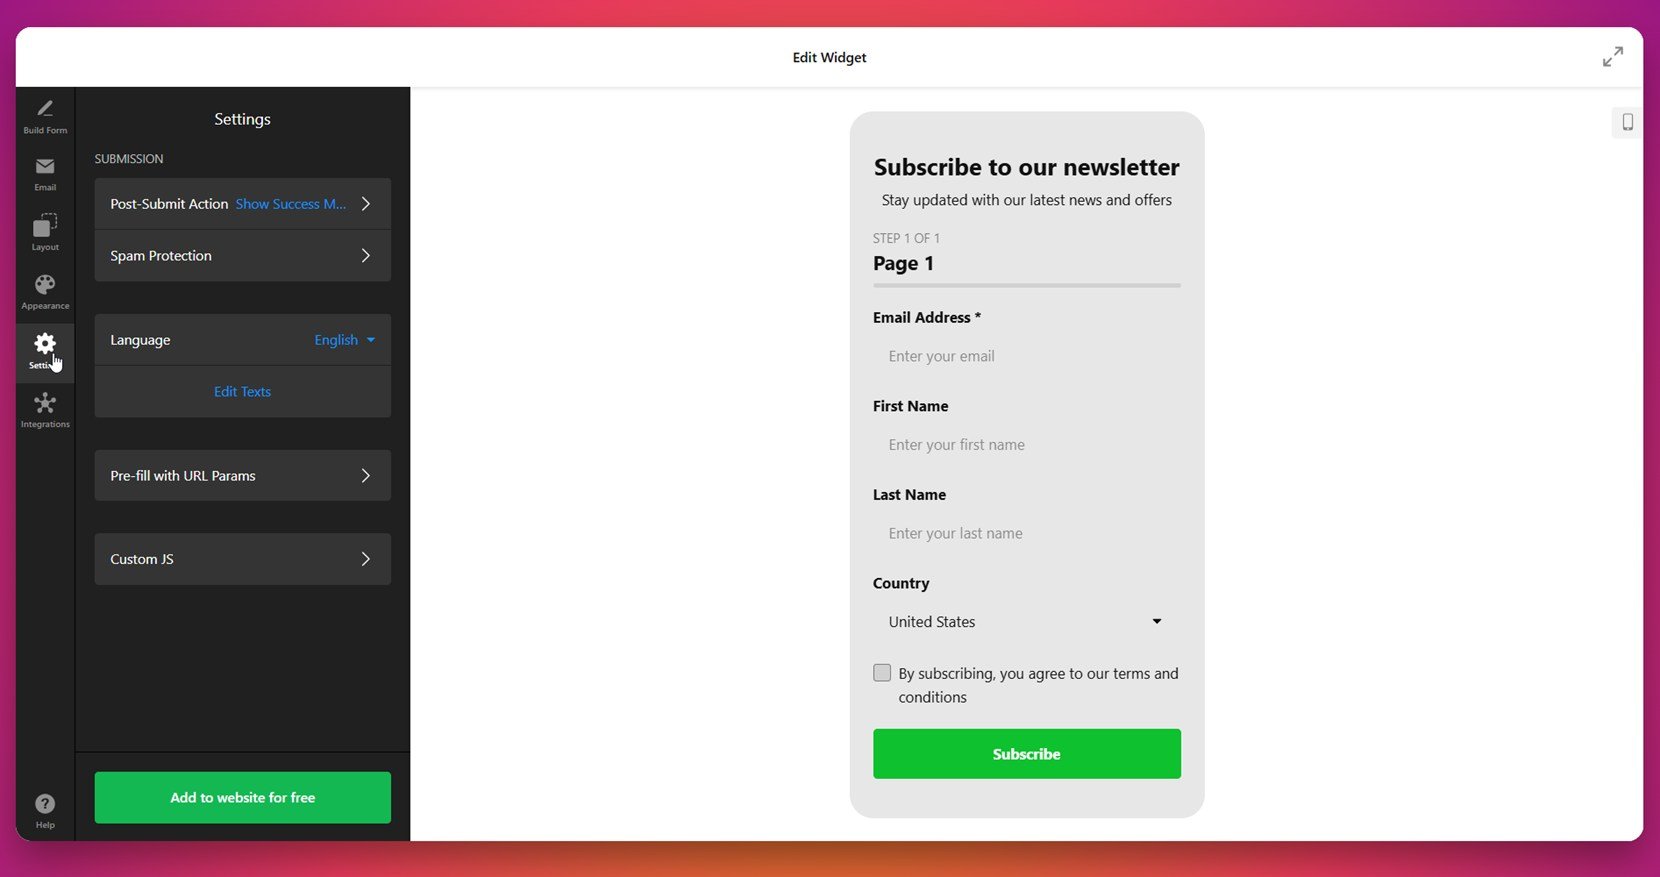
- Adjust form settings. Set the post-submit action, enable spam protection, change language, pre-fill fields via URL parameters, and even add custom JS.

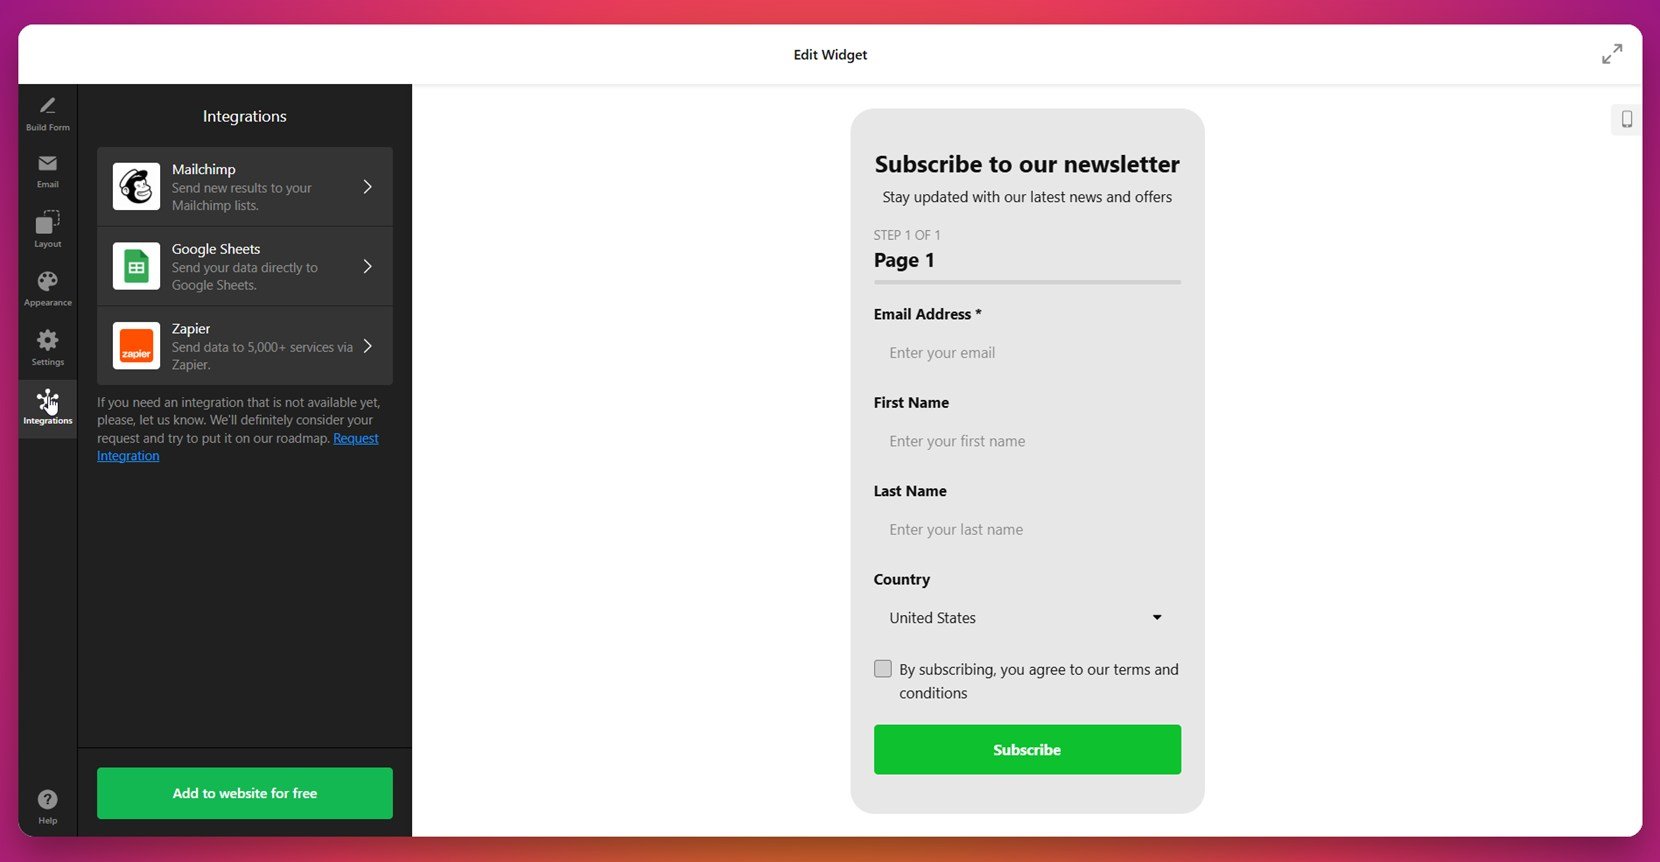
- Connect Mailchimp. In the Integrations tab, choose Mailchimp and authorize access. This ensures all form entries sync directly with your Mailchimp lists.

- Copy and embed the form code. Click “Add to website for free”, then copy the HTML form snippet. Paste it into your website’s HTML editor or block section to publish your embedded contact form.


Following these steps ensures your form is not only visually appealing but also fully functional and optimized for lead capture.
This completes the full setup of your Mailchimp embedded contact form. With the right configuration, responsive layout, and seamless integration, your form will start collecting leads and growing your newsletter list in no time. Let’s now look at other available ways to add a Mailchimp form to a website.
Other Ways of Mailchimp Form Integration
In addition to Elfsight, there are manual options available to place a Mailchimp form directly on your website. These native methods don’t require third-party platforms and are ideal for users who are comfortable working with code or want to stay within Mailchimp’s own ecosystem.
Below are two reliable methods: using Mailchimp’s built-in embed code and writing a custom HTML form manually. Follow the detailed instructions to implement each method properly.
Using Mailchimp’s Native Embed Code
This method allows you to use Mailchimp’s default form generator and copy a ready-to-use code block. It’s a quick solution for basic integrations and doesn’t require technical setup beyond pasting HTML into your website’s code.
- Log into your Mailchimp account. From your dashboard, select the audience where you want to add new subscribers.
- Open “Signup Forms”. In the navigation bar, go to “Audience” > “Signup forms”, then click “Embedded forms”.
- Choose a form layout. Select the form type you prefer: Classic (standard layout), Condensed (minimal), Horizontal (inline with content), or Unstyled (for full customization).
- Configure form settings. Toggle checkboxes for elements like the form title, required field indicators, GDPR fields, or interest groups, depending on your audience preferences.
- Copy the generated embed code. Scroll to the “Copy/paste onto your website” box, highlight the HTML snippet, and copy it.
- Paste the code into your website. Open your HTML editor, navigate to the section where you want the form placed, and paste the code. Save and publish your changes.
This method is best for simple form placements where default styling is sufficient or if you’re comfortable modifying the code yourself.
Manually Writing a Mailchimp-Compatible HTML Form
This approach gives you full control over your form’s structure and behavior. It requires knowledge of HTML and Mailchimp’s submission protocols. This method is ideal if you want to hand-code a fully customized form without using embed generators.
- Get your Mailchimp action URL. In Mailchimp, go to “Signup forms” > “Embedded forms”, click the “Unstyled” form option, and locate the form action URL in the HTML. It usually starts with https:// and contains your list ID.
- Create a basic form container. In your HTML file, use the <form> tag with method=”POST” and insert the action URL in the form’s action attribute.
- Add required input fields. At minimum, include an email input field with name=”EMAIL”. You can also add fields like FNAME and LNAME for first and last names if your list setup requires them.
- Set hidden fields and identifiers. Add any hidden input fields such as u and id (provided in the Mailchimp embed code) to ensure the form submits to the correct audience list.
- Insert a submit button. Use a styled button with type=”submit” to trigger the form submission. Label it “Subscribe” or “Join Now” as appropriate.
- Style the form using CSS. Apply inline styles or link to a separate CSS file to define layout, spacing, font, colors, and responsiveness. This ensures the form matches your website’s design.
- Test the form. Submit a test entry to verify that data is sent to Mailchimp successfully. Make sure confirmation or redirection works as expected.
This method is powerful for custom projects but requires attention to detail and familiarity with HTML form structure and Mailchimp’s field naming conventions.
Comparison: Elfsight vs Other Methods
Here is a detailed comparison of using Elfsight versus native Mailchimp methods, highlighting both their advantages and trade-offs to help you decide which fits your workflow best:
| Method | Pros | Cons |
|---|---|---|
| Elfsight Form Builder | Offers a user-friendly drag-and-drop interface with full design control, automation, and Mailchimp integration — all without touching code. | Requires a third-party account to manage forms and access the editor interface. |
| Mailchimp Native Embed Code | Fast to implement with no installation needed — copy the code directly from your Mailchimp dashboard and paste it into your website. | Limited design flexibility and requires manual CSS editing to match your website’s branding. |
| Manual HTML Form | Gives you total control over structure, design, and advanced behavior through hand-coded HTML and CSS. | Requires technical knowledge, and small mistakes can easily break form functionality or result in failed submissions. |
Now that you’ve explored all major options for Mailchimp form integration, let’s go over practical tips to ensure your form performs well once it’s embedded on your website.
Tips to Make Your Form Work Better
Once your Mailchimp form is embedded, there are several best practices that help ensure it performs well, looks good on every device, and integrates smoothly with your overall website layout. Here’s what to keep in mind before and after installation:
- Place your form where users expect to see it. For signup forms, the best placement is usually in the website footer, sidebar, or as a sticky bar at the top. Avoid burying it deep within the page.
- Always use a responsive layout. Choose a layout that automatically adapts to mobile, tablet, and desktop screen sizes. This prevents fields and buttons from breaking on smaller screens and keeps the form accessible.
- Keep the form short and focused. Request only essential information — usually a name and email. Extra fields reduce completion rates and may overwhelm first-time visitors.
- Use clear call-to-action text. Replace generic buttons like “Submit” with more engaging phrases such as “Subscribe Now” or “Get Updates”. This boosts clicks and helps guide users through the process.
- Style the form to match your website. Align fonts, colors, and button designs with your brand identity. A consistent look builds trust and reduces visual friction.
- Test the form across different devices. Preview your website on desktop, tablet, and mobile after embedding the form. This helps catch layout issues early and ensures full accessibility.
- Enable auto-confirmation messages. Always set a visible confirmation or thank-you message to notify users their submission was successful. It improves UX and reduces confusion.
- Use spam filters wisely. If you’re enabling CAPTCHA or honeypot fields, test them first to ensure they don’t block real users or interfere with form delivery.
- Integrate with automated email sequences. Link your form to welcome emails or subscriber workflows to engage users as soon as they sign up.
- Track performance with analytics. Use your website analytics tools to monitor form views, submission rates, and user interactions to optimize placement and design further.
These practices will help your Mailchimp signup form function smoothly and convert more visitors into subscribers. In the next section, we’ll look at who benefits most from using embedded forms and explore common use cases across different industries.
Who Benefits Most from Website Forms
Mailchimp embedded contact forms are versatile and can be adapted for a wide range of industries. Whether you’re collecting emails for a newsletter signup section or gathering user data for lead generation, these forms serve as essential tools across various business types. Below are three key industries where embedded forms provide real value.
Application in eCommerce 📦
Online stores rely on embedded forms to grow their mailing lists, promote exclusive offers, and recover abandoned carts. Placing a Mailchimp signup form in key touchpoints — such as product pages, exit-intent popups, and checkout flows — helps merchants build direct communication channels with their customers.
Application in Education and Online Courses 🎓
Educational institutions and course platforms embed forms to capture inquiries, distribute course materials, or register students for webinars and updates. Forms positioned within content blocks or on landing pages ensure potential students can subscribe without friction.
Application in Media and Publishing 📝
Publishers, bloggers, and content creators use contact and signup forms to gather readers’ emails for newsletters, article digests, and premium content distribution. Forms placed at the end of blog posts or within reading overlays convert engaged readers into loyal subscribers.
From eCommerce to education and publishing, embedded Mailchimp forms can be customized to fit any communication strategy. Let’s now take a look at potential issues and how to solve them quickly.
Fixing Common Issues
While integrating a Mailchimp form is generally straightforward, some common issues may arise during setup or after publishing. Below are answers to frequently asked questions that address customization limits, display bugs, data flow issues, and troubleshooting for third-party methods.
Why doesn’t my embedded Mailchimp form match my website’s design?
Why is the form not showing on mobile devices?
What causes the form to break when pasted into the website?
Why aren’t form submissions syncing with my Mailchimp list?
How can I customize the form beyond what Mailchimp allows?
Why is the success message not displaying after form submission?
How do I prevent spam submissions without CAPTCHA?
By understanding and addressing these common obstacles, you can ensure that your Mailchimp form is stable, functional, and optimized for your website’s user experience.
Conclusion
Adding a Mailchimp form to your website is a powerful step toward building stronger connections with your audience. Whether you’re embedding a basic contact form, integrating a newsletter signup section, or using a drag-and-drop form editor, the flexibility of Mailchimp’s tools makes it accessible for nearly any use case. From native methods to advanced third-party integrations, the setup process can be tailored to match your technical skills and branding needs.
Throughout this guide, you’ve learned how to choose the right method, implement it correctly, and troubleshoot common issues. With best practices in form placement, layout configuration, and submission handling, you’re now equipped to create a seamless subscription form integration that works across all devices and industries.
Looking for More Guidance?
We hope this tutorial gave you the clarity you needed. If you’d like help designing the perfect form experience for your website, contact us — we’re here to support you every step of the way. At Elfsight, we’re committed to delivering flexible, no-code solutions that fit your business needs and save time.
Join our growing Community to exchange ideas, get inspired, and stay ahead of trends. Have suggestions for future features? Add them to our Wishlist — we’re listening!