Want to collect responses directly through your website? Google Forms is a simple and accessible tool that lets you create surveys in minutes. If you’re wondering how to add Google Form to HTML website, this guide covers everything you need to know.
Embedding a form isn’t just about gathering data — it’s about improving interaction, streamlining communication, and enhancing user experience. A well-placed form helps your visitors take action right where they are.
- Boosts user engagement. Embedding a Google Form directly on your website removes the need for external links, keeping users focused and more likely to interact.
- Streamlines data collection. Forms make it easy to collect feedback, leads, and inquiries without relying on third-party services or complex workflows.
- Enhances credibility. A professional-looking form embedded in your layout builds trust and reinforces your brand identity.
- Improves accessibility. Users can fill out forms from any device without being redirected, making it smoother and more user-friendly.
Now that you understand the advantages, let’s explore how to display Google Form on a webpage using the official HTML embed method from Google.
How to Add Google Form to HTML Website: Native Solution
The most straightforward way to add a Google Form to your HTML website is by using the built-in embed feature. This method involves copying an iframe code snippet and inserting it into your HTML. It’s quick, requires no coding skills, and works well for basic use cases.
This method is ideal if you’re looking to insert form using iframe and publish form inside HTML template with minimal effort. It keeps things simple and allows you to start collecting responses right away.
Here’s a detailed, step-by-step guide to embedding a Google Form into your HTML website:
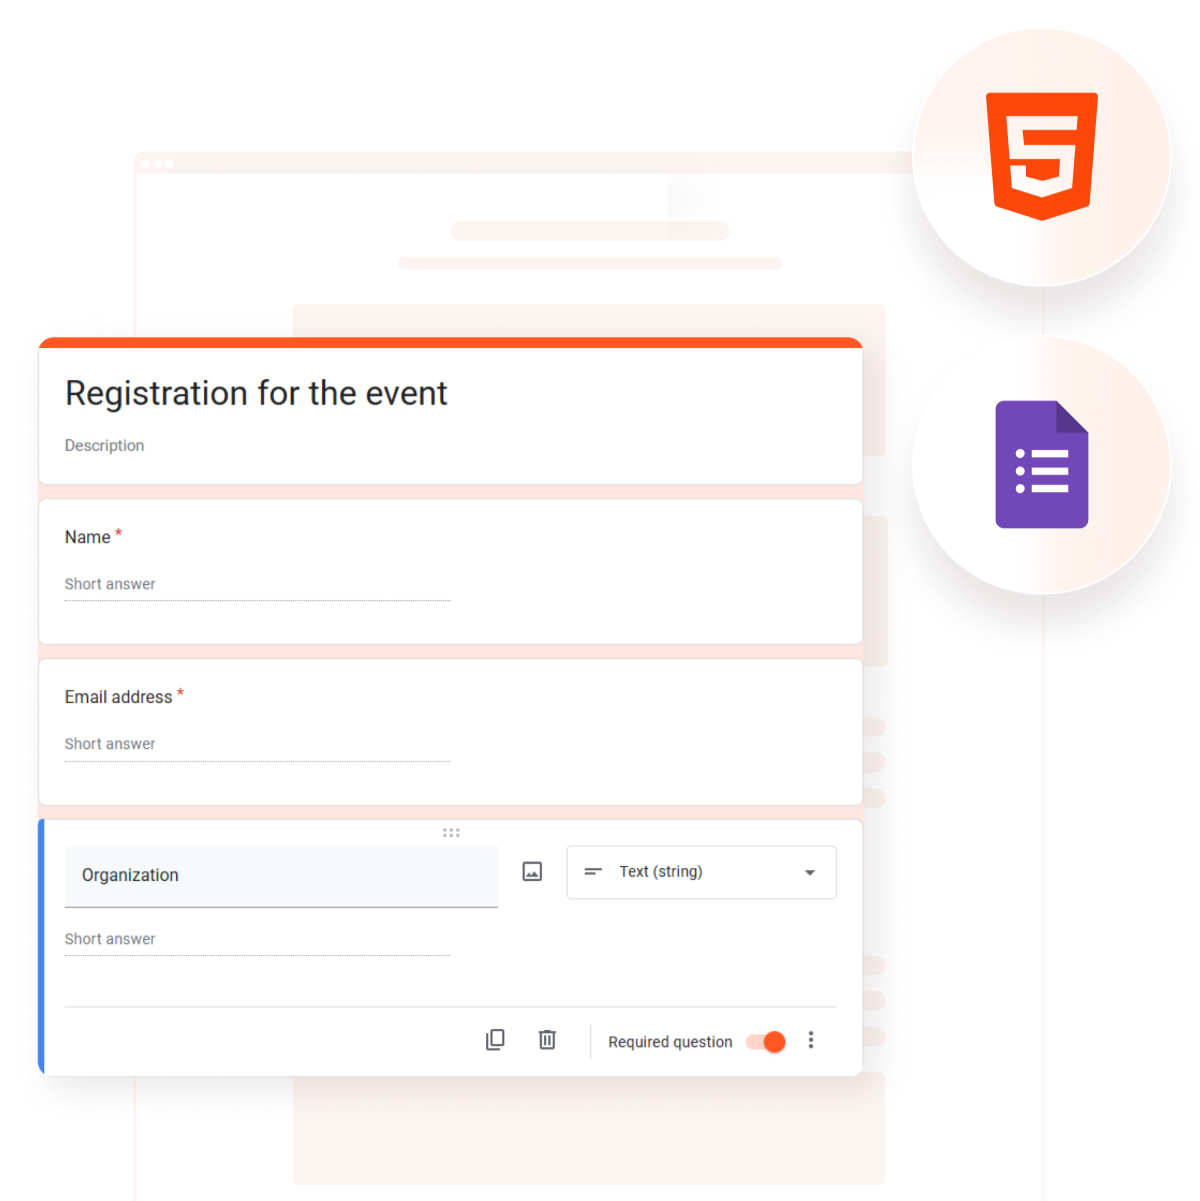
- Create or open your Google Form. Go to forms.google.com and either start a new form or open an existing one that you’ve already built.
- Click the “Send” button. At the top right of the form editor, click the purple Send button to open sharing options.
- Select the embed option. In the popup window, click the <> icon (the third option) to switch to the embed code tab.
- Customize the embed dimensions. Google will generate an iframe snippet. You can manually adjust the width and height to better fit your layout. For responsive design, use width=”100%” and adjust the height as needed (usually between 500–700 pixels).
- Copy the iframe code. Click the Copy button to copy the entire iframe HTML snippet to your clipboard.
- Paste the code into your HTML. Open your website’s HTML file, locate the section where you want the form to appear (usually inside the <body> tag), and paste the iframe code. Here’s a sample embed setup. Replace the src URL with your actual Google Form embed link. Adjust height as needed to fit the form content without scrollbars:
<div style="max-width: 600px; margin: 0 auto;"> <iframe src="https://docs.google.com/forms/d/e/1FAIpQLSfD-example-url/viewform?embedded=true" width="100%" height="600" frameborder="0" marginheight="0" marginwidth="0"> Loading… </iframe> </div> - Save and publish your website. After inserting the code, save the HTML file and upload it to your hosting platform. Once published, the embedded Google Form will appear on the page and function immediately.
While this method is simple and effective, it has some limitations in appearance, customization, and branding. In the next section, we’ll break down the drawbacks of the native embed method and explain when it might be time to consider more flexible alternatives.
Limitations of the Google Embed Method
While embedding a Google Form in an HTML page is quick and accessible, it comes with several restrictions that may limit your flexibility, design options, and data control. These drawbacks can affect both user experience and your ability to customize the form to match your website’s branding.
The table below outlines the main limitations you should consider before relying solely on the native Google embed option:
| Limitation | Description |
|---|---|
| Limited styling options | You can’t fully customize form appearance in code. The layout, font, and colors remain controlled by Google’s default styles. |
| Non-responsive iframe by default | The embedded form does not automatically adapt to mobile screens. You’ll need additional CSS adjustments to make it responsive. |
| Google branding is mandatory | You cannot remove or replace Google’s logo or attribution links from the form, which limits branding flexibility. |
| Cannot host or store data directly | All responses are saved to your Google account — there’s no way to collect or sync data directly on your own domain or database. |
| Embedding limitations for dynamic content | If you want to show survey form on a page dynamically or load it conditionally, iframe integration can be restrictive and harder to control. |
If you’re looking for greater customization, responsive design, and full control over how your forms look and behave, you may want to explore a more flexible solution. In the next section, we’ll walk through a detailed guide on how to embed a form using Elfsight’s no-code form builder.
Add a Form to HTML Website: No-Code Approach
For those who want full control over design, behavior, and branding — without touching a single line of code — Elfsight’s Form Builder is the solution. It allows you to build a form visually and publish it directly inside your HTML website template. Here’s how to add Google Form in HTML using the Elfsight alternative, step by step.
Follow the instructions below to create and install your custom form:
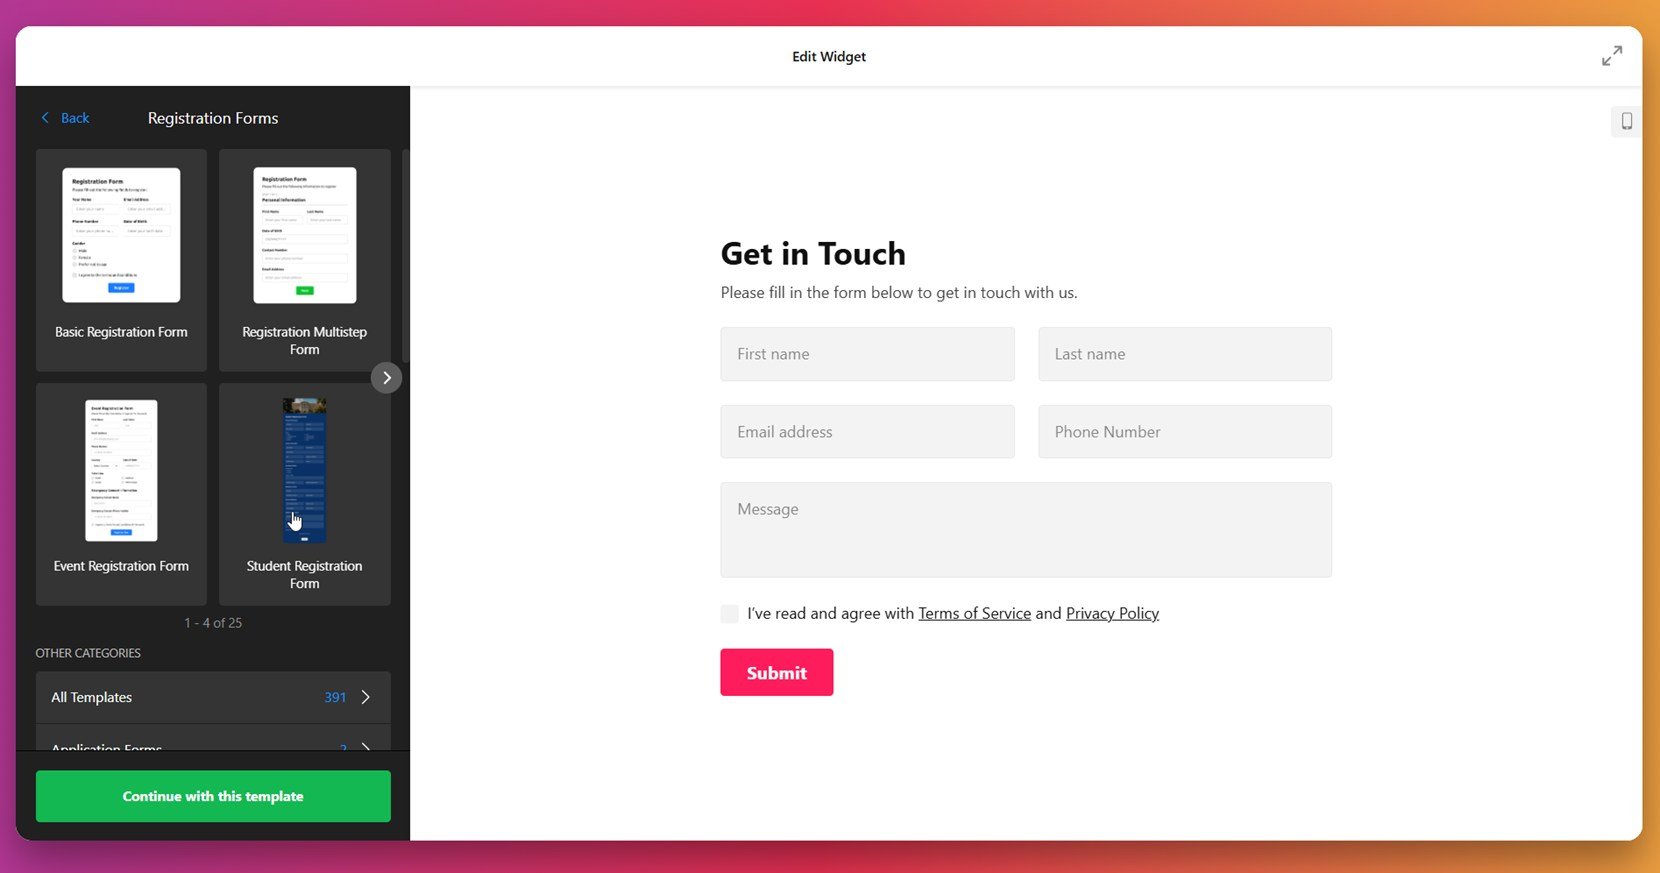
- Choose a template. Open Elfsight’s editor. You’ll see various templates like Basic Registration Form, Multistep Form, Quiz Form, or Student Application forms. Click on any template that fits your needs and then hit “Continue with this template”.

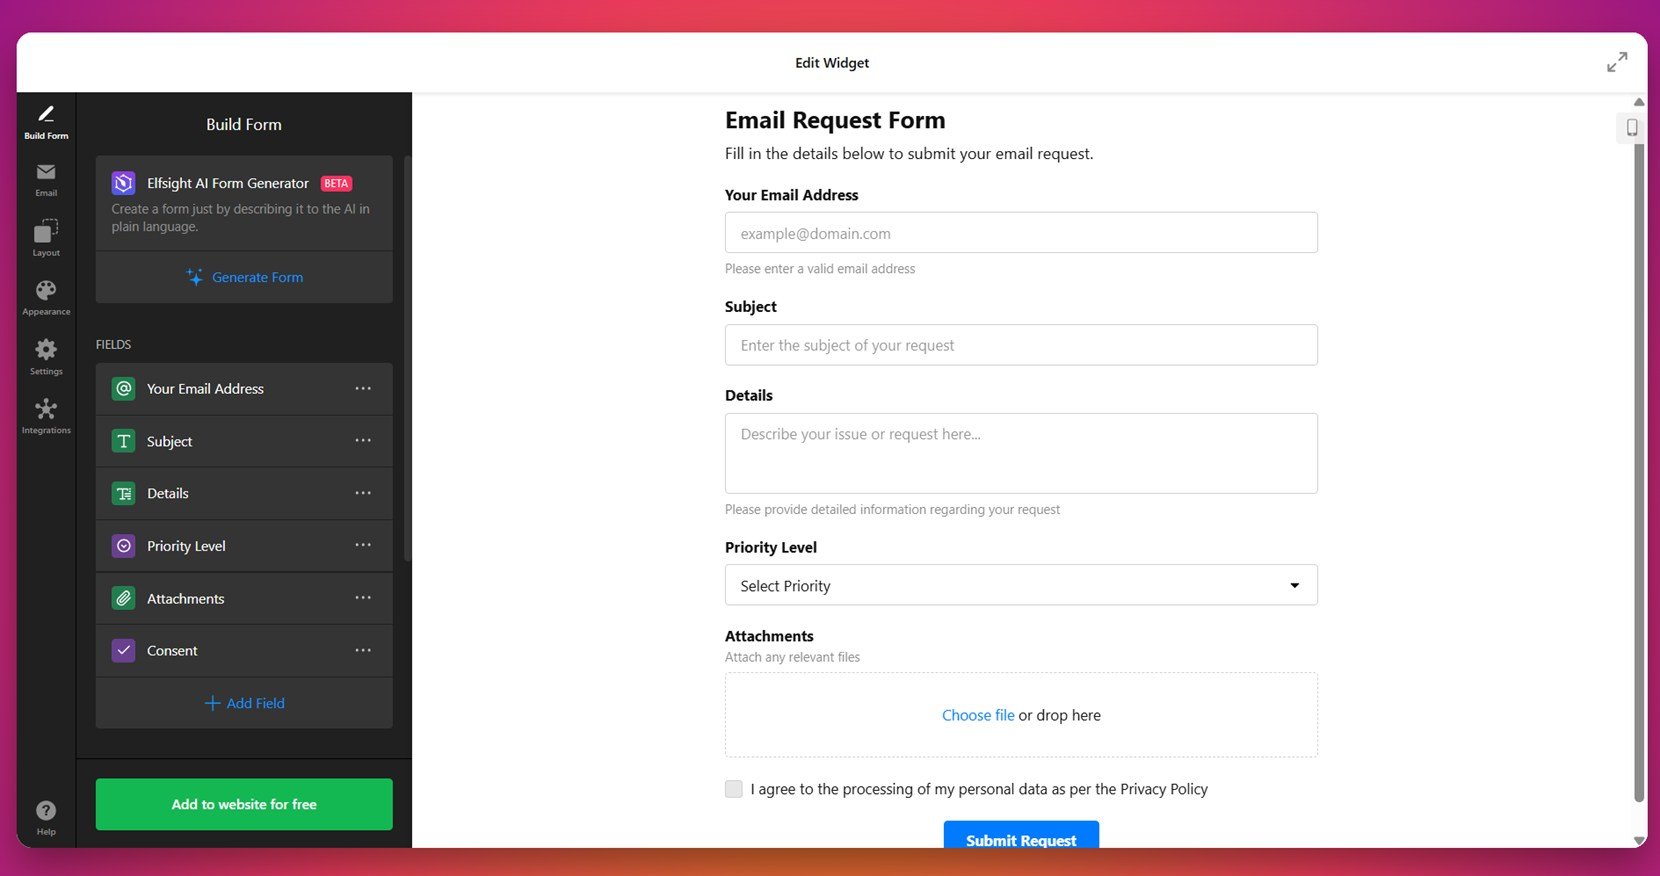
- Build your form. In the “Build Form” tab, either manually add fields or use the AI Form Generator by describing your form in plain language. You can drag and drop fields like Email Address, Subject, Details, Priority Level, Attachments, and Consent to structure your form exactly how you need it.

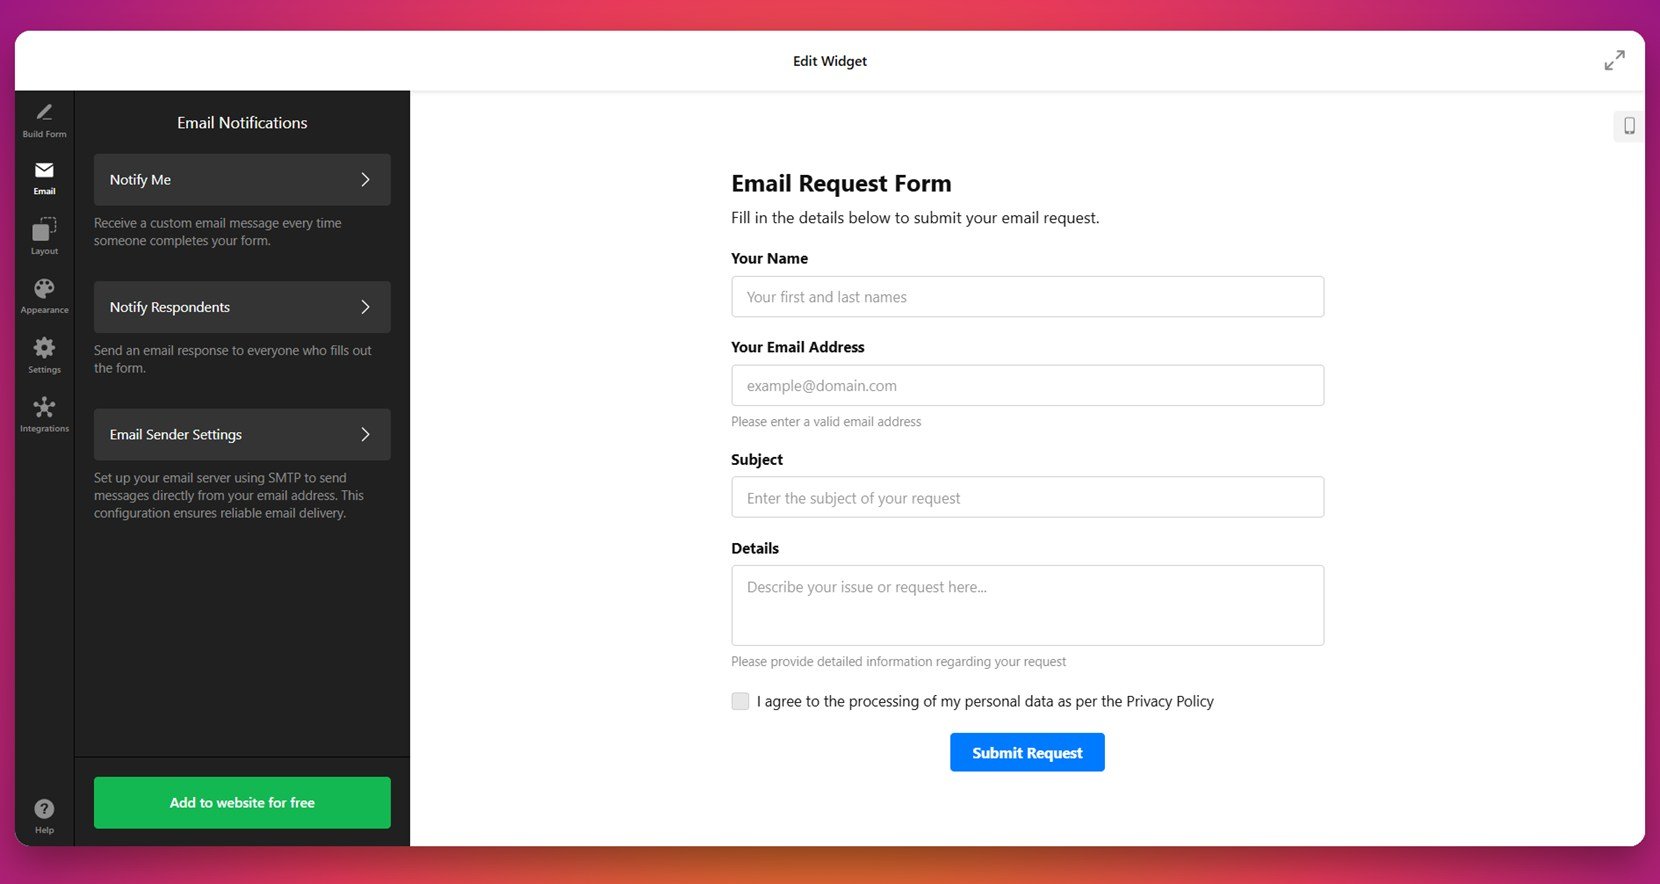
- Configure email notifications. Navigate to the “Email” tab and set up email alerts for yourself and form respondents. You can also configure the email sender settings using SMTP to ensure delivery from your own domain.

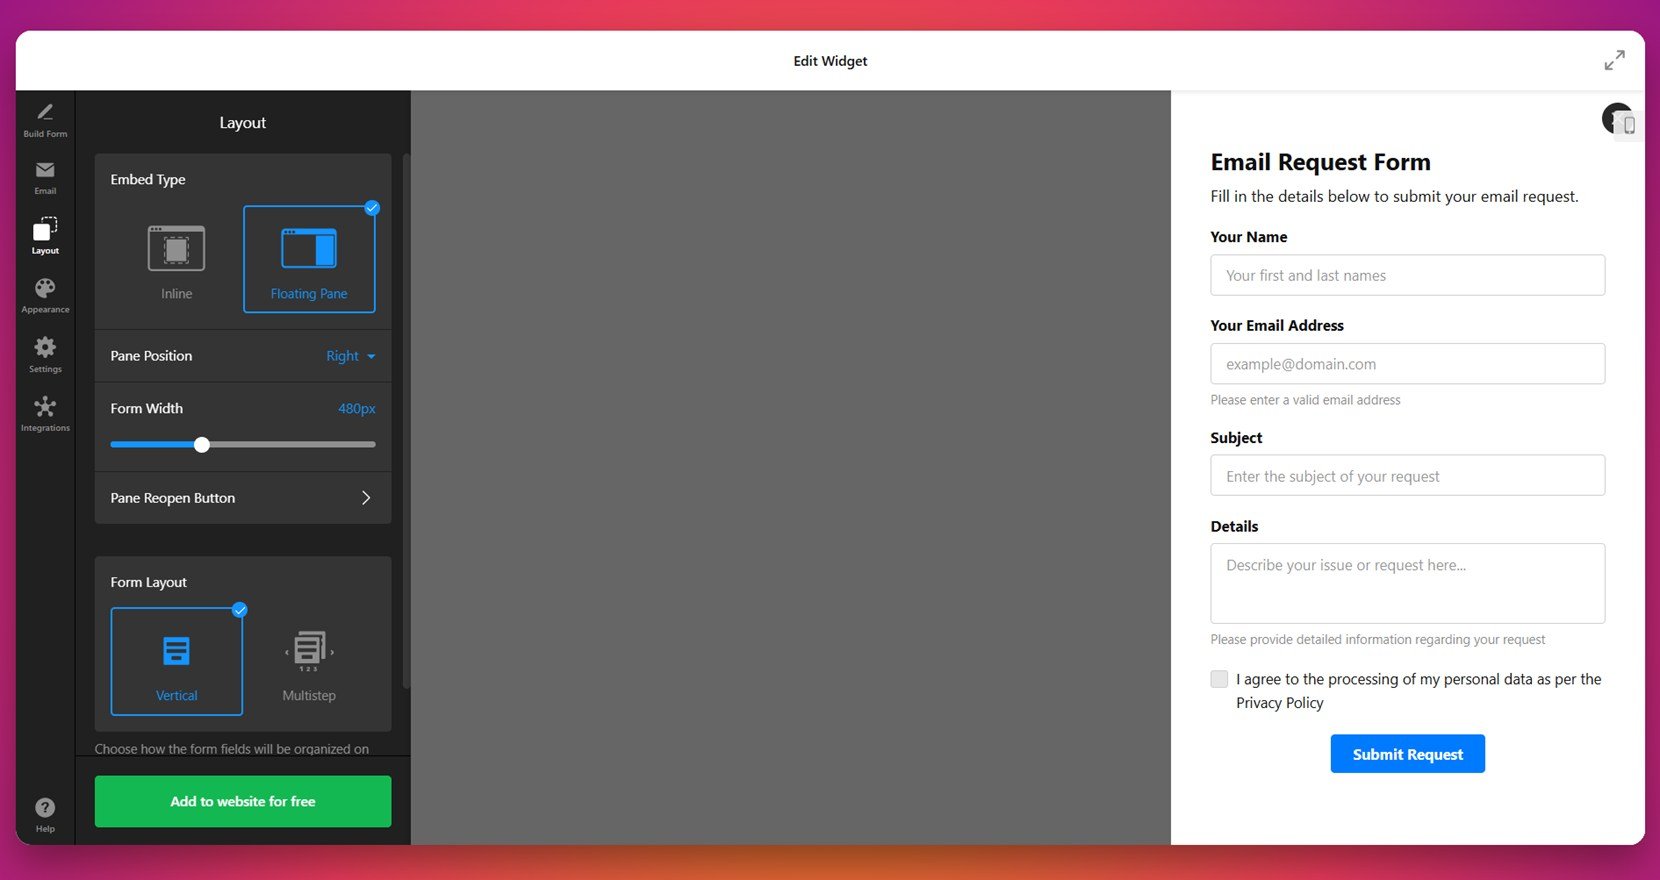
- Set up the layout. Open the “Layout” panel and choose how the form should appear: Inline or Floating Pane. Adjust pane position (e.g. right side), width, and layout type (Vertical or Multistep) depending on your preferences.

- Customize appearance. Under the “Appearance” tab, choose a Light or Dark theme, select an accent color, font style, and customize visual elements such as the button, background, and field shapes to match your branding.

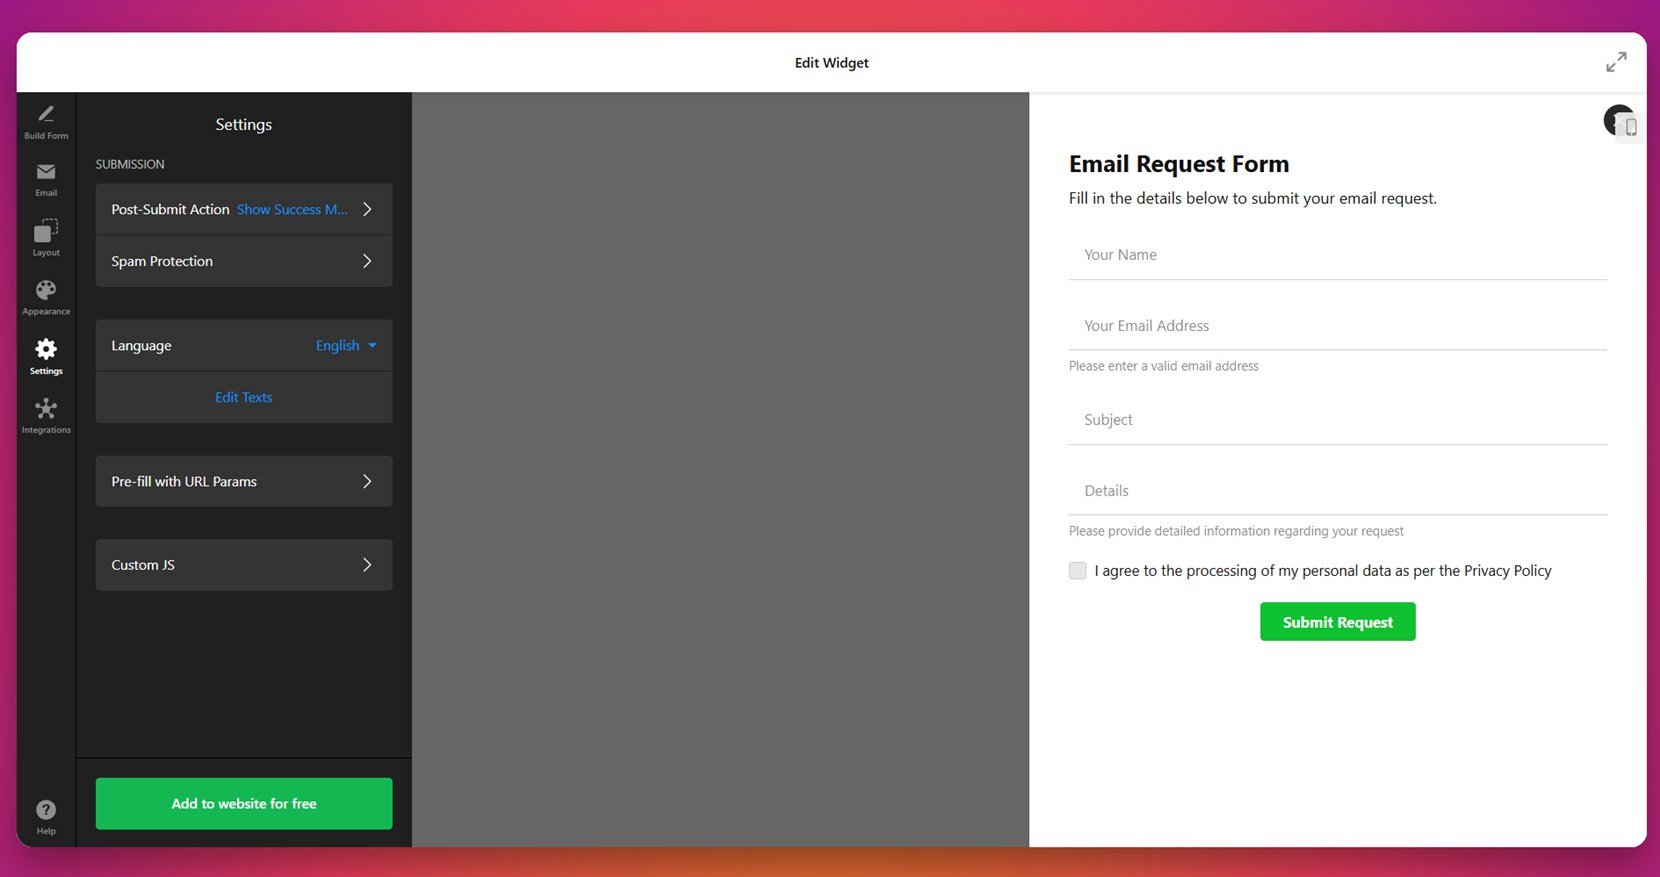
- Adjust settings. Go to the “Settings” tab to configure submission actions, enable spam protection, and localize the form using language options. You can also use URL parameters to pre-fill fields or inject custom JS if needed.

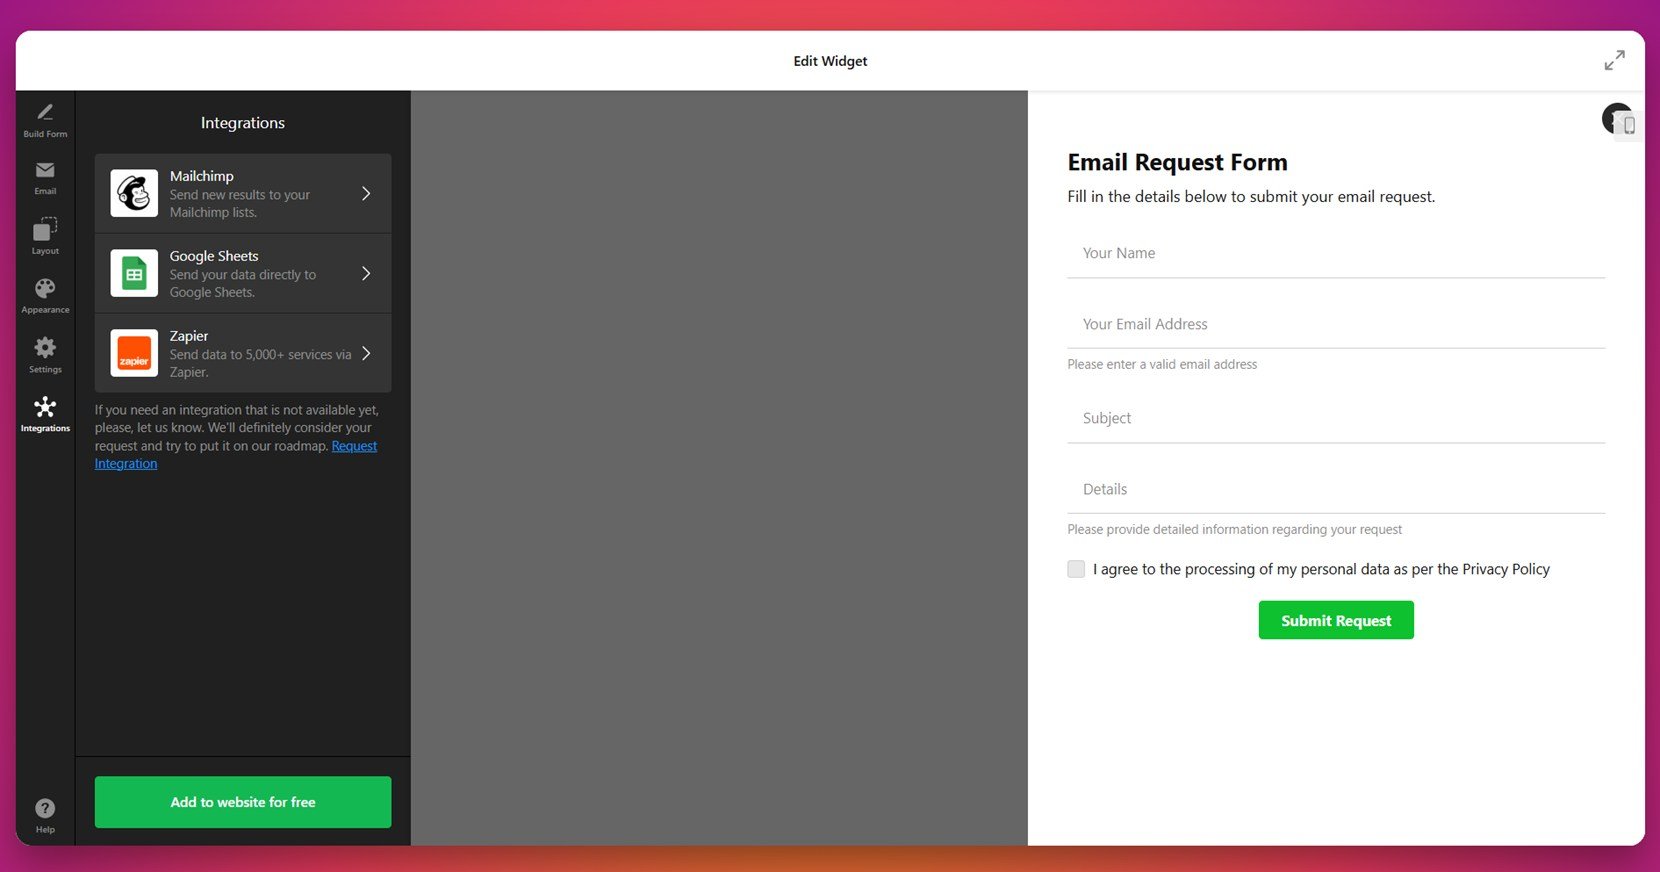
- Integrate with external platforms. In the “Integrations” tab, you can connect your form to Google Sheets, Mailchimp, or Zapier to send responses where you need them most.

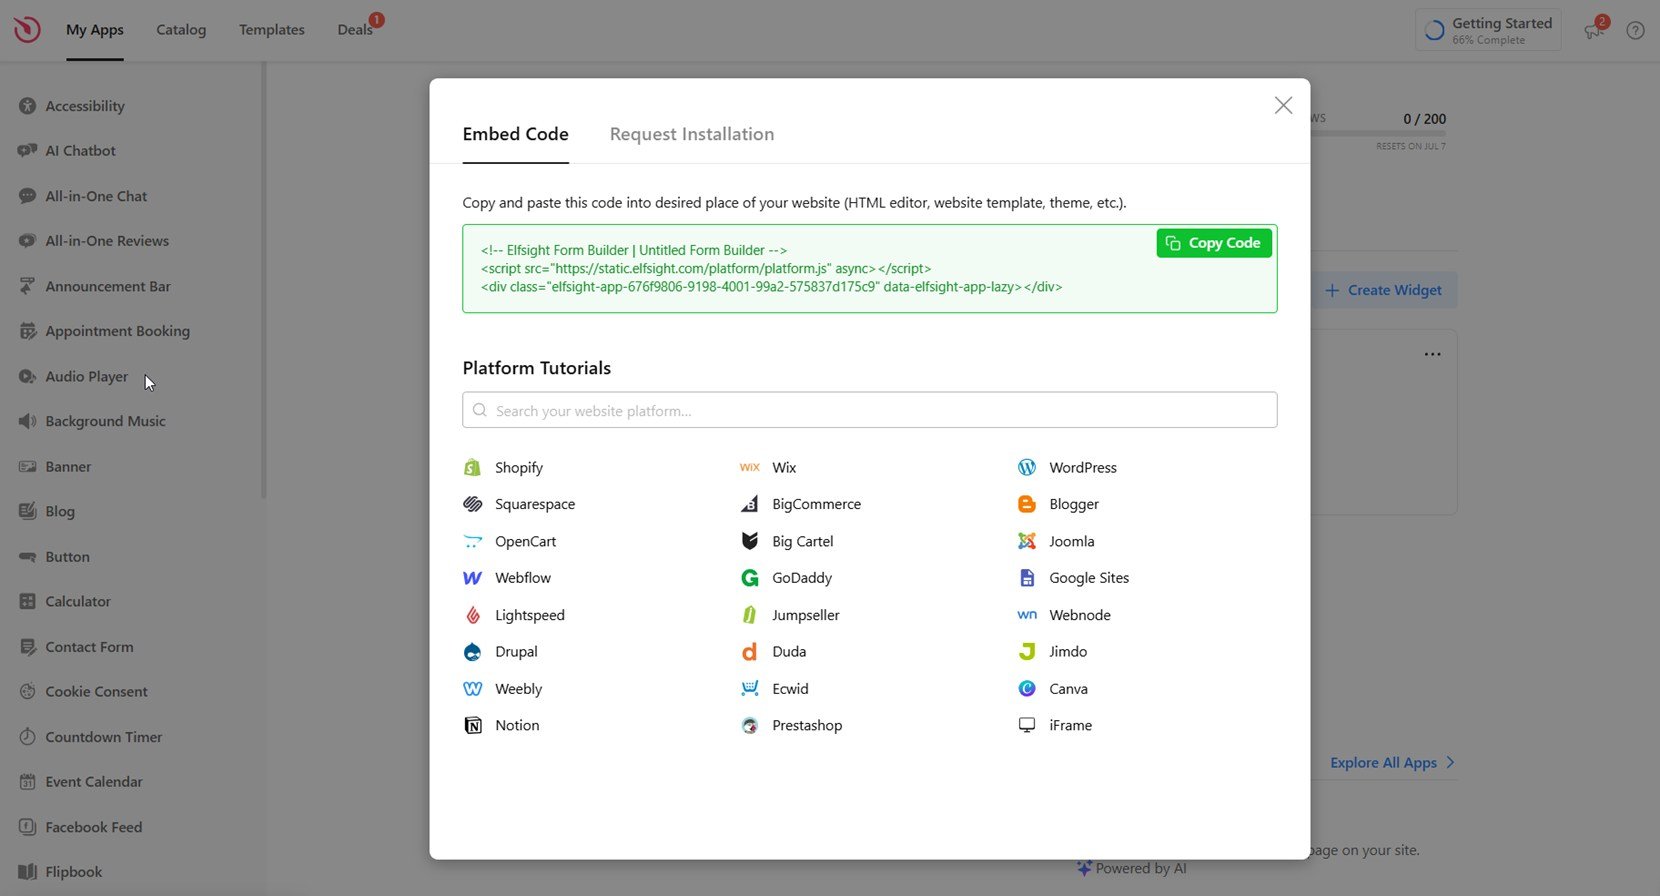
- Embed the form on your website. Click the green “Add to website for free” button and copy the generated embed code. Open your HTML editor or template, paste the code into the section where you want the form to appear, save, and publish your website.


Once your form is live, it’s time to explore all the design and functionality features that set Elfsight’s Form Builder apart from a basic embed. In the next section, we’ll go over those benefits in detail.
Features of the Elfsight Form Builder
After you’ve installed your form, you’ll notice right away that Elfsight offers far more flexibility than the default Google embed. This block explains why it’s worth embedding your form with Elfsight and how it can seamlessly integrate into your website layout.
Below is a breakdown of the key features and benefits that make Elfsight’s Form Builder a more powerful option than a basic embed:
| Feature | Benefit |
|---|---|
| Drag-and-drop builder | Visually build forms without code using an intuitive editor that’s beginner-friendly. |
| Responsive design | All forms adapt automatically to mobile, tablet, and desktop screens. |
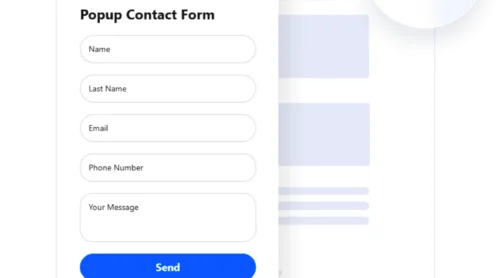
| Flexible positioning | Choose between inline or floating layouts and display the form wherever you want on the page. |
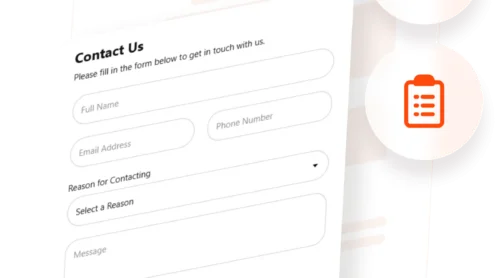
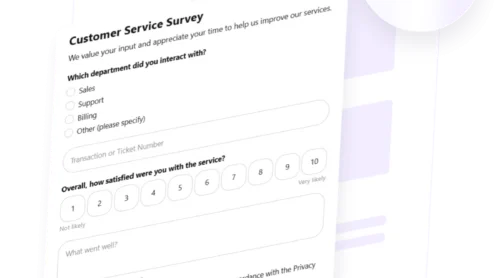
| Pre-designed templates | Start with a layout that fits your purpose — contact, registration, feedback, and more. |
| Conditional logic | Show or hide fields dynamically based on user responses to improve usability. |
| Email notifications | Receive alerts for each submission and send automated confirmation emails to users. |
| App integrations | Sync data with Google Sheets, Mailchimp, or over 5,000 apps through Zapier. |
| Custom appearance settings | Match your form to your website’s style by adjusting fonts, colors, borders, and buttons. |
| Built-in spam protection | Enable CAPTCHA, use consent checkboxes, and stay GDPR-compliant out of the box. |
With these tools, you can embed Google Form in HTML-like fashion — but with far more control and a smoother integration into your website layout. Let’s now look at practical tips to help you optimize any form embedding process.
Tips to Get the Most Out of Your Google Form
Once you’ve embedded the form into your HTML, there are a few practical steps you can take to ensure it performs well and aligns perfectly with your website layout. These tips apply whether you’re using a visual builder or inserting form using iframe manually.
- Use responsive containers. Always wrap your form’s embed code inside a flexible <div> with width: 100% and a max-width limit. This ensures the form scales properly across all screen sizes.
- Avoid placing the form too low. For higher engagement, position your form in visible areas such as above the fold, at the end of relevant content blocks, or inside sticky elements if possible.
- Match the form styling with your website. Integrate form into website layout by aligning fonts, colors, and padding with the rest of your design. Avoid sharp visual contrasts that may confuse or distract users.
- Don’t overload with too many fields. Keep it short and to the point — only ask for the information you truly need. The fewer fields, the higher the submission rate.
- Test the form on multiple devices. After embedding, test the live form on mobile, tablet, and desktop to catch layout breaks, slow load times, or cutoff elements early.
- Check email deliverability settings. Make sure notifications don’t land in spam by setting up DKIM or SMTP if your form platform allows it. Also, use a valid sender address to avoid bounces.
- Review performance periodically. Even after a successful launch, monitor conversion rates and drop-off points using analytics tools to make small improvements over time.
With these tips in place, embedding and optimizing a form becomes a much smoother task. In the next section, we’ll explore real-world use cases to help you understand who can benefit most from adding forms to their websites.
Who Uses Embedded Forms and Why: Application Cases
Adding forms is a versatile solution used across various industries to collect data, capture leads, and streamline communication. Whether you need to show a survey form on a page or connect Google Form with custom page elements, the use cases are broad and practical. Here’s how different sectors are benefiting from HTML form integration.
Application in Education 🎓
Educational institutions use integrated forms to simplify enrollment, gather feedback from students, and manage event registrations. Many online course platforms also include inline forms to let users submit interest or access materials without redirection.
Application in Healthcare 💉
Clinics and healthcare providers use forms for appointment requests, pre-visit screenings, and follow-up questionnaires. Some digital health platforms also use them for new patient onboarding directly within a secure portal.
Application in Real Estate 🏠
Real estate professionals embed contact forms into property pages to capture leads, offer scheduling options, or qualify buyers. Some agencies enhance lead quality by pre-filling forms with property details using URL parameters.
From education to healthcare to real estate, embedded forms offer real-world solutions for improving workflows and capturing important information efficiently. Next, let’s address common issues that may occur when embedding and how to fix them quickly.
Fixing Common Issues
While embedding a Google Form in HTML is generally straightforward, there are several issues and limitations that users often encounter. This section covers common problems, technical constraints, and form behavior to help you troubleshoot and improve performance.
Why doesn't the form appear after embedding the code?
How can I make the embedded form responsive on mobile?
Can I remove the Google branding from the form?
Why are there scrollbars inside the iframe?
Is it possible to pre-fill fields in the embedded form?
Can I link multiple forms to the same page?
Understanding these constraints helps avoid confusion and ensures smoother integration.
Conclusion
Embedding a Google Form in an HTML website is a quick way to start collecting responses, whether you’re adding a basic survey, contact form, or registration tool. The native method using iframe works well for simple use cases, especially if you’re looking to publish form inside an HTML template with minimal effort. However, it comes with limitations in customization, responsiveness, and branding.
If you’re looking to include online form in website content with full control over appearance, behavior, and integrations, Elfsight’s Form Builder offers a powerful no-code alternative. With advanced layout options, styling tools, and integrations like email and Google Sheets, it’s the ideal solution for businesses aiming to create a seamless user experience without development overhead.
Need More Guidance?
We hope this guide has answered your questions. If you’re exploring how to embed or customize forms on your HTML website and need additional help, contact us — we’re here to help. At Elfsight, our goal is to make powerful widget tools available to everyone.
Join our supportive Community to share ideas, ask questions, and connect with other creators. Got suggestions for new features or improvements? Add them to our public Wishlist — we’re always listening and evolving.