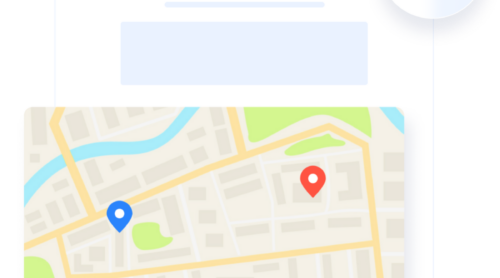
Creating an interactive map for your website enhances user experience by providing clear, engaging navigation for visitors. Whether you want to showcase a business location, highlight multiple destinations, or guide customers with custom routes, an interactive map is a powerful tool.
A Google Maps widget or similar integration simplifies the process by allowing you to create an interactive map online without complex coding. This feature ensures visitors can quickly locate your business or navigate key areas with ease, improving engagement and user satisfaction.
Here are the key benefits of having a custom map on your website:
- Custom location mapping. Display specific locations, routes, or landmarks directly on your site.
- Web-based navigation system. Provide visitors with seamless directions and interactive features.
- Enhanced user engagement. Help users find your business or event with an intuitive, responsive map.
Understanding how an interactive map works and how to create one for your website will help you enhance website usability.
Quick Guide: Create an Interactive Map
Elfsight provides a simple and efficient way to make your own interactive map for your website. Whether you want to highlight multiple locations, add custom markers, or enable easy navigation, you can do it all without coding.
Follow these simple steps to create a clickable map:
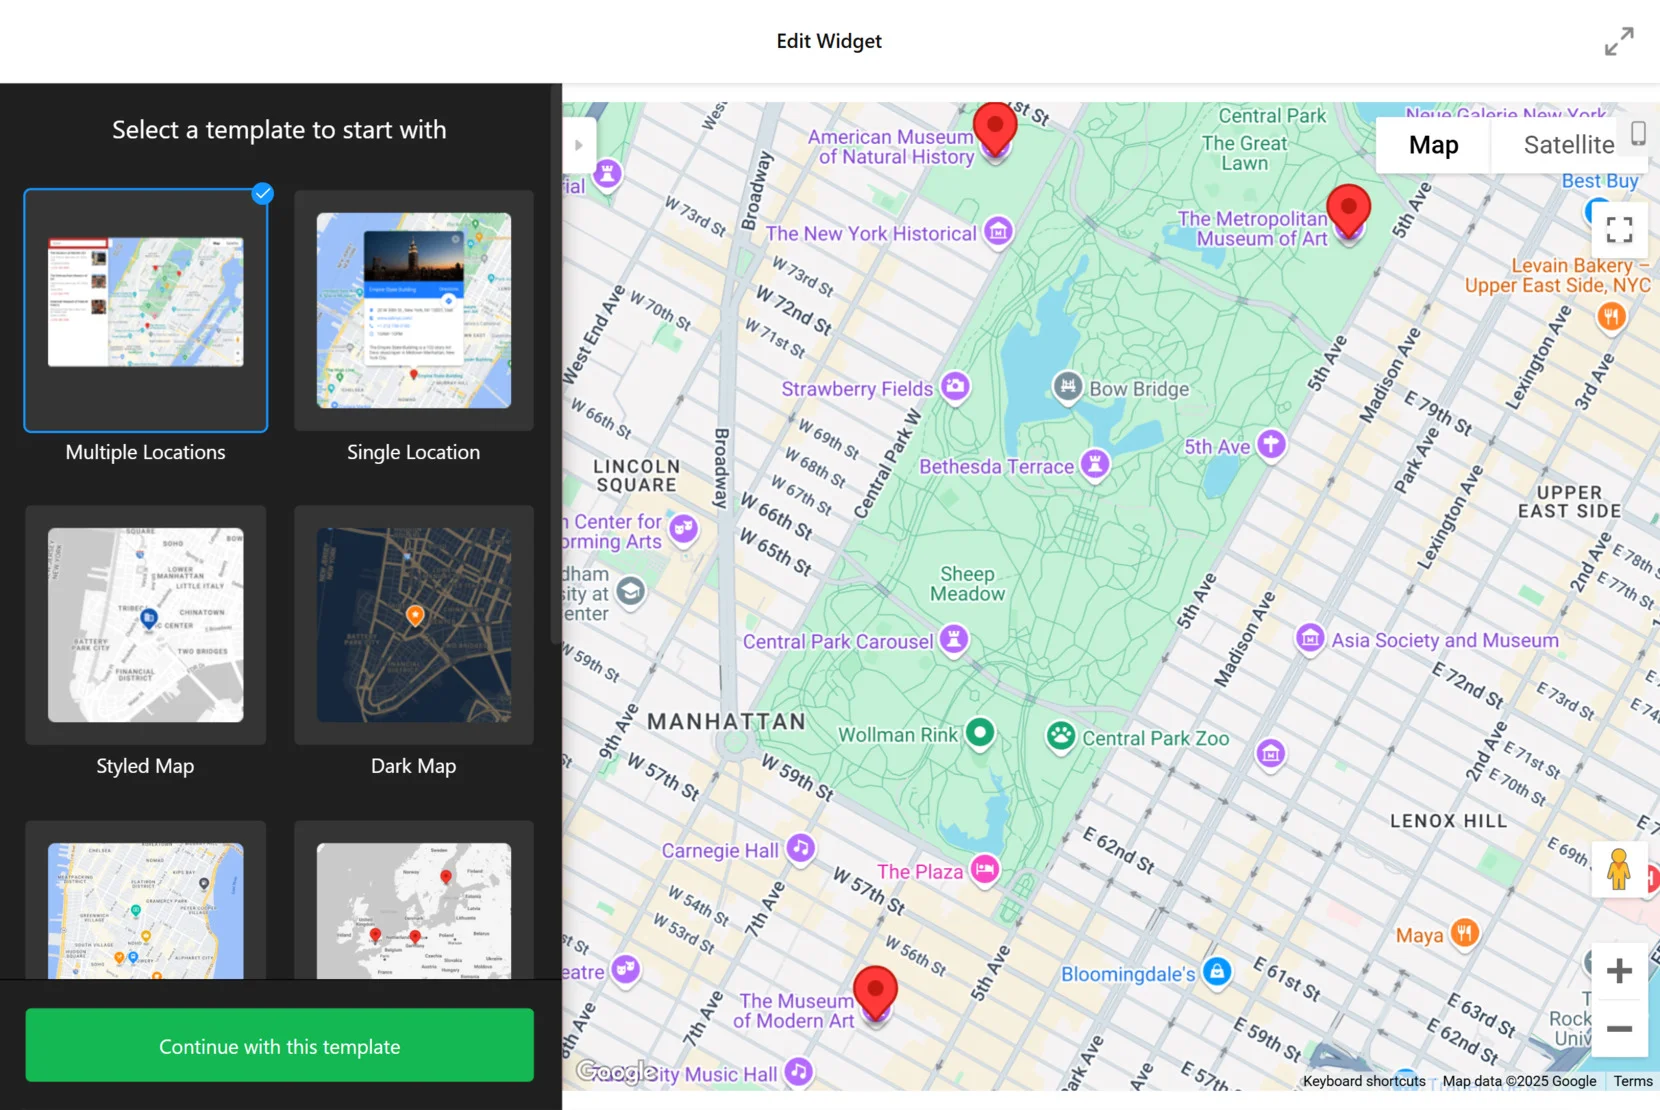
- Open the Elfsight editor and choose a pre-designed interactive map template.
- Enter your location details, add custom markers, and set up tooltips.
- Customize the design, including map colors, styles, and zoom settings.
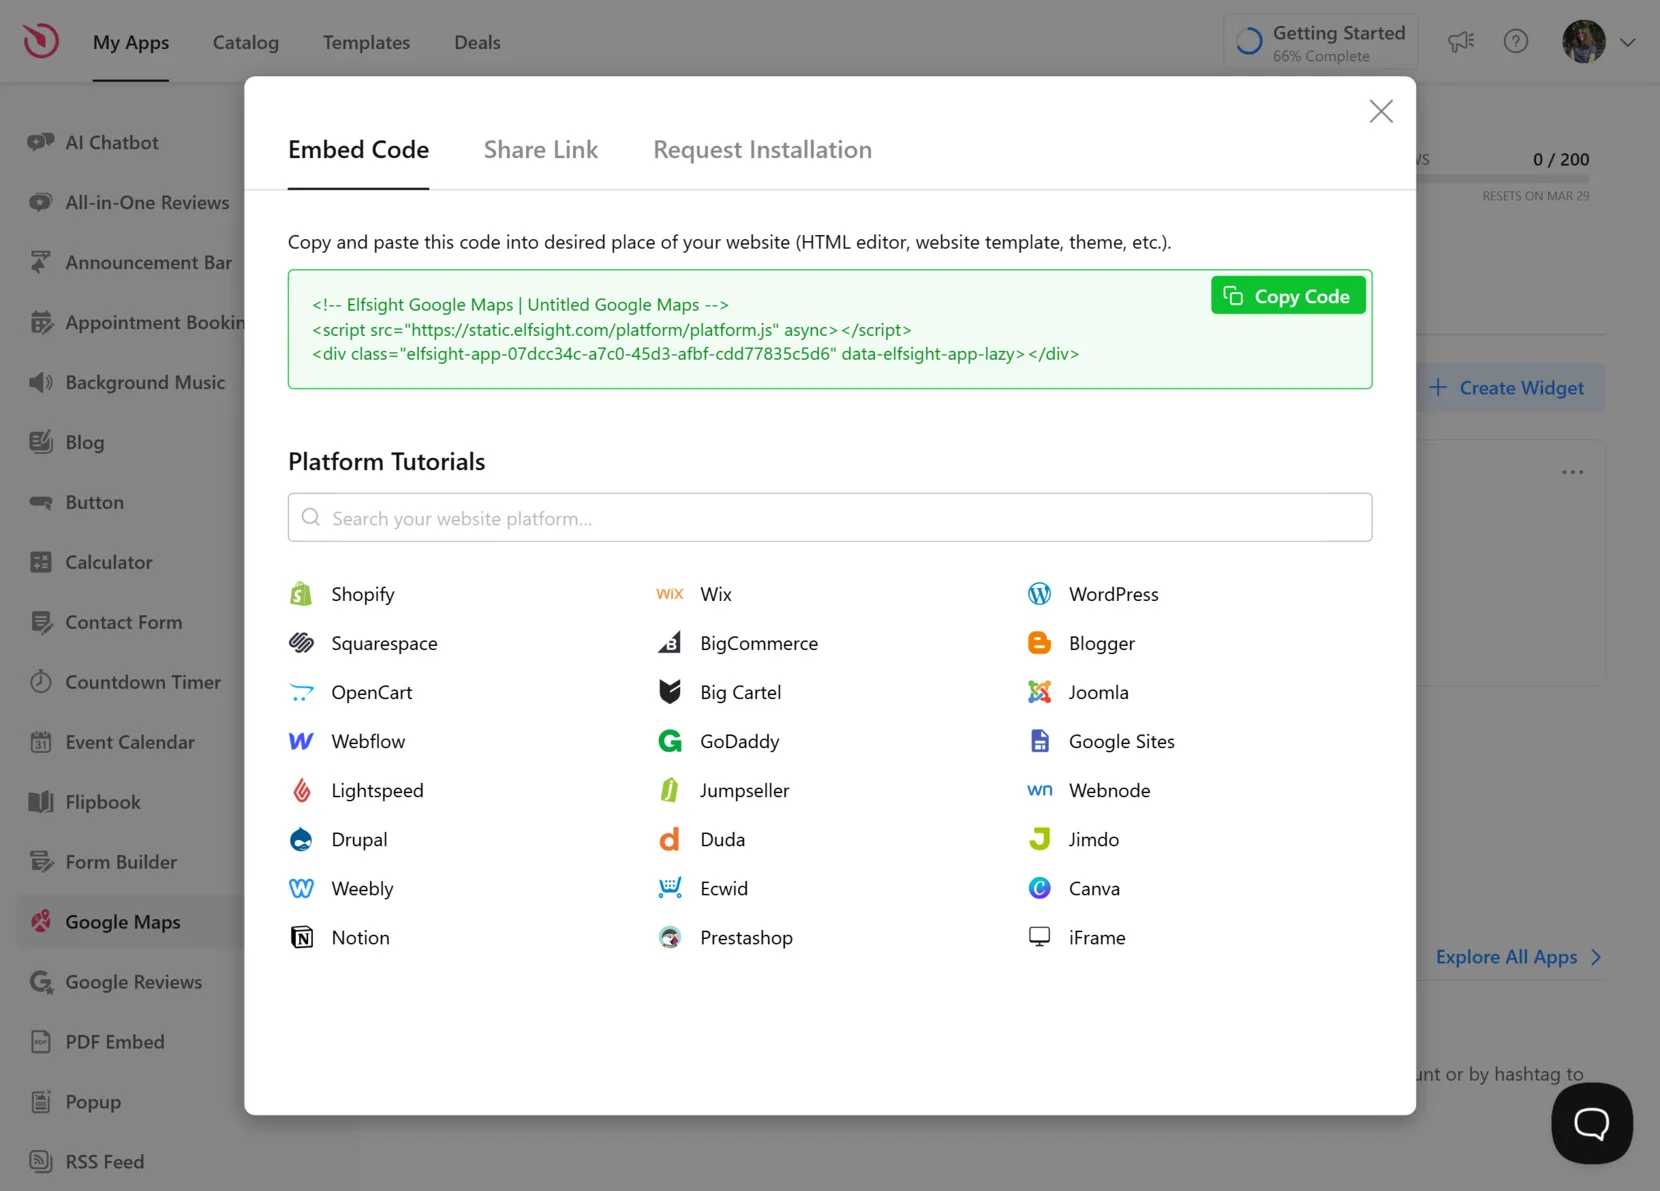
- Click “Add to website for free“, copy the generated embed code, and paste it into your website.
Create your own interactive map in minutes and improve your website’s navigation instantly!
Features & Benefits of Elfsight Map Widget
Elfsight’s Google Maps widget offers a comprehensive set of features designed to enhance user interaction and improve the navigational experience on your website. Here’s why integrating this solution can be a game-changer:
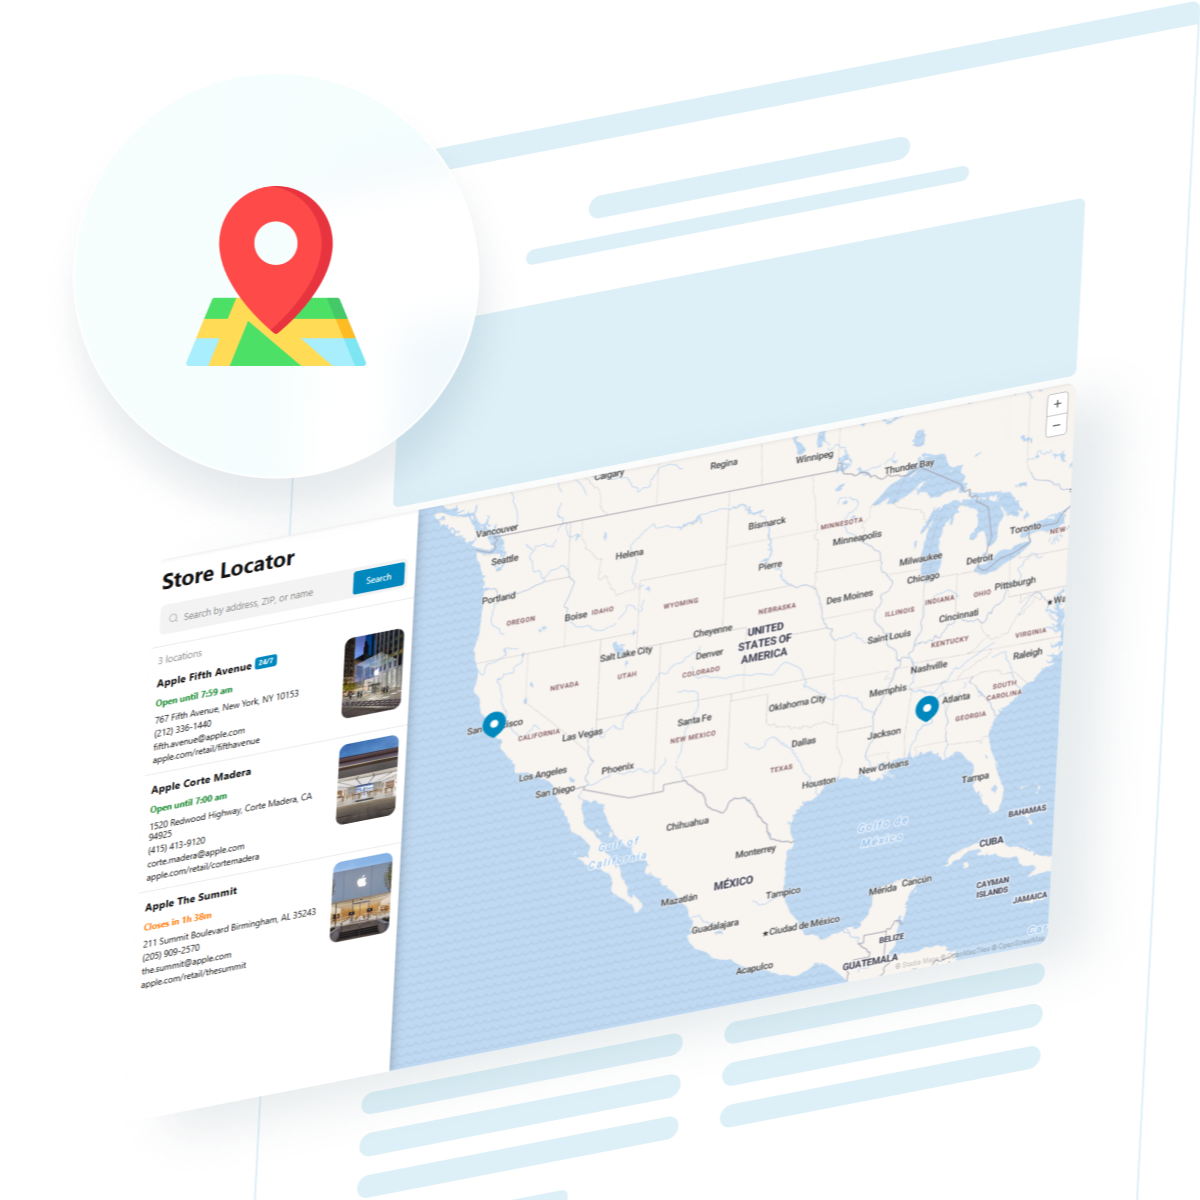
- Detailed Info Cards. Display essential contact information, including address, phone number, email, website, and working hours, directly on the map. You can also add images and choose animation styles for a more engaging presentation.
- Side Panel for Multiple Locations. If your business has multiple locations, you can showcase them in a side panel list, complete with custom titles, images, and contact details, making it easier for users to find the nearest branch.
- Unlimited Markers with Diverse Icons. Add an unlimited number of markers to your map, choosing from a library of over 50 icons to represent various types of locations, such as restaurants, parks, or stores.
- Automatic Route Calculation. Enable users to get directions from their current location to your business directly on the map, enhancing convenience and encouraging visits.
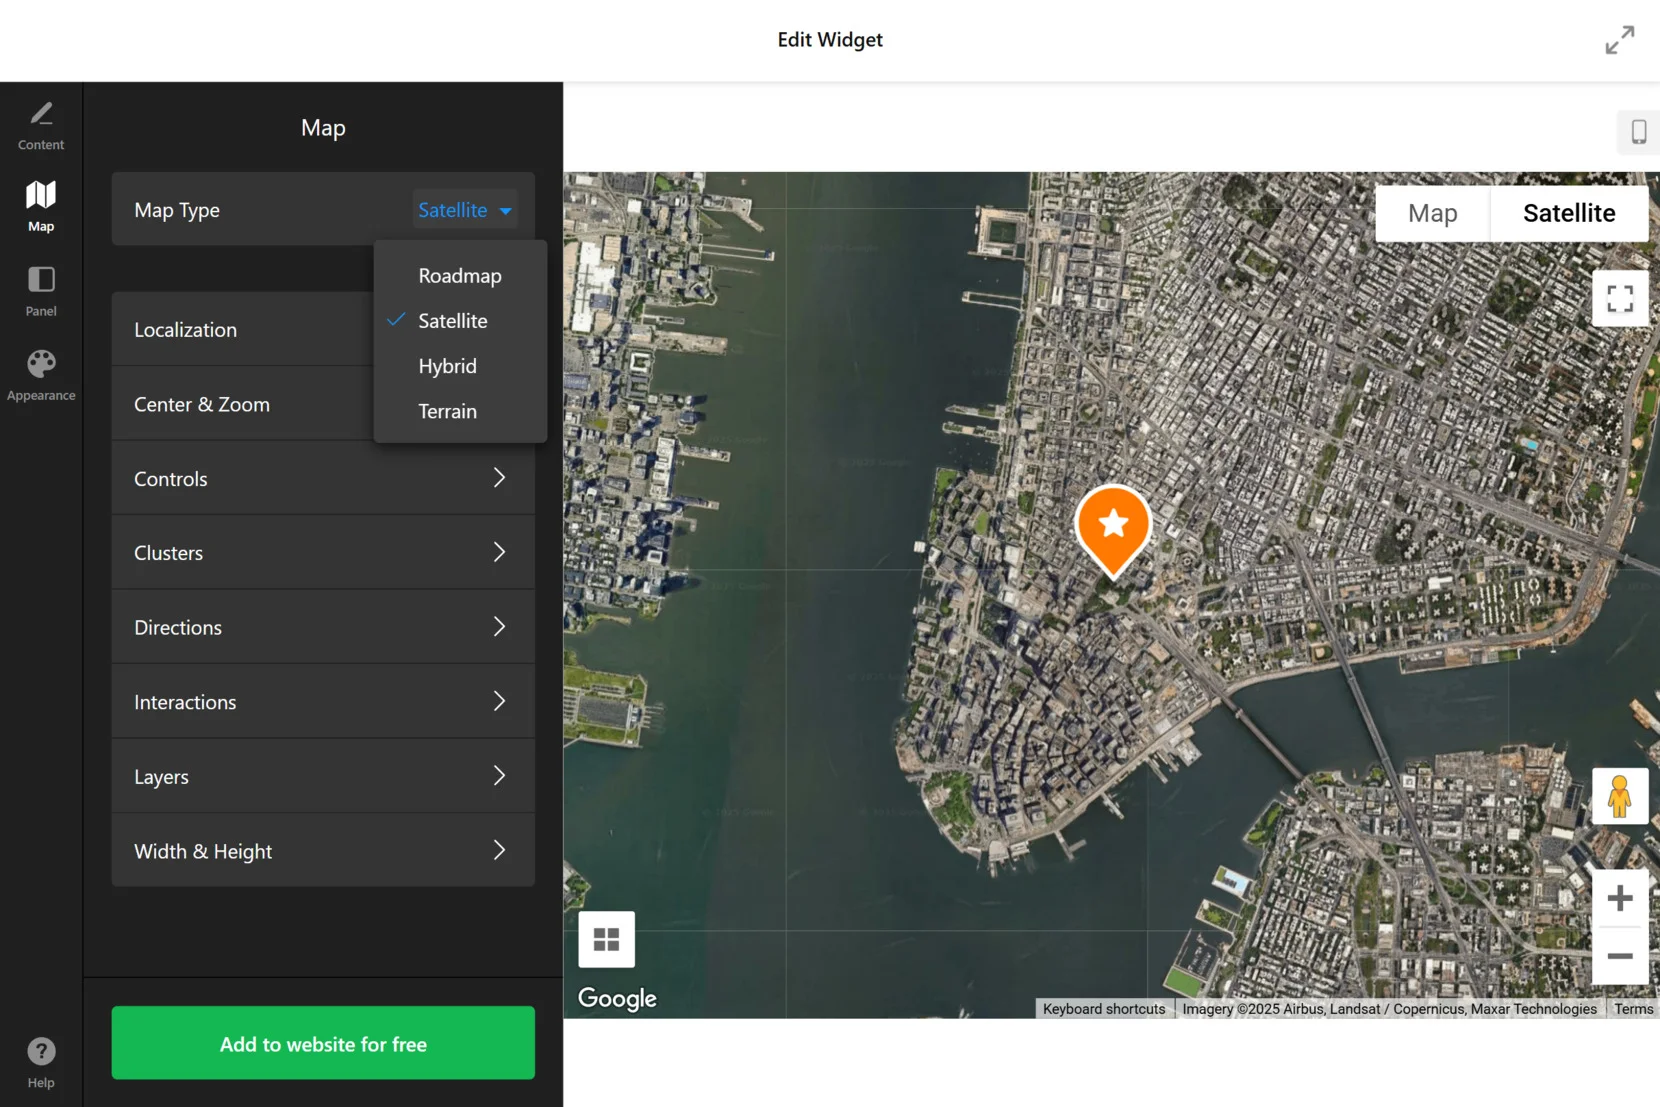
- Customizable Map Layers and Controls. Choose from various map types (roadmap, satellite, terrain) and layers (transit, traffic, bike) to provide users with the most relevant information. Additionally, set controls like zoom, scale, and fullscreen to tailor the map’s usability.
- Responsive and Adaptive Design. The widget is fully responsive, ensuring optimal display and functionality across all devices, from desktops to mobile phones.
By leveraging these features, you can create a dynamic and user-friendly map that not only guides visitors but also enhances their overall experience on your website. Now, let’s delve into a detailed step-by-step guide to implementing this powerful tool.
Add an Interactive Map: Step-by-Step
Elfsight’s Google Maps widget allows you to embed a fully customizable map on your website, helping visitors navigate locations and access directions with ease. Follow this step-by-step guide to create and install your interactive map.
- Choose a Template. Open the widget editor and select a template that best fits your needs. Once you’ve chosen, click “Continue with this template” to proceed.

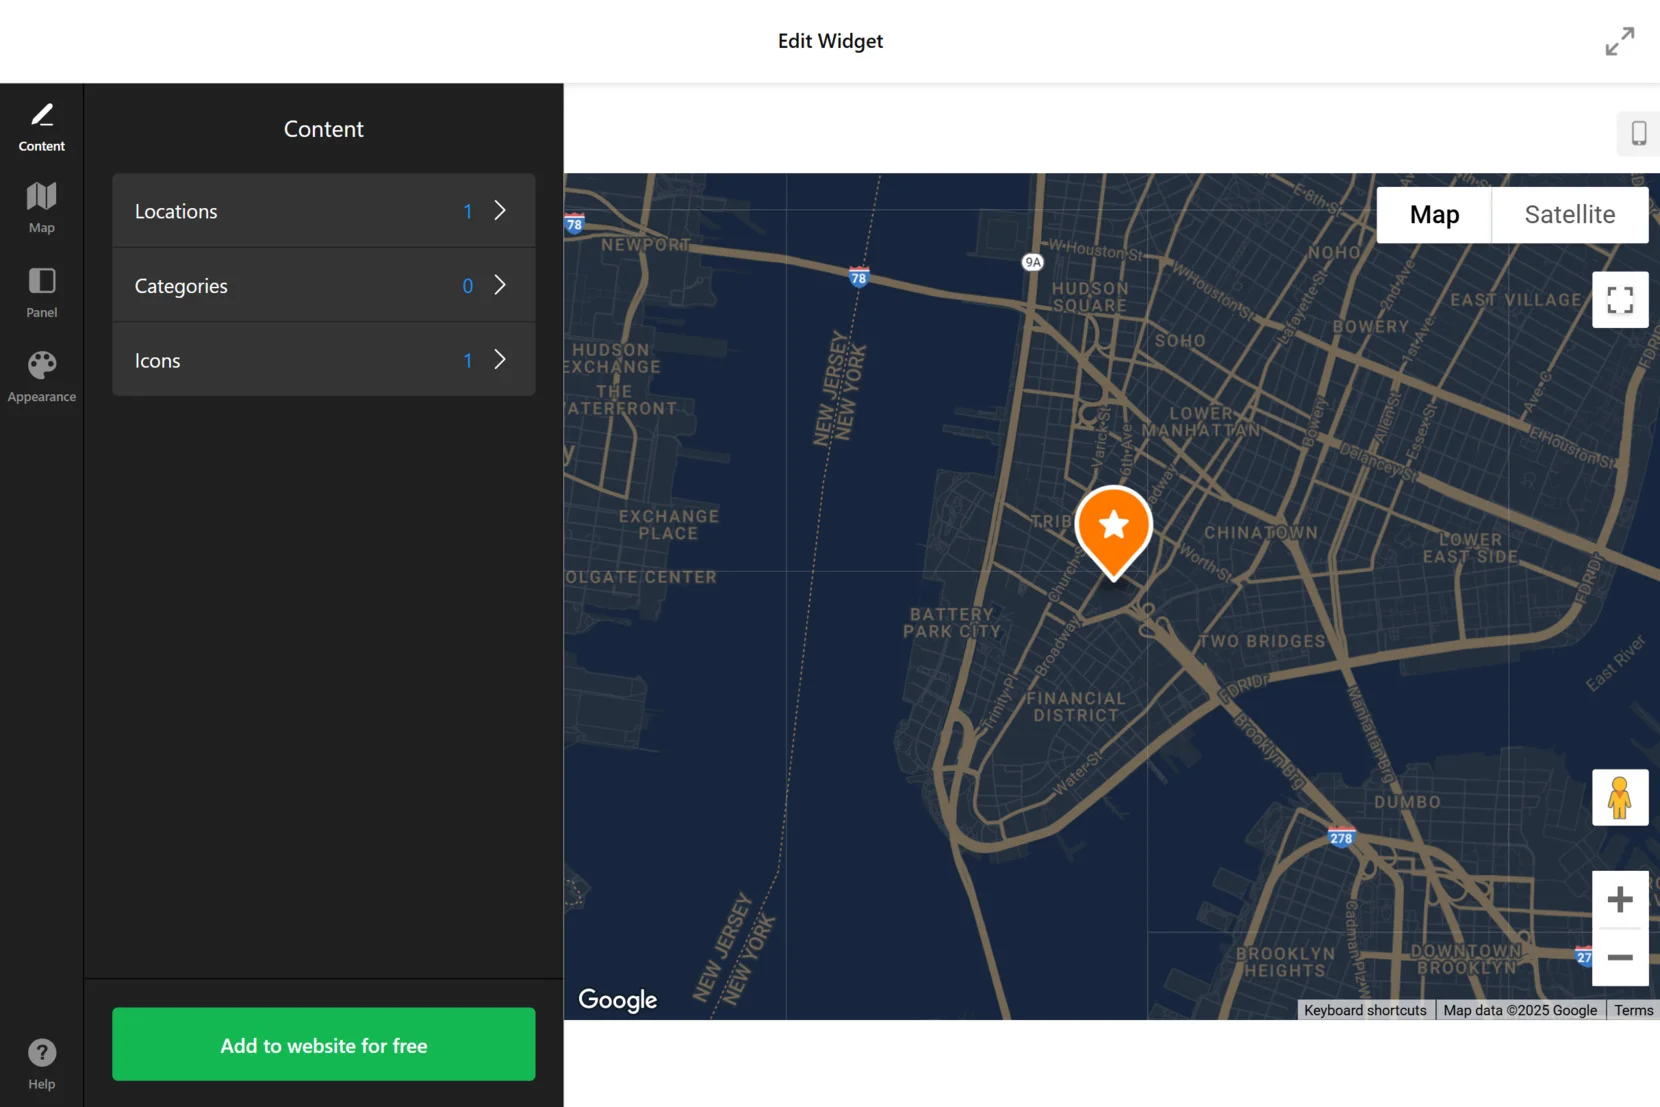
- Add Locations. In the “Content” tab, enter your business details, including addresses, categories (if you’re creating a multi-location map), and location-specific icons.

- Choose the Map Type. Navigate to the “Map” section and select your preferred style: Satellite, Roadmap, Hybrid, or Terrain. Adjust additional options like measurement units, route directions, and interactive elements.
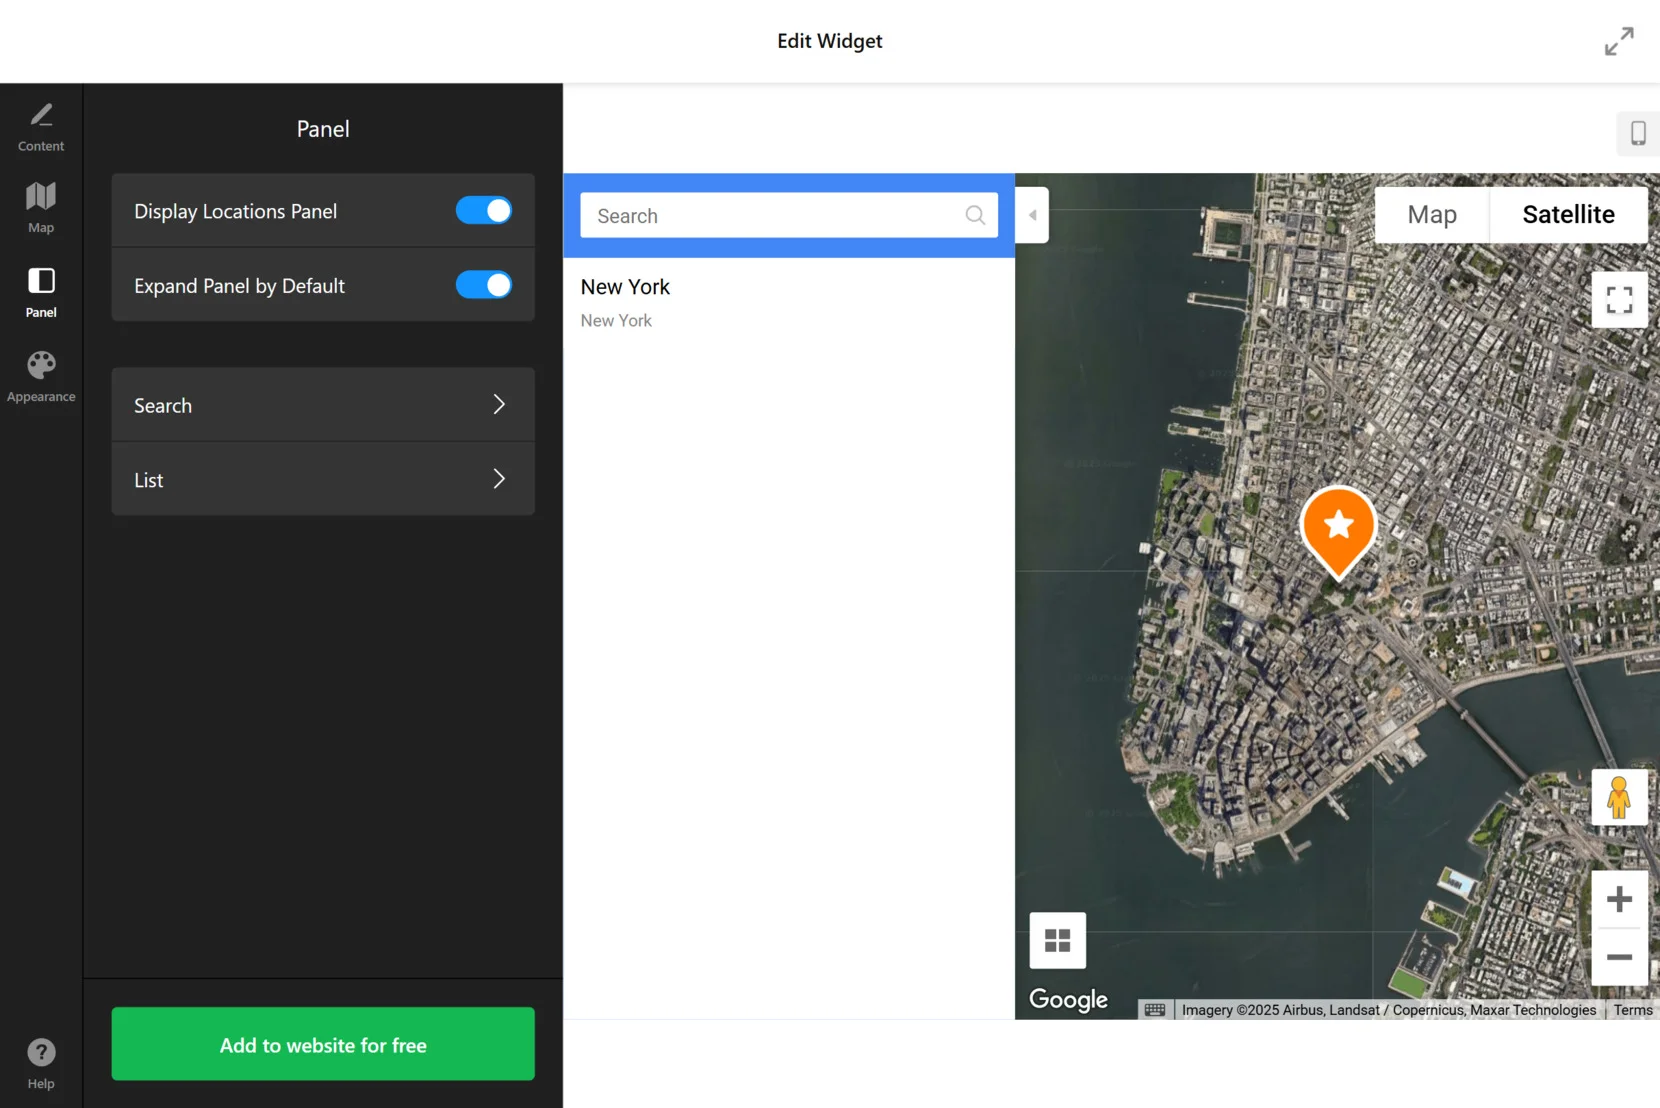
- Adjust Panel Settings. In the “Panel” section, enable the display of a side panel with location details. Toggle on “Display Locations Panel” and decide if it should expand by default.

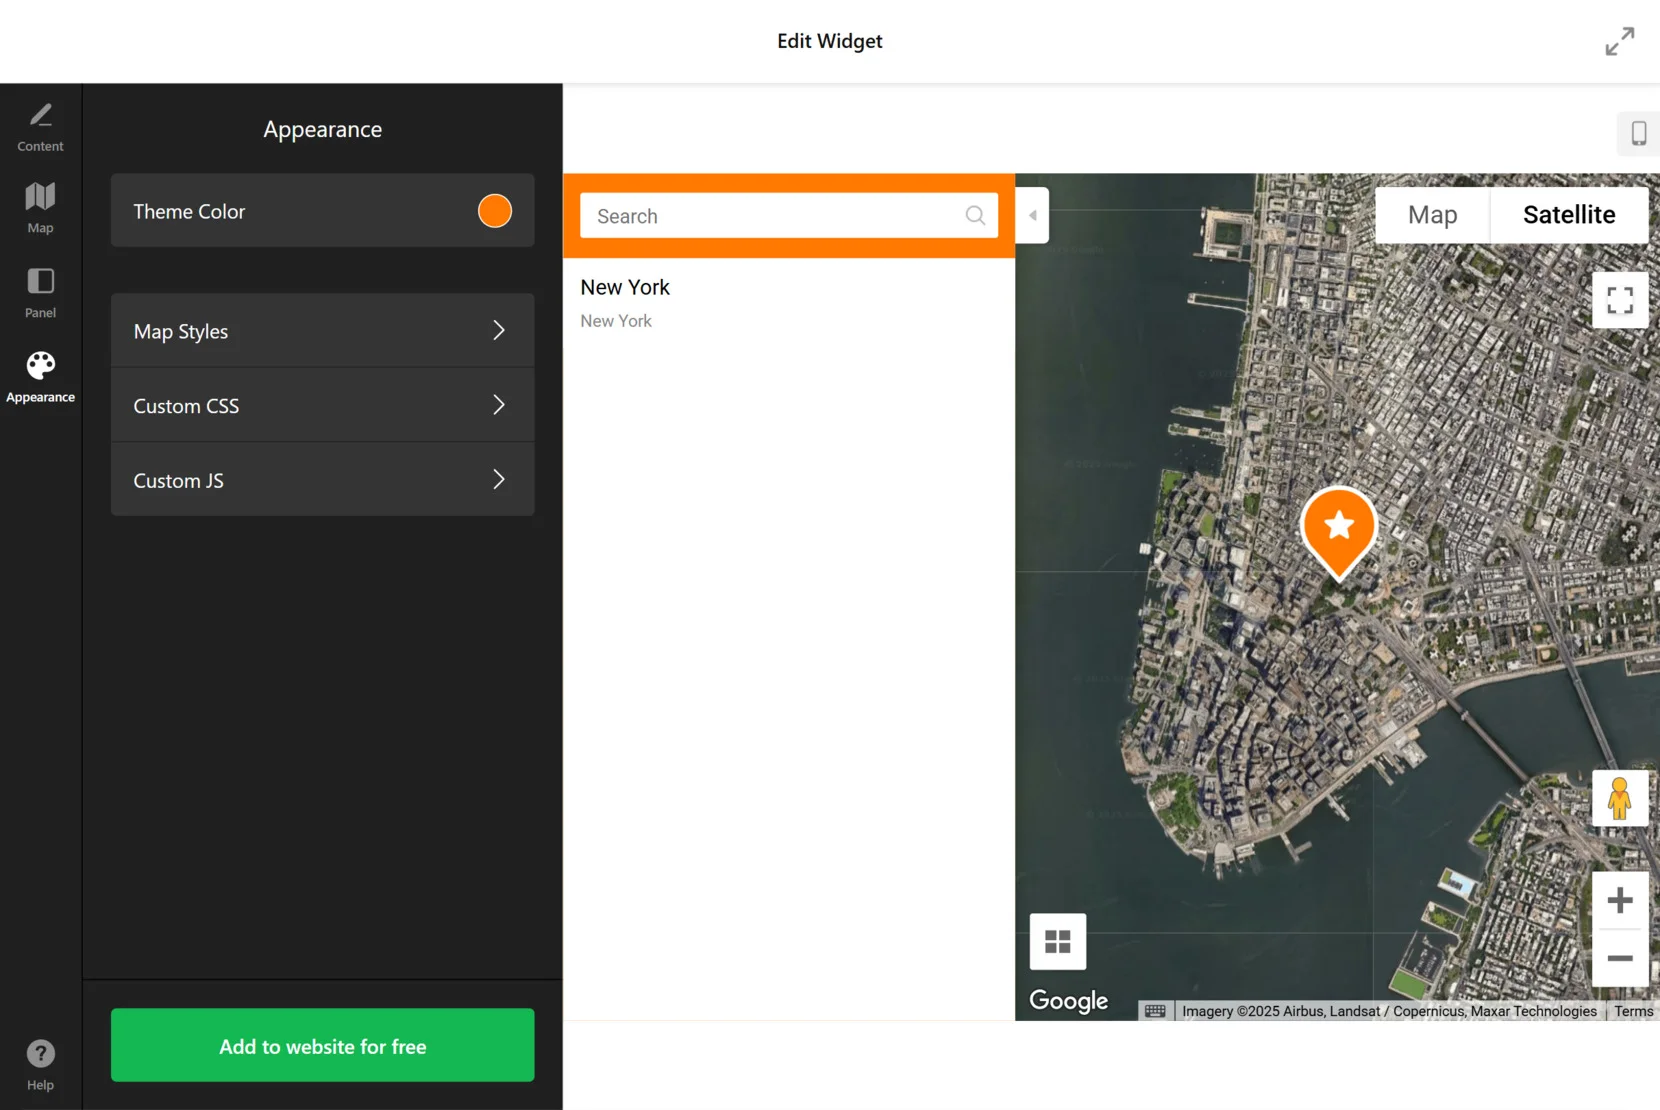
- Finalize the Widget’s Design. Under the “Appearance” tab, customize the visual style of your map by choosing a theme color and layout. You can also apply Custom CSS and JavaScript elements for advanced customization.
- Embed Google Maps to Your Website. Once you’re happy with the setup, click “Add to website for free” to generate the embed code. Copy and paste this code into your website’s backend to integrate your interactive map.

By following these steps, you’ll have a fully functional interactive map that enhances your website’s navigation and improves user engagement.
Alternative Ways to Build a Website Map
Besides pre-made widgets, there are other ways to make an interactive map for your website. Below are descriptions and step-by-step instructions for two popular alternative methods.
Google Maps API
Google Maps API is a powerful tool that allows you to integrate customized maps into your website with advanced features such as traffic data, street view, and location markers.
Below are the steps to create a digital map with this solution:
- Sign up for Google Maps API. Create a Google Cloud account, set up a new project, and enable the Google Maps JavaScript API.
- Generate an API key. In the API credentials section, create an API key and restrict it to prevent unauthorized usage.
- Add the API script to your website. Include the following script in your HTML file:
<script src="https://maps.googleapis.com/maps/api/js?key=YOUR_API_KEY&callback=initMap" async defer></script> - Define the map container. Add a “div” tag with an ID where the map will be displayed:
<div id="map" style="height: 400px; width: 100%;"></div> - Write the JavaScript function. Add a script to initialize the map:
function initMap() { var location = {lat: 40.7128, lng: -74.0060}; var map = new google.maps.Map(document.getElementById('map'), { zoom: 10, center: location }); var marker = new google.maps.Marker({position: location, map: map}); } - Test and deploy. Save your file, upload it to your server, and check your website to ensure the map is functioning correctly.
OpenStreetMap with Leaflet.js
Leaflet.js is a lightweight, open-source JavaScript library for creating interactive maps. It provides a simpler alternative to Google Maps and works with OpenStreetMap.
Here’s what you need to do to build a custom map with this tool:
- Include Leaflet.js in your project. Add the Leaflet CSS and JavaScript files to your HTML file.
- Create a map container. Add a “div” in your HTML file where the map will be displayed:
<div id="mapid" style="height: 400px; width: 100%;"></div> - Initialize the map. Use JavaScript to set up the map and add a marker:
var mymap = L.map('mapid').setView([40.7128, -74.0060], 10); L.tileLayer('https://{s}.tile.openstreetmap.org/{z}/{x}/{y}.png', { attribution: '© OpenStreetMap contributors' }).addTo(mymap); L.marker([40.7128, -74.0060]).addTo(mymap) .bindPopup('New York City') .openPopup(); - Save and test. Refresh your website to check if the map is displayed correctly.
Comparison of Interactive Map Solutions
Each method has its advantages and disadvantages. Below is a comparison of Elfsight, Google Maps API, and Leaflet.js.
| Method | Pros | Cons |
|---|---|---|
| Elfsight | Elfsight provides an easy-to-use, no-code solution that allows users to create and embed an interactive map in minutes. | Customization options are limited compared to pre-made solutions. |
| Google Maps API | Google Maps API offers advanced customization, including real-time traffic data, street view, and detailed location information. | Requires API key management, coding knowledge, and may involve usage-based pricing. |
| Leaflet.js | Leaflet.js is lightweight and open-source, allowing full customization without third-party API restrictions. | Lacks some advanced features like real-time traffic data and Google’s location database. |
Now that you are familiar with different methods to add interactive maps to your website, let’s explore some practical tips for optimizing their use.
Best Practices for Interactive Maps
Proper setup, optimization, and usability improvements will help you get the most out of your map. To ensure your digital map functions smoothly and enhances user experience, follow these key tips.
- Optimize for Mobile Users. Ensure your map is fully responsive and adapts to different screen sizes. Use touch-friendly controls and keep key elements accessible.
- Keep Load Time Low. Avoid overloading your map with too many pins, layers, or animations. Optimize images and use caching techniques to improve speed.
- Use Clear Labels and Tooltips. Make sure all markers and locations are clearly labeled with helpful tooltips to enhance navigation.
- Choose the Right Map Style. Match the map’s design with your website’s aesthetics. Dark, light, or custom styles can improve readability and user engagement.
- Ensure Cross-Browser Compatibility. Test your interactive map on different browsers and devices to ensure a consistent experience.
- Enable Search and Filters. If your map contains multiple locations, add a search bar or filter options for better user navigation.
A well-optimized map improves user engagement and navigation. Next, let’s explore how different industries leverage interactive maps for various purposes.
How Industries Use Maps on Websites
Interactive maps are widely used across various industries to enhance user experience, provide real-time data, and improve decision-making. Below are key industries leveraging this technology.
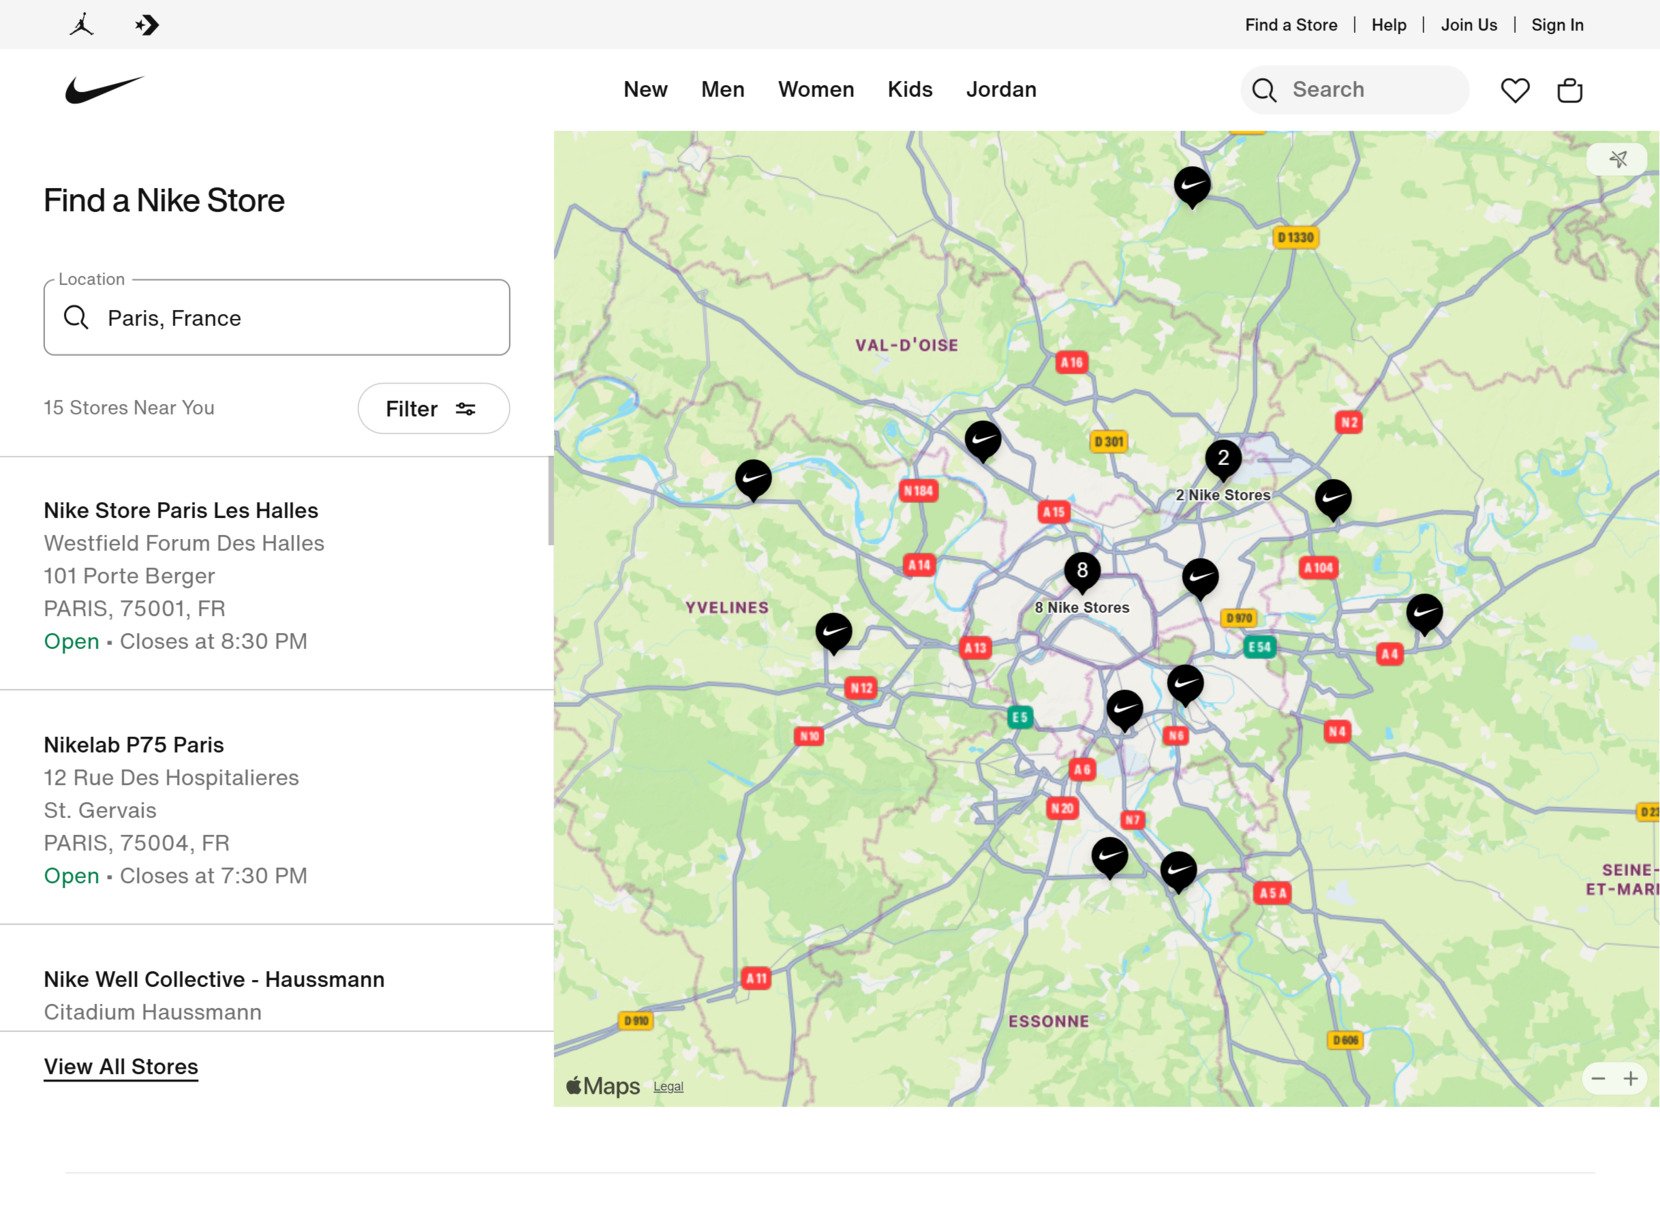
Retail and E-Commerce
Retailers and e-commerce platforms use interactive maps to help customers locate physical stores, track delivery status, and find nearby service points. These maps enhance convenience and improve customer engagement.
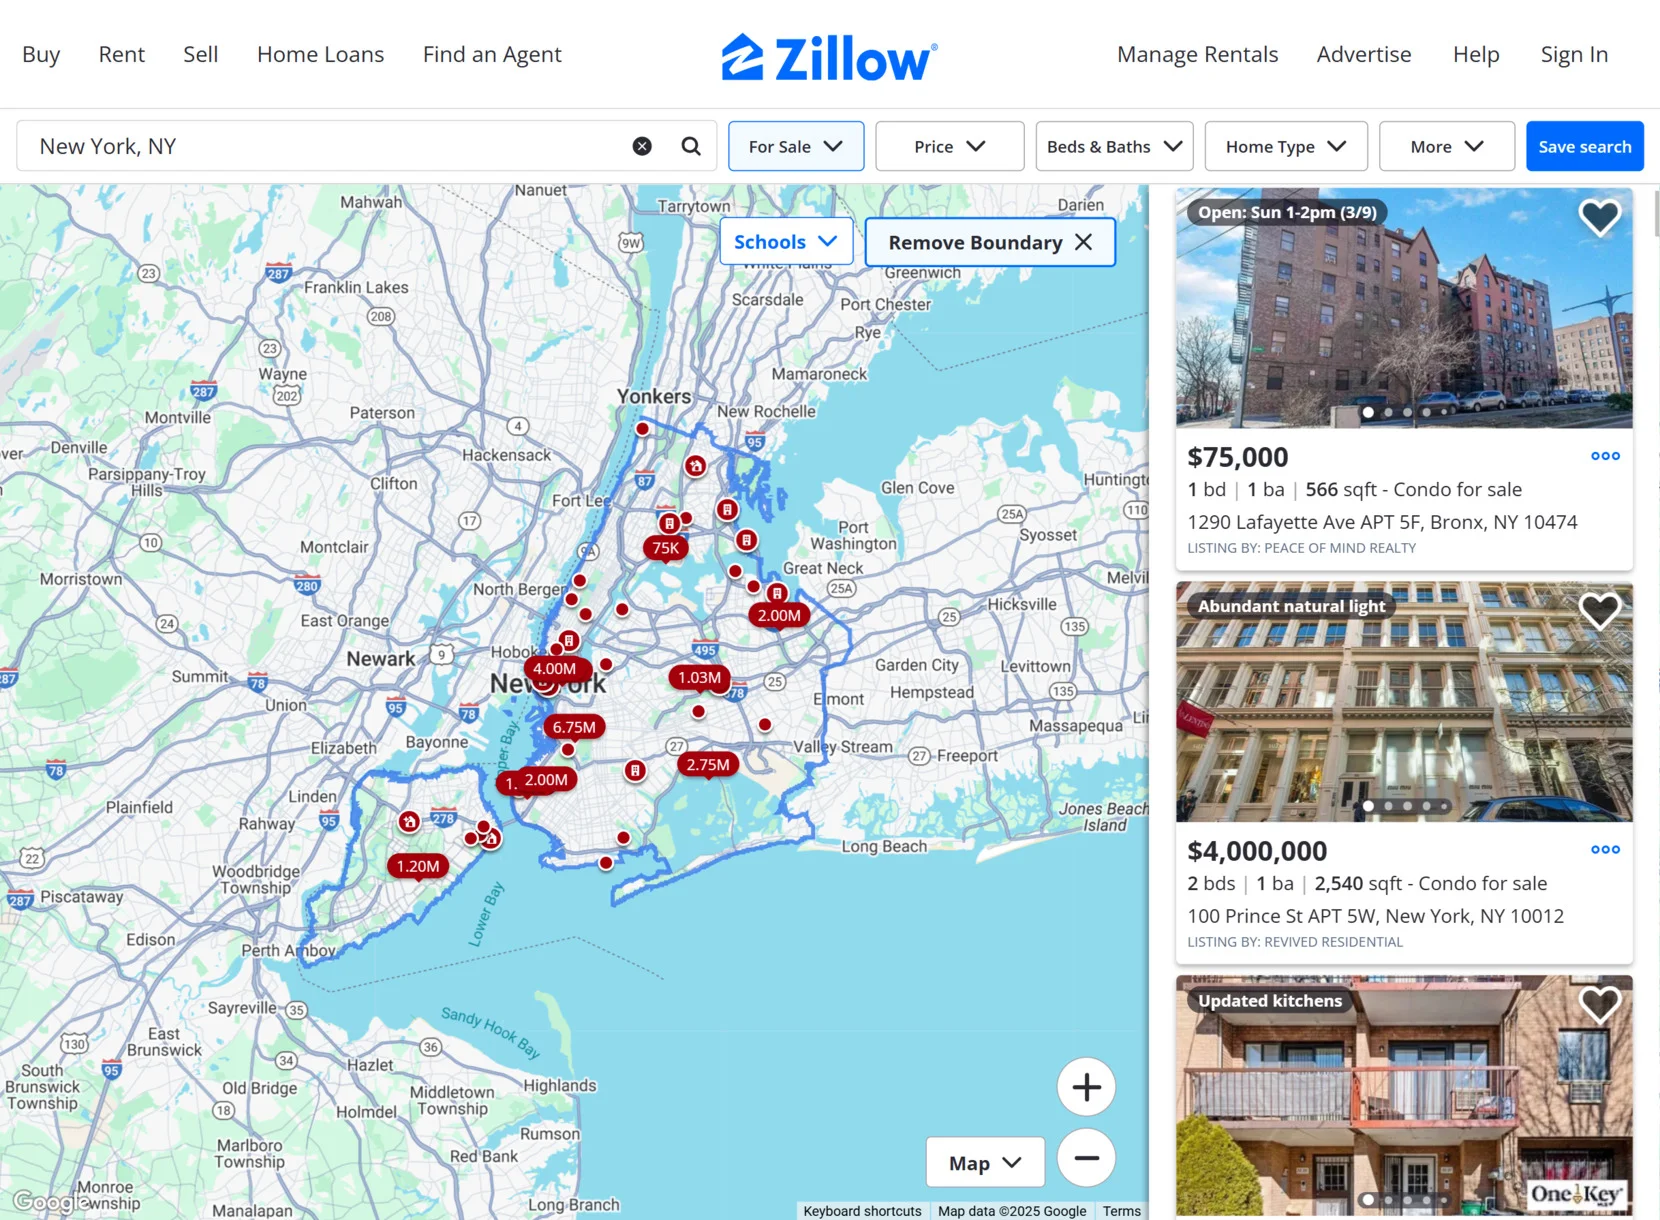
Real Estate
Interactive maps in real estate help potential buyers explore property listings, view neighborhood insights, and access virtual tours. They provide an easy way to compare locations and amenities.
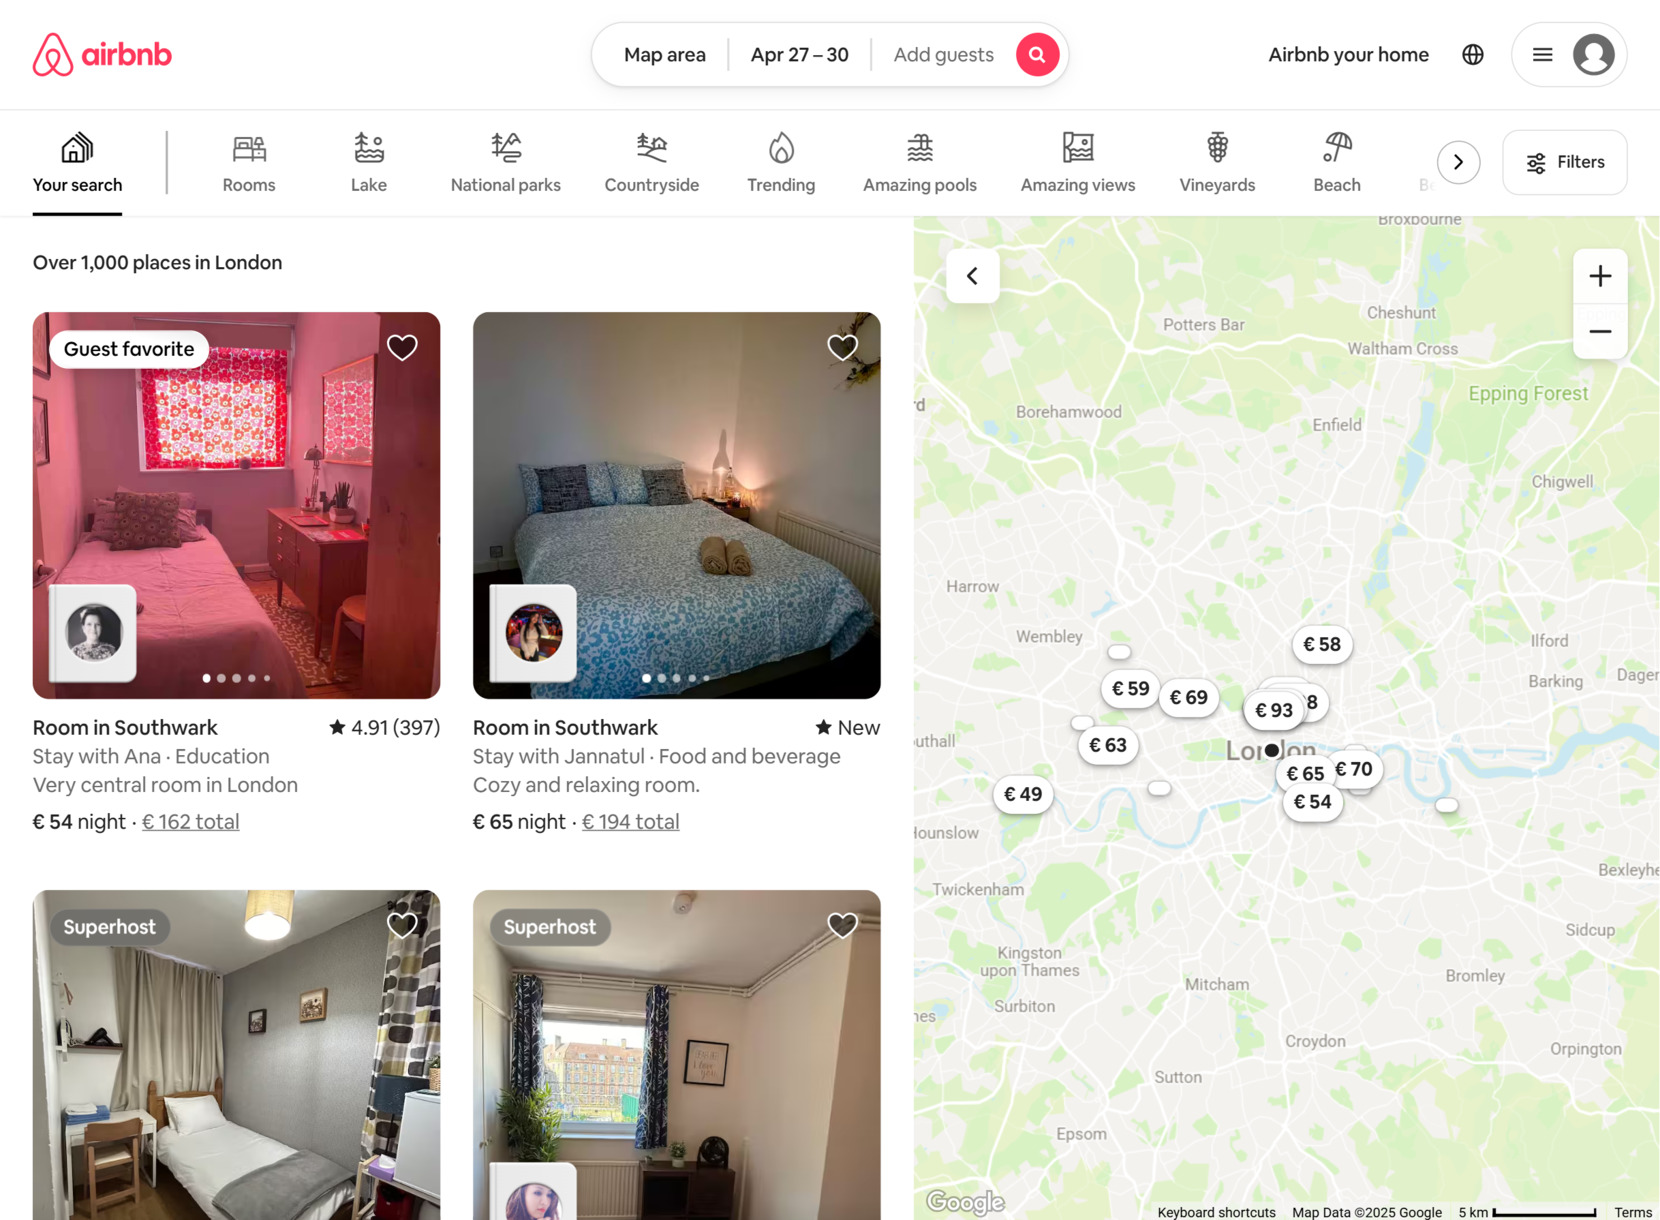
Travel and Hospitality
The travel industry uses interactive maps to showcase destinations, help users plan routes, and provide real-time updates on attractions, hotels, and transportation services.
From retail to real estate and travel, interactive maps serve as a powerful tool for businesses to enhance user experience. Next, we’ll explore common issues that can arise when implementing interactive maps and how to resolve them efficiently.
Common Issues & Fixes
While interactive maps offer great functionality, users may face challenges related to performance, customization, and integration. Below are common issues and solutions to ensure smooth operation.
Why is my interactive map loading slowly?
Why is my map not displaying correctly on mobile devices?
How can I fix missing or incorrect map markers?
Why is my interactive map not appearing on my website?
How do I improve the accuracy of my location data?
Why are my custom styles not applying to the map?
Understanding these common issues and their fixes can help keep your interactive map running smoothly. Next, we’ll summarize the key takeaways and why integrating an interactive map is a great addition to your website.
Conclusion
Adding an interactive map to your website enhances user experience, improves navigation, and provides valuable location-based insights. From choosing the right tool to embedding and optimizing your map, this guide has covered everything you need to know.
With Elfsight’s interactive map widget, you can effortlessly integrate a dynamic, feature-rich map without coding. Explore various customization options and make your map work for your business needs.
Need Assistance?
We hope this guide has helped you understand how to create and optimize an interactive map for your website. If you have any questions, feel free to reach out. At Elfsight, we provide user-friendly, no-code solutions to simplify website integration.
Join our growing Community to exchange ideas, learn best practices, and suggest new features. We value your feedback and encourage you to share your suggestions through our Wishlist. Let’s build better web experiences together!