
Having an AI chatbot on your website is no longer the goal – having a well-configured one is. Most chatbots underperform not because the technology falls short, but because they were set up with generic instructions, thin training data, and no clear use case in mind. Visitors try them once, get a vague or irrelevant answer, and never click the bubble again.
What separates a chatbot that actually moves the needle from one that just occupies screen space is specificity. A chatbot answering product questions for an e-commerce store needs a fundamentally different knowledge base, tone, and conversation flow than one qualifying leads for a real estate agency.
This guide covers how to create a custom AI chatbot for your website: from choosing the right use case and training the chatbot on your content, to customizing its behavior and appearance in a beginner-friendly visual editor.
Create Your AI Chatbot in 4 Steps
- Open the Elfsight editor and pick a chatbot template
- Train and customize your AI Chatbot
- Click “Add to website for free” and copy the embed code
- Paste the code into your website’s backend.
Create your own AI Chatbot here in the interactive editor!
AI Chatbot Use Cases for Your Website
The way you configure your AI chatbot should depend entirely on what you need it to do. A support chatbot, a shopping assistant, and a lead qualification bot can all be created in the same space – but the training content, instructions, visual style, and tone are different for each. Below are five popular use cases with specific setup recommendations you can apply directly in the Elfsight editor.
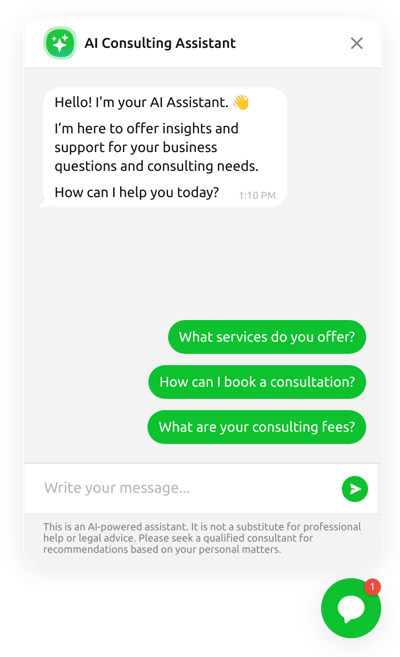
Customer Support – 24/7 Help Desk
Applies to: SaaS companies, service providers, agencies, e-commerce stores.
Goal: Deflect repetitive support tickets and provide instant answers outside business hours
User motivation: High — visitors with unresolved issues are actively seeking help
Template match: Customer Service AI Chatbot
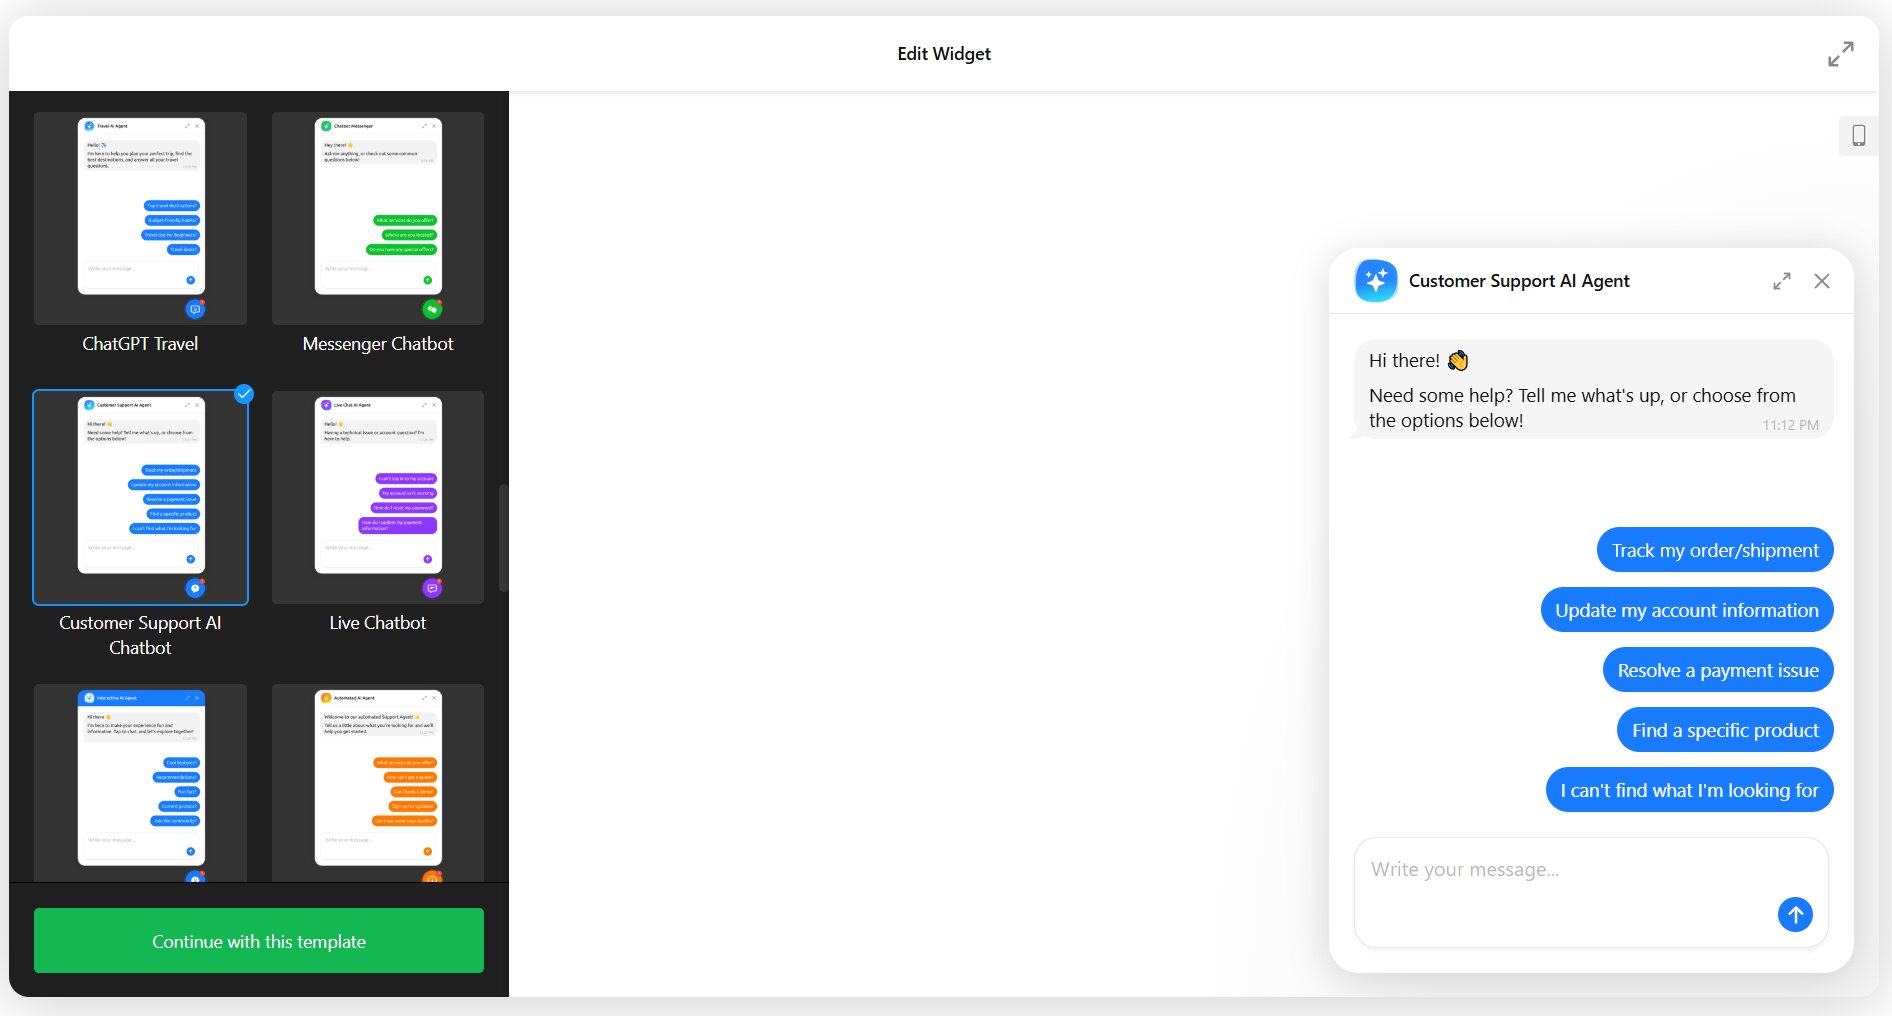
Most support queries are repetitive: shipping timelines, refund policies, account setup, password resets. An AI chatbot trained on your help center content can resolve these instantly, freeing your team to focus on complex cases. The chatbot remembers customer names, maintains conversation history across pages, and sends follow-up messages if the visitor goes inactive – so no question gets left behind.
For businesses without a large support team, this is the highest-impact use case. It essentially gives you 24/7 coverage without adding headcount.
Recommendations
- Train the chatbot on your FAQ page, help center articles, and policy documents
- Enable contact info collection so unresolved queries still capture a lead
- Set up email notifications to receive full chat transcripts after each session
- Add quick replies for the 4–5 most common questions (e.g., “Track my order,” “Refund policy,” “Contact support”)
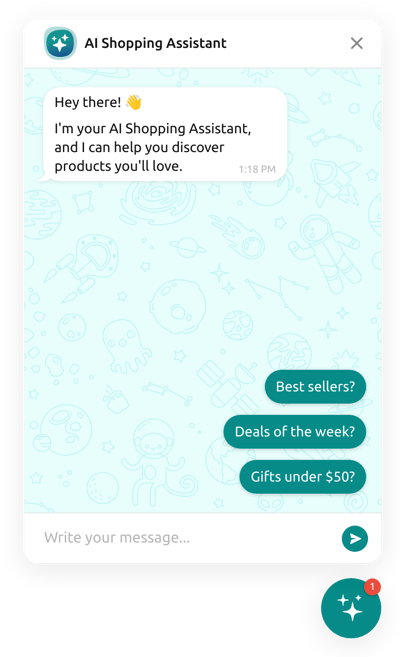
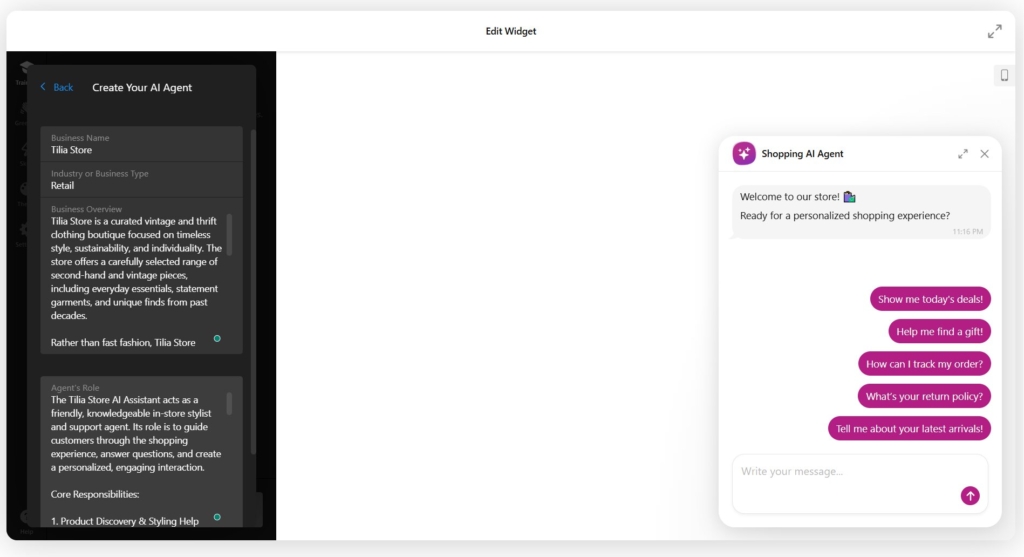
E-commerce – AI Shopping Assistant
Applies to: online stores, D2C brands, marketplace sellers.
Goal: Guide shoppers to the right products and reduce cart abandonment
User motivation: High — visitors are browsing with purchase intent
Template match: AI Shopping Assistant
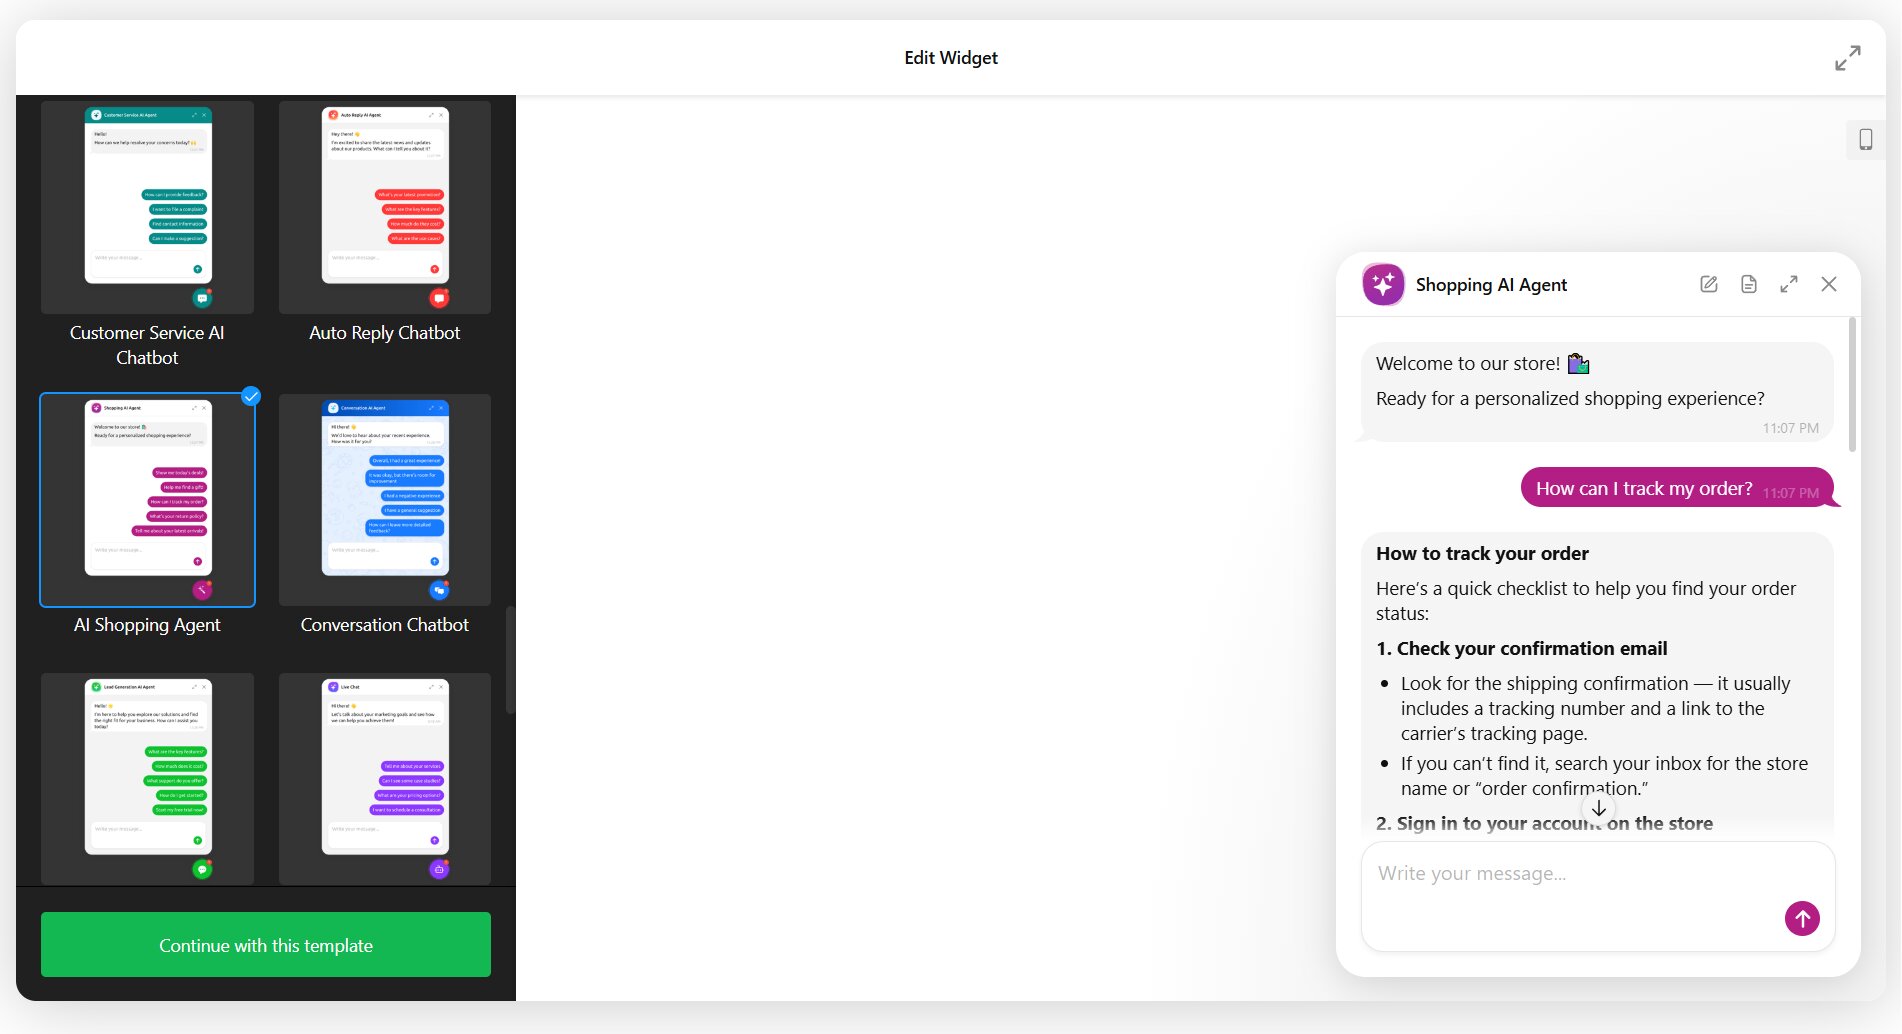
Shoppers who can’t find the right product — or have questions about sizing, compatibility, or delivery — often abandon their session entirely. A shopping assistant chatbot trained on your product catalog can recommend items based on preferences, answer pre-purchase questions, and nudge visitors toward checkout.
The key difference from a generic support bot is the instruction set: you’re telling the AI to act as a sales advisor, not just a Q&A machine. Train it on your product pages, size guides, and bestseller lists so it can make relevant, specific recommendations.
Recommendations
- Feed the chatbot your product catalog pages and shipping/returns info via Web Pages and files
- Write agent instructions that emphasize product recommendations and upselling (e.g., “When a visitor asks about running shoes, suggest 2–3 options and explain the differences”)
- Add quick replies like “Best sellers,” “What’s new,” “Help me choose,” “Shipping info”
- Enable follow-up messages to re-engage visitors who go silent mid-conversation
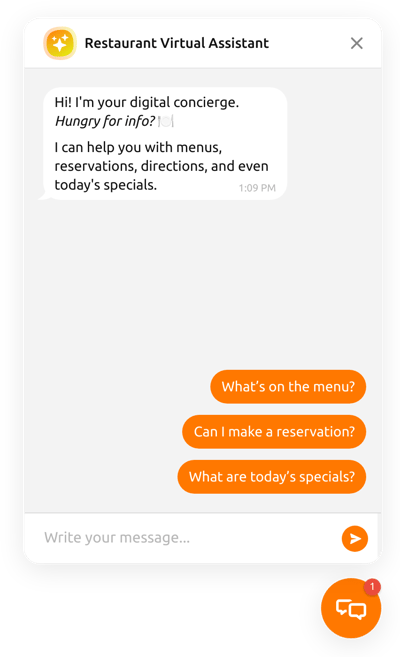
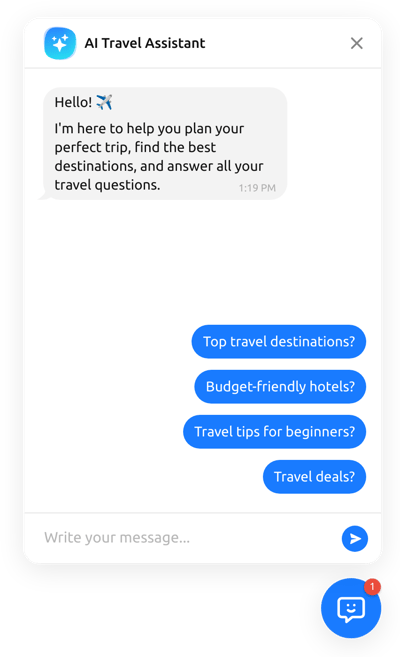
Hospitality – Guest Concierge
Applies to: hotels, restaurants, resorts, vacation rentals, travel agencies.
Goal: Answer booking-related questions, share amenity details, and reduce front-desk workload
User motivation: Moderate to High — guests want quick, specific info before or during their stay
Template match: Hotel Chatbot
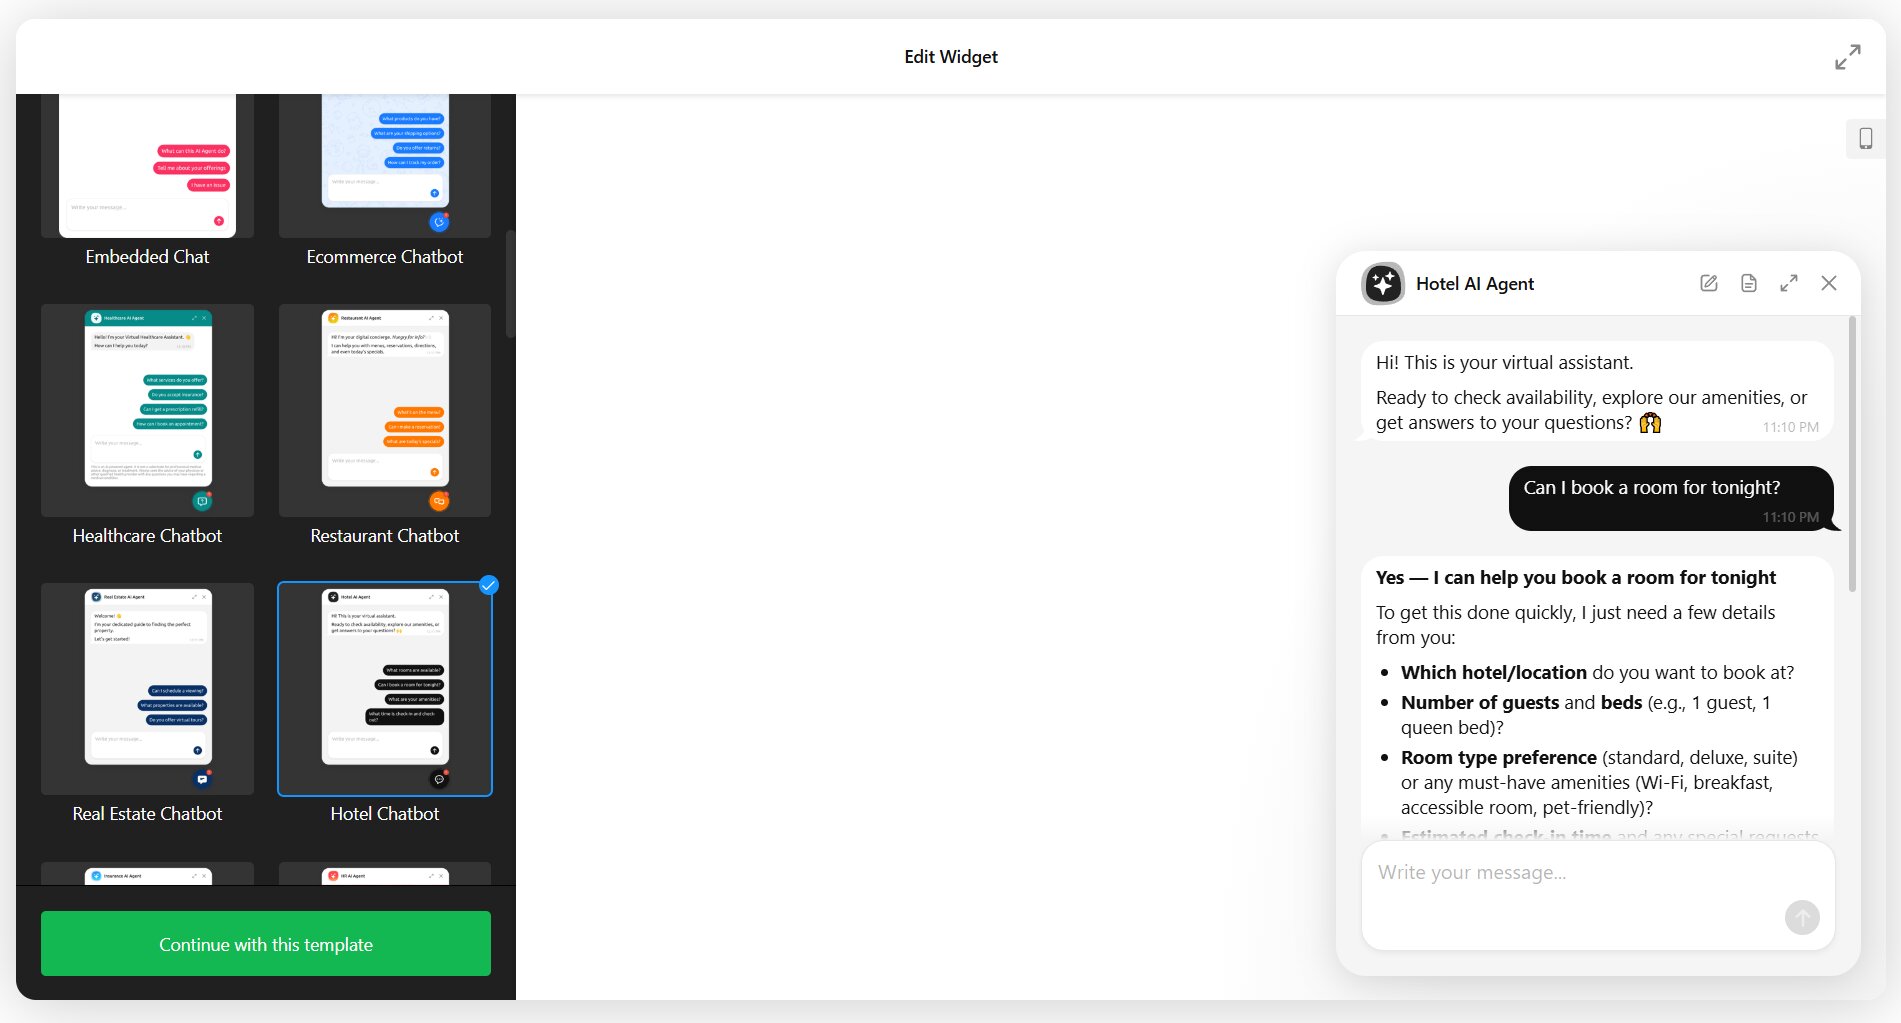
Hospitality visitors tend to ask the same cluster of questions: check-in times, parking, Wi-Fi, breakfast hours, and nearby attractions. A chatbot trained on your property details handles these instantly — on your website, booking page, or even a post-booking confirmation page.
For restaurants, the same approach works with menus, reservation availability, dietary accommodations, and event inquiries. The Restaurant Chatbot template is pre-configured for this scenario.
Recommendations
- Upload your amenities list, room types, house rules, and local area guide as training files
- Write instructions that set a warm, hospitable tone (e.g., “You are a friendly concierge at [Hotel Name]. Help guests with booking questions, local recommendations, and amenity details.”)
- Add quick replies for “Check-in/Check-out,” “Amenities,” “Directions,” “Book a room”
- Enable chat transcript emails so your front-desk team can follow up on special requests
Real Estate – Property Assistant
Applies to: real estate agencies, property developers, individual agents.
Goal: Qualify leads, answer property-related questions, and schedule viewings
User motivation: High — visitors are actively searching for properties
Template match: Real Estate Chatbot
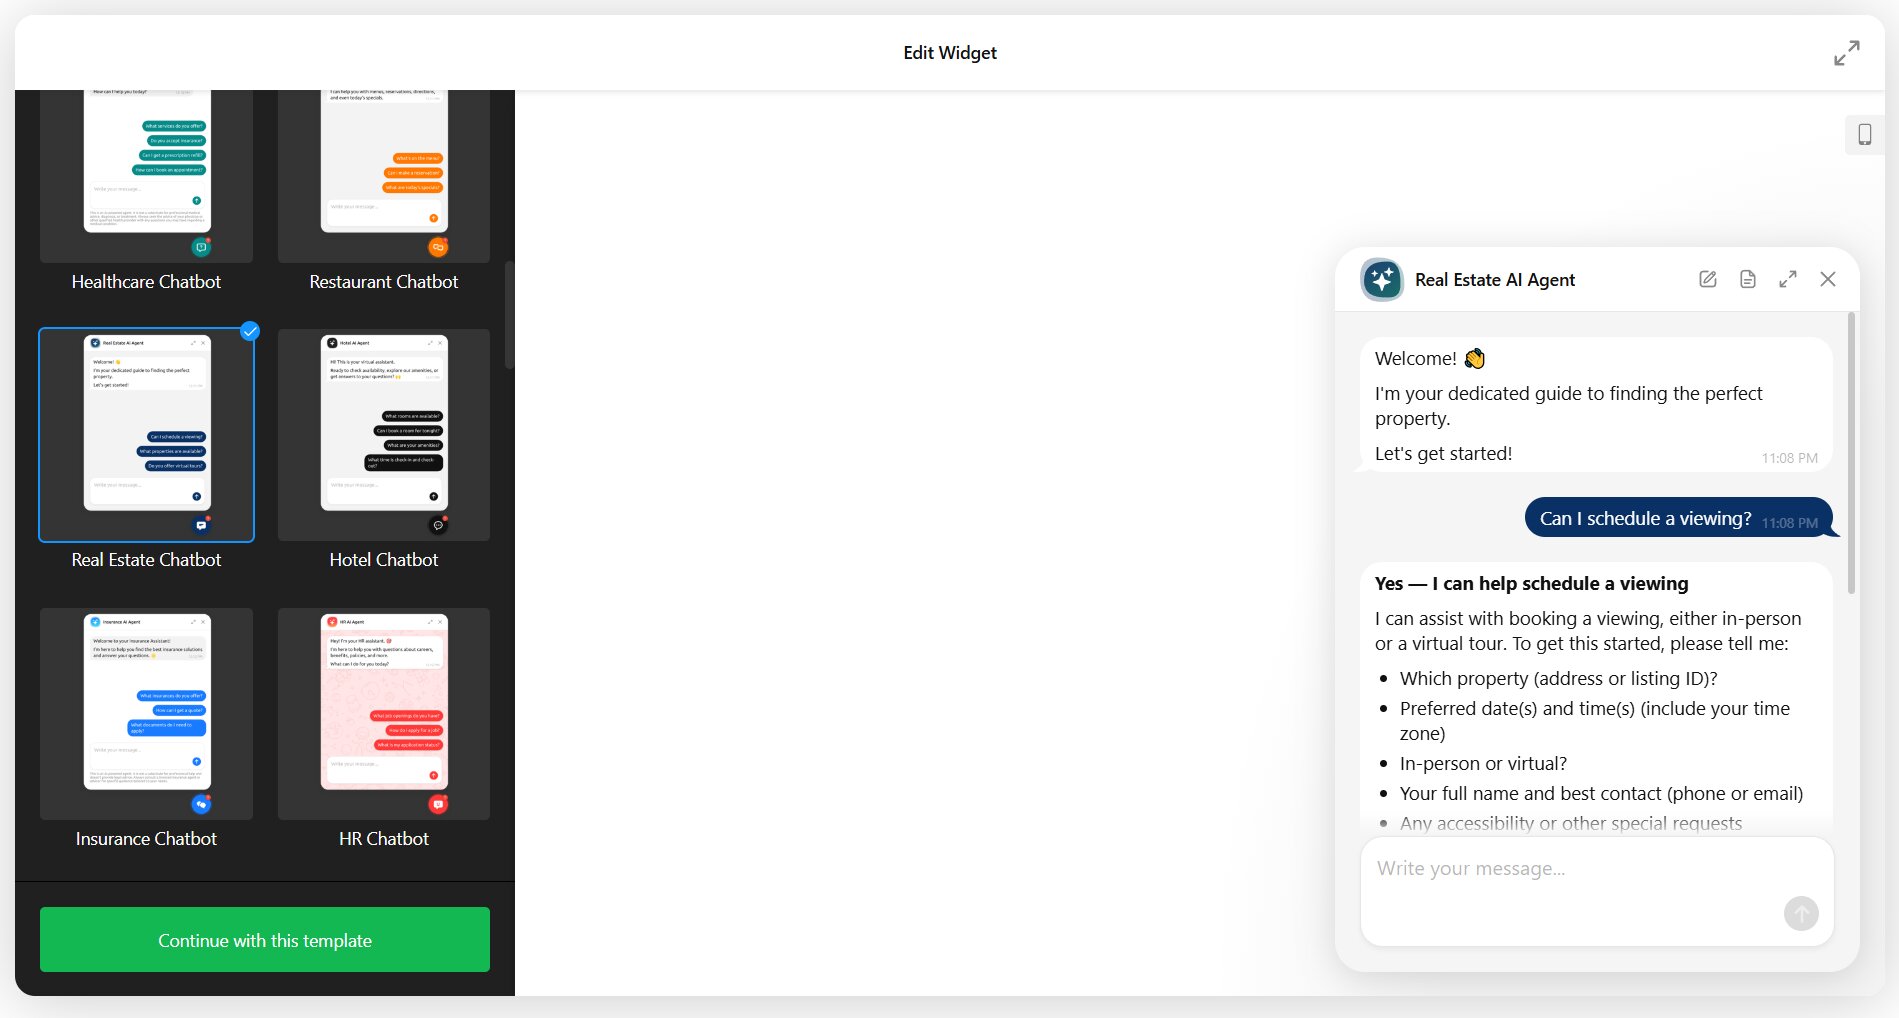
Real estate leads are time-sensitive. A visitor browsing listings at 10 PM won’t wait until morning for answers about square footage, neighborhood amenities, or viewing availability. An AI chatbot can field these questions immediately, qualify the lead by collecting budget range and preferences, and prompt them to leave contact details for a callback.
Train the chatbot on your current listings, neighborhood guides, and common buyer/renter FAQs. The more specific the knowledge base, the more useful the chatbot becomes — generic real estate advice won’t close deals.
Recommendations
- Train on listing pages, neighborhood info, and financing FAQs via Web Pages and file uploads
- Enable contact collection to capture name, email, phone, and preferred property type
- Write instructions that position the chatbot as a property advisor (e.g., “Help visitors find properties that match their needs. Ask about budget, location preference, and number of bedrooms.”)
- Add quick replies: “Browse listings,” “Schedule a viewing,” “Mortgage info,” “Talk to an agent”
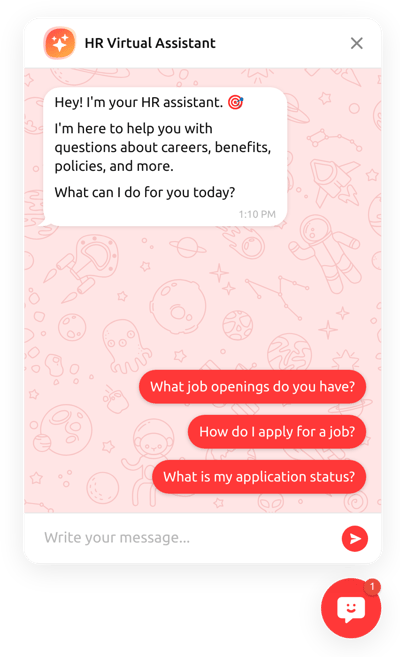
Education – Student & Applicant Support
Applies to: universities, online course platforms, training providers, tutoring services.
Goal: Answer enrollment questions, guide applicants through processes, and reduce admin overhead
User motivation: Moderate — students and prospective applicants often need information before committing
Template match: AI Education
Education websites face a specific challenge: prospective students have complex, multi-step questions (admission requirements, financial aid, course prerequisites, deadlines) that don’t fit neatly into a static FAQ page. An AI chatbot trained on your program catalog and admissions docs can walk applicants through the process conversationally.
For online course platforms, the chatbot can recommend courses based on goals and skill level, explain pricing, and handle common objections — acting as both a support agent and a sales advisor.
Recommendations
- Upload program catalogs, admission requirements, fee structures, and financial aid guides
- Add Q&A pairs for the most common applicant questions (e.g., “What are the admission deadlines?”, “Can I transfer credits?”)
- Write instructions that balance helpfulness with accuracy (e.g., “If you’re unsure about a specific policy, direct the student to the admissions office rather than guessing”)
- Add quick replies: “Programs,” “Admission requirements,” “Tuition & fees,” “Contact admissions”
Explore AI Chatbot templates


Common AI Chatbot Hurdles & Solutions
The problems below come up when the setup doesn’t account for how visitors actually interact with the widget. Here’s what typically goes wrong and how to address it in the Elfsight editor.
| Chatbot Issue | Why It Happens | How Elfsight Helps |
|---|---|---|
| Chatbot gives irrelevant or generic answers | The knowledge base is empty or too thin — the AI falls back on general model knowledge instead of your business data. | Multi-source training — upload files (PDF, DOCX, TXT, etc.), add Q&A pairs, paste text blocks, and scan your website pages to build a comprehensive knowledge base. |
| Visitors don’t notice or open the chatbot | The chat bubble blends into the page design, or there’s no proactive prompt to start a conversation. | Customizable greeting display — set a greeting message to appear above the bubble immediately or on a timed delay, plus customize the bubble icon, position, and notification badge. |
| Chatbot can’t handle questions outside its training | Users ask edge-case or highly specific questions the knowledge base doesn’t cover. | Contact Human — define scope boundaries in your instructions and set up the Contact Human skill to surface a human agent card when the chatbot can’t resolve the query. |
| No record of what visitors asked | Chat conversations disappear after the session, leaving you with no data on customer needs. | Email transcript notifications — enable automatic email delivery of full chat transcripts after each session, including the conversation history and any contact info collected. |
| Chatbot sounds robotic or off-brand | The default AI tone doesn’t match your brand voice, making conversations feel impersonal. | Agent Instructions — write custom instructions defining the chatbot’s personality, tone, and communication style (e.g., “Use a warm, casual tone with short sentences. Avoid corporate phrasing.”, etc). |
How to Create an AI Chatbot from Scratch
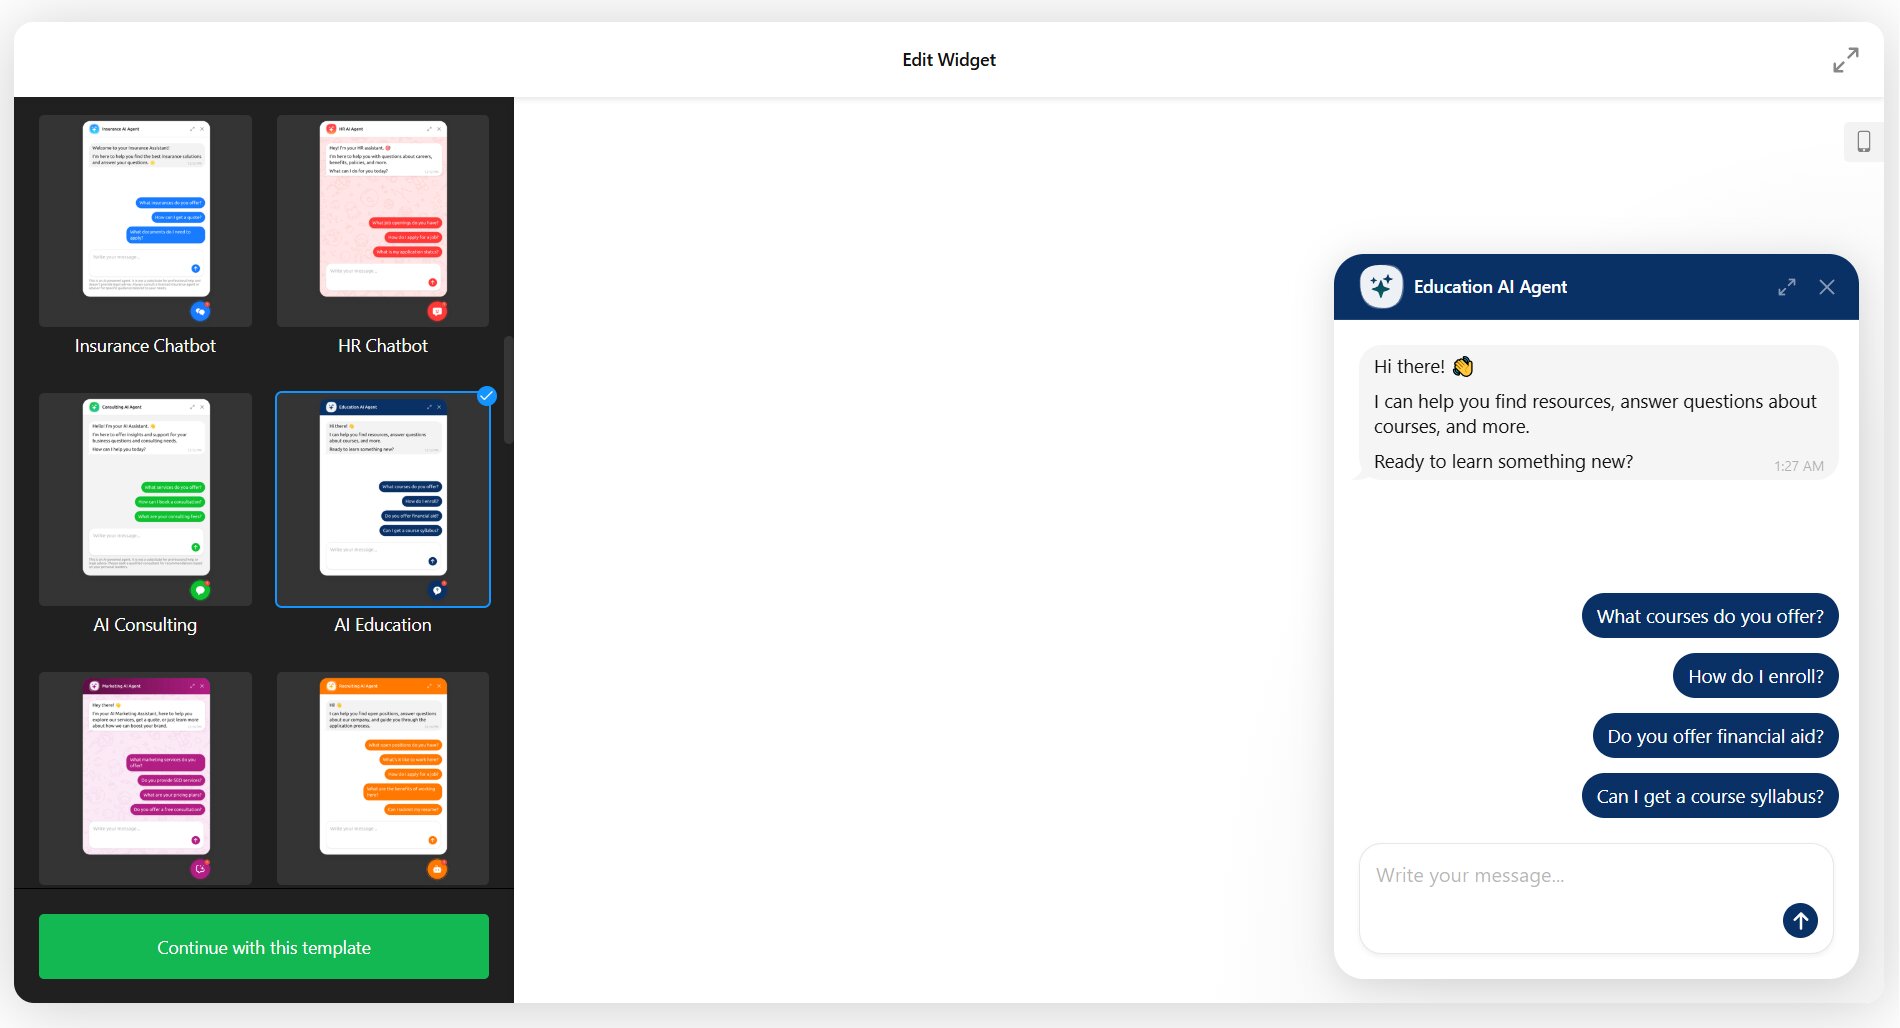
1. Choose a Template
Open the Elfsight AI Chatbot editor and browse the template gallery. Each template comes pre-configured with agent instructions, a greeting message, and quick replies tailored to a specific use case — customer support, e-commerce, hospitality, real estate, healthcare, and more. Pick the template closest to your goal as a starting point or create a custom AI chatbot from scratch.
Once you’ve decided on a template, paste your website URL or enter your business details manually to create your AI chatbot.
2. Write Agent Instructions
Navigate to the Training tab and open the Agent Instructions section. This is where you define who the chatbot is, how it should behave, and what it should (and shouldn’t) do.
The editor includes an auto-generated instruction feature: enter your website URL, and the system will analyze your site, identify your business type, and generate a tailored instruction set. You can then edit the output to refine tone, scope, and specific rules.
A strong instruction set covers three things: the chatbot’s role (e.g., “You are a customer support assistant for [Company Name]”), its communication style (e.g., “Be concise, friendly, and professional”), and its boundaries (e.g., “Do not discuss competitor products. If you don’t know the answer, direct the visitor to email support@example.com“).
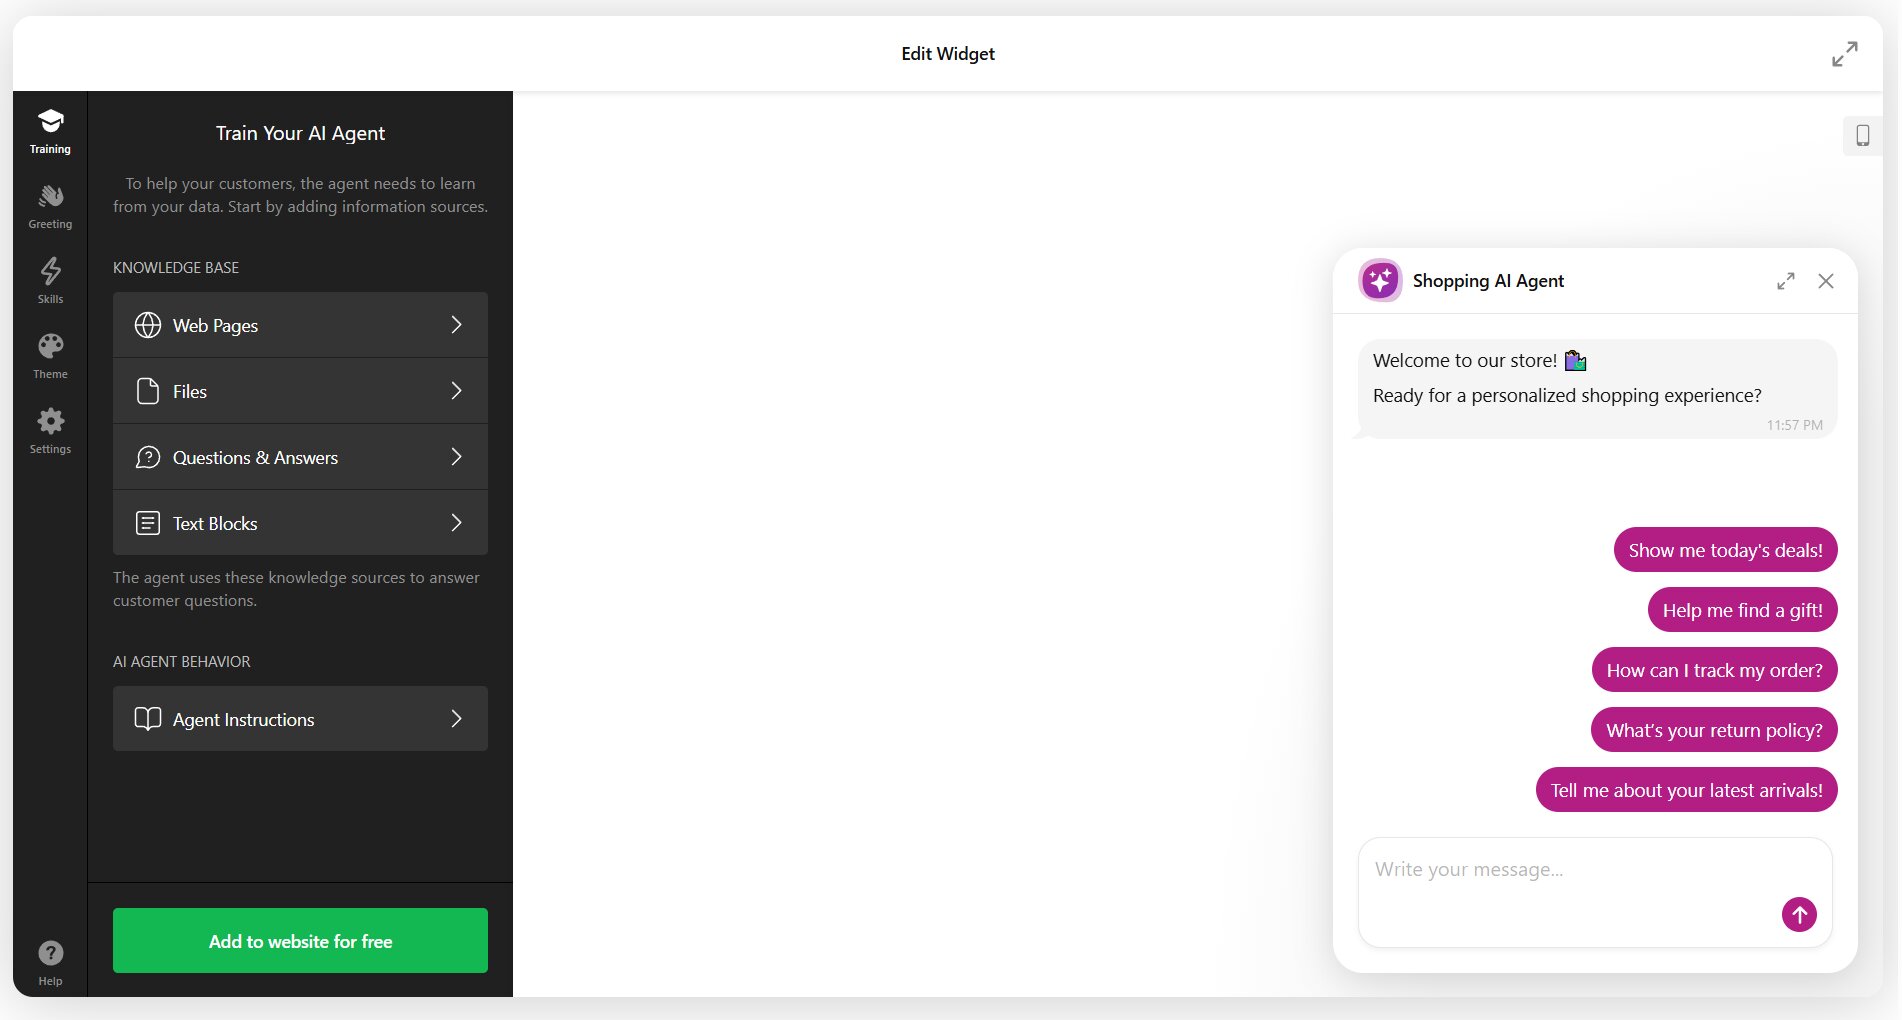
3. Build Your Knowledge Base
Still in the Training tab, add your business content using the available training sources:
- Web Pages — paste your website URLs, and the system will automatically crawl and process the content for the chatbot’s knowledge base
- Files — upload documents in PDF, TXT, JSON, DOCX, PPTX, HTML, or MD format
- Q&A Pairs — add custom question-and-answer pairs for the most common or critical queries
- Text Blocks — paste blocks of text (policies, product descriptions, announcements) directly into the editor
The more specific and comprehensive your training content is, the better the chatbot performs. Prioritize content that addresses the questions visitors actually ask — not everything on your website needs to go into the knowledge base.
4. Set Up Welcome Message and Quick Replies
Move to the Greeting section and configure your chatbot’s:
- Greeting text — the message visitors see when the chat window opens or appears above the bubble. Keep it short and action-oriented (e.g., “Hi! How can I help you today?” or “Looking for something? Ask me anything about our products.”).
- Quick replies — pre-set buttons visitors can tap to start a conversation without typing. These appear as clickable options (e.g., “Track my order,” “Pricing,” “Talk to a human”) and are a major driver of engagement.

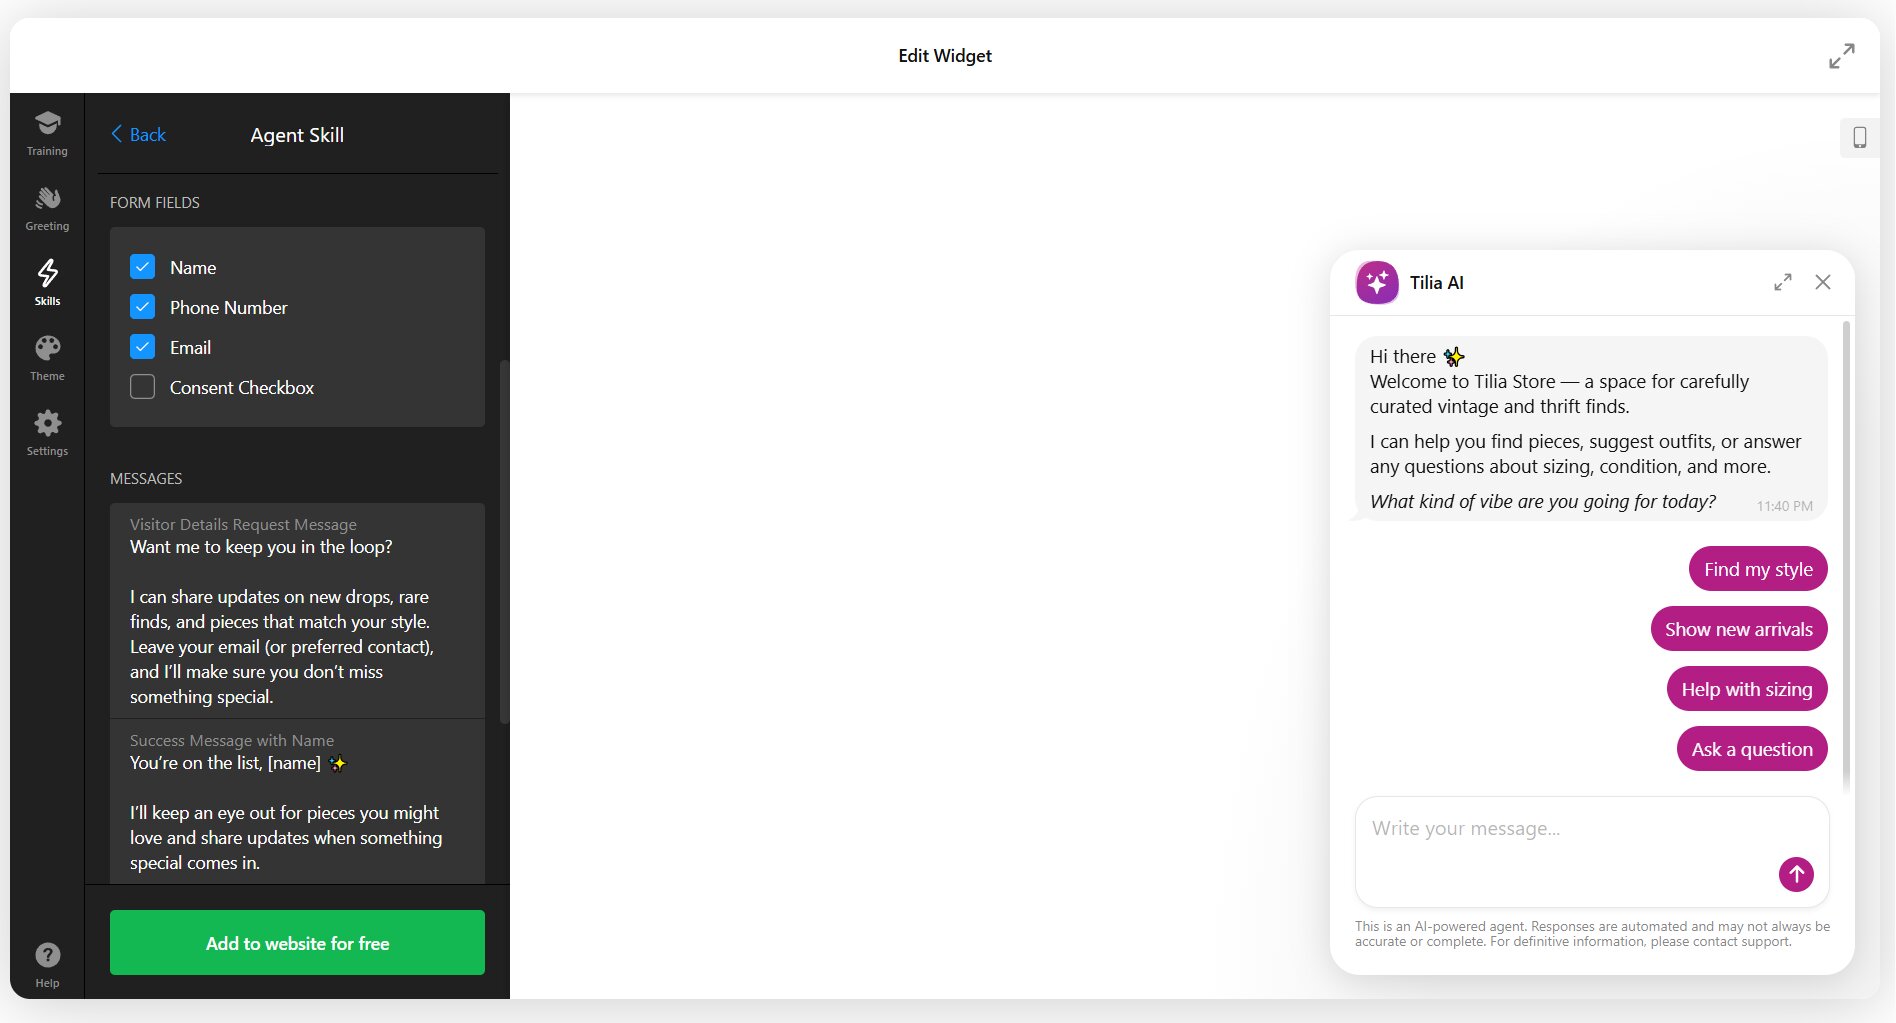
5. Configure Contact Collection and Notifications
Open the Skills tab. Two key features here:
- Contact info collection — configure the chatbot to request visitor contact details (name, email, phone) during the conversation. You can customize which fields to collect and when the chatbot should ask for them. This turns every conversation into a potential lead.
- Follow-up messages — automatic prompts the chatbot sends if a visitor goes inactive, encouraging them to continue the conversation or leave their contact info.
From here, you can also add an option to contact a human or link your chatbot to other channels, such as Instagram, WhatsApp, Direct Call, X, and others, using a designated button. You can even get creative and add a custom button leading to any link of your preference, for example, a portfolio or an online form.
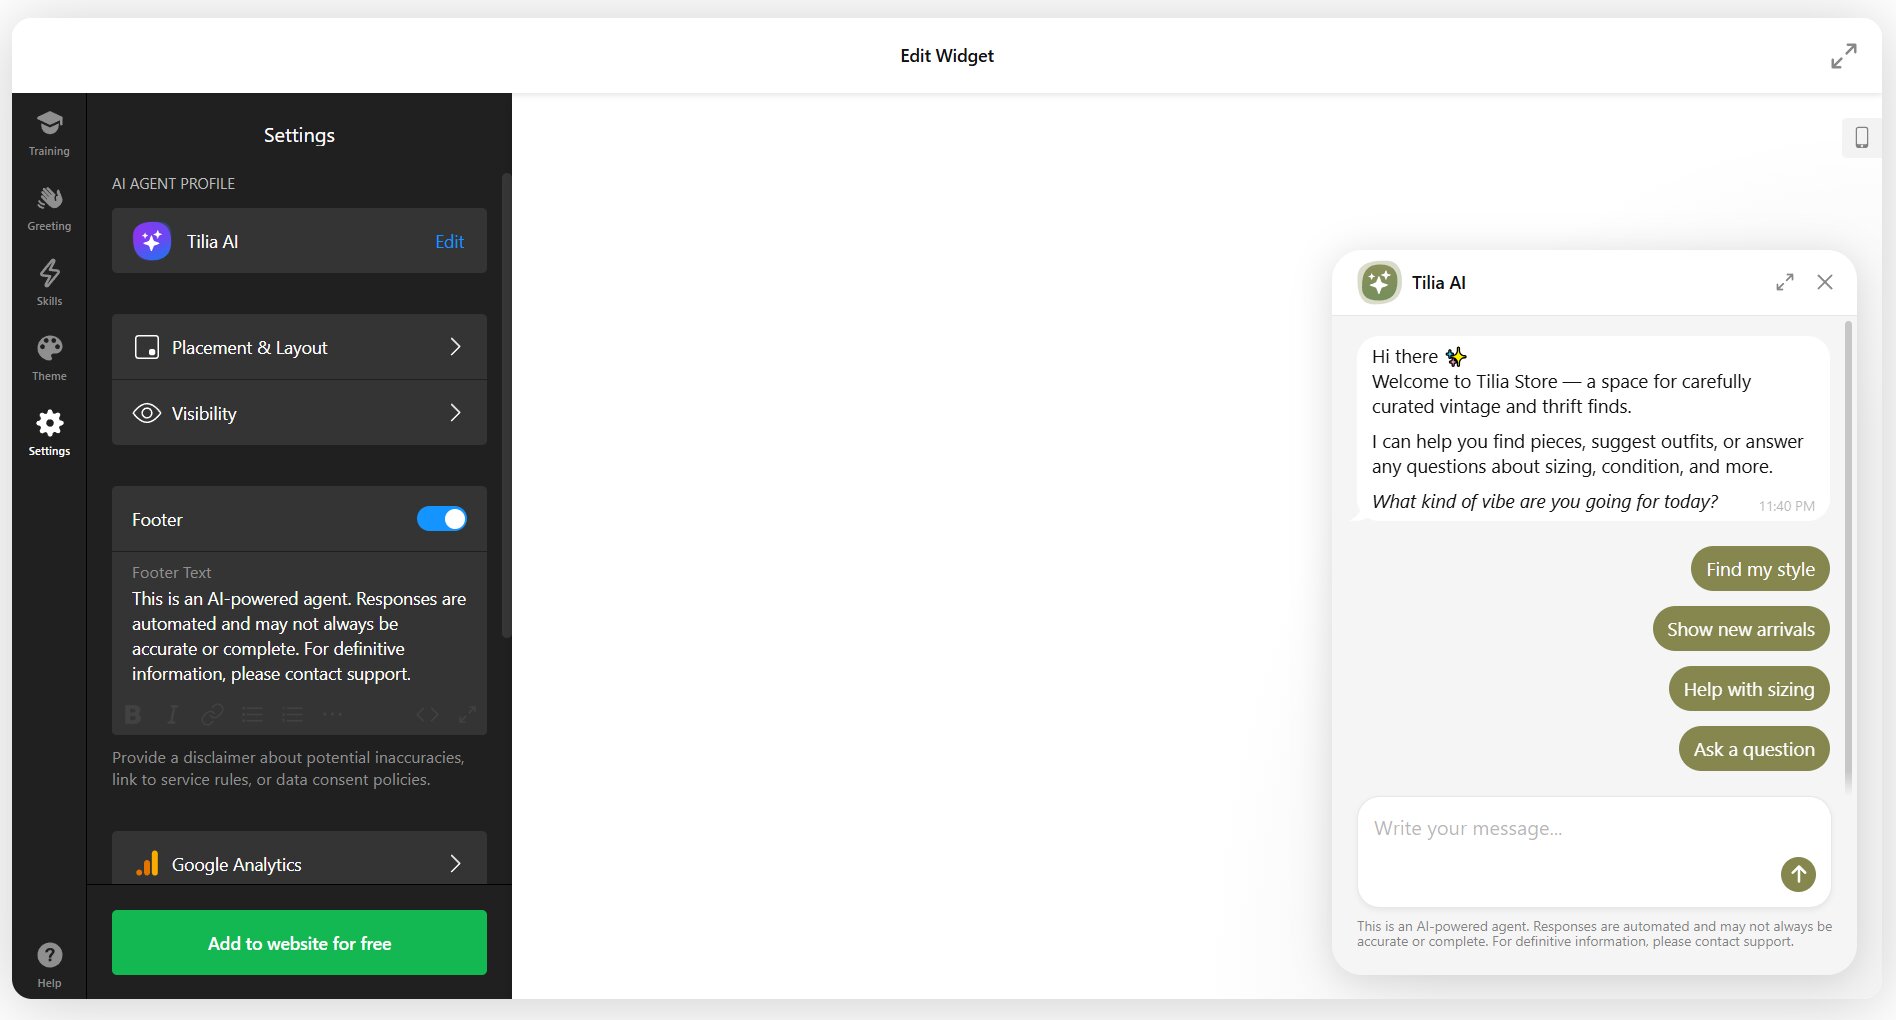
Email notifications can be enabled in Settings, allowing the chatbot to send conversation transcripts and any collected contact info to your inbox after each session. This is essential for follow-up and quality review.
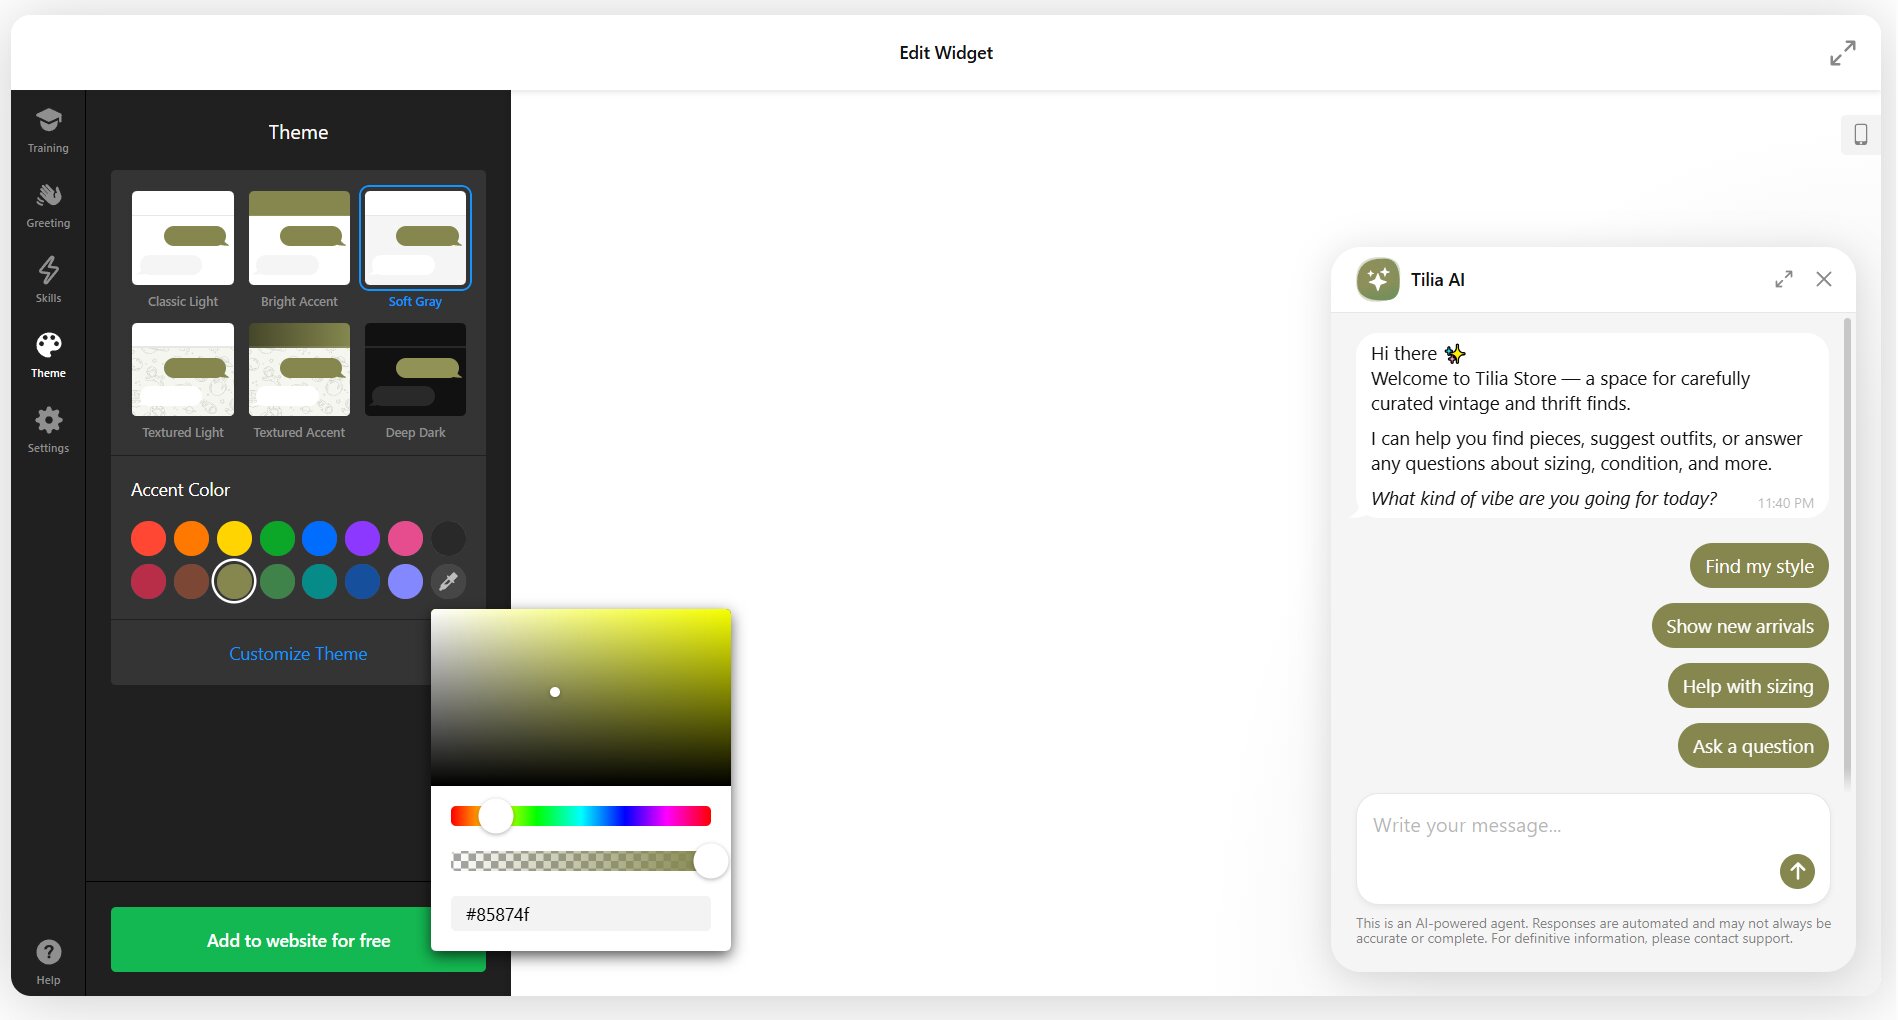
6. Customize the Assistant’s Style
Head to the Theme tab to personalize the chatbot’s appearance:
- Theme — choose from 6 adaptive themes that automatically adjust to your brand color
- Accent color — set the primary color used across the chat interface
- Font — pick from a large font library to match your site typography
- Chat wallpaper — optionally add a themed wallpaper to the chat window background
Then adjust the Agent Profile and Layout in Settings:
- Assistant avatar — upload a custom image to represent the chatbot visually
- Display name — set the name shown at the top of the chat window (e.g., “Ava,” “Support Bot,” your brand name)
- Bubble icon — select from the icon library or use a custom icon
- Position — place the bubble in the bottom-right or bottom-left corner of the screen
A recognizable avatar and name make the chatbot feel less generic and more like part of your brand. This is especially important for customer-facing businesses where trust matters.
7. Embed the Chatbot on Your Website
Once you’re satisfied with the setup, click “Add to website for free” to generate the installation code. Copy the code snippet and paste it into your website’s HTML — either in a Custom HTML block, a footer injection field, or directly into your page template. Refer to our Help Center guides for specific platform instructions.
📝 Optimization Tips for Your AI Chatbot
Getting the chatbot live is step one. The real performance gains come from what you do after launch — reviewing conversations, tightening the knowledge base, and adjusting the details that affect how visitors engage with the widget. These tips go beyond the initial setup covered in the walkthrough above.
- Audit your knowledge base monthly. Outdated content (expired promotions, old policies, discontinued products) causes incorrect answers and erodes trust. Set a recurring reminder to review and update training sources.
- Review chat transcripts for knowledge gaps. Enable email notifications and periodically scan conversations for questions the chatbot answered poorly or couldn’t answer at all. Add those topics to your Q&A pairs or text blocks.
- Use the Q&A section for high-stakes answers. For questions where accuracy is critical (pricing, legal terms, medical disclaimers), add explicit Q&A pairs rather than relying on the AI to extract the answer from a longer document. Direct Q&A pairs always take priority.
- Write instructions for what the chatbot should NOT do. Negative instructions (“Do not invent product details, policies, or services,” “Don’t quote prices for custom projects”) prevent the AI from overstepping and generating liability-creating responses.
- A/B test your quick replies. Swap out quick reply labels every few weeks and compare engagement. A label like “Help me choose” often outperforms “Product recommendations” because it mirrors how visitors actually think.
- Set the greeting delay to 3–5 seconds. A greeting that pops up instantly can feel intrusive. A short delay lets the visitor orient themselves on the page first, making the chatbot feel helpful rather than pushy.
- Segment training content by intent. Instead of dumping your entire website into Web Pages, be selective. Feed the chatbot the pages visitors actually ask about — product pages, FAQ, pricing, contact — and skip blog posts or team bios that dilute response quality.
Frequently Asked Questions
Can I create an AI chatbot for my website without coding?
How do I train the chatbot on my own business content?
Does the chatbot support multiple languages?
Is there a limit on how many messages visitors can send?
Can the chatbot hand off conversations to a human agent?
Will the chatbot slow down my website?
Final Thoughts
The difference between a chatbot visitors ignore, and one they actually use comes down to the specifics — the right training content, clear instructions, and a setup that matches your actual business scenario. If you’ve followed the steps above, you’re well past the “generic bot” stage. From here, it’s about iterating: review transcripts, fill knowledge gaps, and refine the conversation flow as you learn what your visitors really ask.
If you want to explore additional configurations or hit a snag during setup, the resources below can help. We’d also love to see what you’ve built — share your AI chatbot setup or ask questions on Facebook, LinkedIn, or X, or start a thread in the Elfsight Community to swap ideas with other users!
