Adding a fillable form to your website is one of the most effective ways to collect visitor data, streamline communication, and boost engagement — all without needing complex code or development skills.
If you’re looking for a simple, powerful solution that enhances user experience and drives results, integrating a professional form builder is exactly what you need.
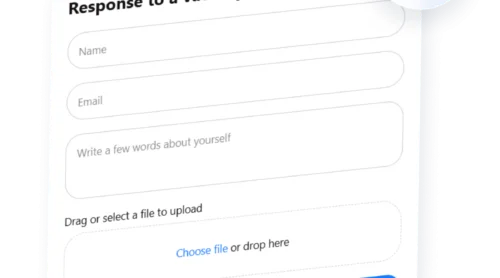
- Easy contact form integration. Let visitors reach out instantly through a well-placed form — no email copy-pasting or external redirects needed.
- Improved lead capture. Automatically collect user details and inquiries right from your website to grow your mailing list or sales pipeline.
- Responsive form design. Your form adapts seamlessly across mobile, tablet, and desktop screens for a consistent experience.
- Better conversion rates. Streamlined forms reduce friction and encourage users to take action — whether that’s signing up, requesting info, or making contact.
- Faster communication. With instant submission and notifications, you can respond to potential customers or partners without delay.
Now that you understand the value of adding a fillable form to your website, let’s see how easily you can create one using Elfsight.
Create a Fillable Form to Website Fast
Now that you know why adding a fillable form is a smart move, let’s walk through how to quickly create one using Elfsight’s user-friendly platform. No coding, no hassle — just a few simple steps.
- Open the editor and select a pre-designed form template that fits your goal.
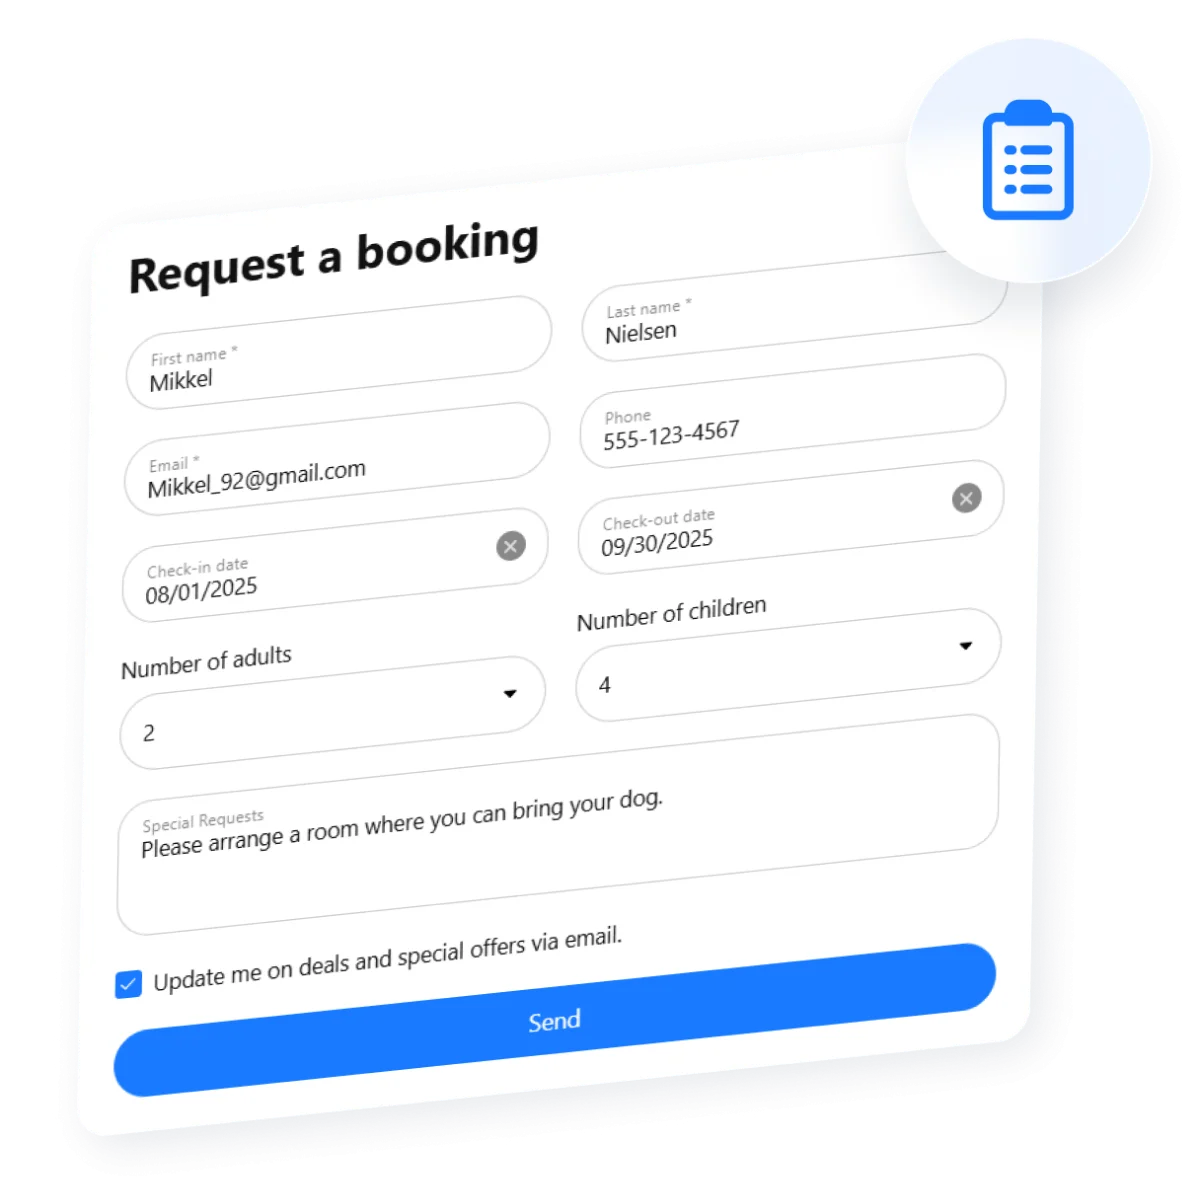
- Build your form by adding fields like name, email, dropdowns, and checkboxes as needed.
- Customize the appearance with fonts, colors, and spacing to match your website branding.
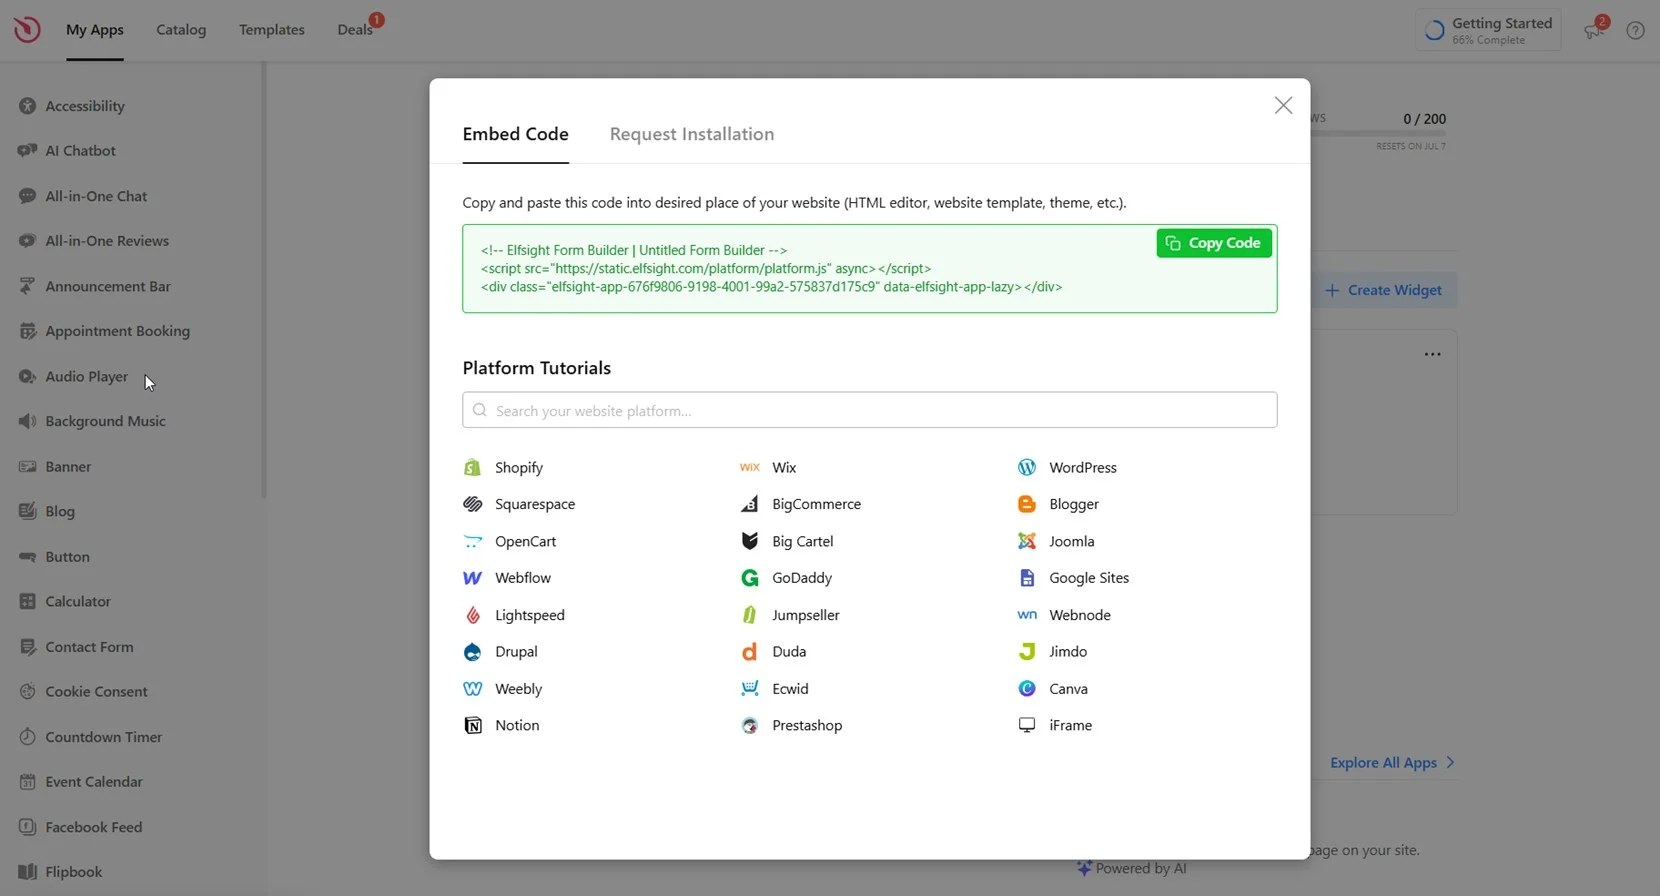
- Click “Add to website for free“, copy the embed code, and paste it into your website’s backend.
The entire process takes just a few minutes and gives you full control over form design and functionality.
See the widget in action – build your own Form Builder with the easy editor!
What Elfsight Form Builder Can Do
Once you’ve started building your form, it’s important to understand what makes Elfsight’s solution stand out. This tool isn’t just easy to use — it’s packed with features designed to help you create highly effective, professional forms for your website.
- Drag-and-drop customization. Build your form exactly how you want it with an intuitive editor — no coding or technical experience required.
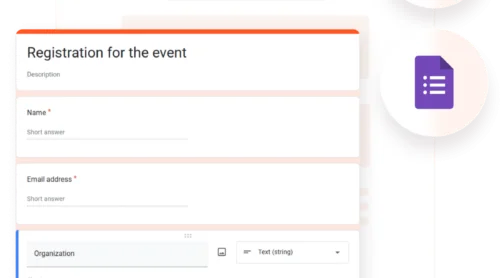
- Multiple form types supported. Create contact forms, feedback requests, job applications, registration forms, and more with flexible templates.
- Field and layout control. Add custom fields, rearrange elements, set required inputs, and manage spacing to match your design needs.
- Smart email notifications. Automatically send email alerts when someone submits your form to ensure quick response times.
- Mobile-ready design. Your form looks perfect and functions smoothly across all devices — phones, tablets, and desktops.
- Brand styling options. Use custom colors, fonts, backgrounds, and buttons to seamlessly blend the form into your website’s identity.
- Built-in spam protection. Enable CAPTCHA to block bots and reduce unwanted submissions without hurting user experience.
With all these features, you’re fully equipped to build a form that looks great, performs reliably, and supports your business goals. Now let’s go through the full setup and embedding process in detail.
How to Create a Fillable Form: Step-by-Step
To fully unlock the potential of a fillable form on your website, follow this step-by-step process using Elfsight’s powerful Form Builder. In just a few minutes, you’ll go from a blank canvas to a fully styled, fully functional embedded form that works across all devices and platforms.
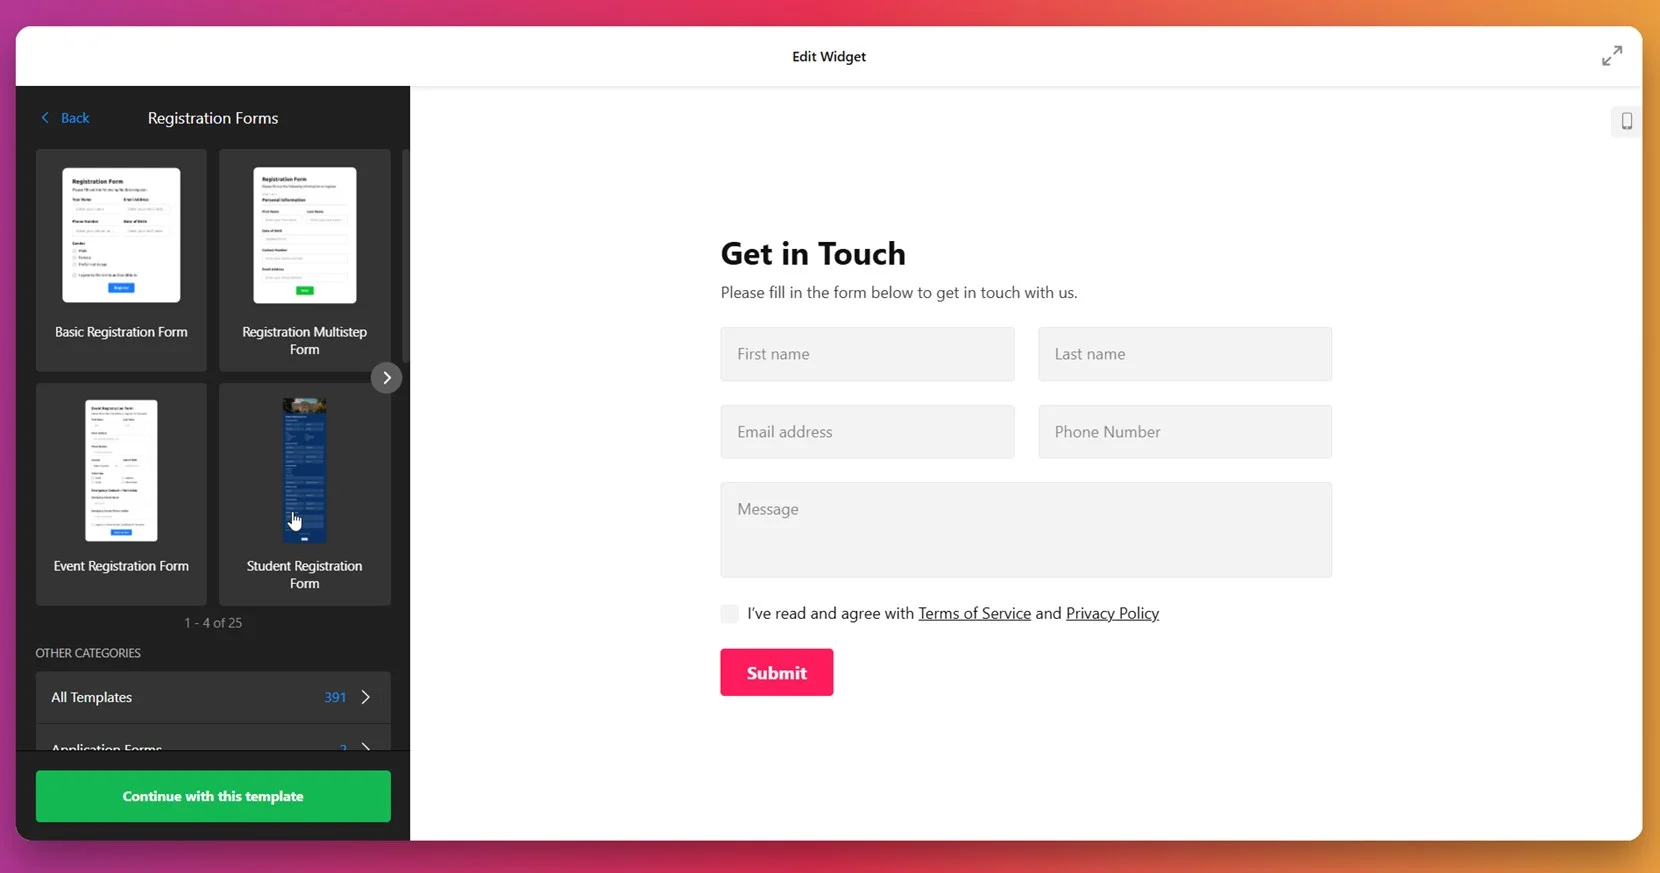
- Choose a template. Open the Elfsight editor, browse the available form categories like registration, contact, or event forms, and click “Continue with this template” to start customizing.

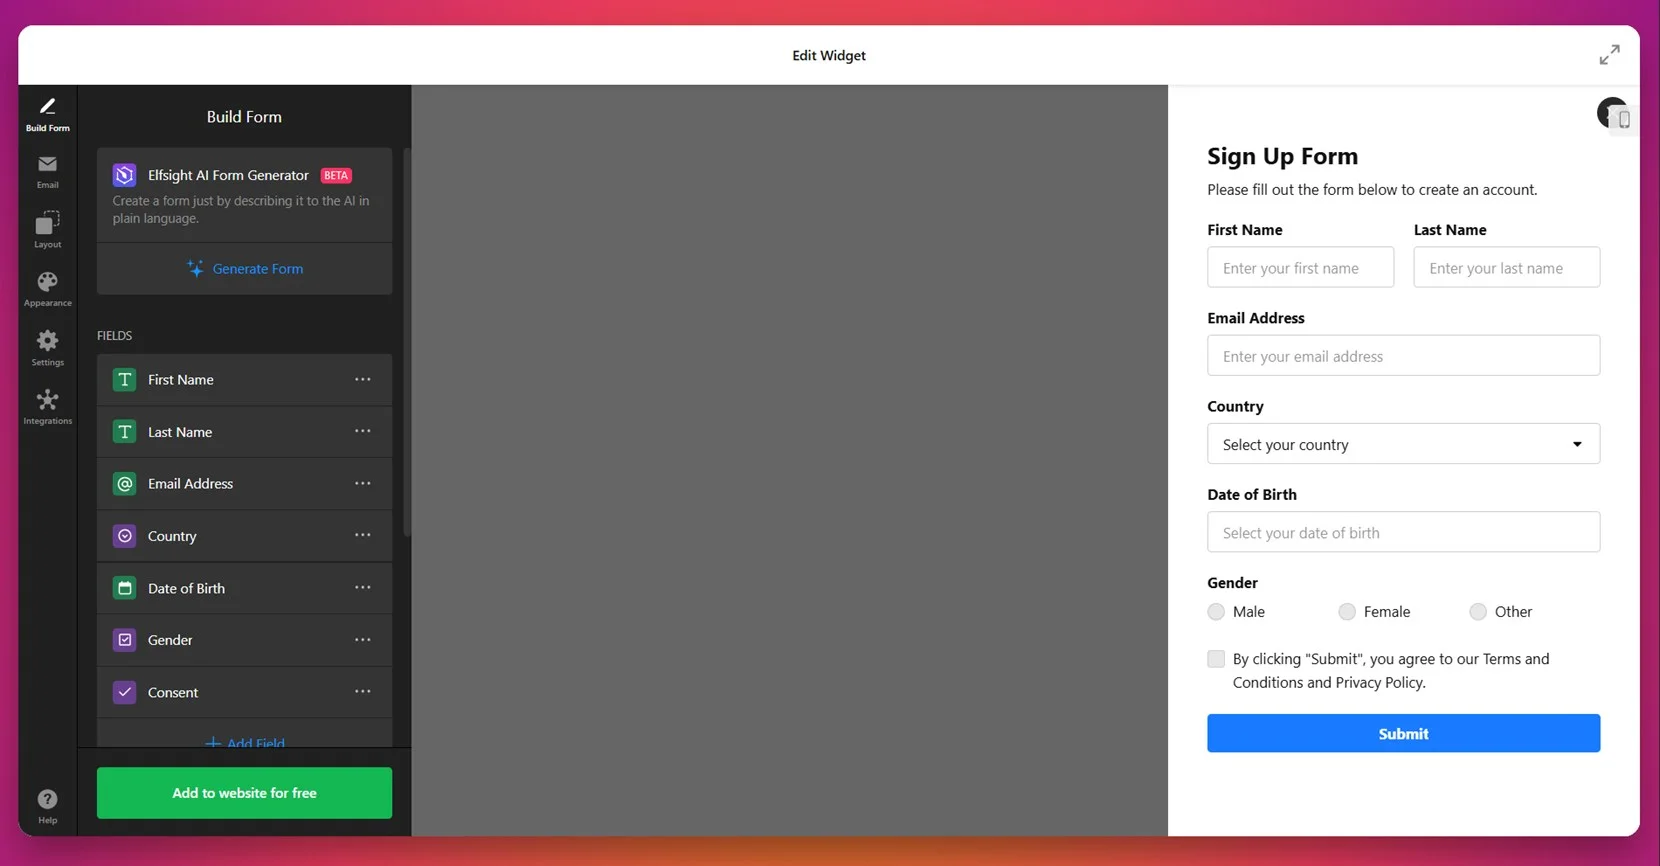
- Build your form. In the “Build Form” tab, use the field panel to add and arrange input types — name, email, dropdowns, consent checkboxes, and more. You can also try the AI Form Generator to create forms by description.

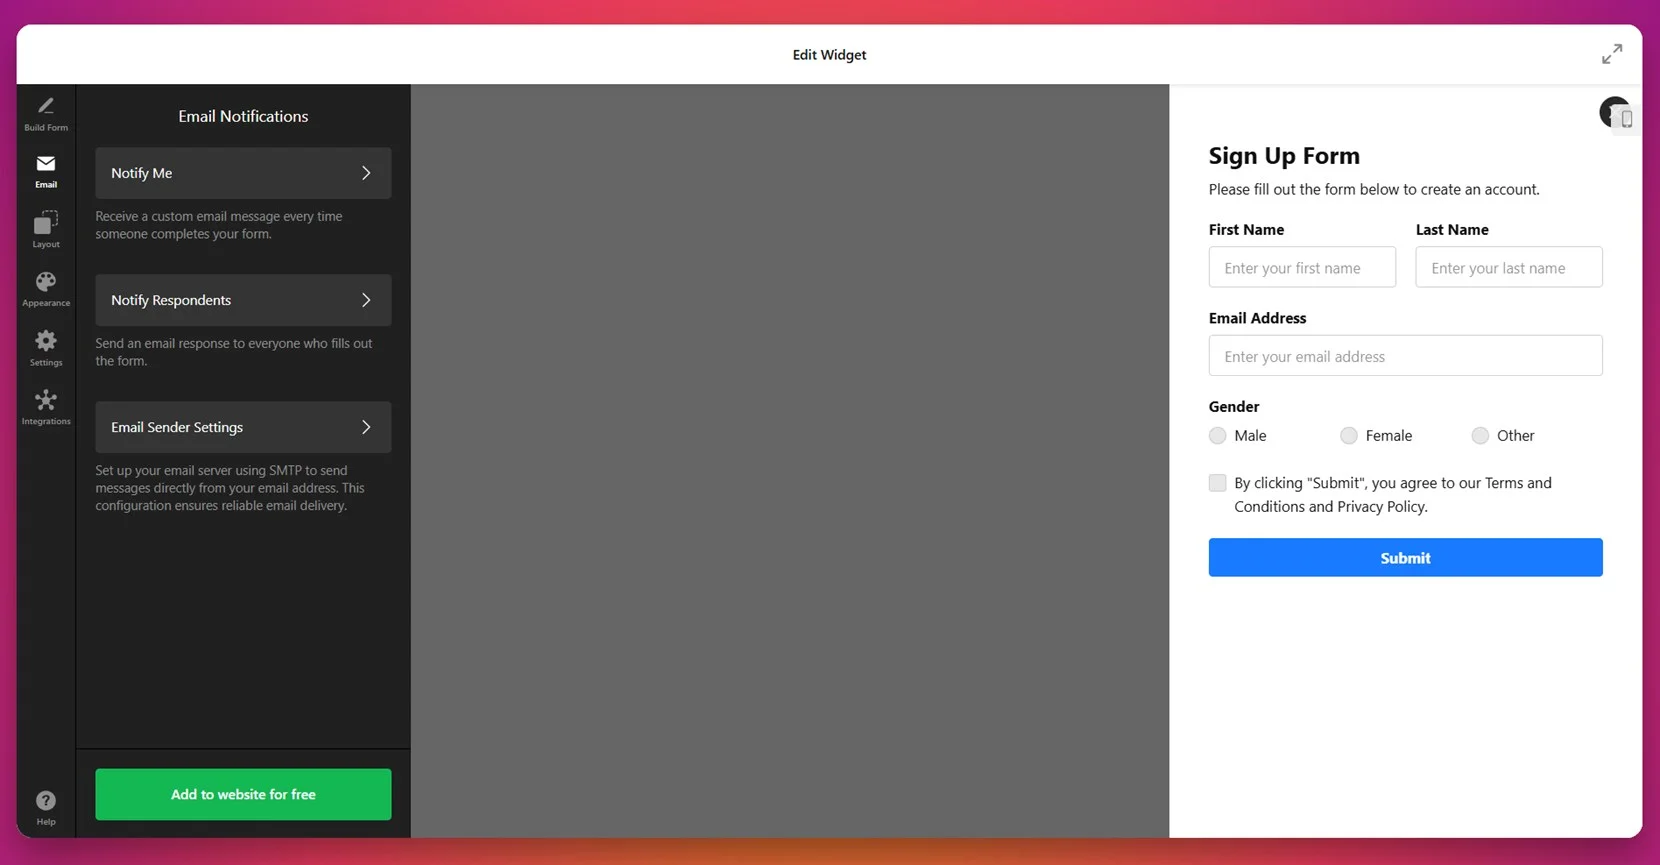
- Configure email notifications. Set up form behavior in the “Email” tab. Choose to notify yourself or the user upon submission and configure sender email settings for smooth delivery.

- Adjust layout and structure. Go to the “Layout” section to choose form embed type (inline or floating), set form width, and select vertical, horizontal, or multistep layout depending on your content flow.

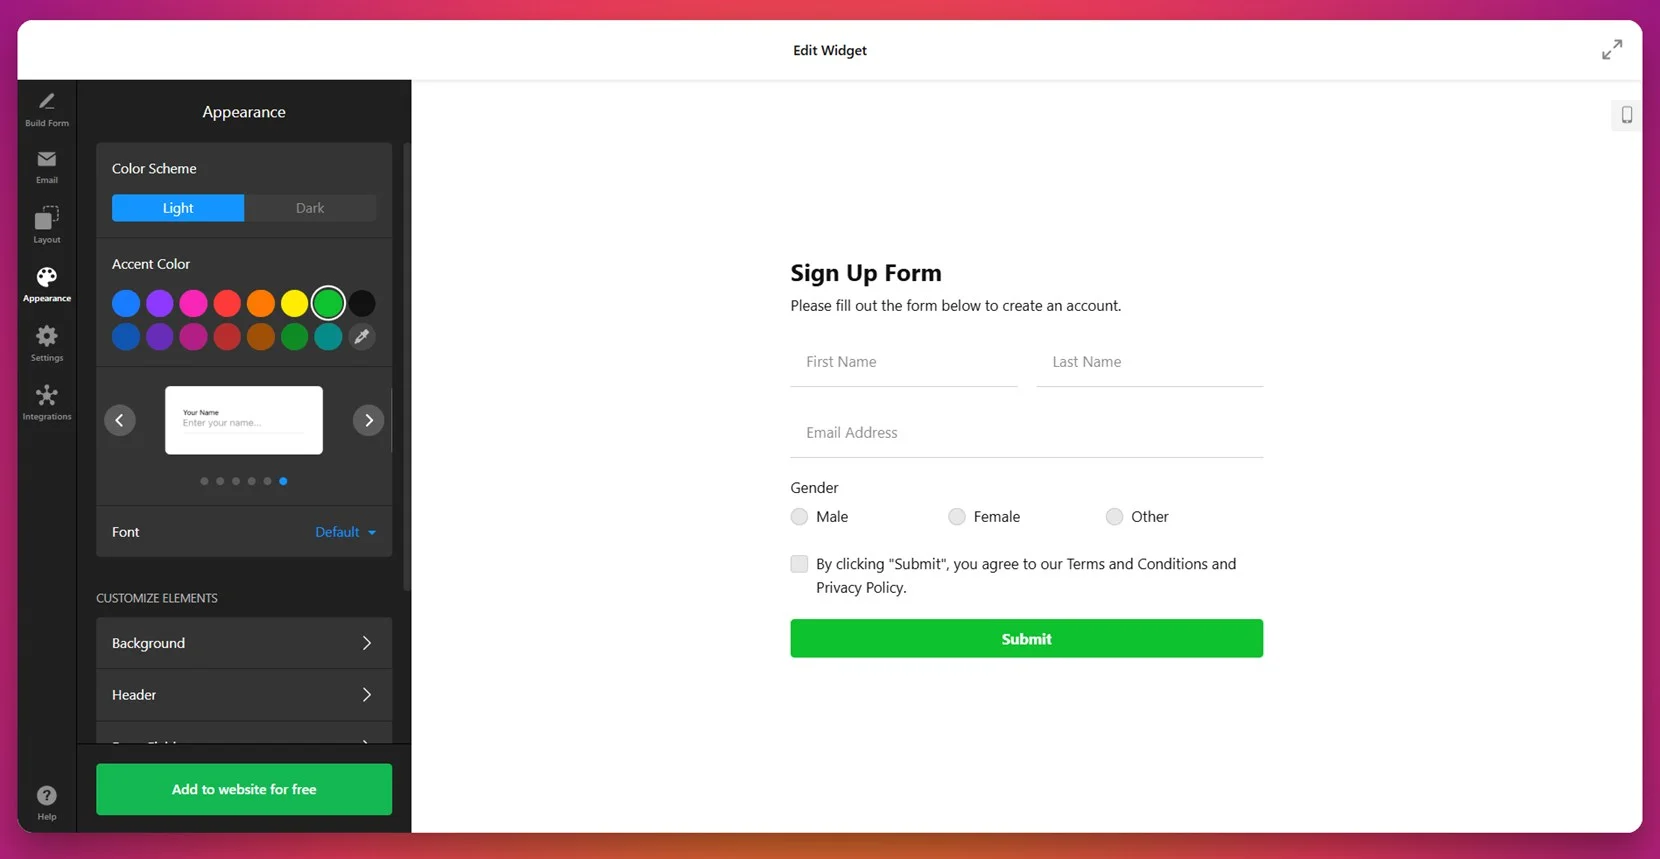
- Style the form. Open the “Appearance” panel to pick a color theme, accent color, font, and adjust background, headers, and other visual elements to match your website branding.

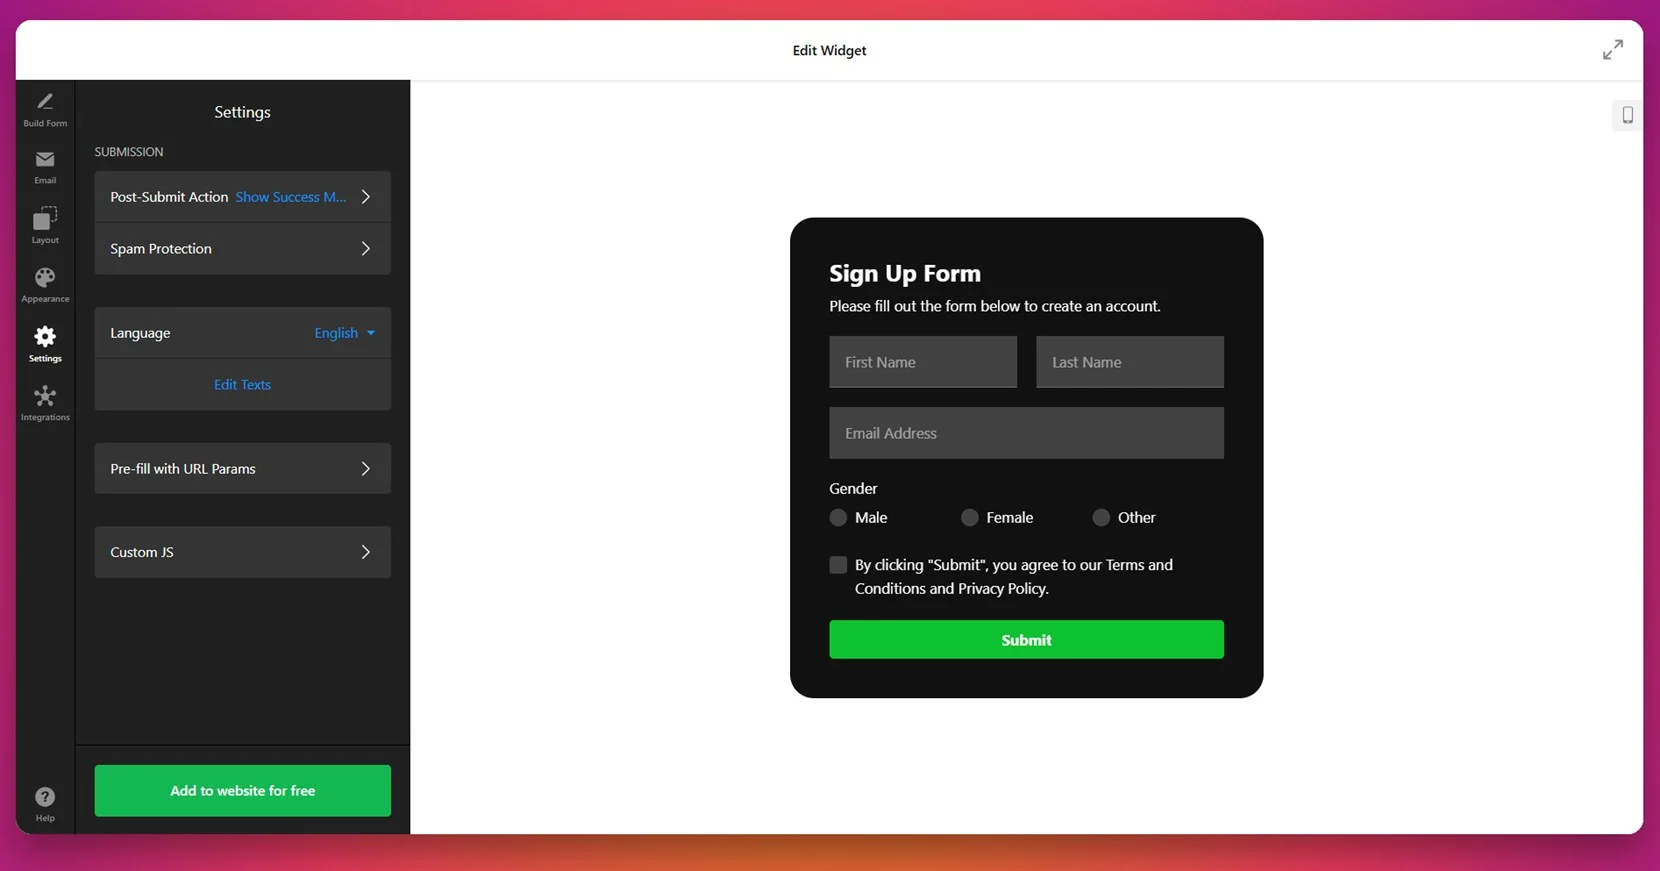
- Tweak behavior and security. In “Settings”, enable spam protection, define post-submit actions, set language, and pre-fill field data using URL parameters if needed.

- Connect integrations. Go to the “Integrations” tab and connect services like Mailchimp, Google Sheets, or Zapier to automate responses and route submission data.

- Embed the form on your website. Click “Add to website for free”, copy the generated embed code, and paste it into the backend section of your website editor or HTML field. Save and publish.


Once published, your form will be live and ready to collect responses instantly, improving how your visitors interact with your brand online.
Whether you’re collecting signups, feedback, or inquiries, this setup ensures your form is easy to manage and perfectly integrated into your website. With Elfsight, you have full control — from structure to styling to automation — all without touching a single line of code.
Other Ways to Add Fillable Forms to Website
If you’re comfortable with basic coding, manually embedding a form using HTML can be a practical solution. This method allows you to create a form directly inside your website’s source code without relying on any external services or plugins. It’s a great option for developers or anyone maintaining a lightweight website without a CMS.
Embedding an HTML Form Manually
This method involves writing and pasting your own form code into your HTML document. It’s flexible, platform-independent, and gives you complete control over both structure and behavior. You can create a contact form, feedback form, or registration form using this method.
- Open your website’s HTML file in a code editor. Use a code editor like VS Code, Sublime Text, or even Notepad to open the file for the webpage where you want to insert the form.
- Scroll to the desired section for placement. Locate the part of the page where you want the form to appear — typically inside the <body> tag or within a <div> container.
- Paste a basic form structure using HTML. Insert the following code block where your form should display:
<form action="mailto:your-email@example.com" method="POST" enctype="text/plain"> <label for="name">Name:</label><br> <input type="text" id="name" name="name" required><br><br> <label for="email">Email:</label><br> <input type="email" id="email" name="email" required><br><br> <label for="message">Message:</label><br> <textarea id="message" name="message" rows="5" cols="30"></textarea><br><br> <input type="submit" value="Send"> </form> - Update the form action address. Replace your-email@example.com with your real email address to receive the form data via email.
- Test form functionality locally or on your server. Save the file, upload it via FTP or your control panel, and open the page in a browser to confirm the form appears and works as expected.
- Customize the design using CSS. To improve styling, add your own CSS classes or inline styles to elements like <input> and <textarea> for consistent appearance with your website branding.
Using a raw HTML form gives you the freedom to structure the form exactly as needed, control validation, and even integrate custom scripts if you want advanced behaviors.
Comparison of Form Embedding Methods
The table below compares manual HTML embedding with Elfsight’s ready-to-use Form Builder to help you choose the right method for your goals:
| Method | Pros | Cons |
|---|---|---|
| Elfsight Form Builder | Offers an all-in-one drag-and-drop editor with full customization, responsive layout, email notifications, and integrations. | Requires pasting an embed code into your website’s backend. |
| Manual HTML Form | Provides full structural control and works on any platform without dependency on external services. | Requires manual coding and lacks built-in features like spam filtering, styling, or automated responses. |
While the manual method may work well for developers or minimal needs, Elfsight is built for users who want a fast, feature-rich form solution with minimal effort. Let’s now explore some practical tips to make your form more effective and user-friendly.
Tips for Better Form Performance
To make sure your fillable form looks good, works well, and drives results, there are a few universal best practices you should keep in mind. These tips apply whether you’re embedding a form manually or using a third-party widget.
- Place your form where users expect it. Common positions include homepage sections, footers, and dedicated contact or signup pages. If it’s buried too deep, users might not find it.
- Keep the form short and relevant. Only ask for the information you really need. Long or complex forms can reduce completion rates and cause drop-offs.
- Use clear and concise labels. Each field should be clearly labeled with helpful placeholders where necessary to avoid user confusion.
- Ensure your form is mobile-friendly. Always test the form on multiple devices to confirm that fields scale properly and buttons are easy to tap.
- Set up field validation. This includes required fields, correct email formatting, and proper error messages. It reduces junk entries and improves data quality.
- Style the form to match your branding. Use matching colors, fonts, and button styles to maintain consistency across your entire website.
- Add a confirmation message or redirect. Let users know their submission was successful — this builds trust and improves the overall experience.
- Test the form before publishing. Fill out every field yourself and try different submission paths to catch layout errors or email delivery issues.
Following these universal tips ensures that your form doesn’t just work — it works well. Now, let’s look at who can benefit the most from using a fillable form on their website.
Who Needs Fillable Forms and Why: Use Cases
Fillable forms are a universal solution for improving communication and automating data collection. They can be used across industries — from scheduling appointments and handling inquiries to capturing leads and managing subscriptions. Below are three industries where embedded forms bring strong, practical value.
Application in the Healthcare Industry 💉
Healthcare providers such as clinics, dentists, and wellness centers use embedded forms for appointment booking, new patient registration, and follow-up requests. These forms reduce phone traffic, speed up administrative processes, and improve patient service by automating notifications and reminders.
Application in the Education Sector 🎓
Educational institutions, online learning platforms, and tutoring services use forms for student signups, event registration, and collecting feedback. Forms provide structure and automation, helping educators efficiently manage inquiries, class applications, and resource requests.
Application in the Real Estate Industry 🏠
Real estate companies and independent agents use embedded forms to handle property inquiries, open house signups, and mortgage consultations. With forms tied to specific listings, users can submit questions or book a visit without making a call, improving lead conversion and response time.
These use cases show how fillable forms can support a wide range of business goals. Up next, we’ll cover the most common issues users face when embedding forms — and how to avoid them.
Fixing Common Issues
Even though form embedding is generally straightforward, there are common issues users might encounter during setup or usage. Below are detailed answers to frequently asked questions that will help you avoid mistakes and fix any problems quickly.
Why isn’t my form displaying on the website?
The form is cut off or not responsive. What should I do?
Why am I not receiving email notifications from submissions?
Can I use multiple forms on the same page?
Why does the form reset when I press submit?
Addressing these issues early ensures your form runs smoothly and gives users a reliable experience.
Final Thoughts
Embedding a fillable form on your website is one of the most effective ways to improve communication, capture leads, and automate user interaction. Whether you’re using a flexible platform like Elfsight or going the manual route, the key is to build a form that is clean, accessible, and functional across devices. With proper customization, placement, and testing, a form can significantly enhance the user experience and serve as a reliable tool for growing your business.
From basic email contact forms to advanced multistep configurations, the process of creating and managing forms has become more user-friendly than ever. With responsive layouts, drag-and-drop editors, and built-in automation, there’s no need for coding expertise. The goal is simple: make it easy for your visitors to reach you and for you to respond effectively. If you follow the best practices and troubleshooting tips outlined above, you’ll be well on your way to a fully optimized form integration.
Looking for More Help?
We hope this guide gave you all the clarity you need. If you need help in building a powerful form for your website, contact us — our team at Elfsight is here to help every step of the way. We specialize in no-code solutions that are intuitive, flexible, and built for results.
Join our growing Community to connect with others, share feedback, and discuss ideas. Got something you’d like to see next? Drop your suggestions in our Wishlist — we’re always listening!