Adding a contact form to your HTML website is one of the most effective ways to let visitors reach out to you directly. Instead of displaying your email address, a contact form provides a structured, secure, and user-friendly way for people to send you messages.
If you want to start receiving inquiries, feedback, or support requests without relying on third-party services or complex development, this is exactly what you need. A contact form is easy to implement, looks professional, and improves communication flow.
- Better user experience. Visitors can send a message instantly without switching to their email client or copying addresses.
- Improved spam protection. With form fields and anti-bot measures, you reduce the risk of email scraping and spam.
- Consistent communication format. You can define exactly what information you need from users, improving message clarity.
- Faster response management. Messages come in a uniform format, making them easier to track and reply to.
- Professional appearance. A clean, well-designed contact area reflects trust and reliability.
Now that you understand why contact forms matter, let’s see how you can set one up quickly using Elfsight.
Quick Way to Add Contact Form to Your HTML Website
Embedding a contact form to your HTML website doesn’t require any coding or complex setup. With Elfsight, you can build a fully functional form in just a few clicks, customize it visually, and embed it directly into your page.
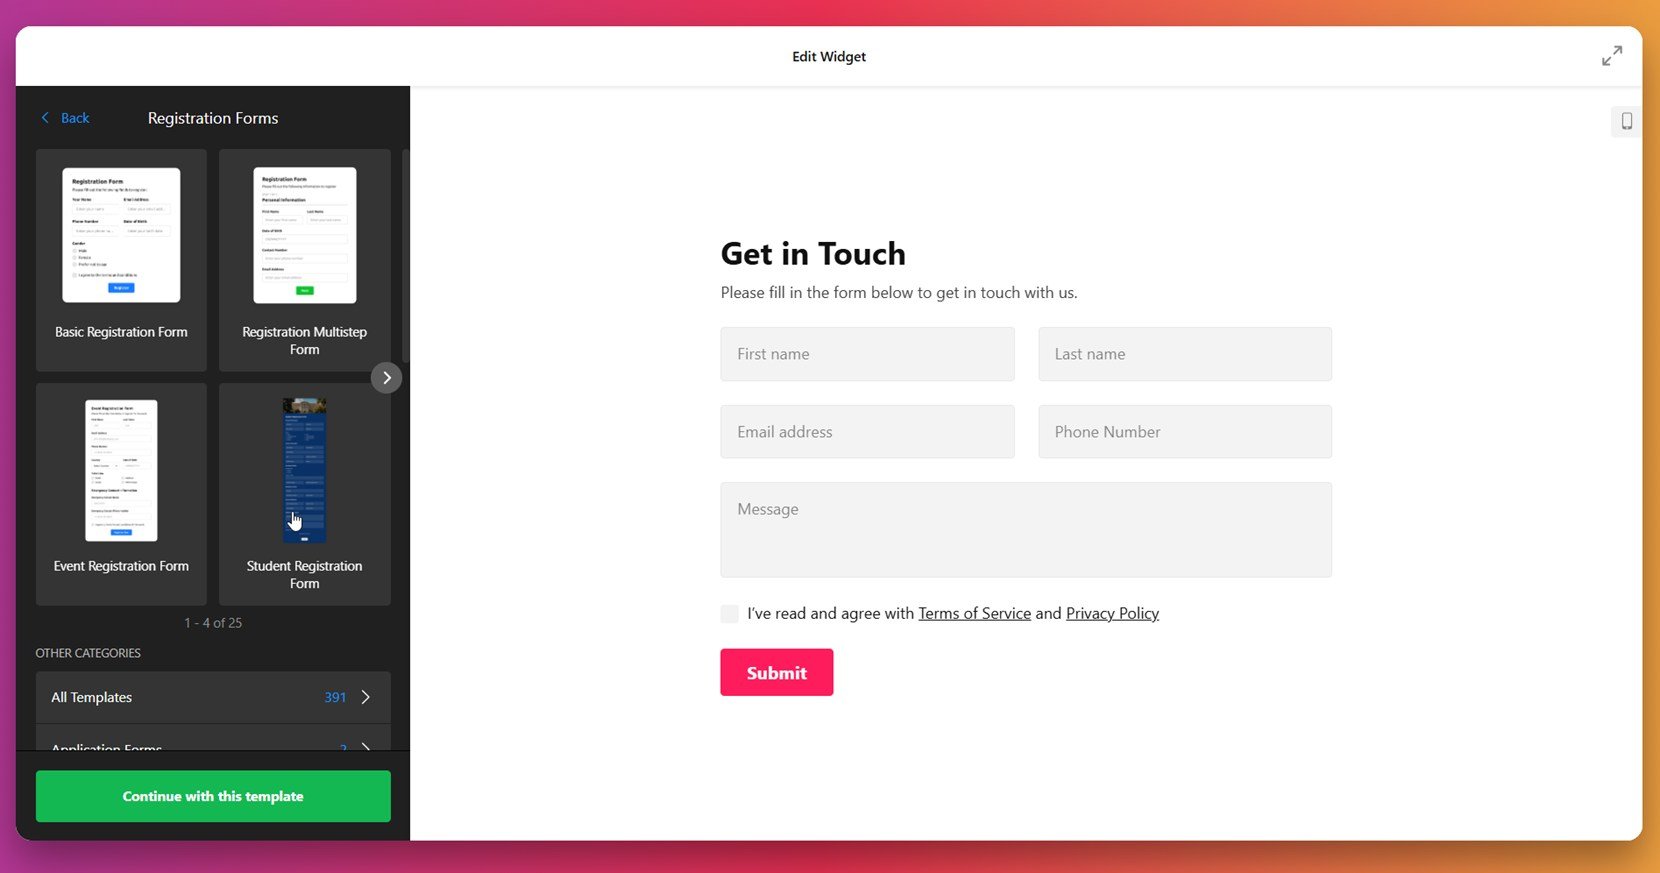
- Open the Elfsight editor and choose a contact form template.
- Adjust the layout, fields, and structure to match the type of messages you want to receive.
- Style the form by customizing colors, fonts, and other design elements to fit your website’s look.
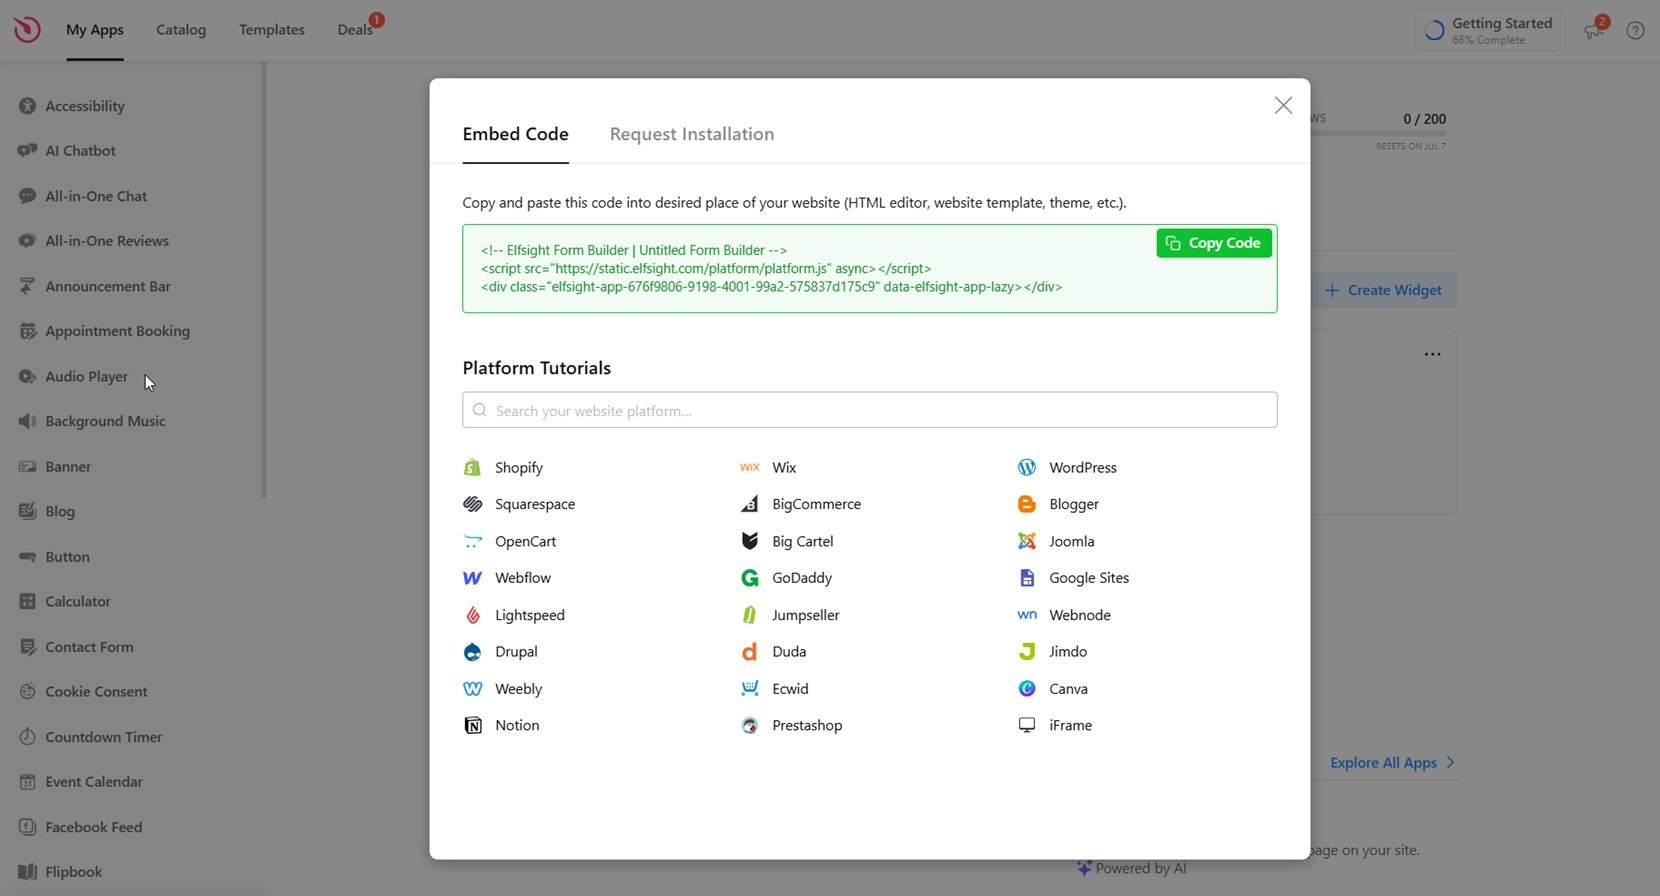
- Click “Add to website for free“, copy the generated code, and paste it into your HTML backend.
This quick method helps you set up a custom feedback section that works right out of the box and improves how users interact with your content.
See the widget in action – build a contact form with the easy-to-use editor!
Features of the Elfsight Form Builder
Once you’ve seen how simple it is to create a contact form with Elfsight, it’s time to explore why this solution stands out. Elfsight gives you powerful features to build effective and attractive contact forms that fit any purpose and style.
- Drag-and-drop builder. Easily set up your form structure with a user-friendly editor — no coding required.
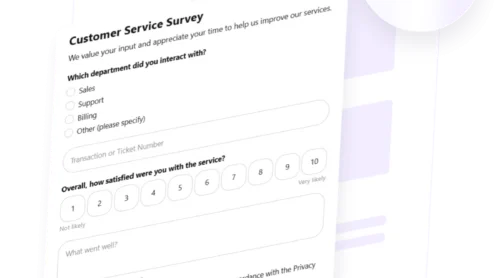
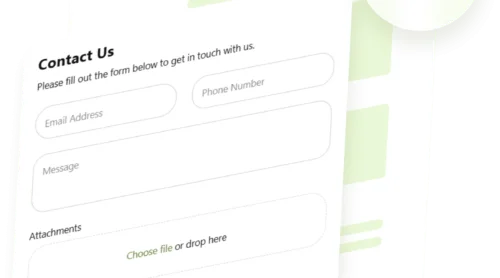
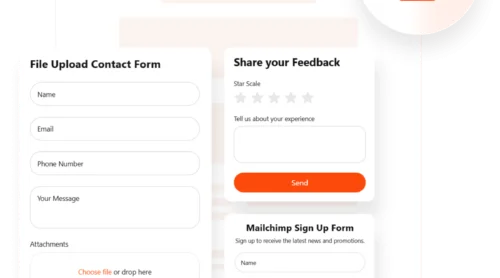
- Pre-made form templates. Choose from ready-to-use layouts for contact, feedback, booking, support, and more.
- Customizable fields and layout. Add, remove, or reorder input fields to collect exactly the information you need.
- Style and branding control. Match the form’s appearance to your website using flexible design tools.
- Responsive and mobile-ready. Your form looks great and works smoothly on any screen size or device.
- Instant email notifications. Receive form submissions instantly by email to respond faster to inquiries.
- Built-in spam protection. Use CAPTCHA and smart validation to block unwanted or fake messages.
- Flexible integration. Simply copy and paste the HTML contact form code into any part of your website.
With all these built-in features, Elfsight helps you create a complete front-end submission block that’s reliable, stylish, and effective. Next, let’s walk through the full process of building and embedding your custom form step by step.
Embed Contact Form in HTML: Step-by-Step Guide
Elfsight gives you full control over how your contact form looks and functions. Below is a detailed walkthrough of how to build and embed a contact form widget using their platform. Follow these steps to customize the layout, set email delivery, and publish your form on your HTML website.
- Choose a template. Start by opening the editor and selecting a layout from the gallery — like a basic or multistep registration form — then click “Continue with this template”.

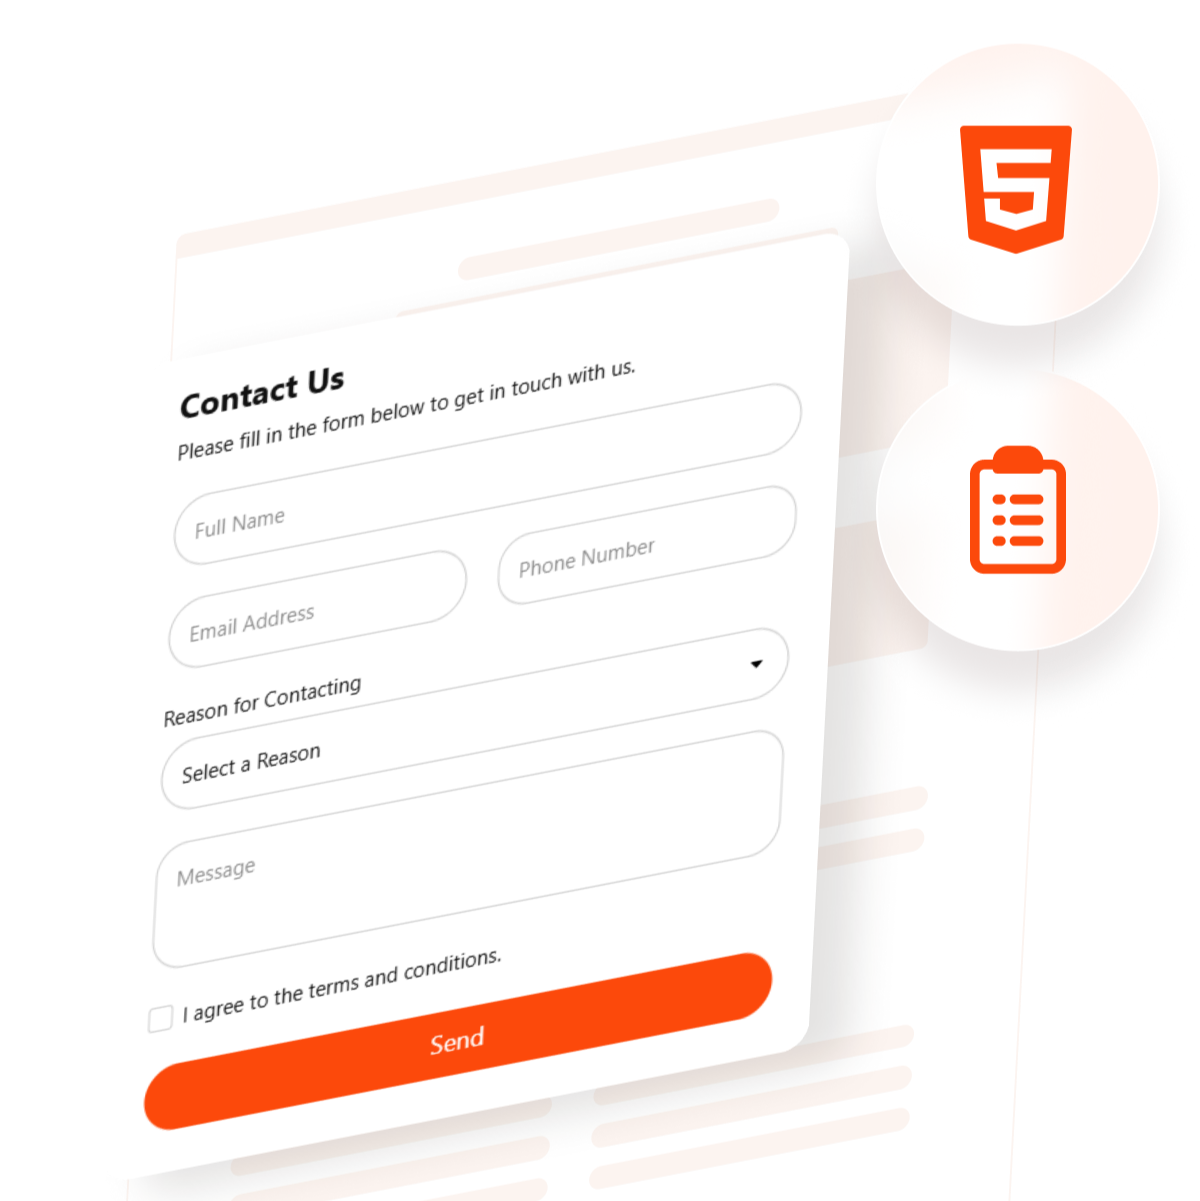
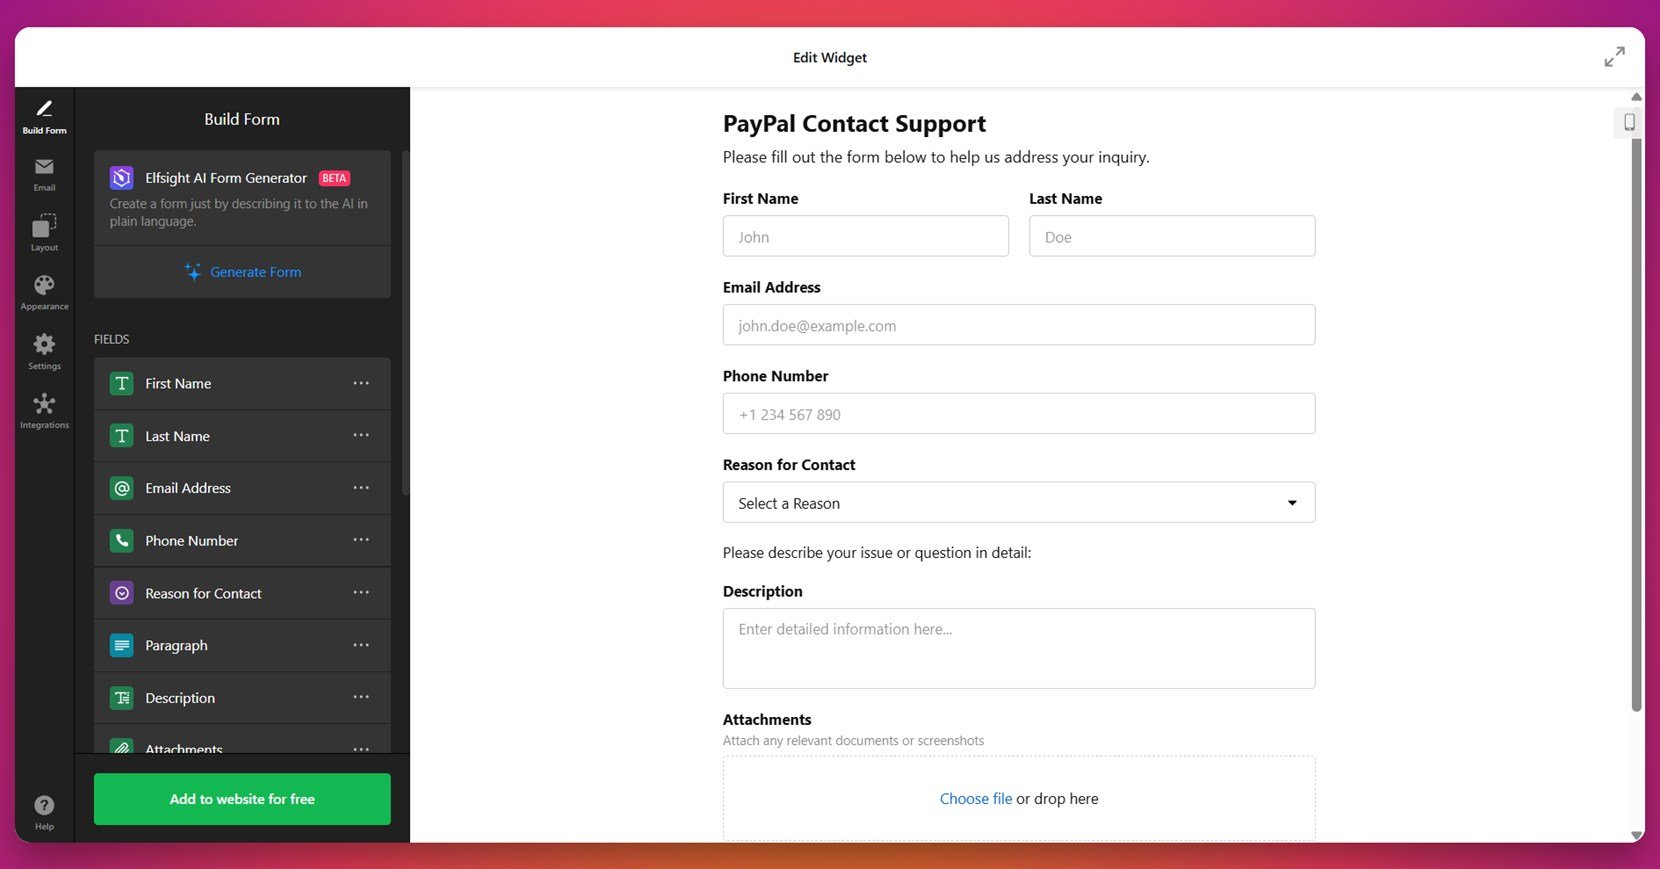
- Build your form. In the “Build Form” tab, add or remove fields like name, phone number, message, and custom options such as dropdowns or file uploads.

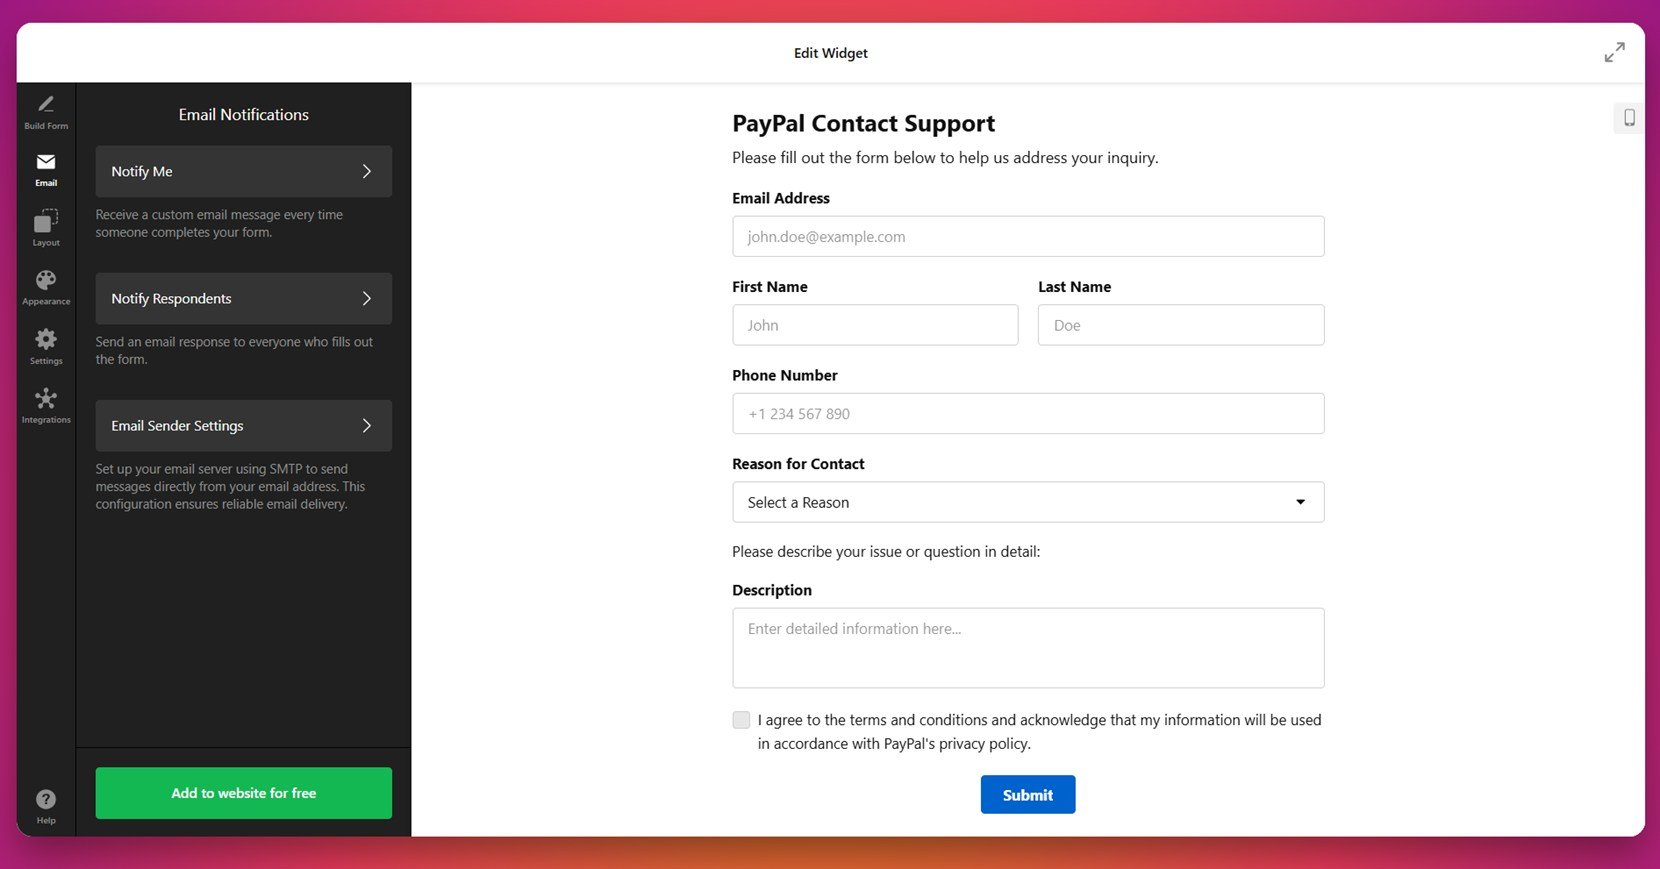
- Configure email delivery. Open the “Email” section to set up notifications. You can receive email alerts, notify users automatically, and configure sender settings for better deliverability.
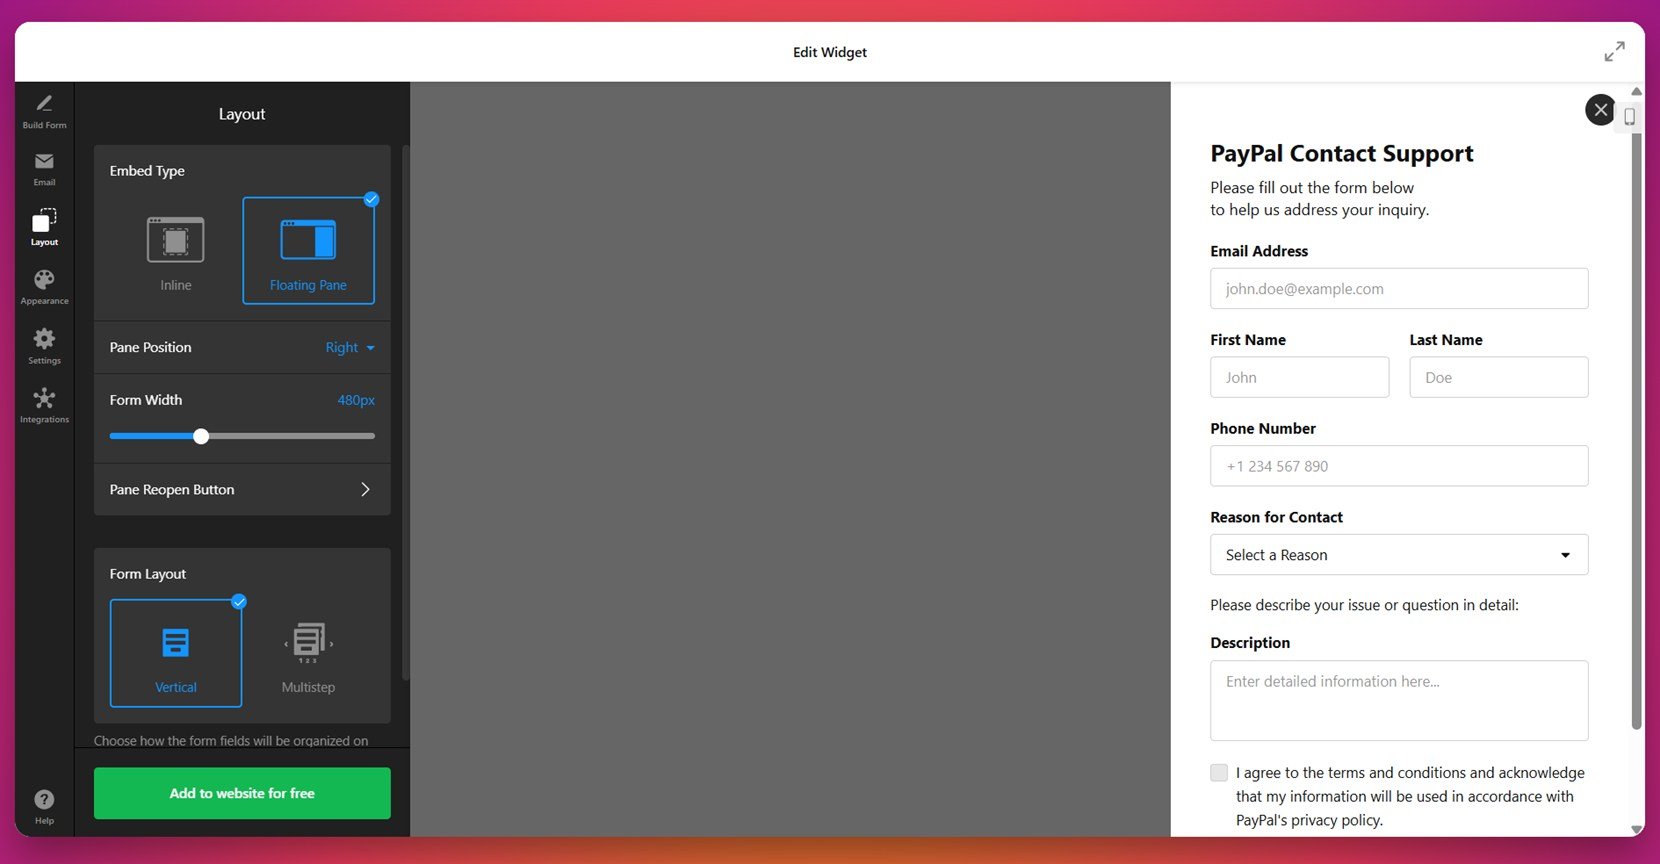
- Adjust the layout. Go to the “Layout” tab and choose between an inline form or a floating pane. Modify width and alignment to match your design preferences.

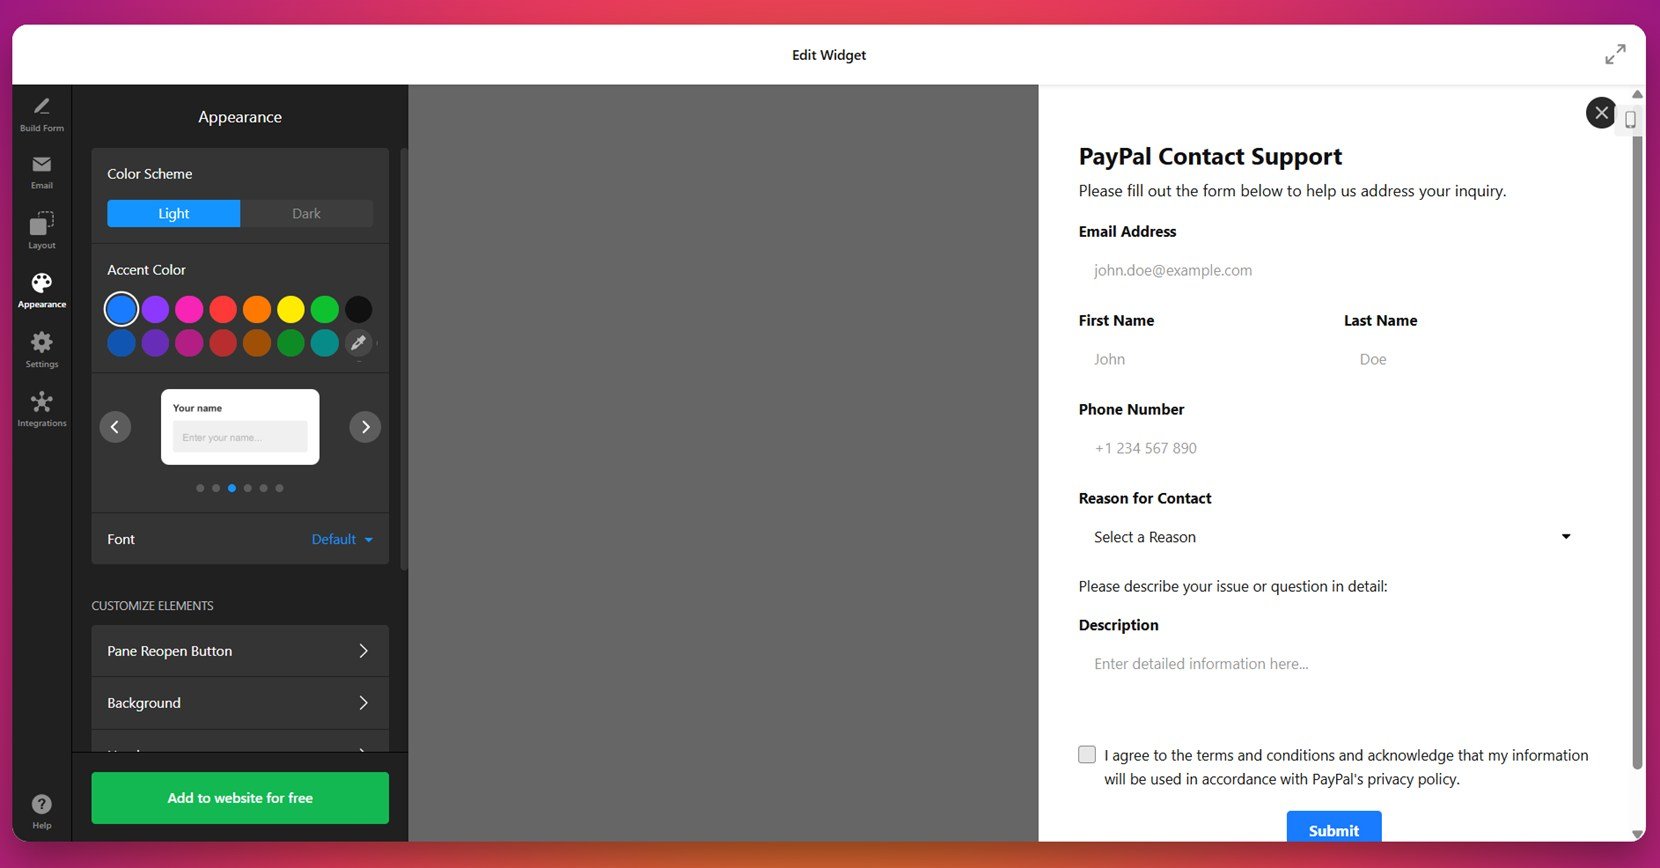
- Customize the appearance. Under “Appearance”, pick a color theme (light or dark), set an accent color, choose fonts, and style background elements to blend into your branding.

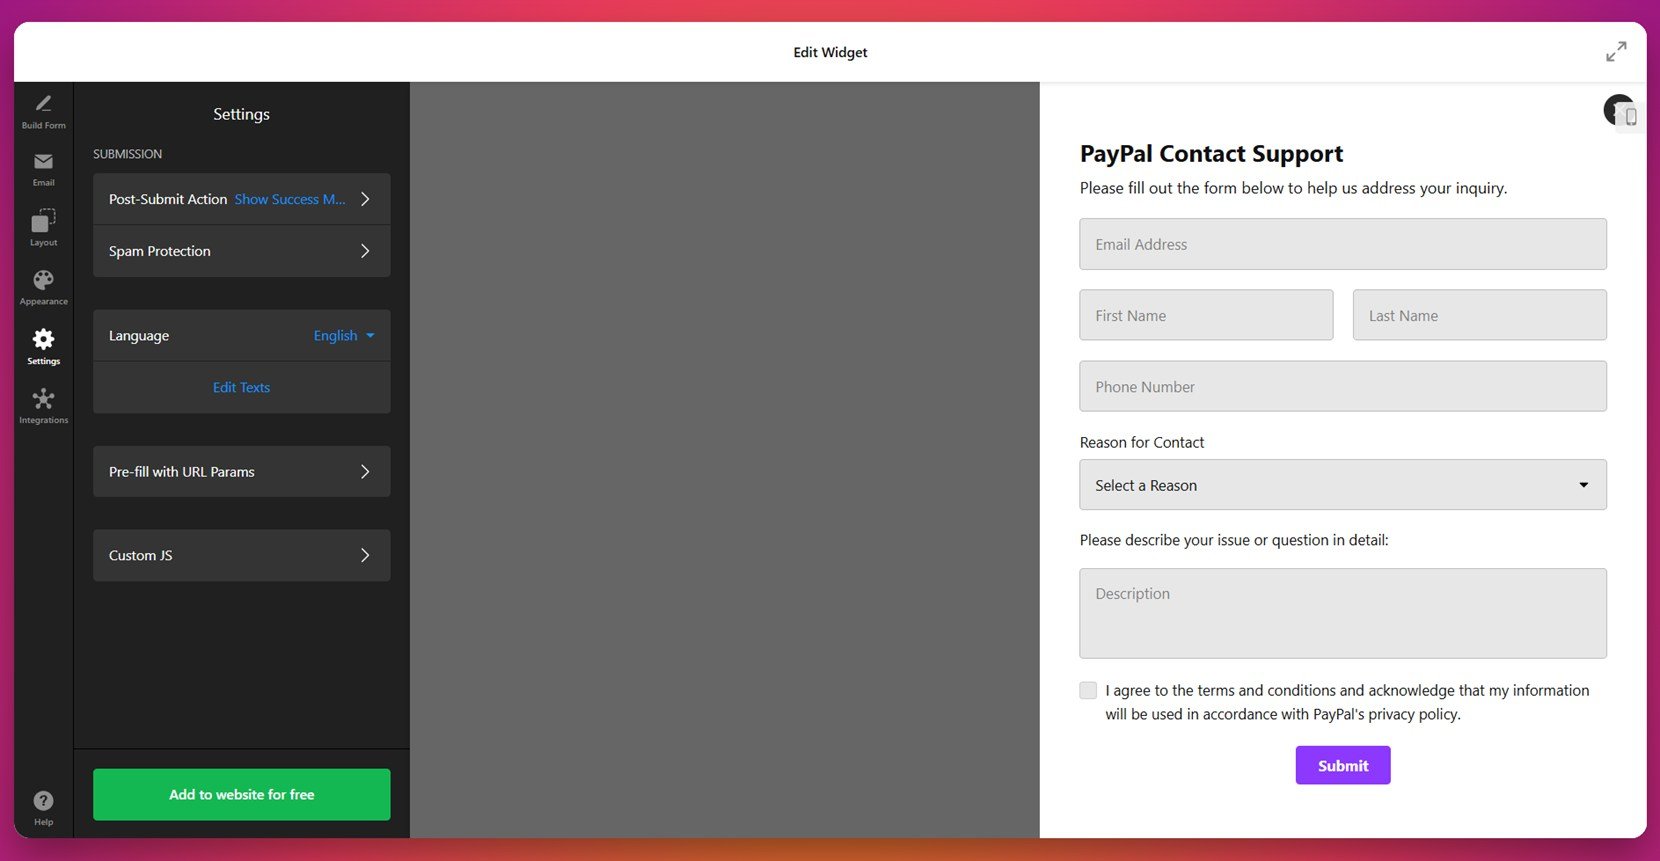
- Tweak form behavior. Use the “Settings” tab to define what happens after submission, enable spam protection, set language, or insert custom scripts.

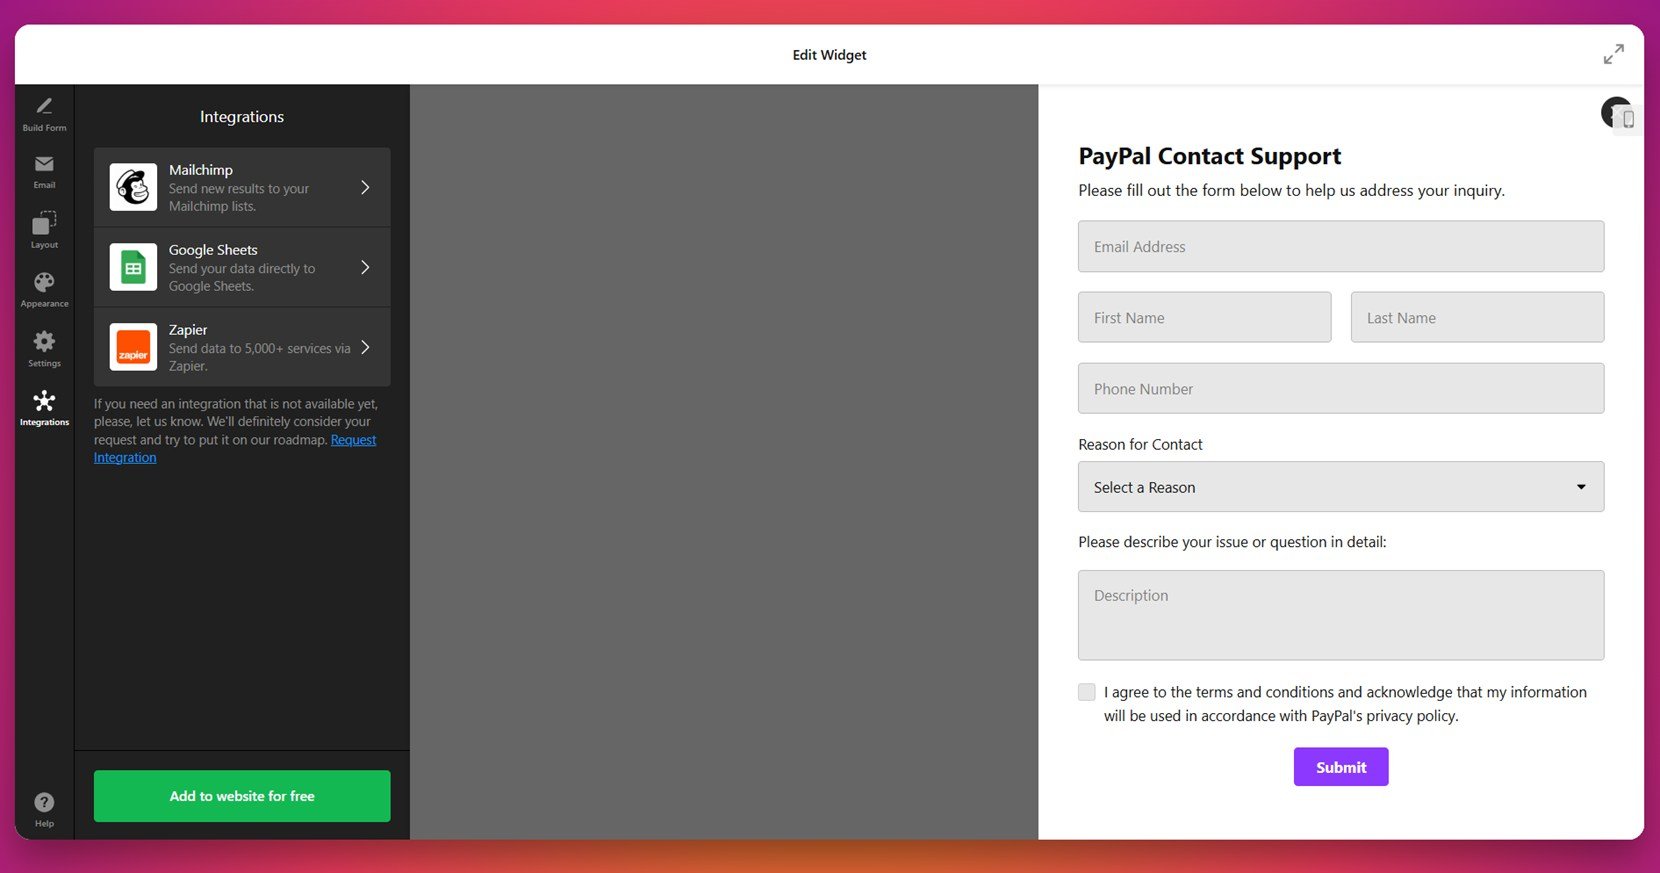
- Add integrations. In the “Integrations” tab, connect your form to platforms like Mailchimp, Google Sheets, or Zapier to manage submitted data automatically.
- Embed the form on your website. Click “Add to website for free”, copy the generated embed code, and paste it into the HTML file of your website where you want the form to appear.

To embed the contact form on an HTML website, you’ll need direct access to your website’s source code. Open the HTML file where you want the form to appear — this could be your homepage, contact page, or footer section. Then, paste the copied Elfsight embed code exactly where you want the form to be displayed. Save the changes and reload the page in your browser to verify the form is visible and functional.
Now that you know how to fully customize and implement your form, let’s explore other methods available for embedding contact forms on HTML websites.
Other Ways to Add an HTML Contact Form
If you want to build your contact form manually using raw code, the HTML + PHP method is a traditional and flexible approach. It’s ideal for those who prefer working with code and hosting their own backend processing. You’ll need basic knowledge of HTML and PHP, along with access to a server that supports email functions.
Manual HTML + PHP Method
This method involves two parts: the front-end HTML form that users interact with and the backend PHP script that processes and sends the form data to your email address.
- Create the HTML form. In your HTML file, paste the following code into the area where you want the form to appear:
<form action="contact.php" method="POST">
  <label>Name:</label><br>
  <input type="text" name="name" required><br><br>

  <label>Email:</label><br>
  <input type="email" name="email" required><br><br>

  <label>Message:</label><br>
  <textarea name="message" rows="6" required></textarea><br><br>

  <button type="submit">Send Message</button>
</form>
- Create the PHP processing script. In the same folder, create a new file named contact.php and paste the following code:
<?php
if ($_SERVER["REQUEST_METHOD"] == "POST") {
  $name = htmlspecialchars($_POST['name']);
  $email = filter_var($_POST['email'], FILTER_SANITIZE_EMAIL);
  $message = htmlspecialchars($_POST['message']);

  $to = "your-email@example.com";
  $subject = "New message from contact form";
  $headers = "From: " . $email . "\r\n" .
             "Reply-To: " . $email . "\r\n" .
             "Content-Type: text/plain; charset=utf-8";

  $body = "Name: $name\nEmail: $email\nMessage:\n$message";

  if (mail($to, $subject, $body, $headers)) {
    echo "Message sent successfully!";
  } else {
    echo "Message sending failed.";
  }
}
?>- Upload both files to your server. Make sure your hosting plan supports PHP. Place the HTML file and contact.php in the same directory so the form can communicate with the handler script.
- Test the form. Open your HTML page in a browser, fill out the form, and check whether the message arrives at your specified email address.
This method gives you full control over the form’s look, logic, and validation process, but it also requires secure handling and periodic testing.
Comparison Table: Elfsight vs Manual Method
Here’s how Elfsight compares to the native HTML method in terms of effort, flexibility, and functionality.
| Method | Pros | Cons |
|---|---|---|
| Elfsight Widget | Provides a no-code editor with design and logic control, instantly embeddable. | Requires account registration to access and customize the widget. |
| Manual HTML + PHP | Gives full control over backend logic, email delivery, and form layout. | Requires knowledge of coding and proper server configuration to work securely. |
While the manual method offers powerful flexibility for experienced users, Elfsight makes the entire process much easier and faster without sacrificing design or functionality. Let’s now move on to practical tips for maximizing your contact form’s performance.
Practical Tips for Better Form Usage
Once your contact form is embedded, a few strategic choices can make a big difference in how well it functions and how users engage with it. These tips apply to any form widget you use, whether custom-coded or built through a visual editor.
- Place the form where it’s easy to find. The most effective placements are your website’s footer, contact page, or as a floating button that stays visible during scrolling.
- Keep the form fields minimal. Ask only for essential information — name, email, and message. The fewer the fields, the higher the completion rate.
- Use clear labels and placeholders. Make sure users understand what information each field requires. Avoid vague labels like “Input here”.
- Enable mobile responsiveness. Test the form on different screen sizes and make sure all elements are easy to tap and fill out on smartphones and tablets.
- Set up a confirmation message. After submission, thank users or confirm that their message was received. This improves the experience and shows your form is working.
- Secure the form against spam. Add a CAPTCHA or honeypot field to reduce the risk of automated submissions that can flood your inbox.
By following these tips, you’ll improve the usability and reliability of your contact form across all devices and environments. Next, let’s look at the different types of users and industries that benefit most from adding a contact form to their HTML website.
Who Benefits Most From Website Contact Forms
Adding a contact form to an HTML website is a practical solution for businesses across various industries. Whether the goal is to gather client requests, respond to inquiries, or qualify leads, an embedded form acts as a user-friendly submission block tailored to each sector’s workflow.
Application in Real Estate 🏠
Real estate professionals use contact forms to schedule property viewings, collect buyer interest, and capture seller inquiries. Forms can include dropdowns for preferred locations, checkboxes for property types, and calendar inputs for scheduling visits. This creates an interactive email response form that filters and organizes leads for agents.
Application in Healthcare 🩺
Clinics, dental offices, and wellness centers integrate contact forms to manage appointment requests, follow-ups, and patient questions. With input masking and conditional logic, these forms help streamline pre-visit paperwork and route submissions to the correct department.
Application in Education 🎓
Educational institutions apply contact forms for program inquiries, admissions support, and campus tours. A custom feedback section also allows for collecting testimonials or questions from students and parents alike. These forms simplify communication between the public and departments like admissions or student services.
Whether you’re working in real estate, healthcare, education, or any other sector, contact forms act as a reliable method to engage visitors and convert interest into action. Now let’s address common problems that might occur with form usage and how to solve them quickly.
Fixing Common Issues
Even with a well-embedded contact form, technical or usability issues can arise. Below are the most frequent problems users face when working with contact form code on HTML websites — and how to solve them.
Why isn't my form sending messages to my email?
Why do I receive spam through my contact form?
Why does my form look broken on mobile?
How can I confirm to users that their message was submitted?
What do I do if I don’t see submitted data?
print_r($_POST) to inspect incoming data. Also, ensure your server error reporting is enabled to catch mistakes silently failing in the script.
Can form styling break on some browsers?
With these solutions in mind, you can prevent most issues before they affect your users and ensure your contact form functions reliably.
Conclusion
Adding a contact form to your HTML website is one of the most effective ways to set up direct communication with visitors, streamline requests, and manage inquiries professionally. Whether you choose a manual method using HTML and PHP or take the easier route with Elfsight’s customizable widget, the result is a reliable channel for collecting messages and building trust with your audience.
Throughout this guide, we’ve covered step-by-step instructions, best practices, industry-specific use cases, and common troubleshooting tips — all to help you build a custom feedback section that works seamlessly. If you’re looking for a flexible, no-code solution with fast deployment and modern design, Elfsight is the easiest way to get your contact form up and running.
Looking for More Help?
We hope this article gave you everything you need to get started. If you still have questions or need help, reach out to us. At Elfsight, we’re dedicated to helping you implement smooth, user-friendly solutions — without writing a single line of code.
Want to connect with other creators? Join our Community to share feedback, ideas, and ask questions. Got a feature you’d love to see? Head over to our Wishlist and let us know what you’d like us to build next.