Managing appointments, reservations, or client meetings through email or phone can quickly become inefficient as your business grows. That’s where a booking form comes in. If you’re using WordPress, integrating a booking form into your website is one of the simplest ways to streamline this process and save time.
A booking form isn’t just a nice-to-have — it’s a powerful addition that transforms your website into an automated client booking system. Whether you run a salon, clinic, event service, or consultation-based business, a booking form can simplify your workflow and elevate the user experience.
- Automates client scheduling. No more back-and-forth communication. Let users choose available times and book instantly.
- Improves conversion rates. A frictionless booking experience keeps potential customers engaged and more likely to complete a reservation.
- Reduces administrative workload. Collect all necessary client details upfront and free your team from manual coordination.
- Works 24/7 without supervision. Allow clients to book appointments at any time, even outside business hours.
- Offers better data and insights. Keep track of bookings, user behavior, and service demand all in one place.
Now that you know what a booking form does and why it’s essential, let’s look at how to create one easily using Elfsight.
Add a Booking Form in WordPress: Quick Way
Creating a booking form for your WordPress website doesn’t have to be complicated. With Elfsight, you can build a fully functional, customizable form in just a few minutes — no coding or technical setup required.
- Open the Elfsight editor and select a booking form plugin template that fits your needs.
- Adjust layout settings like form fields, email notifications, layout, etc.
- Personalize the design by choosing colors, fonts, and styling that match your branding.
- Click “Add to website for free”, then copy the embed code and paste it into your WordPress backend.
This simple setup gives you a professional-looking booking interface that blends seamlessly into your website. It’s flexible, fast, and built to handle your scheduling needs right out of the box.
Want to see it in action? Create your own booking form in minutes!
Features of the Elfsight Form Builder
Once you’ve seen how easy it is to set up your booking form, it’s worth understanding why Elfsight is such a powerful solution. The widget is packed with features that make it flexible, functional, and effective for any type of business website.
Here are the key features and benefits of using Elfsight’s booking form on your WordPress website:
- Drag-and-drop form builder. Easily build and customize your form without any coding, using a clean, intuitive interface.
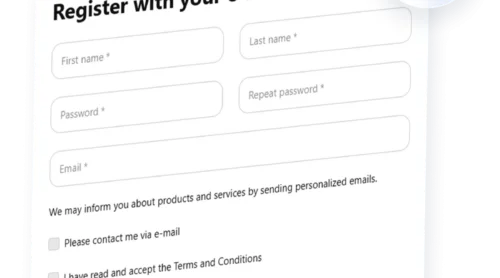
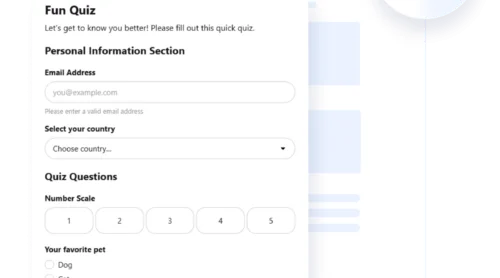
- Multiple field types. Add fields like name, email, phone number, dropdowns, checkboxes, and more to collect the exact info you need.
- Calendar and time slot integration. Let users select available dates and times directly from the form, ideal for appointment scheduling.
- Flexible layout and design settings. Customize colors, fonts, button styles, spacing, and layout to match your branding perfectly.
- Conditional logic. Show or hide form elements based on user responses to streamline the booking experience.
- Email notifications. Get notified instantly when someone submits a booking request, and send confirmation messages to users.
- Mobile-friendly and responsive. The form looks great and functions smoothly on any device or screen size.
With these powerful features, the Elfsight plugin gives you full control over the booking process while keeping the design clean and user-friendly. Let’s now walk through how to set it up step-by-step on your WordPress website.
How to Create a WordPress Booking Form: Step-by-Step
If you’re ready to build a booking form for your WordPress website, Elfsight makes the process quick, flexible, and entirely code-free. Below is a complete walkthrough of how to set up your form — from choosing a template to embedding it into your website.
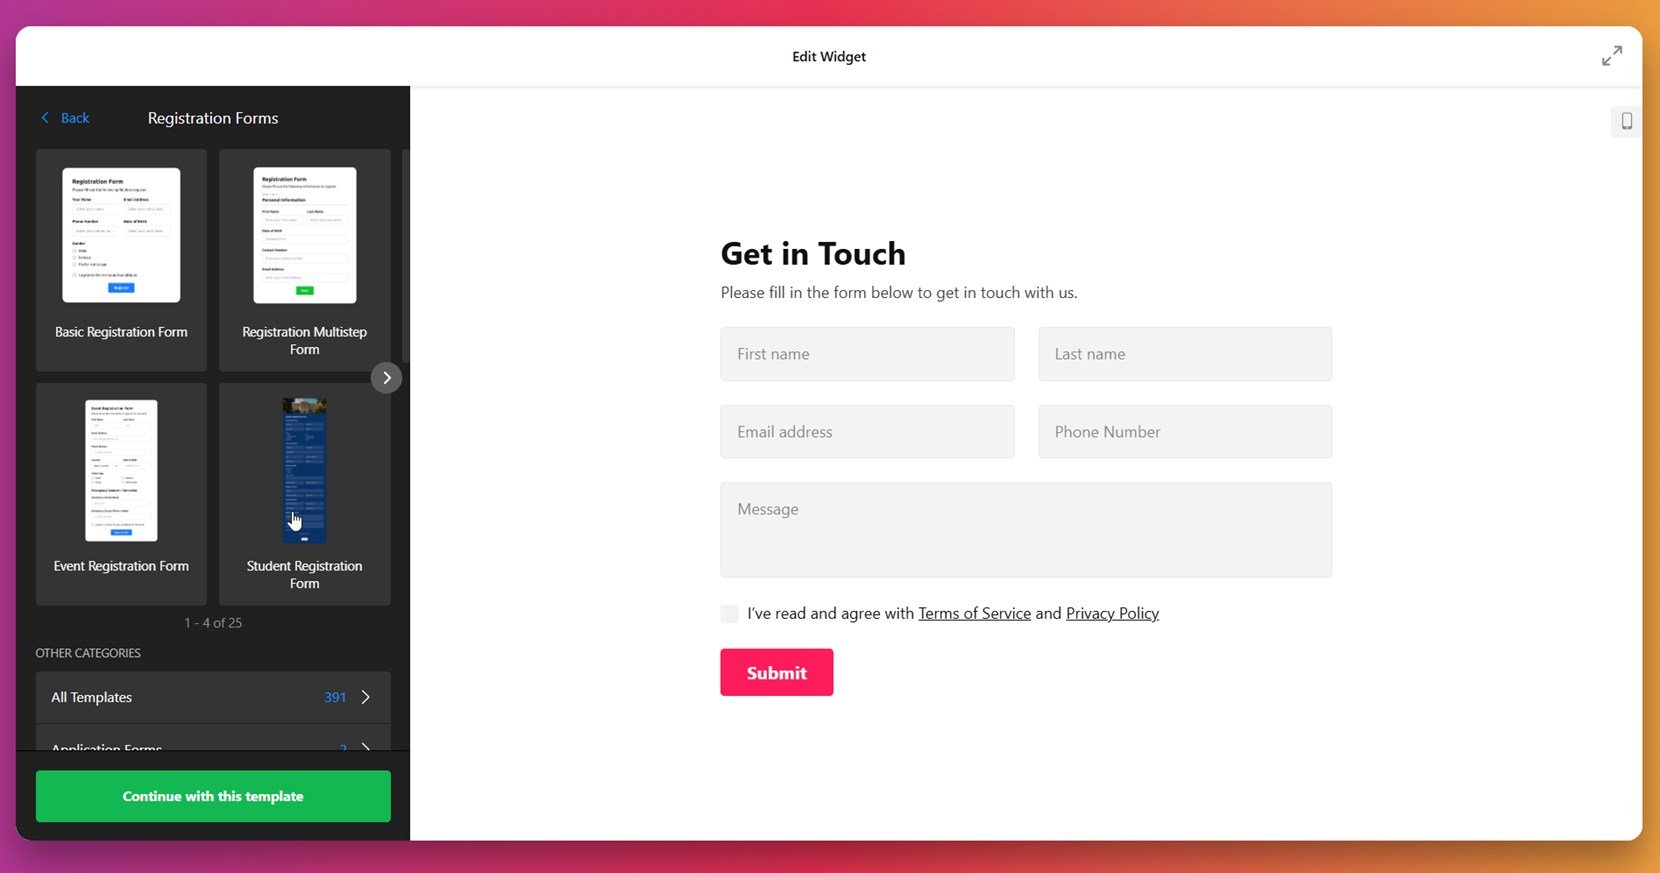
- Choose a Template. In the Elfsight dashboard, navigate to the “Registration Forms” category and select a suitable template like “Basic Registration” or “Event Registration”. Click the green “Continue with this template” button to start customizing.

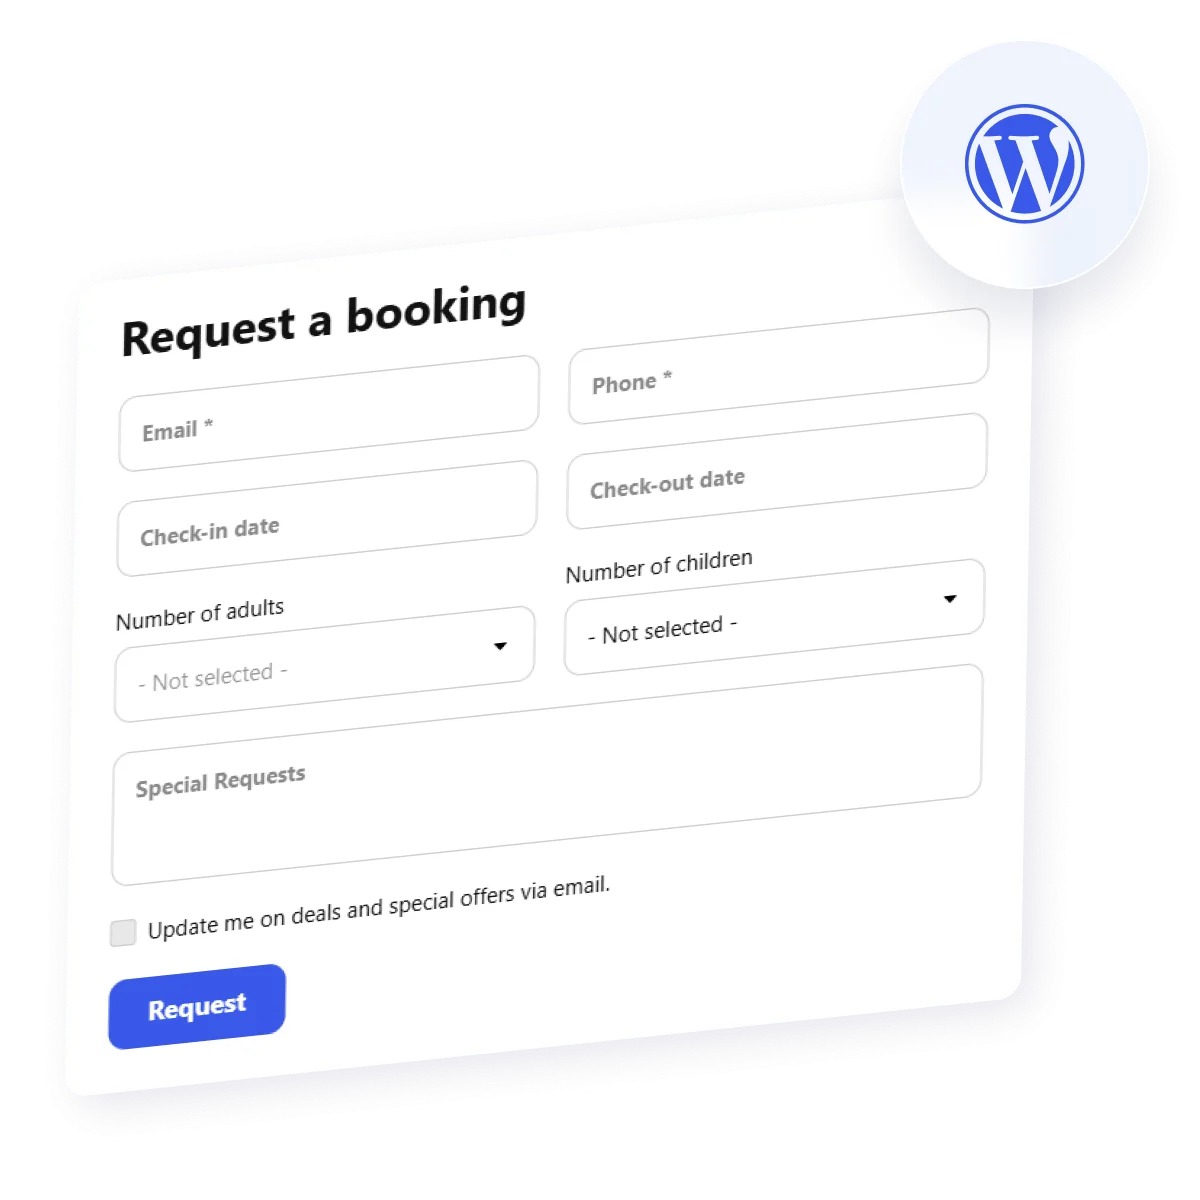
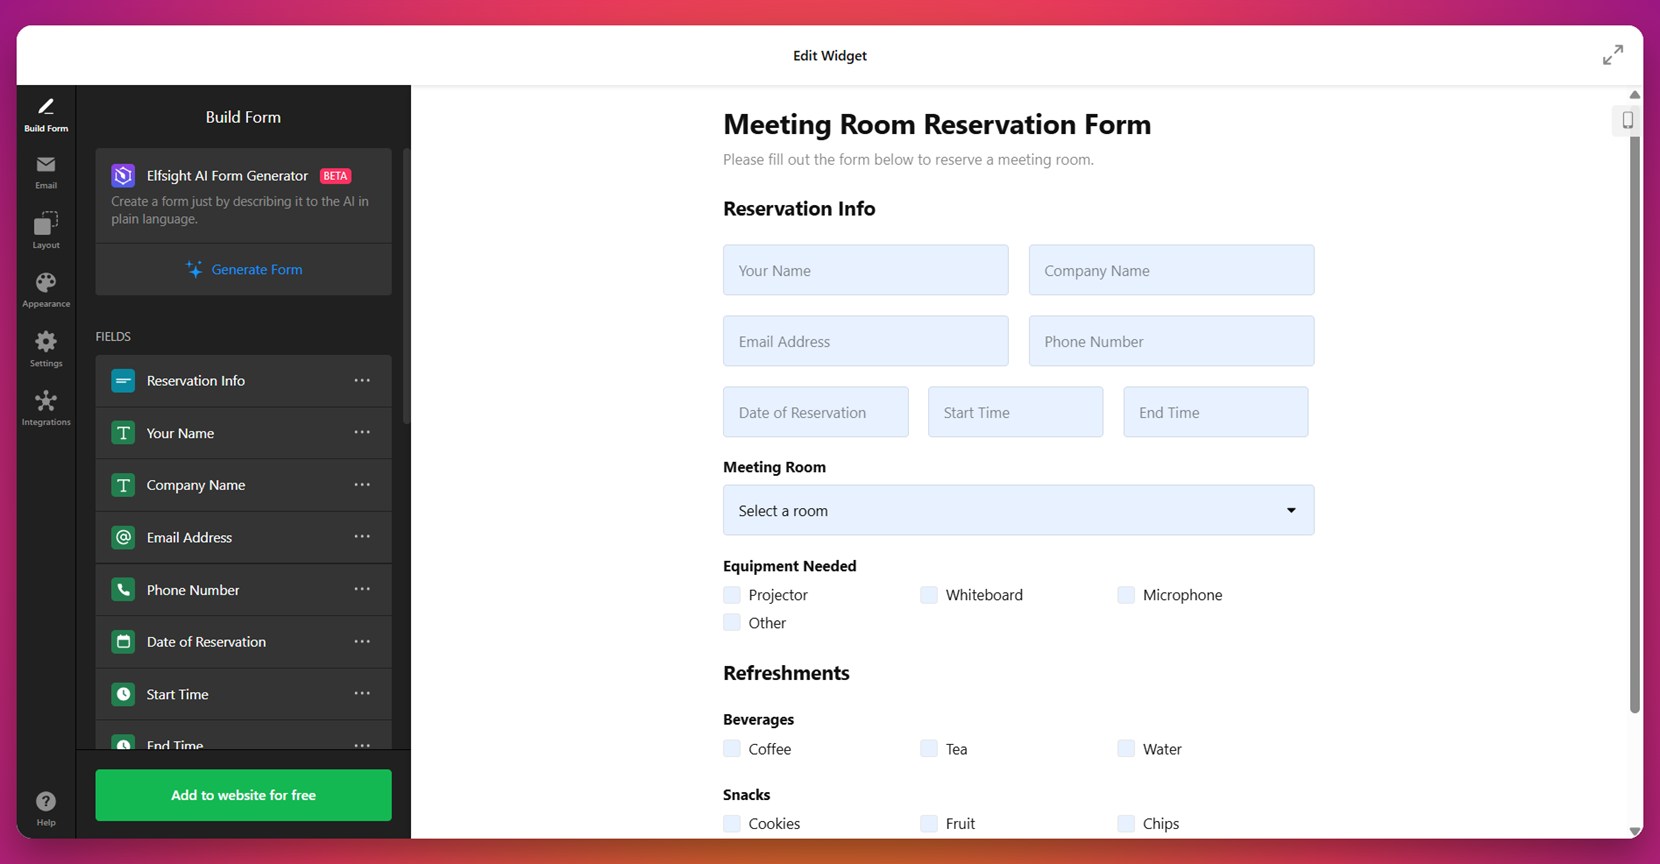
- Build the Form with Fields. In the “Build Form” panel, add and arrange form fields such as name, email, phone number, reservation date, start time, and end time. You can also include dropdowns for selecting services or meeting rooms, checkboxes for equipment needs, and text areas for messages or special requests.

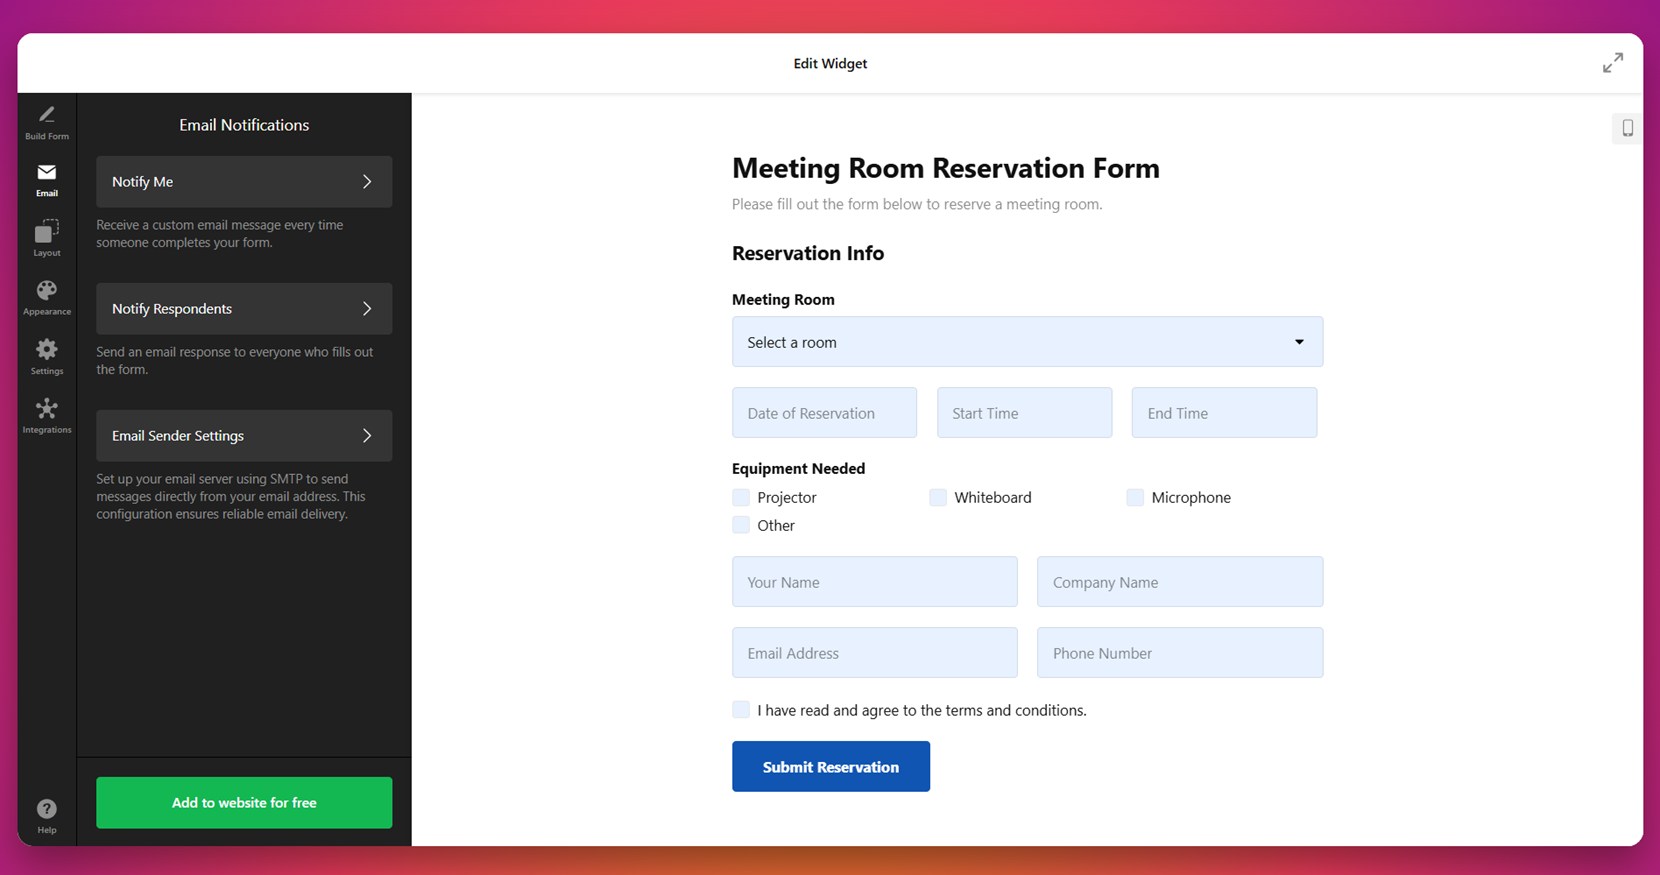
- Set Email Notifications. Head over to the “Email” section. Configure “Notify Me” to receive alerts when someone submits the form, and activate “Notify Respondents” to automatically send confirmation emails to users. You can also configure the SMTP email sender settings to improve delivery reliability.

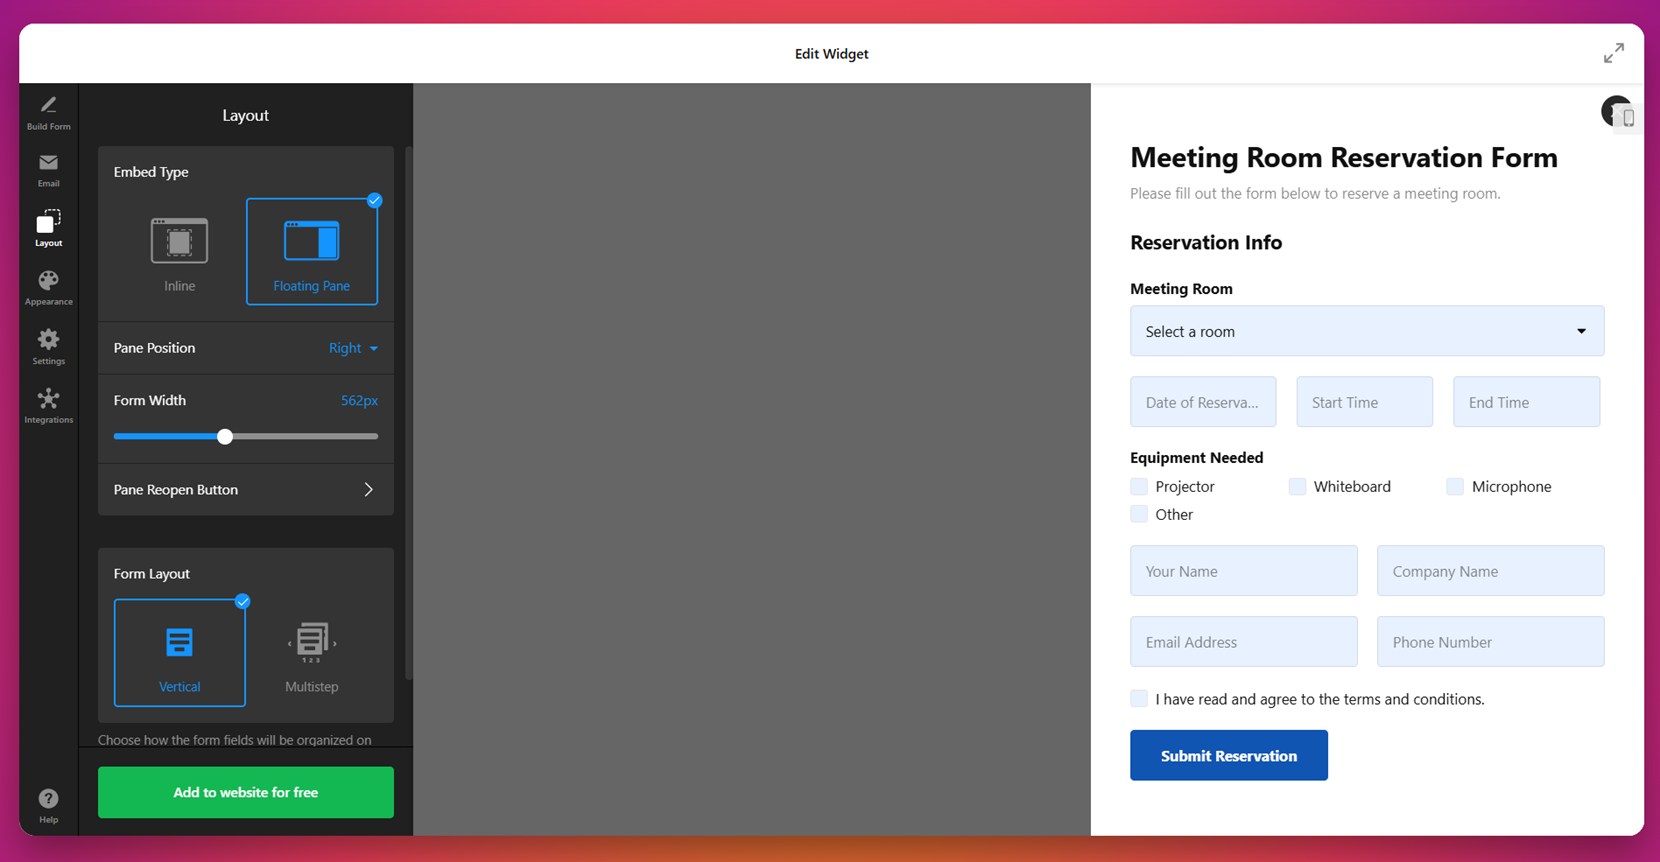
- Customize the Layout. In the “Layout” tab, choose between “Inline” or “Floating Pane” embed types. Adjust the pane position (e.g., right or left), set the width of the form, and select a vertical or multistep layout depending on your content needs.

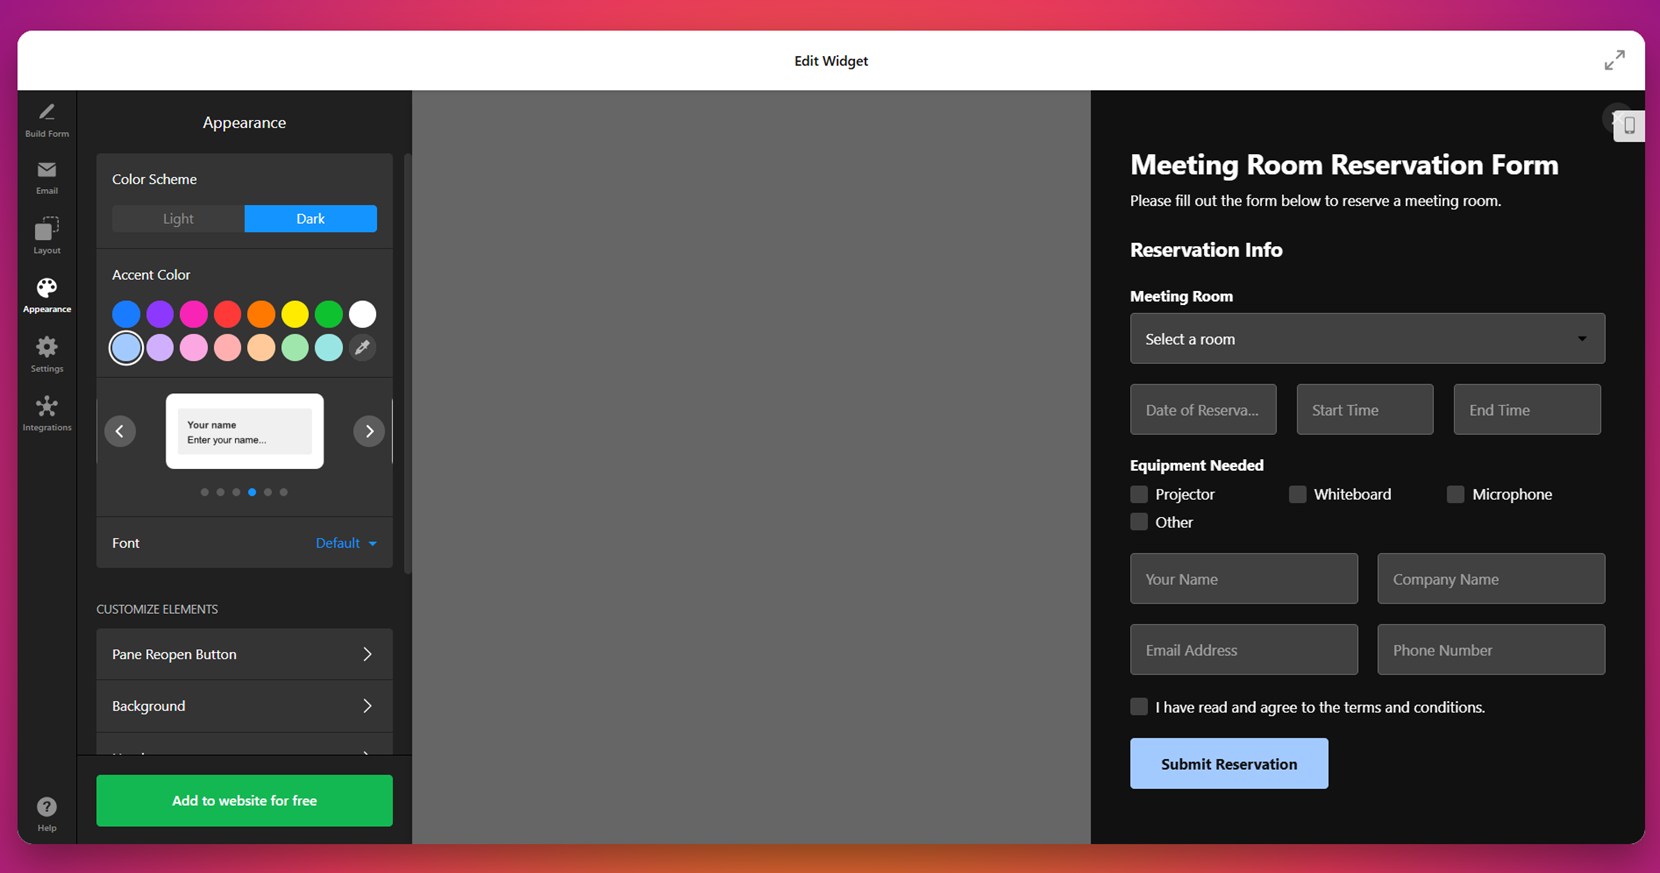
- Design the Appearance. Open the “Appearance” tab to style your form. Choose a light or dark color scheme, select an accent color, and customize the font. You can tweak backgrounds and form element styles to align the widget with your website’s visual identity.
- Configure Final Settings. Go to the “Settings” section to define actions after submission (e.g., show a success message), enable spam protection, and set the widget language. You can also add custom JavaScript or pre-fill fields with URL parameters if needed.

- Integrate with External Services. In the “Integrations” section, connect your form with tools like Mailchimp, Google Sheets, or Zapier. This enables automated workflows like syncing submissions to a spreadsheet or triggering third-party actions.

- Embed the Code on Your Website. Click the green “Add to website for free” button. Copy the embed code from the popup window.


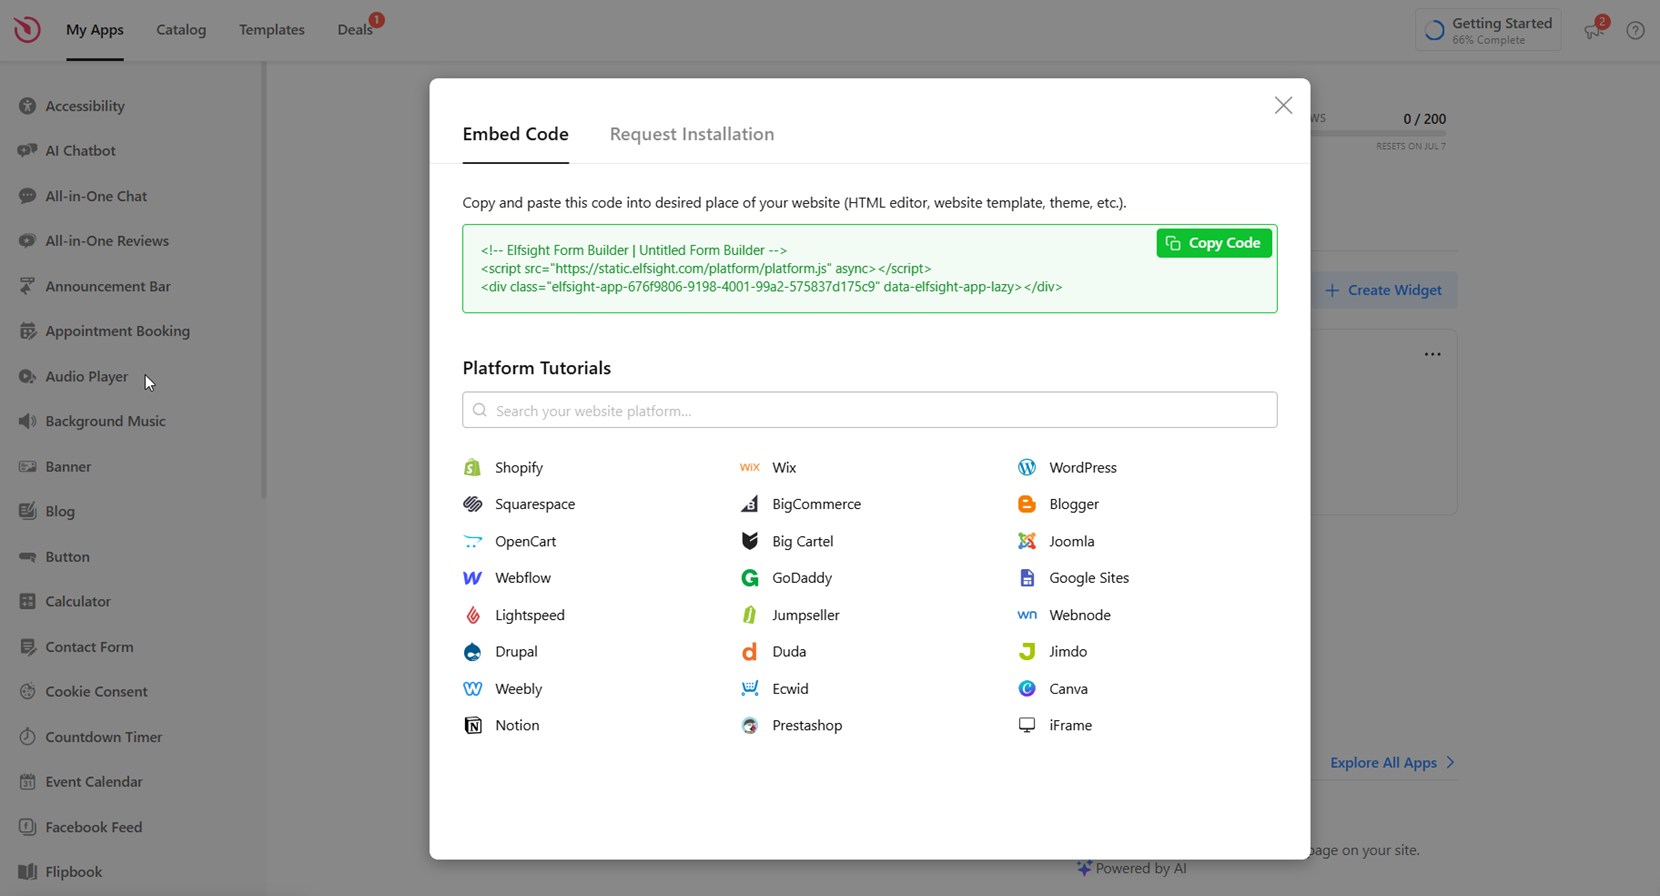
To embed the booking form in WordPress, open your WordPress dashboard and navigate to the page or post where you want the form to appear. Use the block editor to add a new “Custom HTML” block, then paste the Elfsight embed code directly into it. Preview the page to ensure the form renders correctly, then click “Update” or “Publish” to make it live on your website.
Once your form is published, you can start collecting booking requests instantly. Whether you’re managing appointments, reserving meeting spaces, or scheduling services, this widget gives you the flexibility to adapt the form to your business needs — all within a clean, responsive design that works on any device.
Other Ways to Add Booking Forms in WordPress
While Elfsight makes it easy to build and publish a visually polished booking form in minutes, WordPress also supports other methods that don’t rely on third-party competitors. Below are two widely-used alternatives: using the built-in WordPress block editor with a manual plugin upload, and building a custom form using the WordPress REST API. These approaches are more technical but can be useful for users with specific needs or coding experience.
Using the Native WordPress Block Editor
This method involves uploading a booking form plugin manually, then embedding it into your page using the block editor. It’s ideal for users who are familiar with WordPress plugins and don’t mind doing a bit of setup work. This gives you access to form-building tools, but you’ll still be responsible for managing styling and integrations depending on the plugin.
- Download a plugin that supports booking forms in ZIP format. Go to the plugin’s official website or WordPress plugin repository, and download the ZIP file to your computer. Make sure the plugin supports the specific fields and form functionality you need.
- Upload the plugin manually via the WordPress dashboard. Log in to your WordPress admin panel, go to Plugins → Add New, then click Upload Plugin at the top. Select the downloaded ZIP file and click “Install Now.”
- Activate the plugin to make it functional on your website. Once the plugin is installed, click “Activate Plugin” to start using it. A new menu item may appear in your dashboard, depending on the plugin’s structure.
- Open the plugin interface and create a new booking form. Most plugins will offer a form builder interface with drag-and-drop or field editing options. Create your booking form by adding fields such as name, email, service type, date, and time preferences.
- Save your form and copy the shortcode provided. After creating the form, the plugin will generate a unique shortcode (e.g., [my-booking-form]) that represents your form instance.
- Edit the page where you want the booking form to appear. Navigate to Pages → All Pages, then click “Edit” under the desired page. Alternatively, create a new page for your booking section.
- Add a “Shortcode” block using the block editor. Click the + icon to add a new block, search for “Shortcode,” and insert it into your content area.
- Paste the copied shortcode into the block and update the page. Once saved, the booking form will render on the frontend of your website based on the shortcode output.
This method gives you basic booking functionality and works well if you’re already using plugins. However, your form’s final look and behavior will vary depending on what the plugin offers out of the box.
Using the WordPress REST API
The REST API allows experienced developers to create entirely custom booking forms by directly connecting the form to the WordPress backend. This method is powerful but intended for users who have coding knowledge and are comfortable working with HTTP requests, JSON, and WordPress internals.
- Create a custom HTML form in your WordPress theme or page. You’ll need to hand-code a form using HTML. Include inputs for name, email, service type, date/time, and any other necessary fields. The form should be placed within a template file or embedded into a page using a “Custom HTML” block.
- Set up JavaScript to handle form submission. Use JavaScript (typically via fetch or XMLHttpRequest) to collect form data and send it as a JSON object to the WordPress REST API endpoint. Make sure to sanitize and validate data before sending.
- Identify or create a suitable endpoint in your WordPress installation. You can use default endpoints like /wp-json/wp/v2/posts to save booking requests as posts or create a custom endpoint using register_rest_route() in your theme’s functions.php.
- Implement authentication for secure API interaction. WordPress REST API calls require authentication. For frontend JavaScript, consider using Application Passwords (for admin users), or JWT if you have control over server-side logic.
- Store submitted booking data appropriately. Choose whether to save form submissions as posts, custom post types (e.g., “Bookings”), or send them to external services like Google Sheets or email handlers.
- Add form styling with CSS to match your website’s look. Since there’s no visual editor, you’ll need to manually apply styles for input fields, buttons, spacing, and responsiveness to make the form user-friendly.
This method gives you complete freedom over the booking form’s structure, submission logic, and data output. It’s ideal for highly specific workflows or enterprise-level customization.
Comparison: Elfsight vs. Other Booking Form Methods
To help you choose the best solution for your needs, here’s a comparison of the Elfsight method with the two native alternatives, highlighting their core strengths and limitations:
| Method | Pros | Cons |
|---|---|---|
| Elfsight Booking Form Widget | Offers a fully customizable, code-free experience with fast setup and beautiful design. | Requires embedding a third-party script snippet into your website’s backend. |
| Native WordPress Block Editor + Plugin | Uses built-in WordPress functionality with flexible plugin-based integration. | Limited styling options and relies on third-party plugin interface quality. |
| WordPress REST API | Provides complete control over form design, behavior, and data storage via custom code. | Involves complex setup, coding knowledge, and no visual builder interface. |
Each method serves a purpose depending on your skills and requirements. But if you’re looking for a clean, quick, and visually polished solution without technical headaches, Elfsight remains the most user-friendly option. Now let’s look at some smart tips for getting the most value from your booking form.
Smart Booking Form Tips and Tricks
Now that you know the different ways to add a booking form to your WordPress website, it’s time to focus on best practices. These tips will help you embed the form more efficiently, avoid common mistakes, and ensure a user-friendly booking experience that converts visitors into clients.
- Place the form where users expect to find it. The most effective placement is usually above the fold on a service or contact page, or in a dedicated “Book Now” section. Make sure it’s easily accessible from your main navigation.
- Limit the number of required fields. Keep your form short and focused by asking only for essential information like name, email, date, and time. Long forms often cause users to drop off before submitting.
- Use clear call-to-action buttons. Label your submission button with action-oriented text such as “Book Appointment” or “Reserve Now” instead of just “Submit”. This helps set user expectations and boosts form conversions.
- Ensure your form looks good on all devices. Before publishing, test the form on both desktop and mobile to confirm that the layout, spacing, and fonts are responsive and easy to interact with.
- Add confirmation messages or thank-you pages. After submission, display a message that confirms the booking and provides next steps or contact information. This adds professionalism and builds trust.
- Connect the form to your calendar. If possible, integrate it with a calendar tool to automatically block booked time slots and reduce the risk of overbooking.
- Use consistent branding elements. Match the colors, fonts, and button styles of your form with the rest of your website for a smooth visual experience and better brand alignment.
- Check that your embed code is placed correctly. Always insert the embed code into the appropriate location within the page editor, widget area, or custom HTML block, depending on your theme’s structure.
When applied correctly, these tips will help you maximize engagement and improve the overall booking experience. Now let’s explore real-world examples of who benefits most from using booking forms on their WordPress websites.
Who Benefits from a Booking Form: Use Cases
Booking forms are a versatile solution that can be tailored to a wide range of industries. From managing appointments to streamlining reservations, businesses of all types use booking forms to automate their workflows and improve customer interactions. Below are some of the most common industries where booking forms are not just helpful — they’re much needed.
Application in the Health & Wellness Industry 🧘
Healthcare providers, therapists, wellness clinics, and fitness professionals rely on accurate scheduling to maintain a smooth and organized appointment flow. A booking form lets clients choose their preferred time slot, service, and specialist directly from the business’s website. It helps avoid double-booking and ensures practitioners have all the necessary information before the session begins.
Application in the Beauty & Personal Care Sector 💄
Hair salons, nail bars, barbershops, and estheticians can dramatically improve client experience with an integrated booking system. Instead of handling phone calls or DMs, customers can book their preferred stylist, service, and time right from the booking form. Adding a few custom fields allows businesses to collect notes about preferences or allergies, all before the appointment.
Application in the Events & Services Industry 🎉
Photographers, event planners, rental services, and consultants often operate on time-sensitive engagements. With a form that includes service options, calendar availability, and budget ranges, these businesses can pre-qualify leads and book projects faster. Booking forms here act as both a scheduling and a filtering tool.
Regardless of your industry, booking forms are a powerful way to automate client intake and keep your calendar full. But like any tool, issues can sometimes arise — let’s cover how to handle common booking form problems and keep everything running smoothly.
Fixing Common Issues
Even well-designed booking forms can run into problems. From technical errors to user confusion, a variety of challenges can affect how smoothly your booking system functions. Below are the most common issues users face with WordPress booking forms — and how to fix them.
Why isn’t my booking form showing on the page?
Why am I not receiving form submission emails?
How can I prevent double-booking of time slots?
Why is my form not responsive on mobile?
Can users book without receiving a confirmation?
Once these issues are handled, your booking form will run smoothly and provide a reliable scheduling experience.
Conclusion
Adding a booking form to your WordPress website is one of the most effective ways to simplify client scheduling and deliver a seamless user experience. Whether you’re in wellness, beauty, or services, a well-integrated form can reduce manual tasks, increase conversions, and keep your calendar organized without the need for constant oversight.
Elfsight makes it easy to create and add a booking form in WordPress — even if you have zero coding skills. With real-time customization, mobile-ready layouts, and a user-friendly setup, it’s a complete solution for online booking integration. From a quick setup to deep customization, you now have everything you need to get started with a professional booking system.
Looking for More Guidance?
We hope this guide gave you clarity and practical steps to create a reliable booking experience for your visitors. If you’d like tailored advice or want help setting up a booking form for your specific use case, feel free to reach out. At Elfsight, we’re dedicated to building simple, flexible, no-code plugins that help your business grow.
Join our vibrant Community to exchange tips, feedback, and creative use cases. Have a feature in mind? Add your voice to our Wishlist — we’re always listening.