If you’re looking for a simple way to embed a Constant Contact form on your website, this article will walk you through all the steps — from writing HTML code manually to using a code-free visual solution. Whether you’re a beginner or an experienced user, you’ll find actionable tips to publish forms that collect emails efficiently.
This is exactly what you need if you want a faster, cleaner way to display a Constant Contact signup form that works flawlessly and looks great across all devices.
- Boost email subscriptions instantly. A well-placed form makes it easy for visitors to join your mailing list without distractions.
- Streamline user interaction. You can guide users toward action with a simple, intuitive form embedded directly in your content.
- Save time on newsletter marketing. Automating sign-ups through a connected form reduces manual work and improves email list management quality.
- Match your website’s design. Embedded forms can be styled to match your layout, offering a seamless user experience.
- Improve engagement and conversions. A properly embedded form is a strategic tool to turn visitors into leads.
Let’s begin by exploring how to create a Constant Contact form manually using HTML code.
Create Constant Contact Form with HTML Code
Manually embedding a Constant Contact HTML form is the default method offered by the platform. It allows you to copy raw embed code and place it directly into your website’s HTML. This gives you maximum control over placement and styling, but it also means you need to manage the technical aspects yourself — such as handling layout, responsiveness, and styling conflicts.
This approach is best suited for those who are familiar with working in HTML and can troubleshoot display issues if they arise. It’s also useful when you want to integrate the form into a specific layout or workflow that other solutions might not support out of the box.
Follow the steps below to generate and embed a Constant Contact form manually:
- Log in to your Constant Contact account. Go to constantcontact.com/login and enter your credentials to access the dashboard.
- Open the Sign-Up Forms section. In the left-hand menu, click on “Marketing Tools” and select “Sign-Up Forms”. From there, click “Create Sign-Up Form”.
- Choose the form type. Select “Inline” as the form type. This format generates code that can be embedded directly in your HTML and displayed anywhere on the page.
- Customize your form layout. Use the editor to change the form title, field labels, input styles, button color, and success message. You can also enable GDPR checkboxes or add custom fields depending on your list requirements.
- Choose the contact list. Assign a target email list where collected sign-ups will be stored. This ensures your subscribers go to the correct list for follow-up or automation.
- Publish and copy the HTML code. After finalizing your design, click “Publish”. The system will now display a block of HTML code containing a <script> and a <div> container tied to your form ID.
- Insert the embed code into your HTML. Copy the entire code snippet and paste it into the HTML of your webpage where you want the form to appear. For WordPress users, switch to the Code Editor (Text tab) and paste the code into a Custom HTML block.
Here’s a sample of what the Constant Contact embed code might look like:
<div class="ctct-inline-form" data-form-id="12345678-1234-1234-1234-1234567890ab"></div>
<script data-form-id="12345678-1234-1234-1234-1234567890ab" src="https://static.ctctcdn.com/js/forms2/js/forms2.min.js"></script>
After adding this code to your HTML, the form will load automatically when the page is visited. You can style it further using CSS, but be cautious when overriding default classes to prevent layout issues.
Next, we’ll discuss the common difficulties users face when working with manual embed code—and why this route might not be ideal for everyone.
Limitations of Manual HTML Form Setup
While manually embedding a Constant Contact custom form code gives you full flexibility, it also comes with a range of limitations that can make the process time-consuming or frustrating — especially for those without coding experience. Many users eventually switch to a more visual, maintenance-free method due to these common issues.
Here’s a comparison table that outlines the key challenges of adding sign-up forms manually:
| Challenge | Description |
|---|---|
| Requires HTML knowledge | You need to understand how to read, modify, and safely insert Constant Contact HTML code into your page layout. |
| Limited styling control | Customization through CSS is possible, but not intuitive. Small design tweaks may require writing or editing extra code. |
| Not responsive by default | Manual forms may not adapt properly to mobile screens unless you handle media queries or layout tweaks manually. |
| Embed errors are hard to debug | If the form doesn’t display, there are no clear error messages. Troubleshooting involves checking IDs, classes, and script behavior manually. |
| Ongoing maintenance | Any design update or list change in Constant Contact may require replacing or re-editing the embedded code across your website. |
If you’re looking for a faster, easier, and more visually guided solution, there’s an alternative that doesn’t require manual HTML adjustments. In the next section, we’ll show you how to create and install your form using a beginner-friendly method.
How to Build a Website Form Using Elfsight
If you want to skip the hassle of writing HTML by hand and prefer a faster, fully visual solution, Elfsight’s HTML Form Builder is the way to go. It allows you to generate Constant Contact-style forms without touching a single line of code. You can customize fields, layout, email logic, appearance, and integrations — all in one place.
Here’s how to create and set up your Constant Contact form using Elfsight:
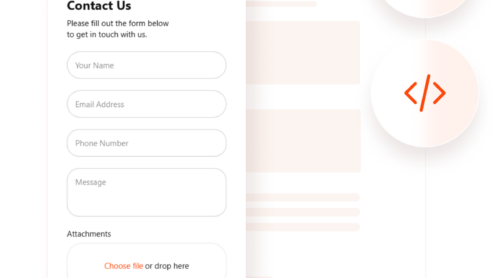
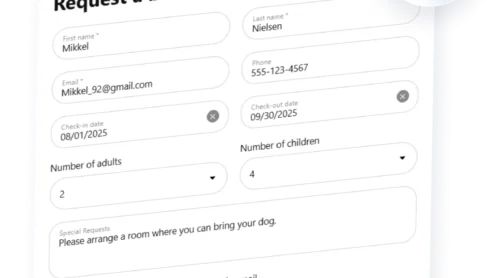
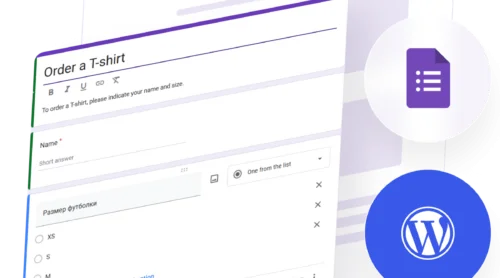
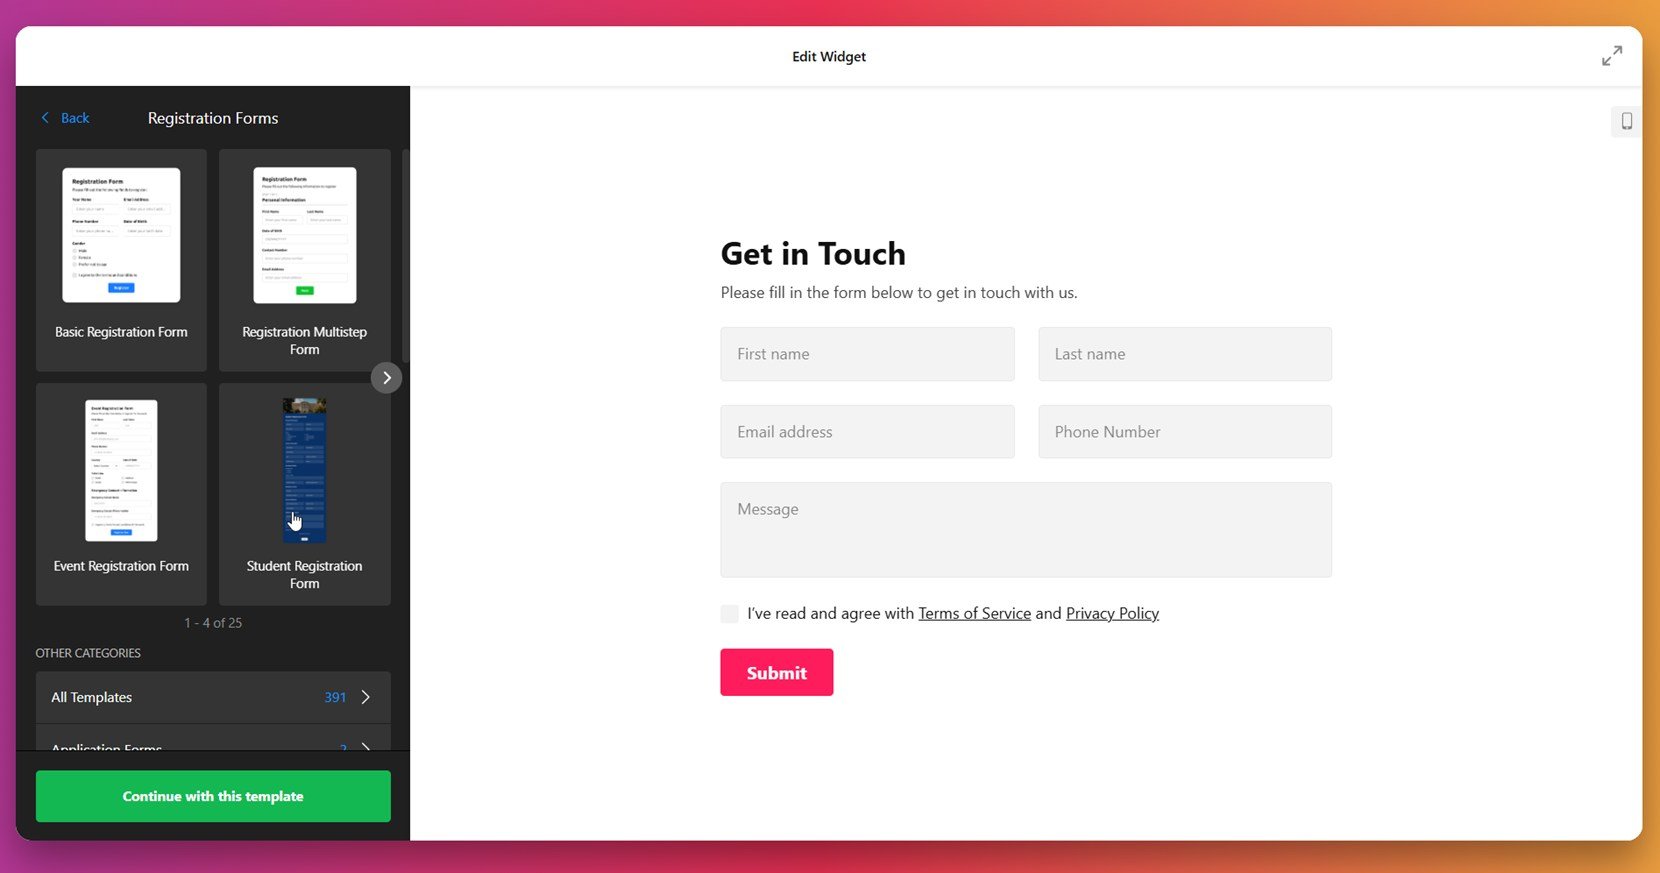
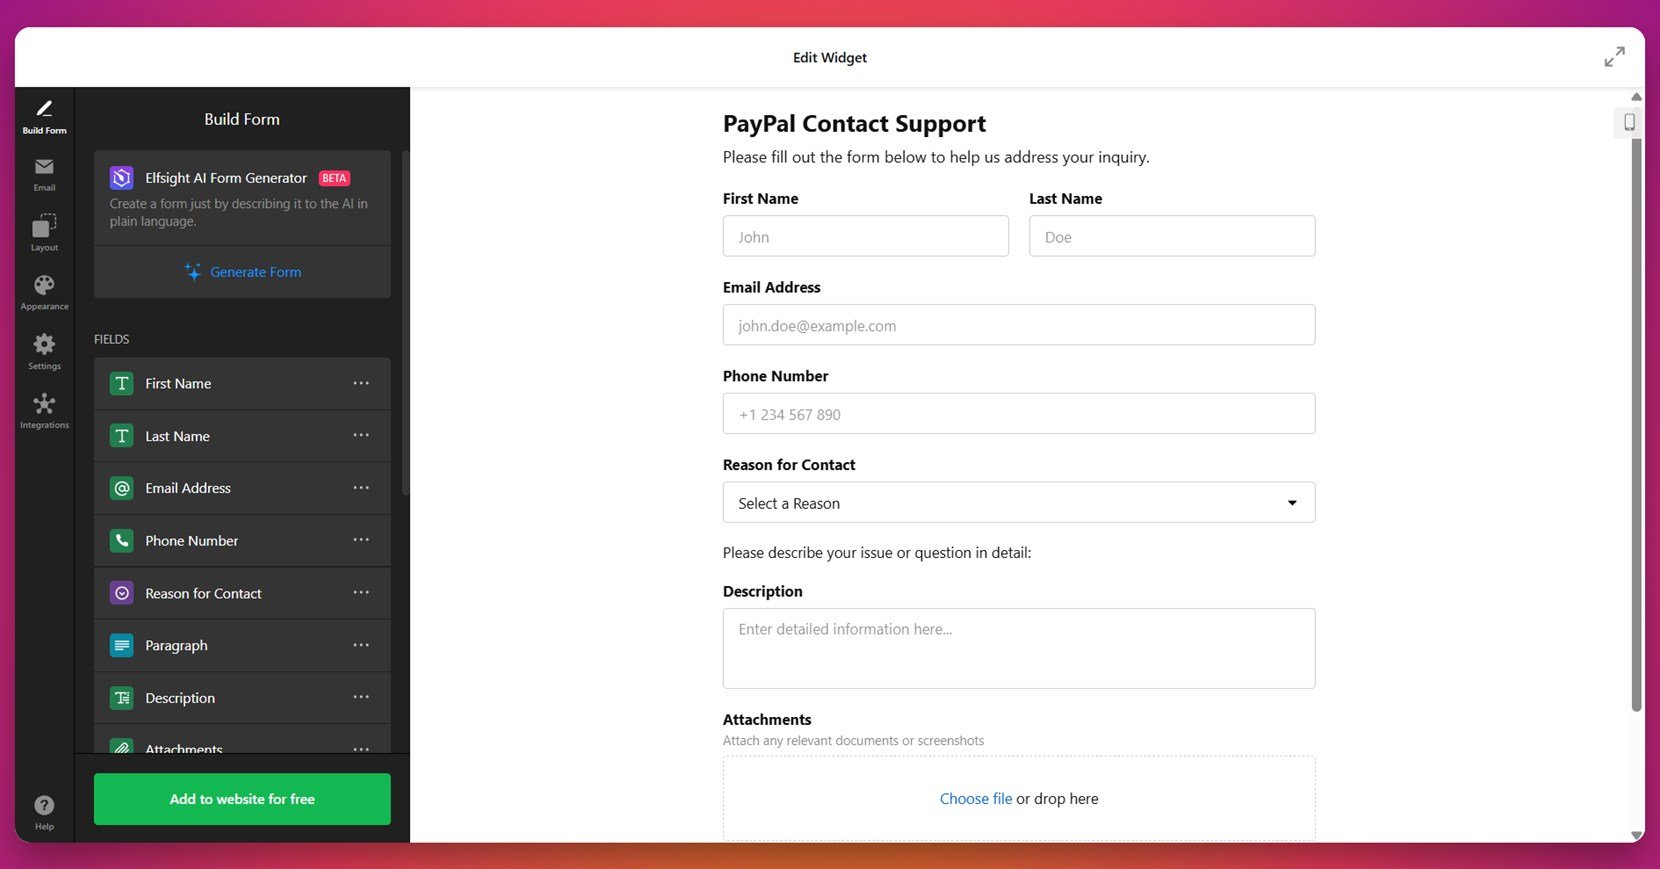
- Choose a template. Open the Form Builder and start with a ready-made layout that fits your goal — like a registration or contact form. Click “Continue with this template” to launch the editor.

- Build your form. Use the drag-and-drop editor to add or remove fields. You can include first name, email, phone number, message, dropdowns, file uploads, and more depending on the form type you’re creating.

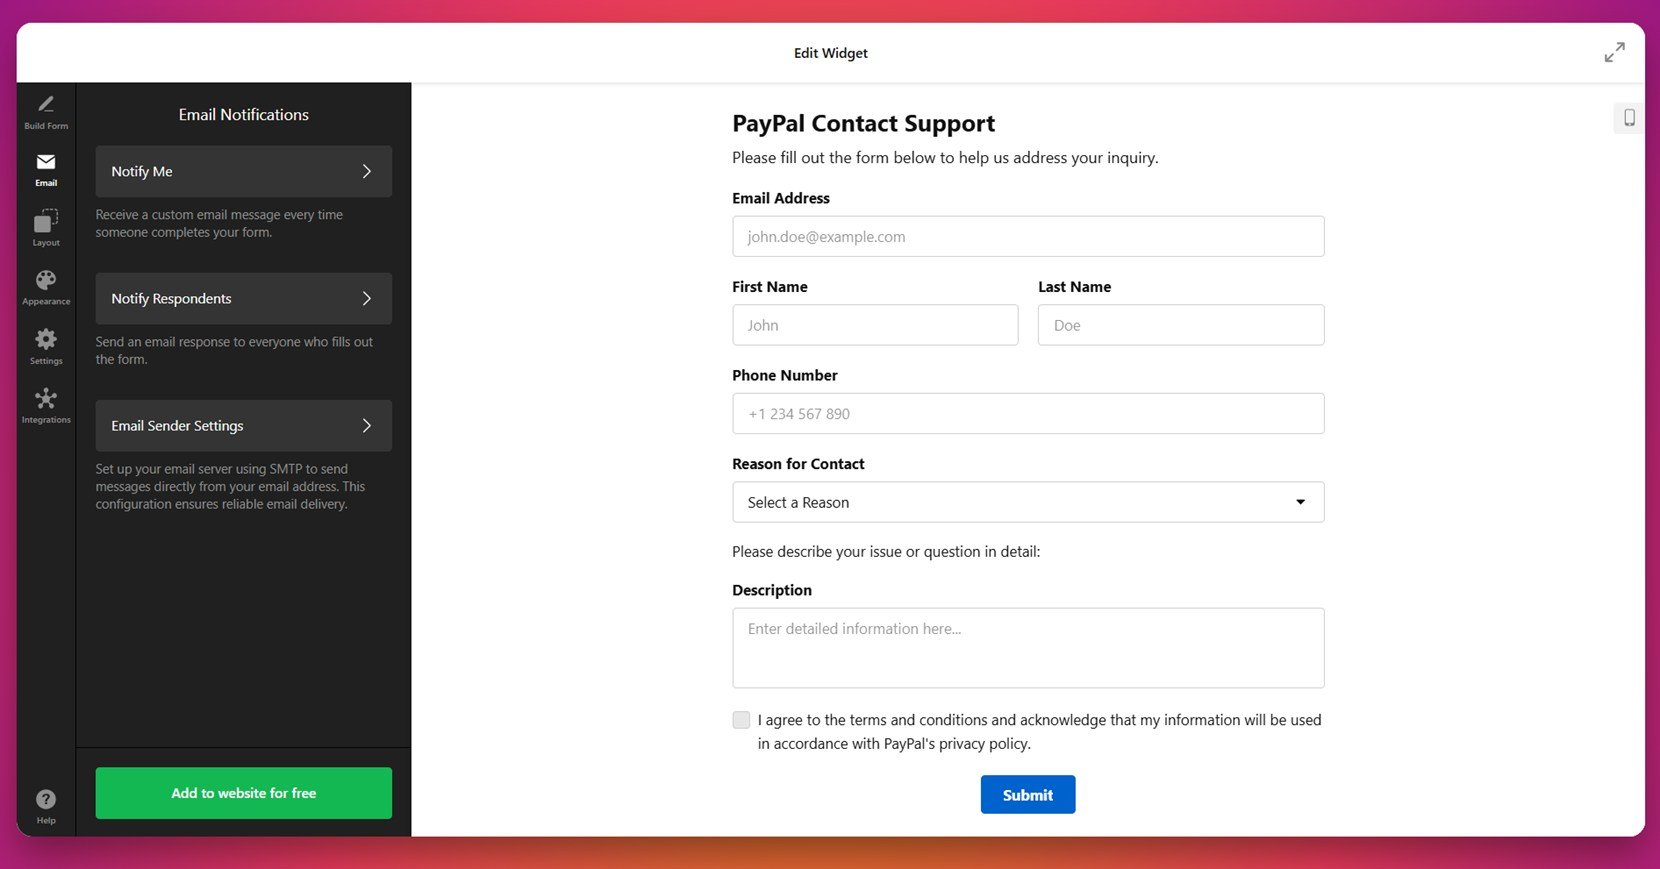
- Configure email logic. Go to the “Email” tab to set notifications. Enable “Notify Me” to get an alert when someone fills out your form. Use “Notify Respondents” to send a confirmation message to users automatically.
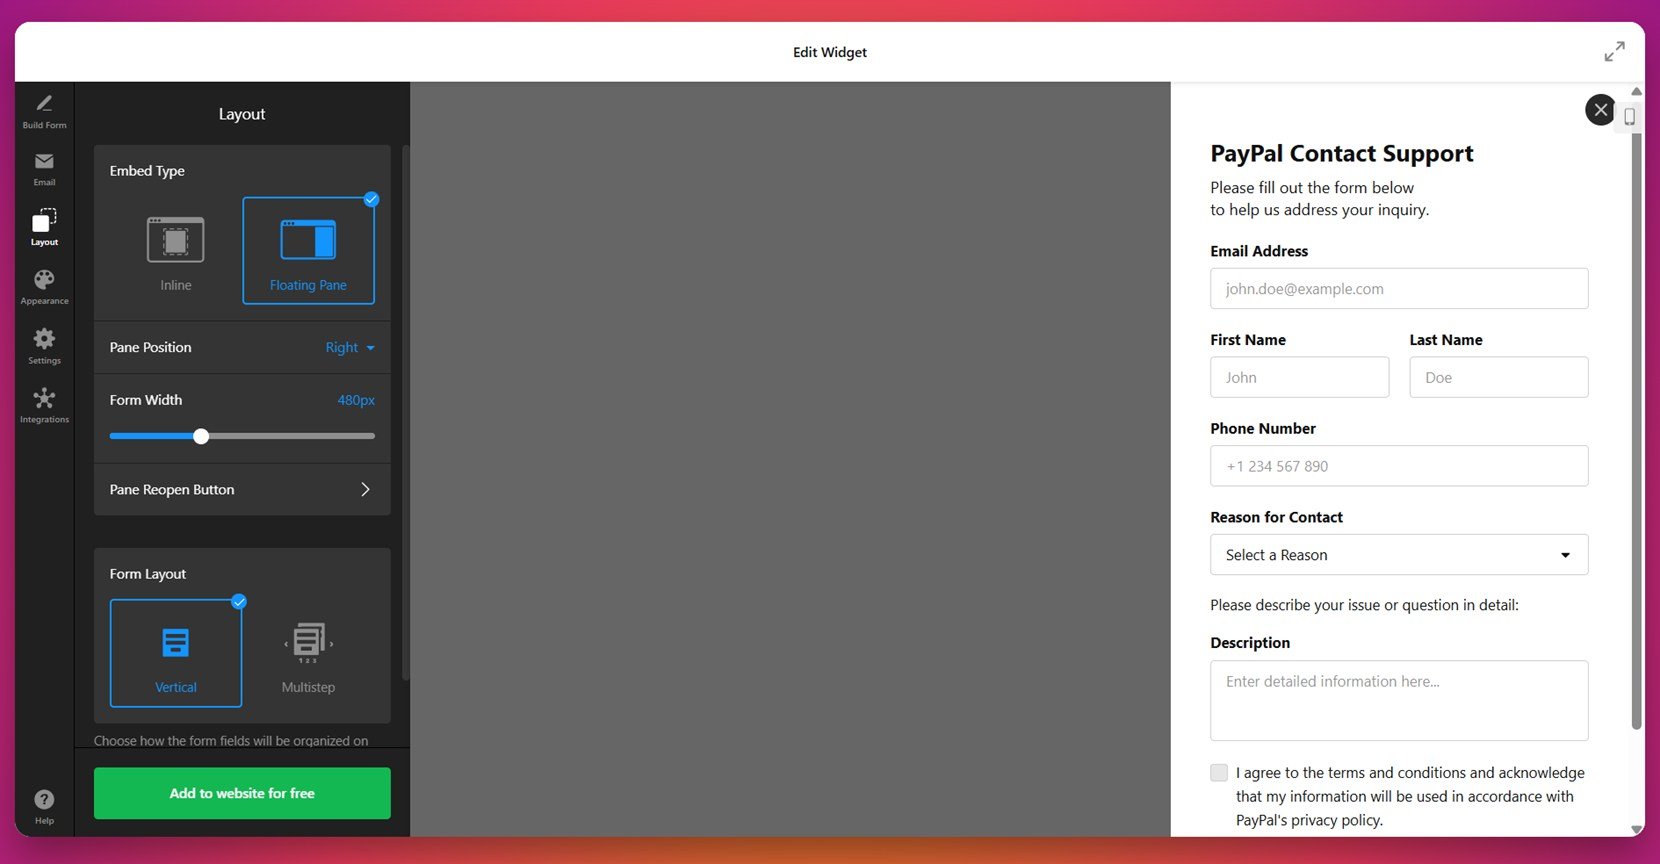
- Set the layout and format. In the “Layout” section, pick how your form appears — inline or as a floating panel. Adjust position, form width, and choose between a vertical or multistep layout for better usability.

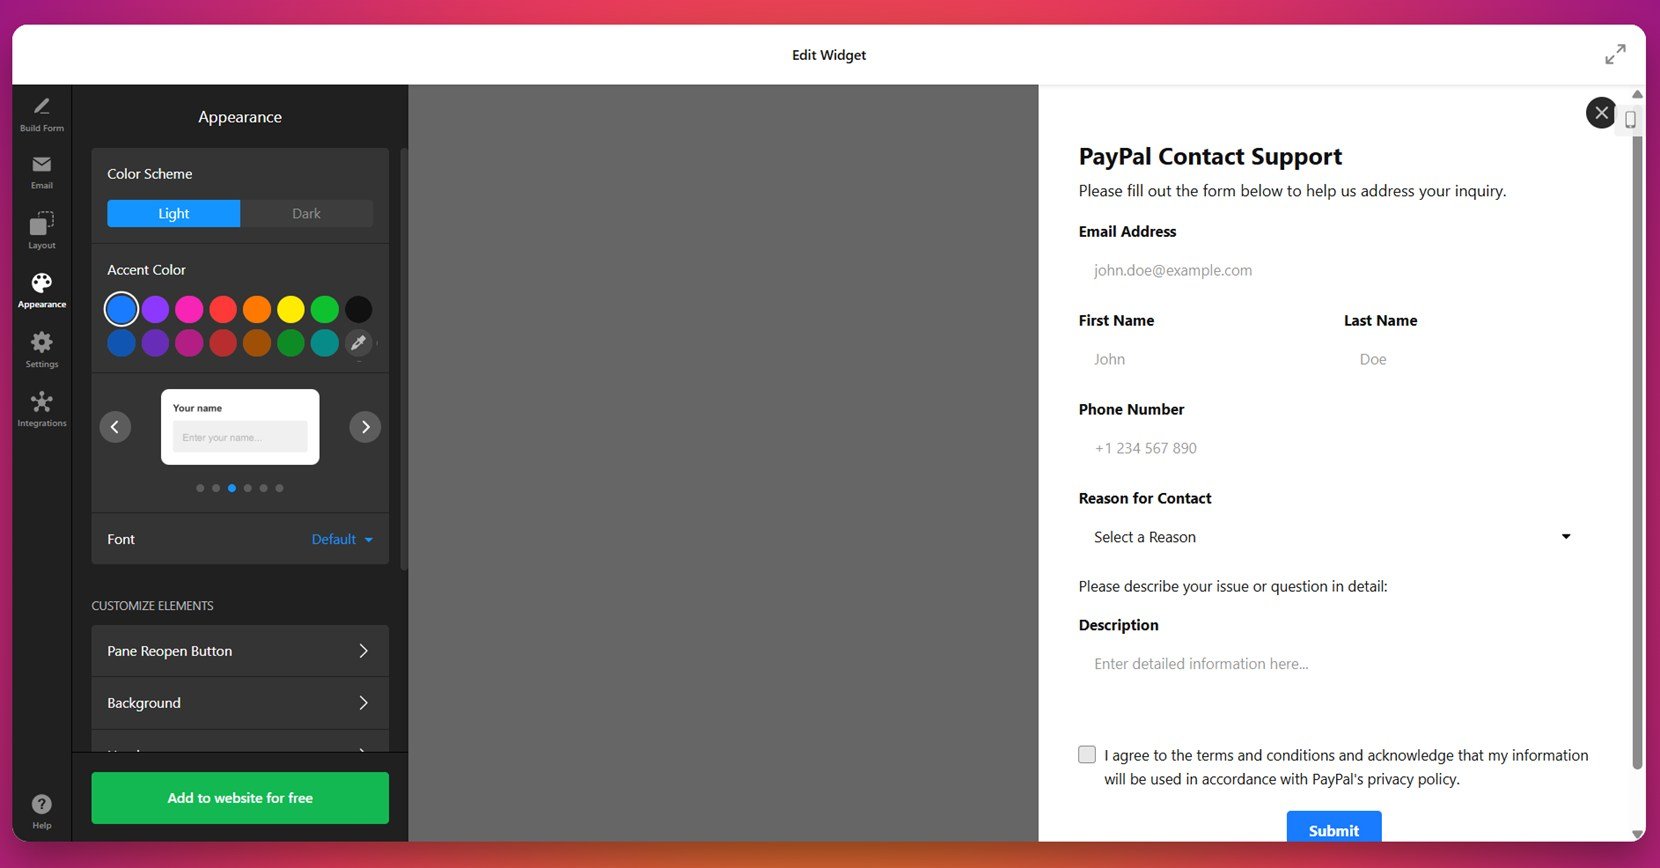
- Style the appearance. Under “Appearance,” pick a light or dark color scheme, change the accent color, choose a font, and customize background, borders, or button styles to match your website.

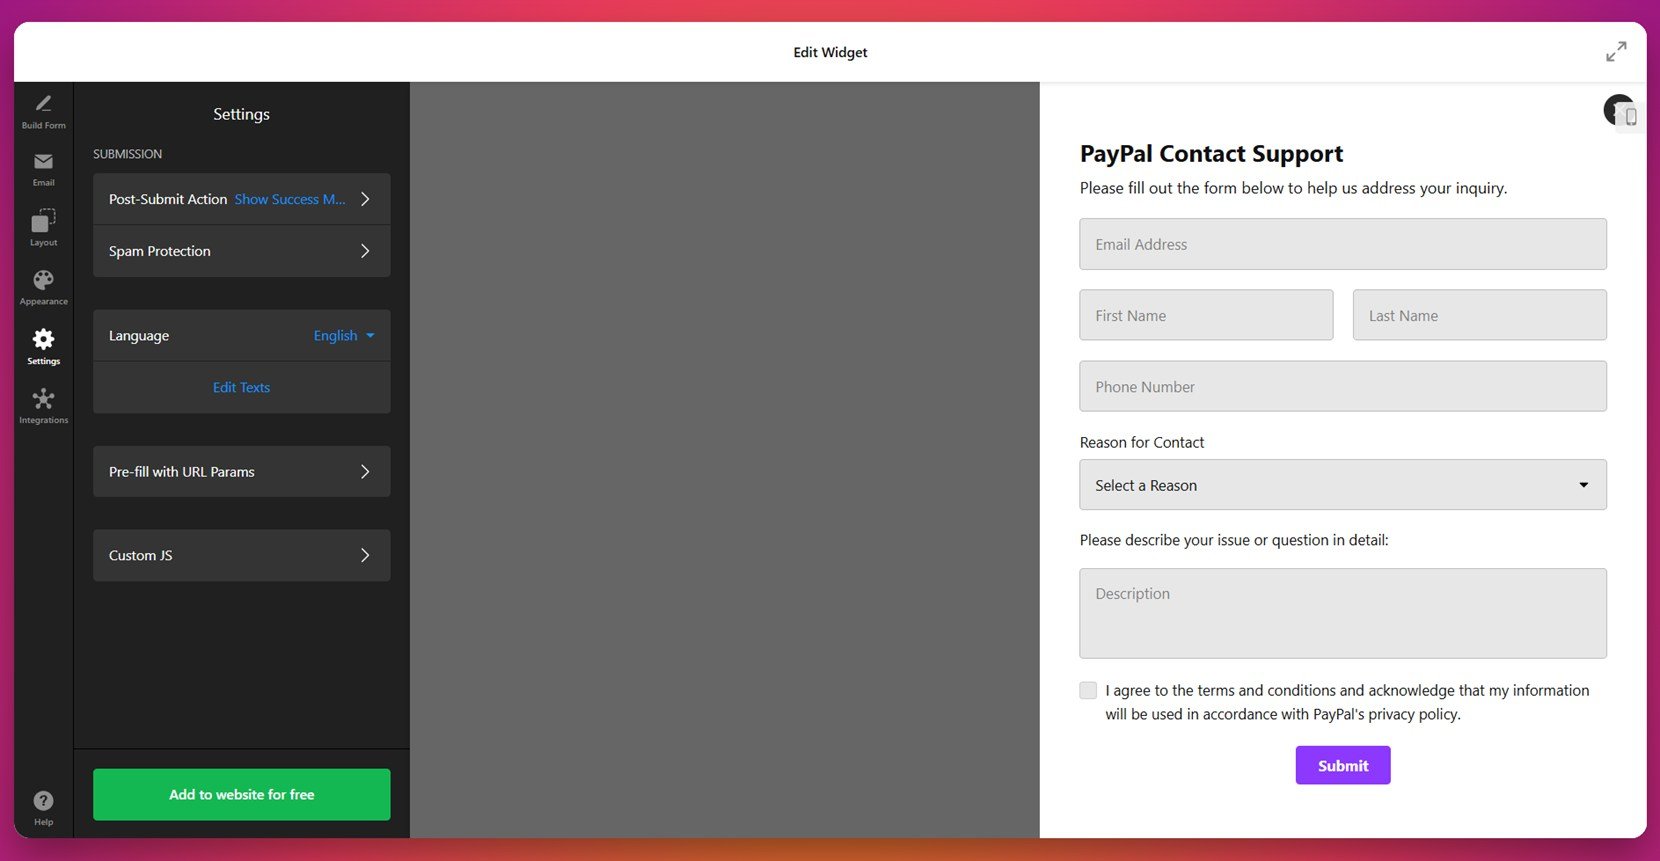
- Tweak submission behavior. Open the “Settings” tab to define what happens after submission — like showing a success message or redirecting to another page. Enable spam protection or insert custom JS if needed.

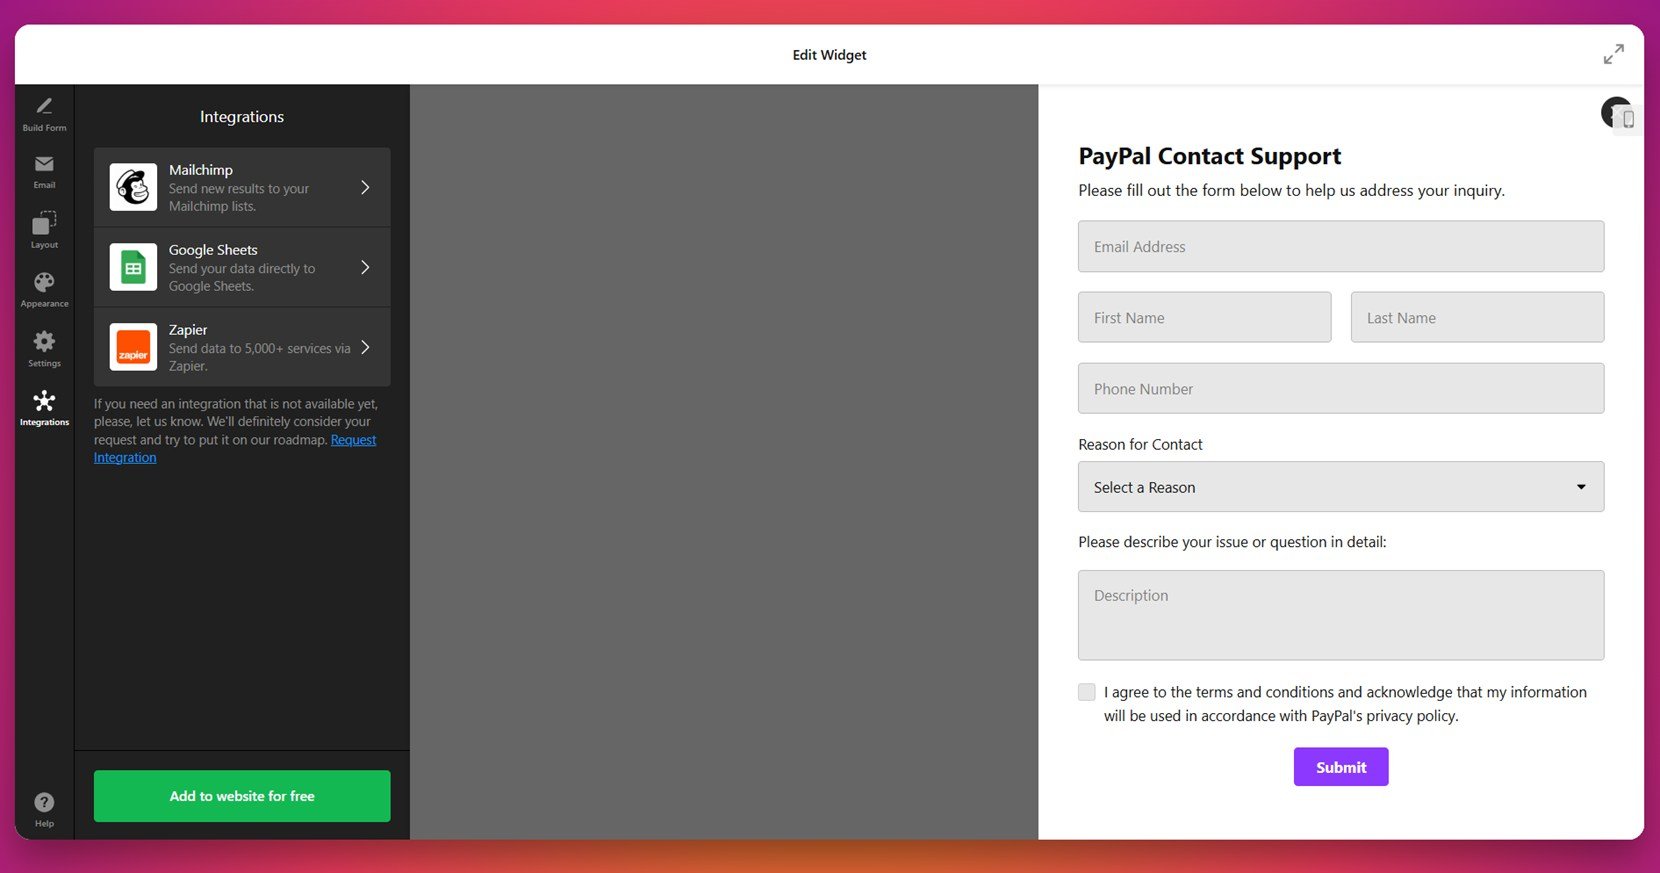
- Connect integrations. Use the “Integrations” tab to link your form with Mailchimp, Google Sheets, Zapier, or other external services to automate data collection and notifications.
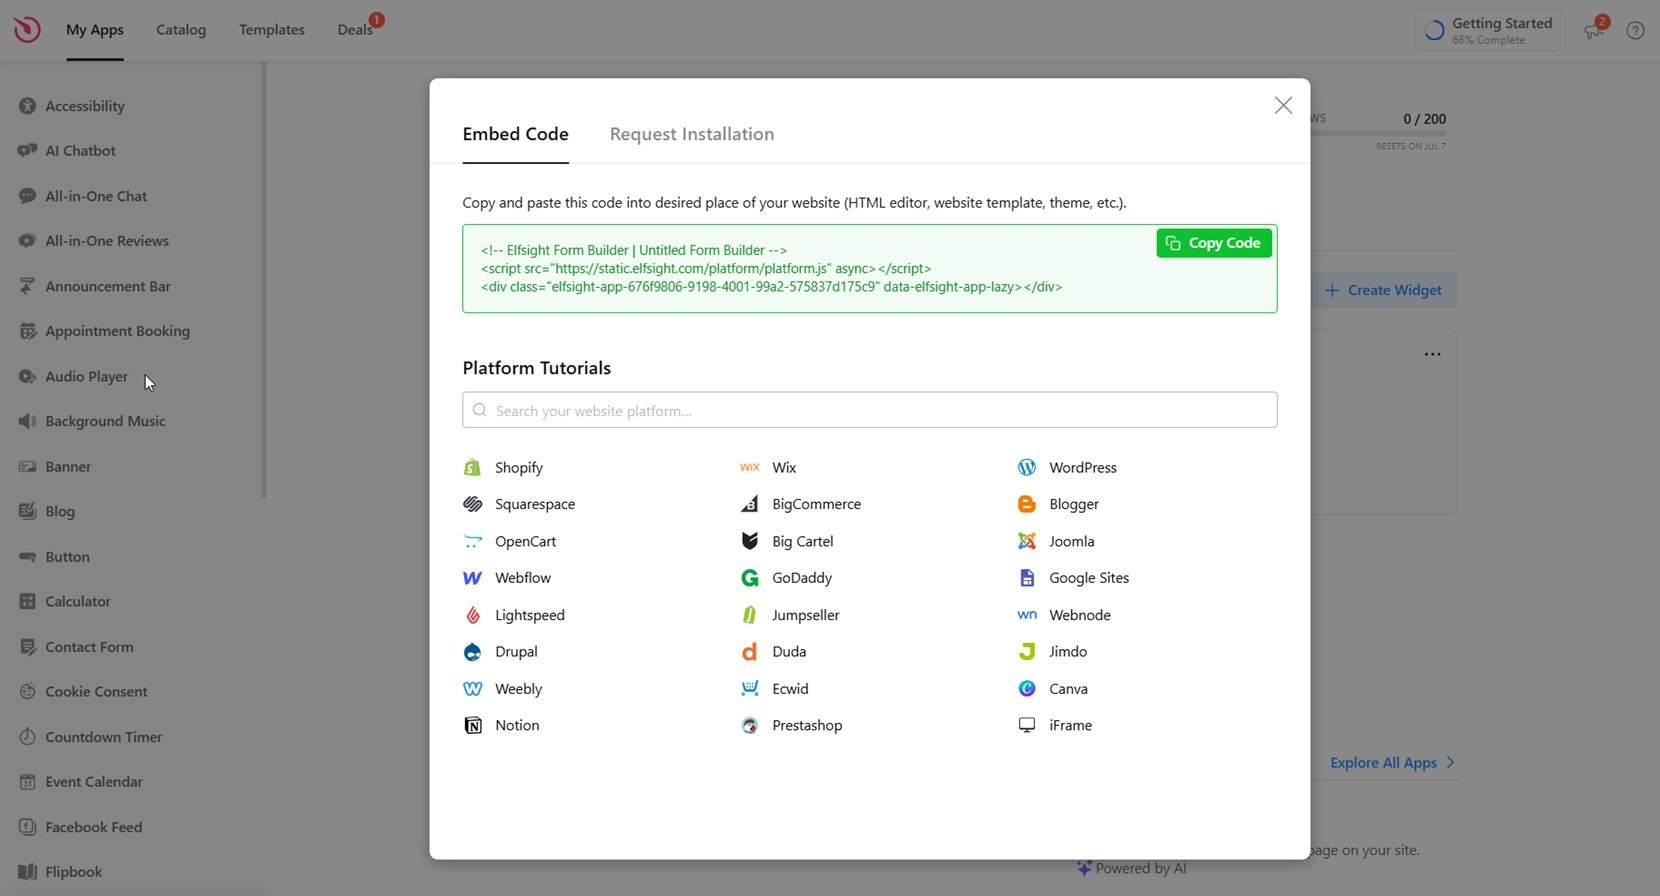
- Embed the code on your website. Click “Add to website for free” and copy the embed code. Then go to your website backend, paste the code into an HTML block or editor, and save your changes to publish the form.

Once published, the form will be live and functional across all devices — without requiring any manual updates when changes are made inside the builder.
By following these steps, you can build a fully functional Constant Contact-style form in minutes, without needing to write a single line of HTML. Whether you’re capturing leads, handling support requests, or collecting event registrations, the visual editor gives you everything you need to launch a professional, high-converting form with ease.
Create your form right now with Elfsight form builder!
Features of the Elfsight Form Builder
Now that you know how to build and install your form using the Elfsight Form Builder, let’s take a closer look at what makes this solution a powerful alternative to manual Constant Contact form generators.
Below is a summary of the most important features and benefits you get when using Elfsight’s form builder instead of traditional web form integration methods:
| Feature | Description |
|---|---|
| Drag-and-drop editor | Visually build your form by adding and rearranging fields — no coding or design knowledge required. |
| Versatile form types | Create anything from contact forms to surveys, job applications, support requests, and more. |
| Flexible layout options | Choose between inline, popup, floating panel, or multistep formats to control how and where your form appears. |
| Email notifications | Receive submission alerts instantly and automatically send confirmation emails to your respondents. |
| Design customization | Change fonts, colors, borders, and buttons to match your website’s style and branding guidelines. |
| Mobile responsiveness | All forms are fully responsive and optimized for mobile, tablet, and desktop screens by default. |
| Spam protection | Enable CAPTCHA, use custom post-submit actions, and filter out spam with built-in safeguards. |
| Third-party integrations | Connect your form to Mailchimp, Google Sheets, Zapier, or other external services for automation. |
With these features included, you get a robust and reliable form solution that outperforms the manual HTML approach in both speed and usability. Up next, we’ll explain exactly why the widget method is a better choice for most website owners.
Why Use a Widget Instead of Manual Code
After reviewing how to manually embed a form on your website using HTML, it’s clear that writing code from scratch offers flexibility — but also introduces complexity. Here’s why using a visual form generator is a faster, more reliable alternative for most users.
- Faster setup process. You can build and deploy a working form in just a few minutes without touching a single line of code.
- No need for coding knowledge. Everything is managed visually, which means anyone — from marketers to business owners — can create custom forms without developer help.
- Consistent design across all devices. Widgets are pre-optimized for responsiveness, so your form looks good on desktop, tablet, and mobile without extra layout tweaking.
- Fewer errors and display issues. Visual generators remove the risk of missing tags, broken containers, or script conflicts that often occur with manual HTML.
- Automatic updates and maintenance. Any change you make in the editor reflects instantly on your published form — no need to update code across multiple pages.
- Built-in styling and accessibility. Choose fonts, colors, and spacing directly in the configurator and ensure your form is accessible out of the box.
- Seamless integration with other tools. Forms can be instantly connected to email services, spreadsheets, or automation tools without writing a single API call.
Overall, a visual generator simplifies everything: design, logic, deployment, and long-term updates. In the next section, we’ll show exactly where and how to embed your widget code into any website structure.
How and Where to Embed Your Form on Any Website
Once your form is ready, the final step is placing it on your website. Whether you use raw HTML or a CMS platform like WordPress or Shopify, embedding the widget is a simple paste-and-publish process. Below are clear instructions for each use case.
- Raw HTML (Custom-built websites). Copy the full embed code from the form generator and paste it inside the <body> tag where you want the form to appear. This can be inside a <section>, <div>, or directly into your layout’s HTML file.
- WordPress. Go to the page or post editor, switch to the “Text” tab or use a “Custom HTML” block in the Gutenberg editor, then paste the embed code. Save and update the page to publish the form.
- Webflow. Drag an “Embed” element into your layout, paste the widget code, and publish. Make sure the form is placed within a responsive container for better mobile rendering.
- Squarespace. Use the “Code” block on any page, paste the embed code, and position it where you want it to appear. Avoid placing it inside gallery or stacked sections to ensure proper form loading.
- Shopify. From your admin dashboard, go to “Online Store” > “Pages”, choose the page you want, click “Show HTML” (the <> icon), and paste the code where appropriate. Save changes to publish.
- BigCommerce. Navigate to “Storefront” > “Web Pages”, select a page or add a new one, switch to HTML view, and insert the code. You can also paste the snippet into your theme files for global placement.
In terms of page placement, forms typically perform best on:
- Homepage (in the hero section or mid-scroll)
- Contact page (above or below contact details)
- Dedicated signup or lead capture pages
- Blog sidebar or footer for newsletter collection
Once the widget is in place and the page is published, your form will be live and interactive. But if something goes wrong or the form doesn’t load correctly, the next section covers how to troubleshoot common embedding issues.
Troubleshooting Common Issues
Even when everything is set up correctly, embed code can sometimes cause issues depending on how it interacts with your website structure or platform settings. This section covers the most frequent problems and how to resolve them quickly.
Why isn’t the form showing up after embedding the code?
The most common reason is that the JavaScript loader was not placed correctly or was stripped out by your website editor. Ensure you pasted the full code exactly as provided, and that it’s inside a compatible HTML block — not a text or visual block.
Why does the form look broken or misaligned on mobile?
This usually happens when the form container isn’t responsive. Check that your surrounding layout doesn’t have fixed widths or overflow settings. If needed, wrap the form in a flexible div style=”max-width: 100%; to ensure it adapts to smaller screens.
Why is the embedded form overlapping other elements?
This can occur if the embed code was inserted inside a section with conflicting CSS, such as absolute positioning or margin collapse. Review the CSS in your layout and test moving the form into a clean section with default styles.
How can I remove unexpected spacing or borders around the form?
Some themes add default padding, margins, or border styles to div containers or iframe elements. Use custom CSS to override these values or apply inline styles like style=”border: 0; margin: 0; padding: 0;” directly to the container.
Why does the form appear twice after saving?
Double rendering typically happens when the same embed code is added in both the content editor and a widget block, or if you’ve published a cached version of the page. Check that the code is added only once and clear your platform or plugin cache.
Addressing these common issues early ensures that your form functions smoothly and looks great across all devices.
Conclusion
Embedding a Constant Contact form on your website can be done manually using HTML, but the process often involves layout adjustments, troubleshooting script behavior, and resolving design inconsistencies. While manual methods work, they require time, precision, and technical knowledge — especially when it comes to styling or ensuring responsiveness.
Using a visual Form Builder allows you to bypass all these challenges. It provides a fast, reliable way to generate, customize, and maintain high-quality forms without coding. With built-in styling options, responsive layouts, and seamless integration capabilities, it’s a smarter choice for anyone who wants a professional form with minimal effort.
Need Help or Want to Learn More?
We hope this walkthrough has given you the clarity and confidence to embed your own Constant Contact form with ease. If you’re experiencing any issues or have additional questions, contact us. Our goal at Elfsight is to make powerful, ready-to-use solutions accessible for everyone.
Join our Community to exchange ideas, offer suggestions, and stay updated. If you’d like to see new features added, don’t hesitate to share them on our Wishlist — we’re listening and always improving.