
Elementor Blog Post widget
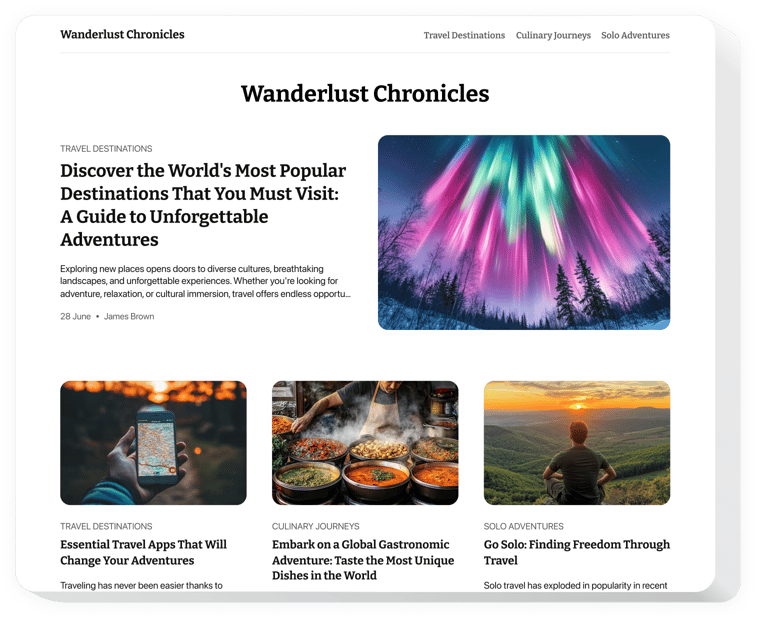
Create your Blog widget
Elementor Blog Post Widget for articles, news and updates
Publish articles with images and YouTube or Vimeo videos in a blog block that adapts to every screen. Every post gets its own link, so you can share it directly.
Short on writing time? Embedded AI helps you create articles and generate pictures for your posts.
Key features of the Blog widget
- AI for articles and pictures – create drafts and generate images for your posts (Pro plan and higher).
- Notion-style editor – write and arrange posts without extra manuals.
- Rich formatting – add headings, bullet lists, quotes, hyperlinks and internal references.
- Images and videos – upload images and embed YouTube or Vimeo videos by pasting a link.
- Scheduled publishing – set a date and time in the built-in calendar and let posts go live on their own.
- Categories and tags – group posts so visitors find related articles faster.
- A link for every post – each article has its own URL you can share directly.
- Custom look – adjust fonts, colors, spacing and layout in the Elfsight editor to match your theme.
You can try every setting in the live editor on this page.
Made for Elementor
- Works on free Elementor – add the blog through the standard HTML element; Elementor Pro is not needed.
- Fits any layout – place it in any section, column or template.
- One edit, every page – change the blog in Elfsight and it updates on all pages and templates.
- Easy for client websites – update texts and settings in Elfsight without opening the page in Elementor.
Elfsight Blog or native Elementor widgets
Choose the Elfsight Blog when you want a standalone blog section with its own editor, AI for text and images, and a calendar for scheduling posts.
It runs on free Elementor through the HTML element, so you do not need Elementor Pro.
How to add the Blog widget to Elementor
Create your widget in the Elfsight editor first, then get the installation code with the “Add to website for free” button. Choose the method that fits your Elementor plan and the pages where the blog should appear.
Method 1: Add the blog to one page (Free)
- Go to Pages and open the page with Edit with Elementor.
- In the widgets panel, search for HTML.
- Drag the HTML element into the section where the blog should appear.
- Paste the installation code into the HTML Code field.
- Click Publish.
Good to know: use the HTML element, not Custom HTML – the widget may not work correctly with Custom HTML.
Method 2: Add the blog to all pages (Elementor Pro)
- Go to Elementor → Editor → Custom Elements → Code.
- Click New code and enter a name.
- Paste the installation code.
- Set the display condition to all pages.
- Click Publish.
Custom Code for all pages is available only in Elementor Pro.
Method 3: Add the blog to all pages (Free, classic WordPress themes)
- Go to Appearance → Customize → Widgets.
- Open an area shown on every page, for example the footer.
- Click + and select Custom HTML.
- Paste the installation code.
- Click Publish.
After publishing, open the live page and check that the blog shows up. If you use a caching plugin, clear the cache. The widget may not render in the Elementor editor until you publish or preview the page, so always check the published version. Need a hand? Visit our Help Center and we will help you add the blog.