Webflow AI Chatbot Integration

Create your AI Chatbot widget
Why People Love Elfsight
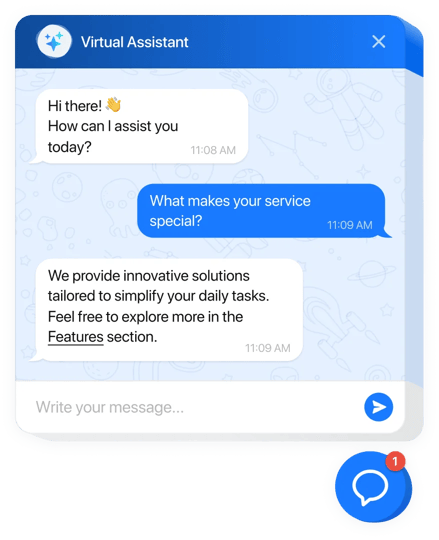
Our AI Chatbot for Webflow feels like a friendly concierge that never clocks out. It welcomes visitors, handles common questions, and guides people to the next step – while you stay focused on design, content, and growth. Setup is visual and fast, even if code isn’t your comfort zone. This ai chatbot slips into your layout without fuss and starts helping right away.
Quick story: a boutique agency added the bot to a pricing page before a portfolio launch. “It answered ‘What’s included?’ and ‘Can you invoice?’ while we polished case studies,” they told us. Fewer emails, more booked calls, and a calmer week.
Did you know?
According to Salesforce, 69% of consumers prefer chatbots for quick communication with brands – a solid cue to make answers instant and helpful.
Try it now – give your visitors instant clarity and win back precious time.
Key Features of the AI Chatbot
- 24/7 answers – From pricing notes to turnaround times, visitors get help any hour, not just during office time.
- Voice that matches your brand – Choose a tone that fits your style: professional, playful, minimalist, or anything in between.
- Copy–paste install – If you can paste a snippet, you can launch this. No heavy configs or long checklists.
- Leads inside the chat – Collect emails and messages in context so you can follow up when interest is highest.
- Inline or floating – Embed on key pages (FAQ, pricing, contact) or use a floating bubble across your entire website.
- Answers from your content – Connect FAQs, policies, and page copy so responses stay accurate and on-brand.
- Conversation insights – Spot repeating questions and smooth friction. A tiny tweak with a big impact.
- Lightweight loading – Scripts load asynchronously, keeping pages snappy for every scroll and click.
Open the live editor and try a template – see your chatbot working in minutes.
How to Add the AI Chatbot to Webflow
Good news: you don’t need to be a tech wizard. Two straightforward paths – pick what suits your workflow.
Method 1: Inline on a specific page/section
- Step 1. Visit the AI Chatbot product page and click “Create Widget.” Choose a template and adjust behavior and style.
- Step 2. Click “Add to Website for Free” and copy the embed code.
- Step 3. In Webflow Designer, open your page, add an Embed element where you want the conversation area.
- Step 4. Paste the code, click Save & Close, and position the block as needed.
- Step 5. Publish your project – the chatbot appears inline, right where visitors need help.
Method 2: Floating bubble across your whole website
- Step 1. In the Elfsight editor, switch layout to “Floating” so the chatbot shows as a corner bubble.
- Step 2. Pick bubble color, size, and position (bottom left or right).
- Step 3. Copy the generated script snippet.
- Step 4. In Webflow, go to Project Settings → Custom Code → Footer Code and paste the snippet.
- Step 5. Click Save and Publish to selected domains. Here’s the kicker – the bubble now appears on every page.
Need a hand? Start with our Help Center, explore the features page, connect with peers in our Community Forum, share ideas in the Wishlist, and follow releases in the Changelog.
