
Elementor Cookie Consent plugin
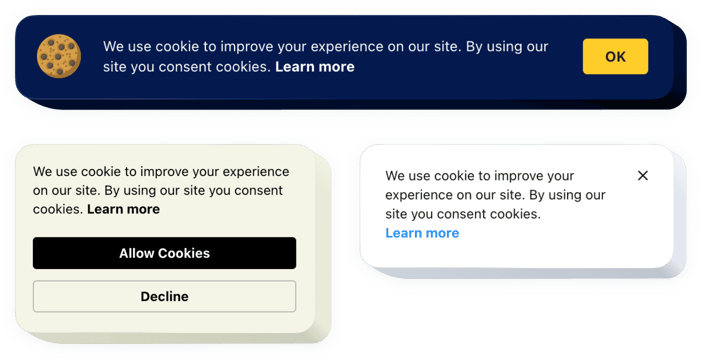
Create your Cookie Consent widget
Screenshots
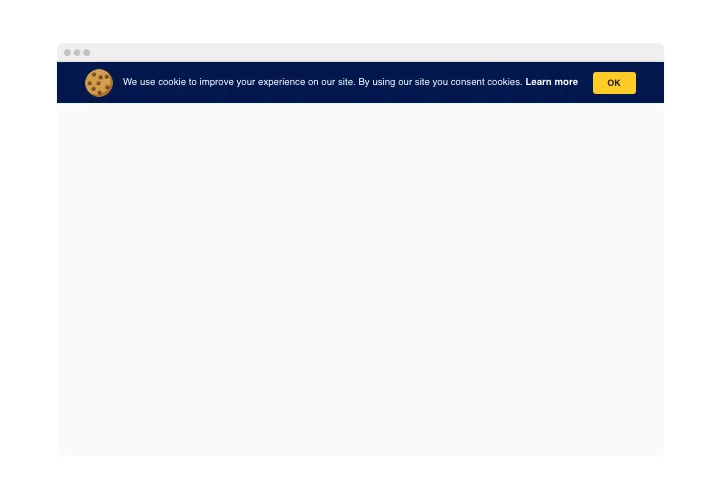
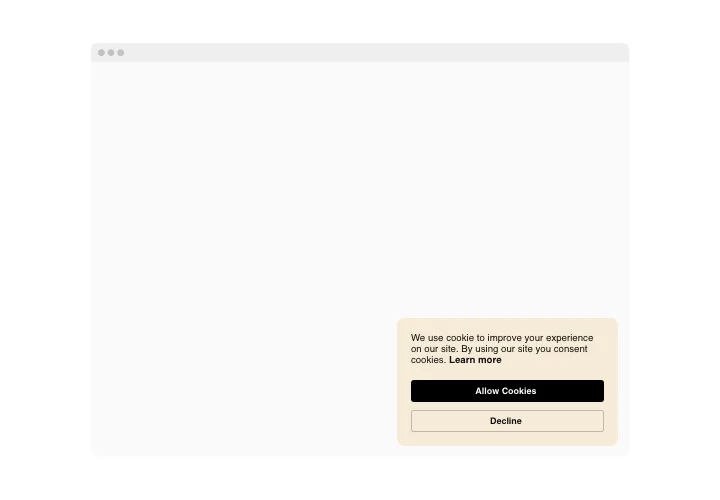
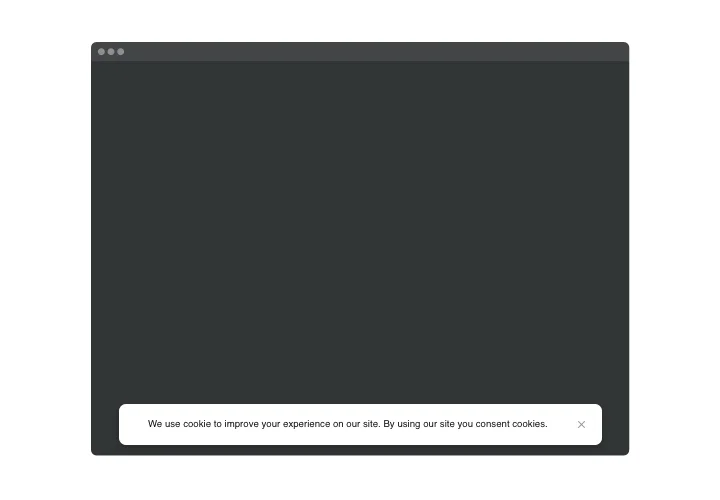
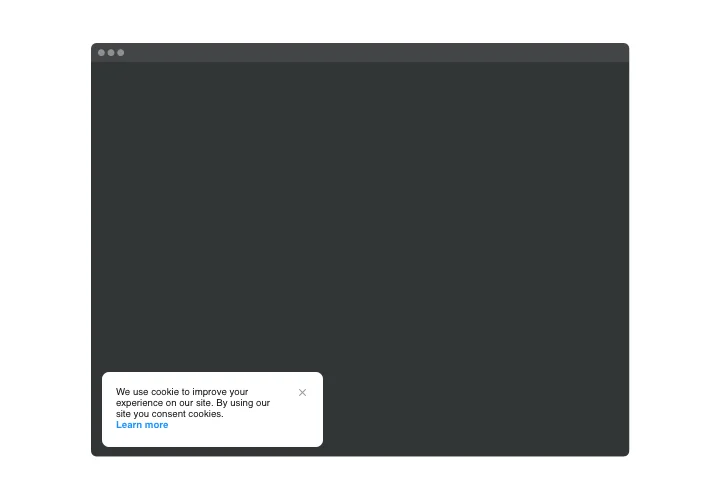
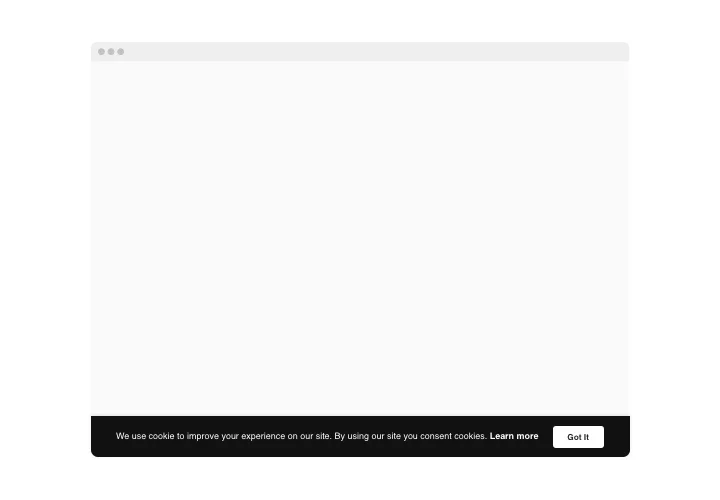

Why use Elfsight Cookie Consent on Elementor
It works in free Elementor through the standard HTML element, so you don’t need Elementor Pro. Add it to any section, column or template on your website.
The notice can show on any page or on all pages of your website, and it appears as soon as a visitor enters the page.
Key features of the Elementor Cookie Consent widget
- Your own notification text – write the message with formatting and links.
- Notice or consent request – show only an announcement or ask visitors for consent.
- Cookie policy link – show or hide it and write your own link text.
- Bar or responsive box – pick the layout that fits your design.
- Button and link colors – match them to your website style.
- European languages – the widget is translated into all wide-spread European languages.
Our intuitive editor will reveal all features to you
Made for Elementor
- Works in free Elementor – add it with the HTML element, no Elementor Pro needed.
- Fits your layout – place it in any Elementor section, column or template.
- One edit, every page – change the notice in Elfsight and it updates on all pages and templates.
- Update without reopening Elementor – on client websites, change texts in Elfsight without opening the page in Elementor.
How to add Cookie Consent to Elementor
Create your widget in the Elfsight editor, then copy the code with the “Add to website for free” button. Pick the method that fits: one page, all pages with Elementor Pro, or all pages on Free.
Good to know: use the HTML element, not Custom HTML – with Custom HTML the widget may work incorrectly. The widget may not render in the Elementor editor before you publish or preview, so check the published page. If you use a caching plugin, clear the cache after installation. On WordPress.com, external code works only on the Business and Commerce plans.
Method 1: Add the widget to one page (Free)
- Go to Pages and open your page with Edit with Elementor.
- Search for HTML in the widgets panel.
- Drag the HTML element into a section.
- Paste your code into the HTML Code field.
- Click Publish.
Method 2: Show the notice on all pages (Elementor Pro)
- Go to Custom Elements → Code and click New code.
- Enter a name and paste your code.
- Set the display condition to all pages.
- Click Publish.
Custom Code, which outputs the code on all pages, is available only in Elementor Pro.
Method 3: Show the notice on all pages (Free, classic themes)
- Go to Appearance → Customize → Widgets.
- Choose an area that appears on every page.
- Click +, then choose Custom HTML.
- Paste your code.
- Click Publish.
This method works only for classic WordPress themes. For block themes, request free installation help and our team will set it up.
After publishing, open the live page and check that the notice appears. If anything looks off, Elfsight customer support helps with any installation issue.