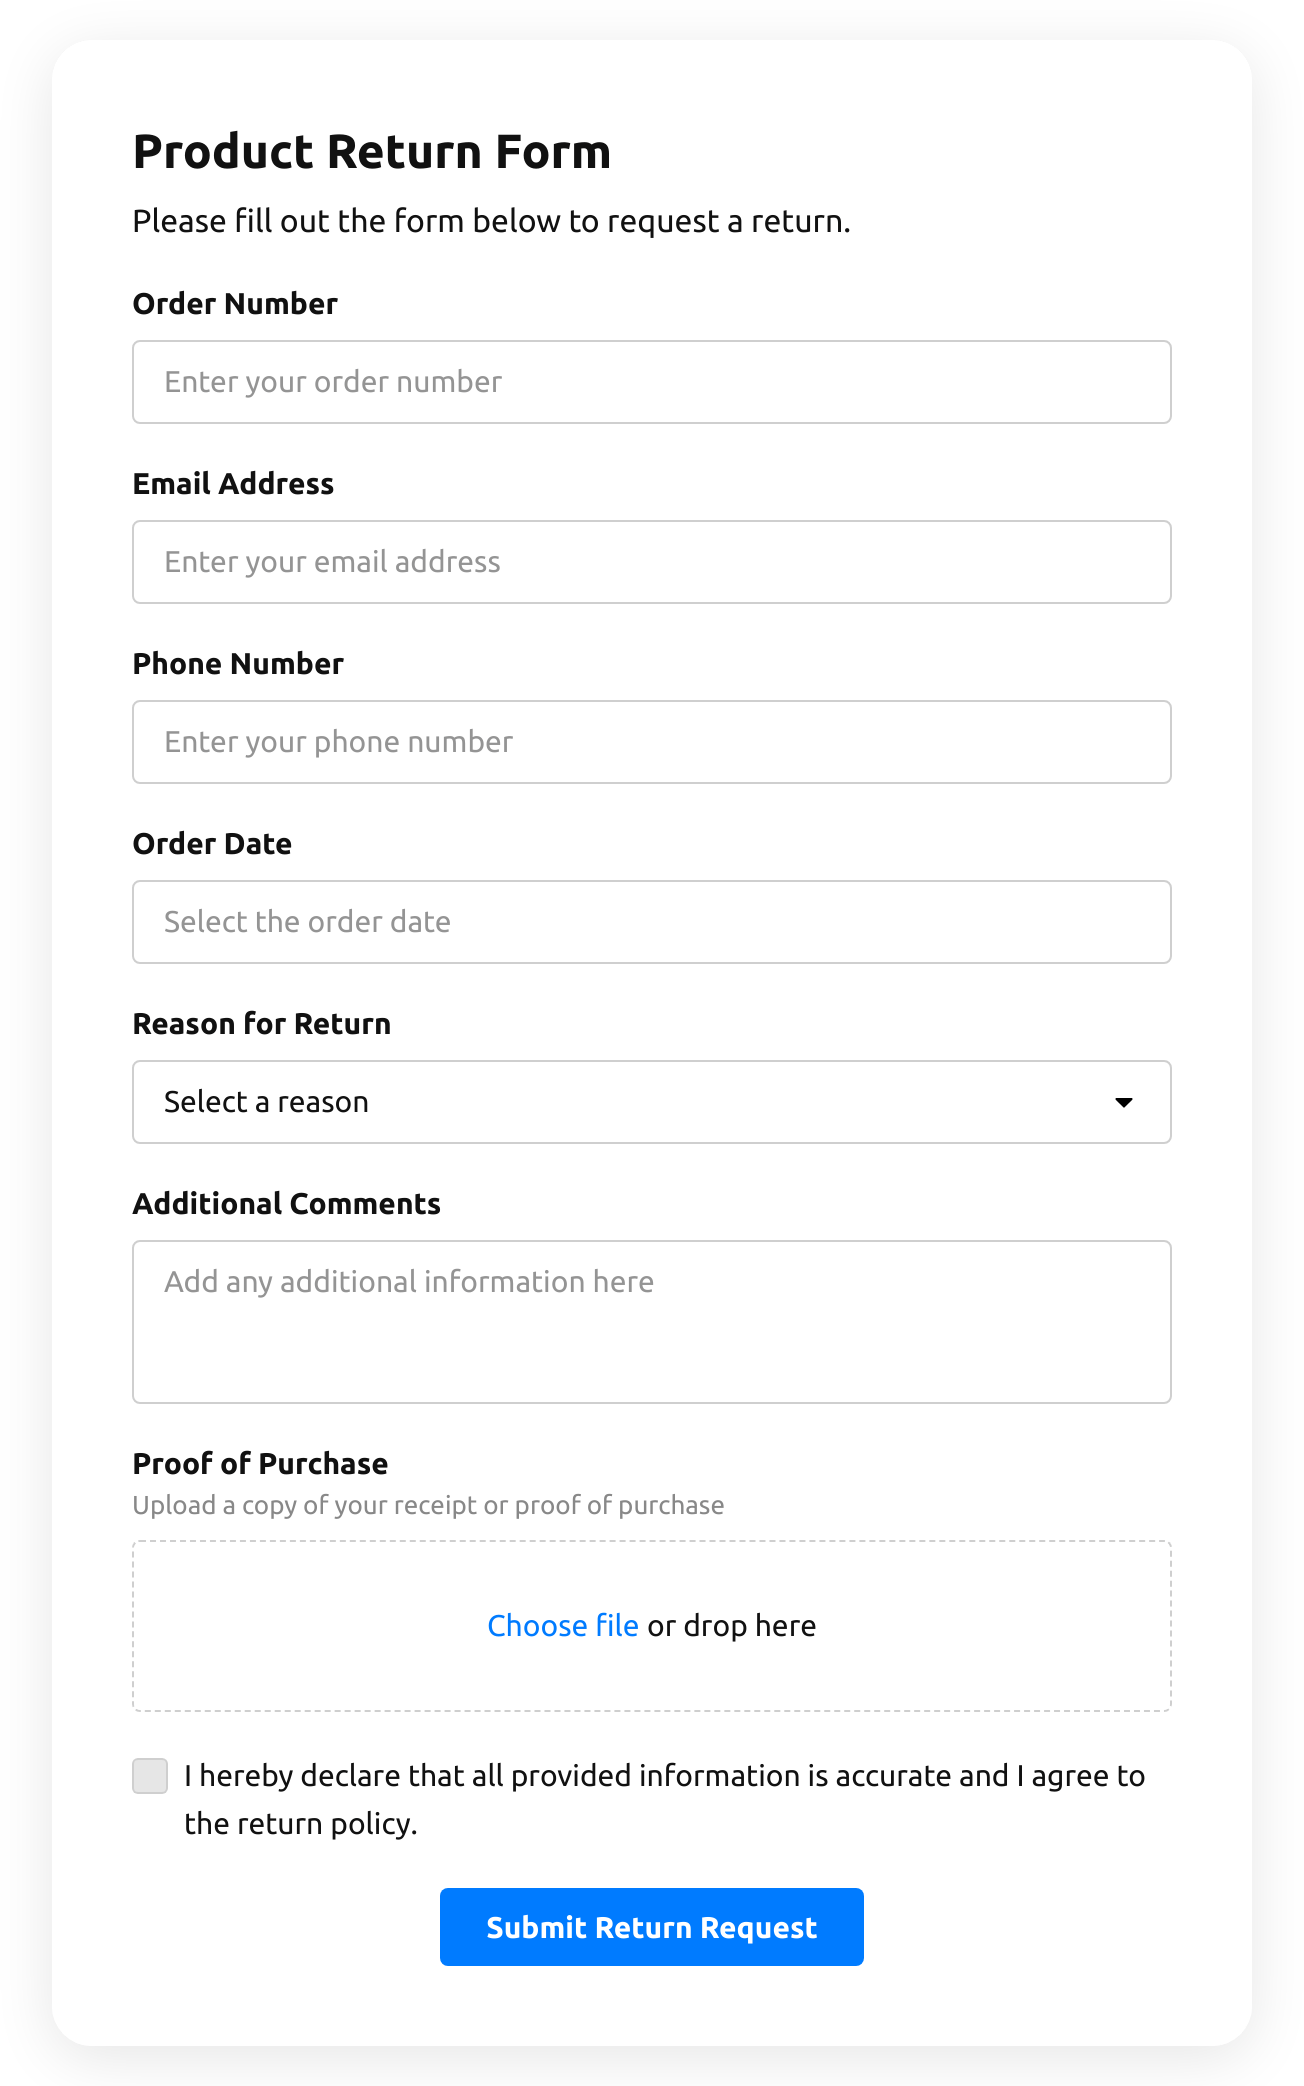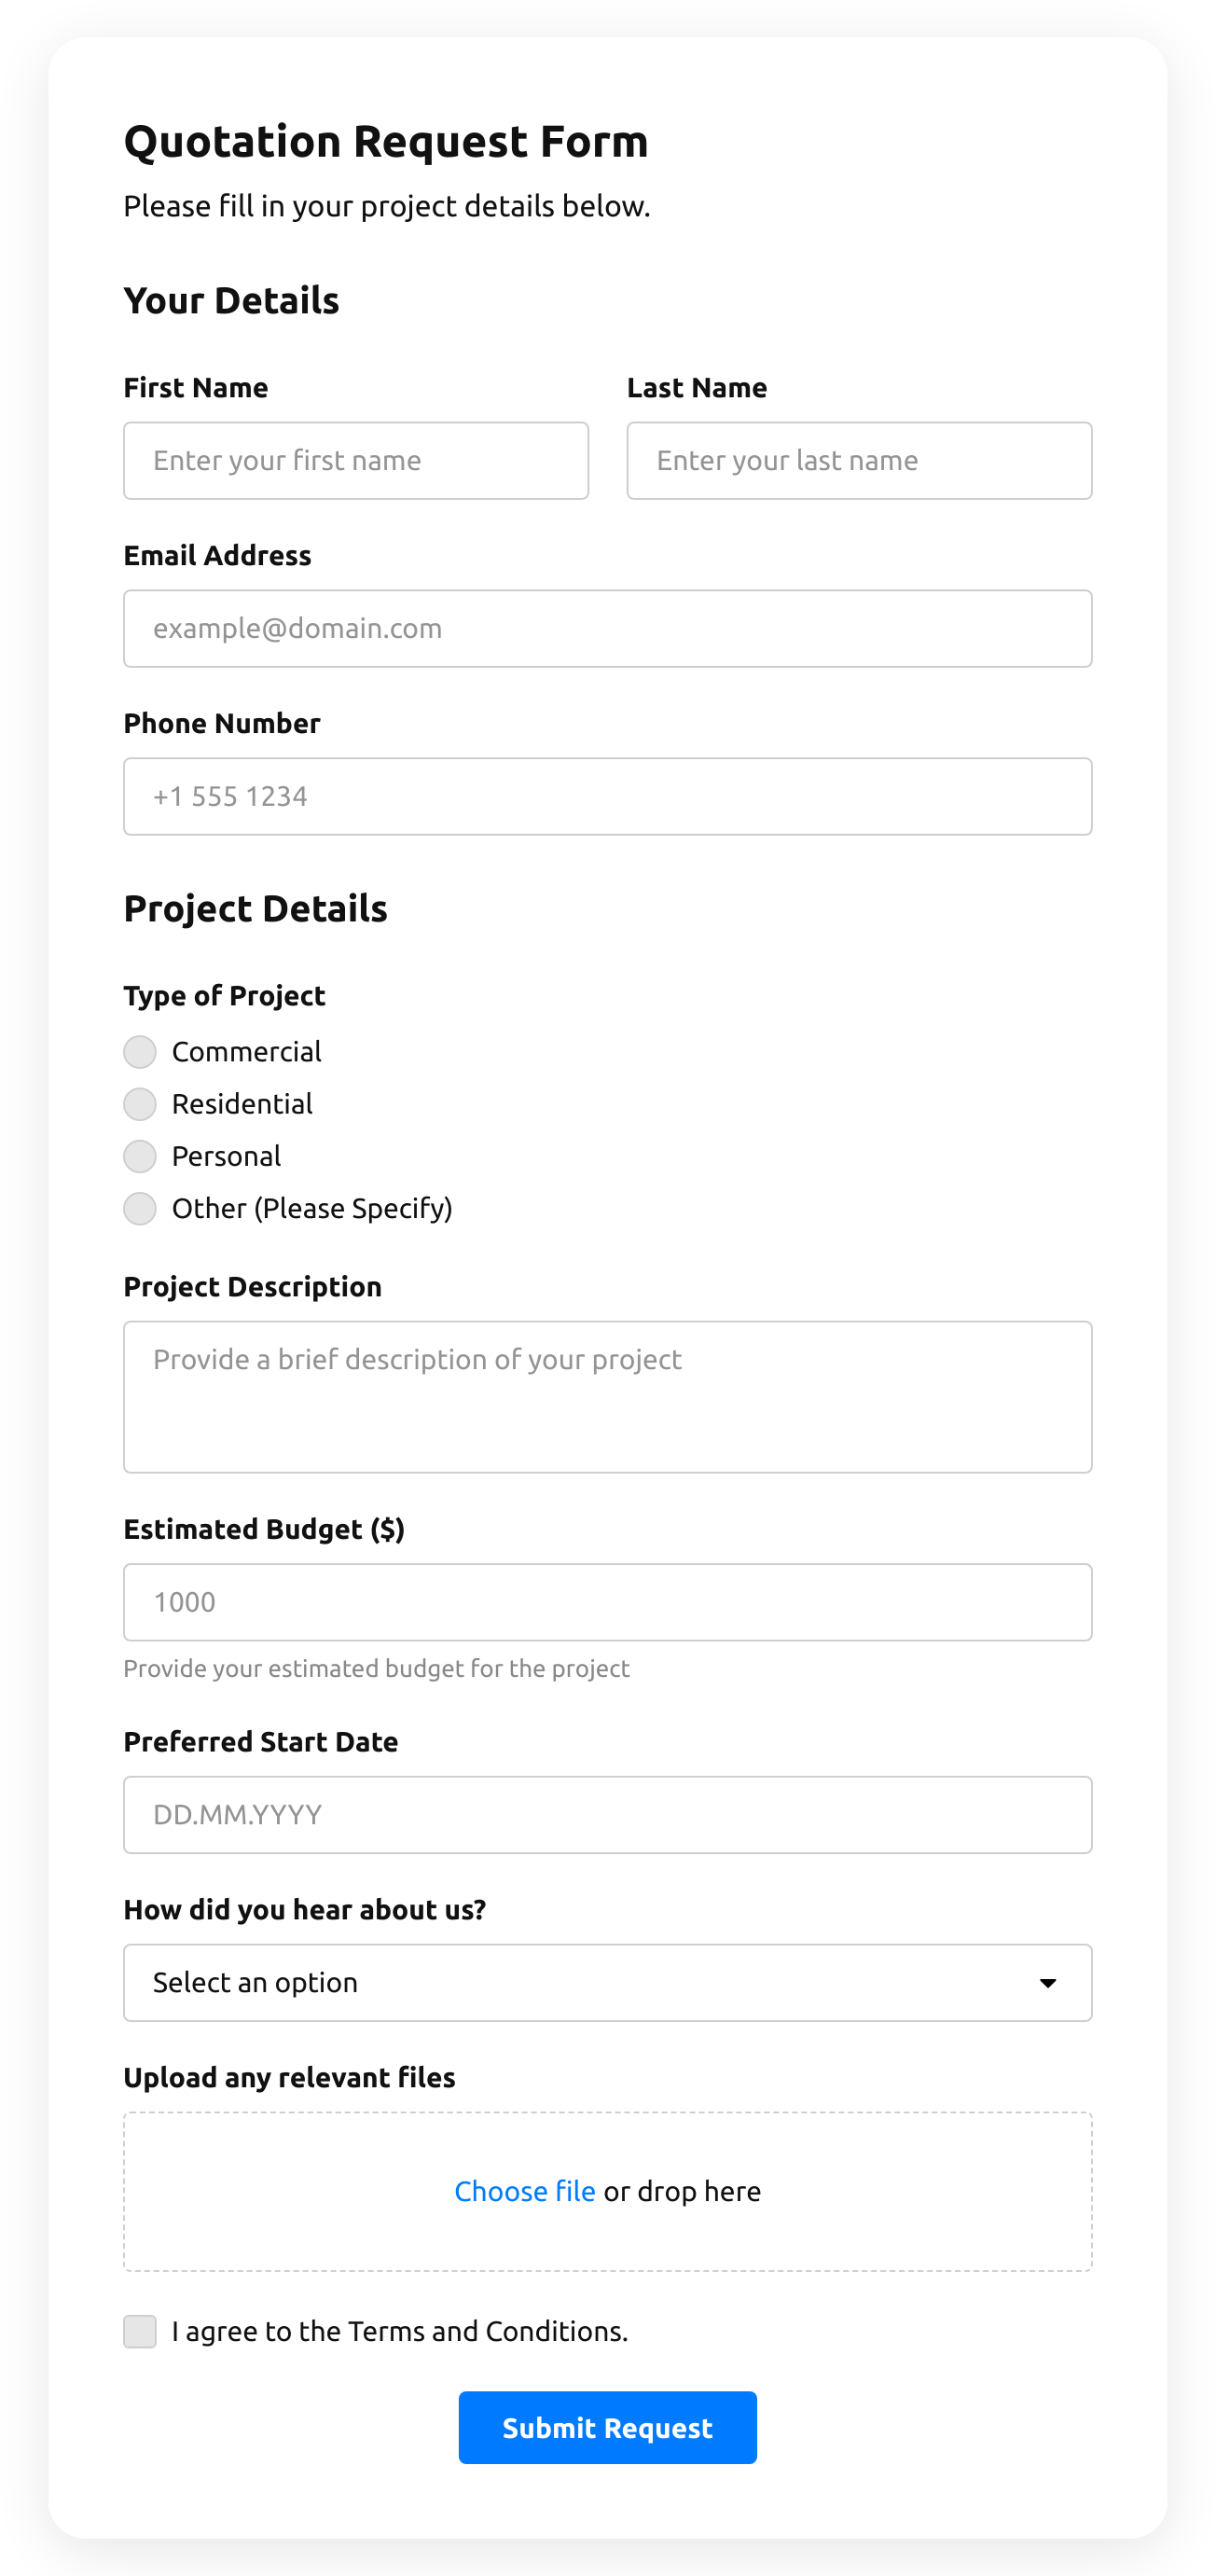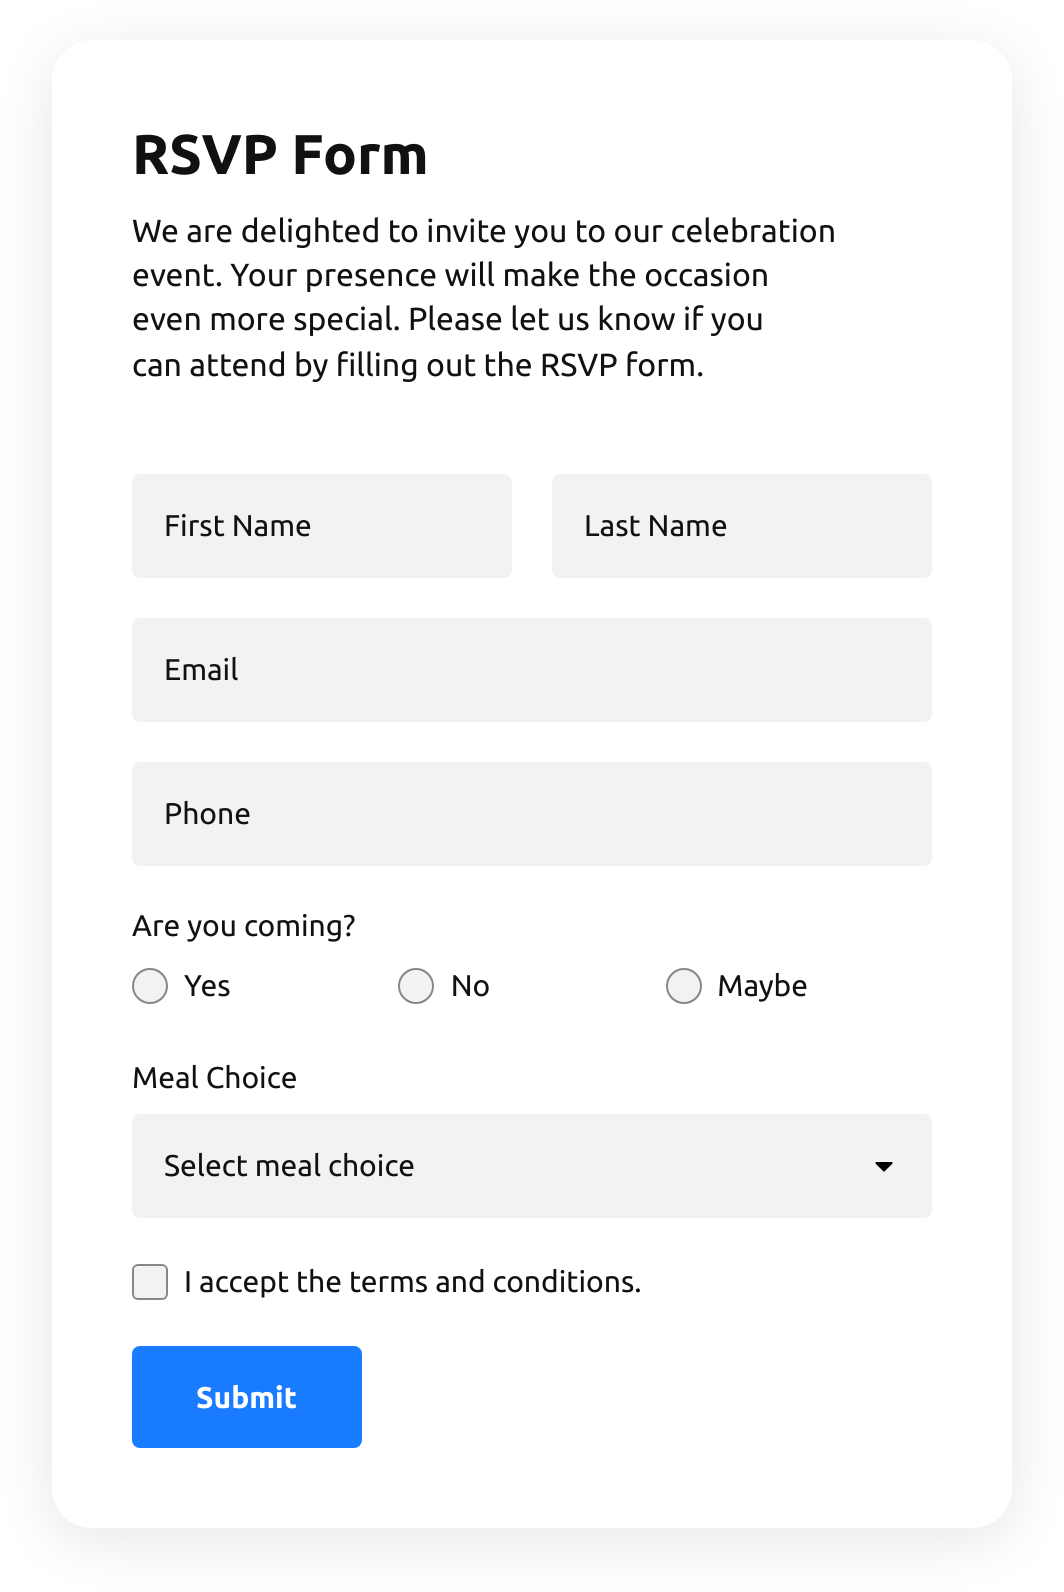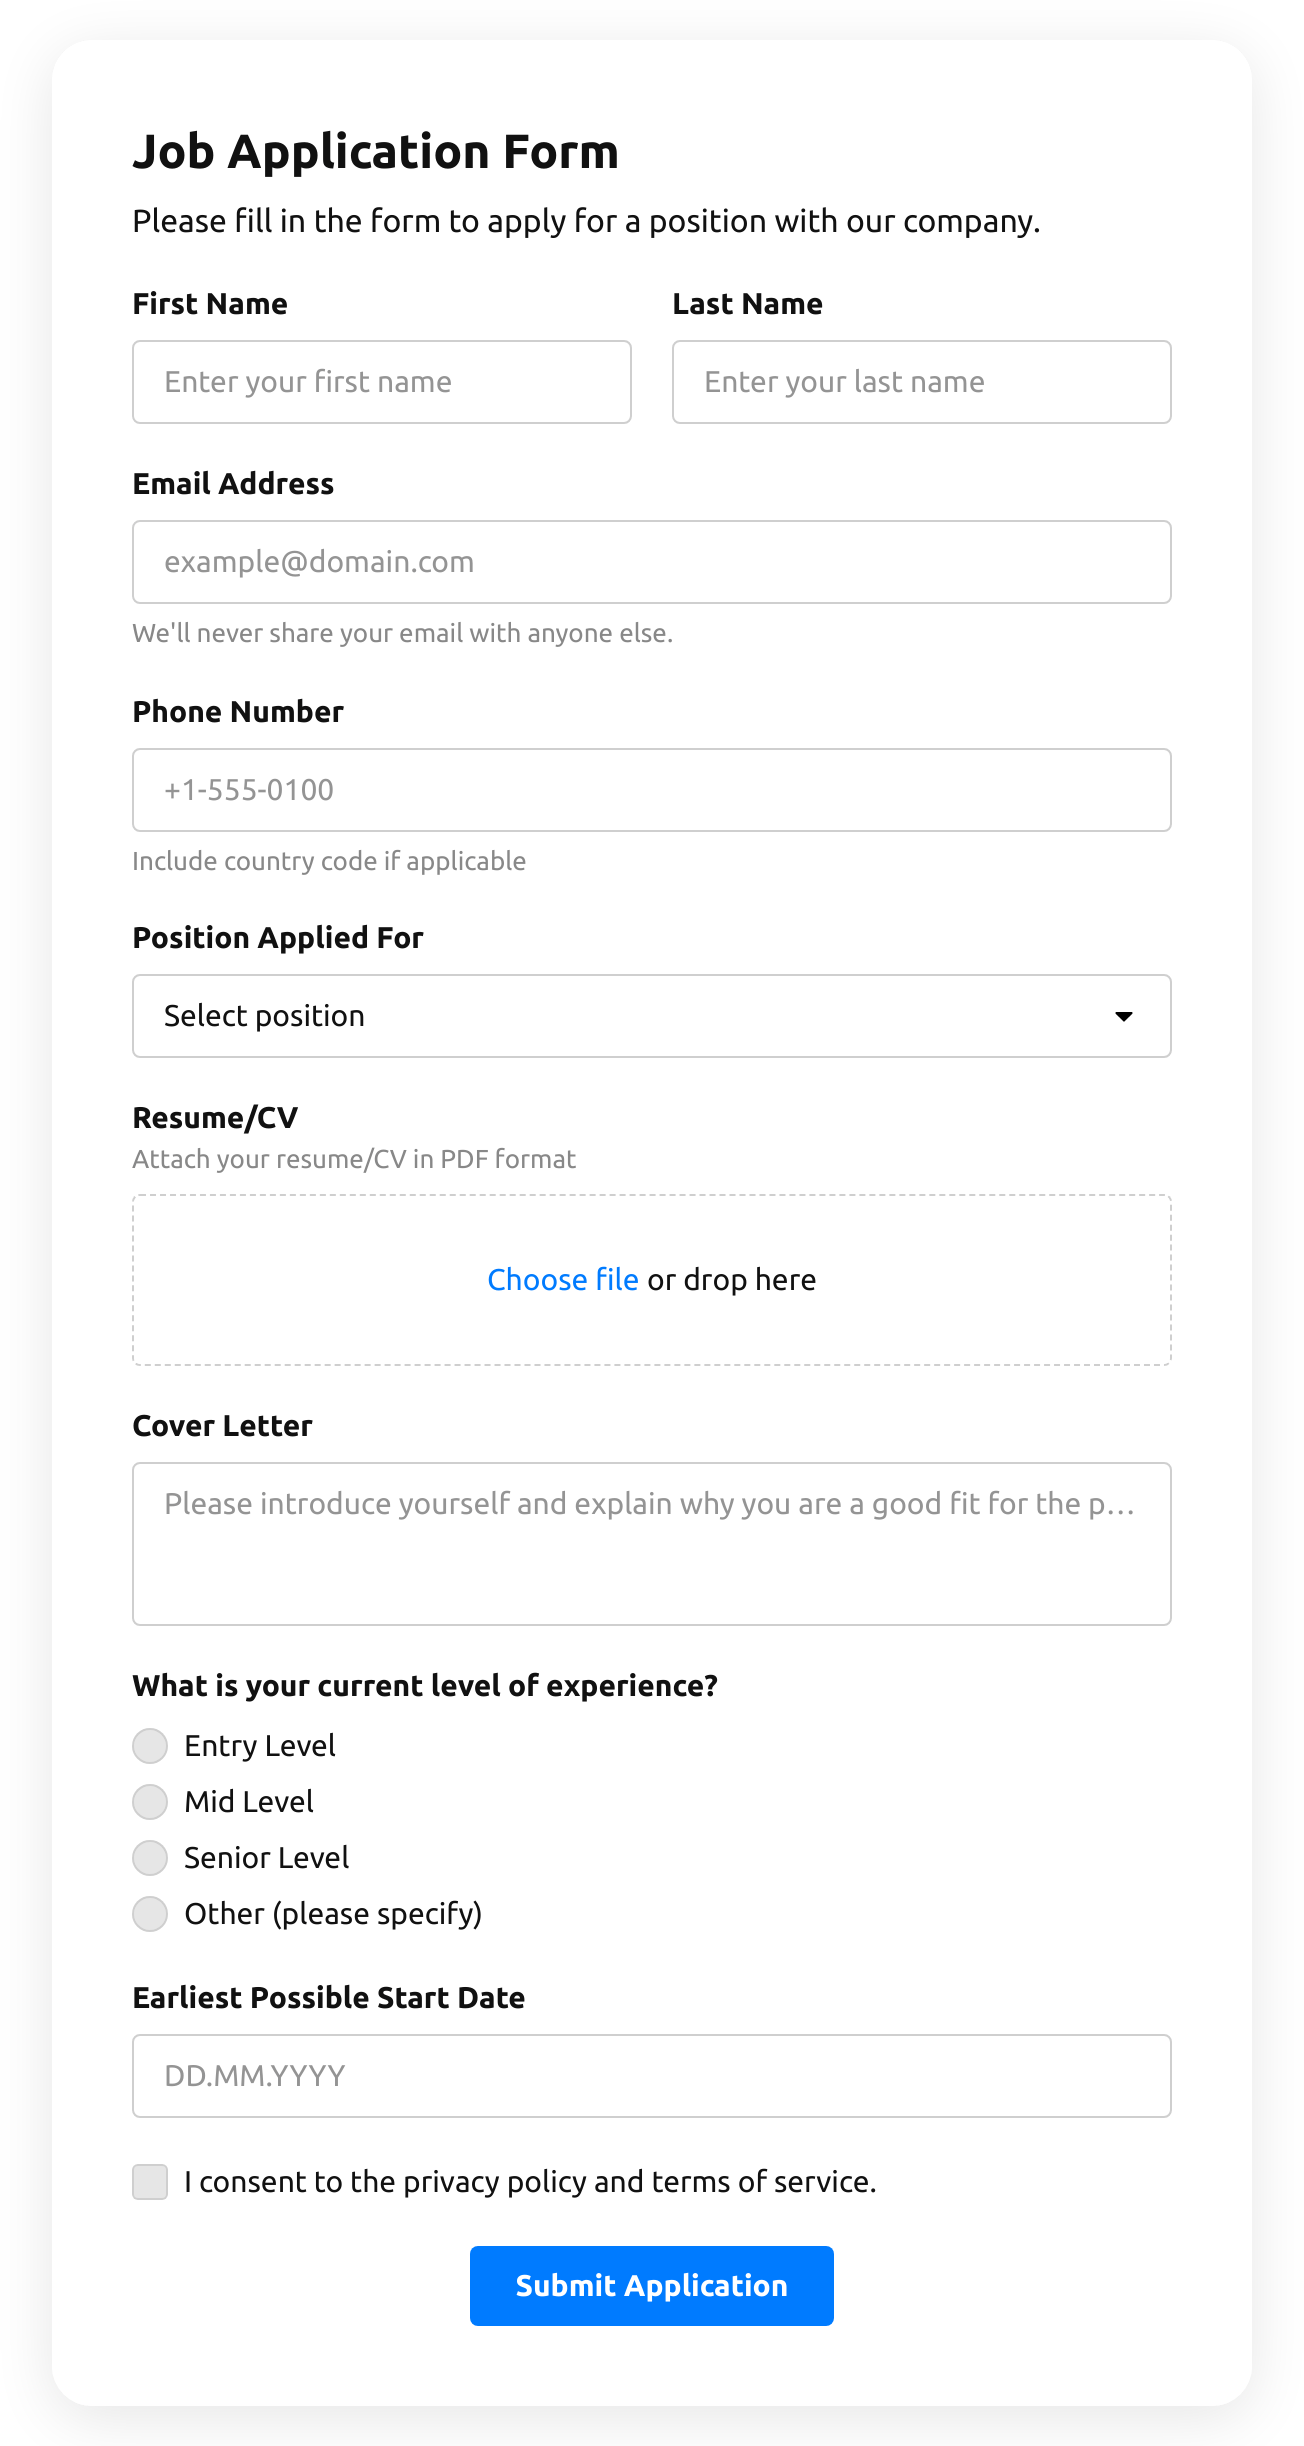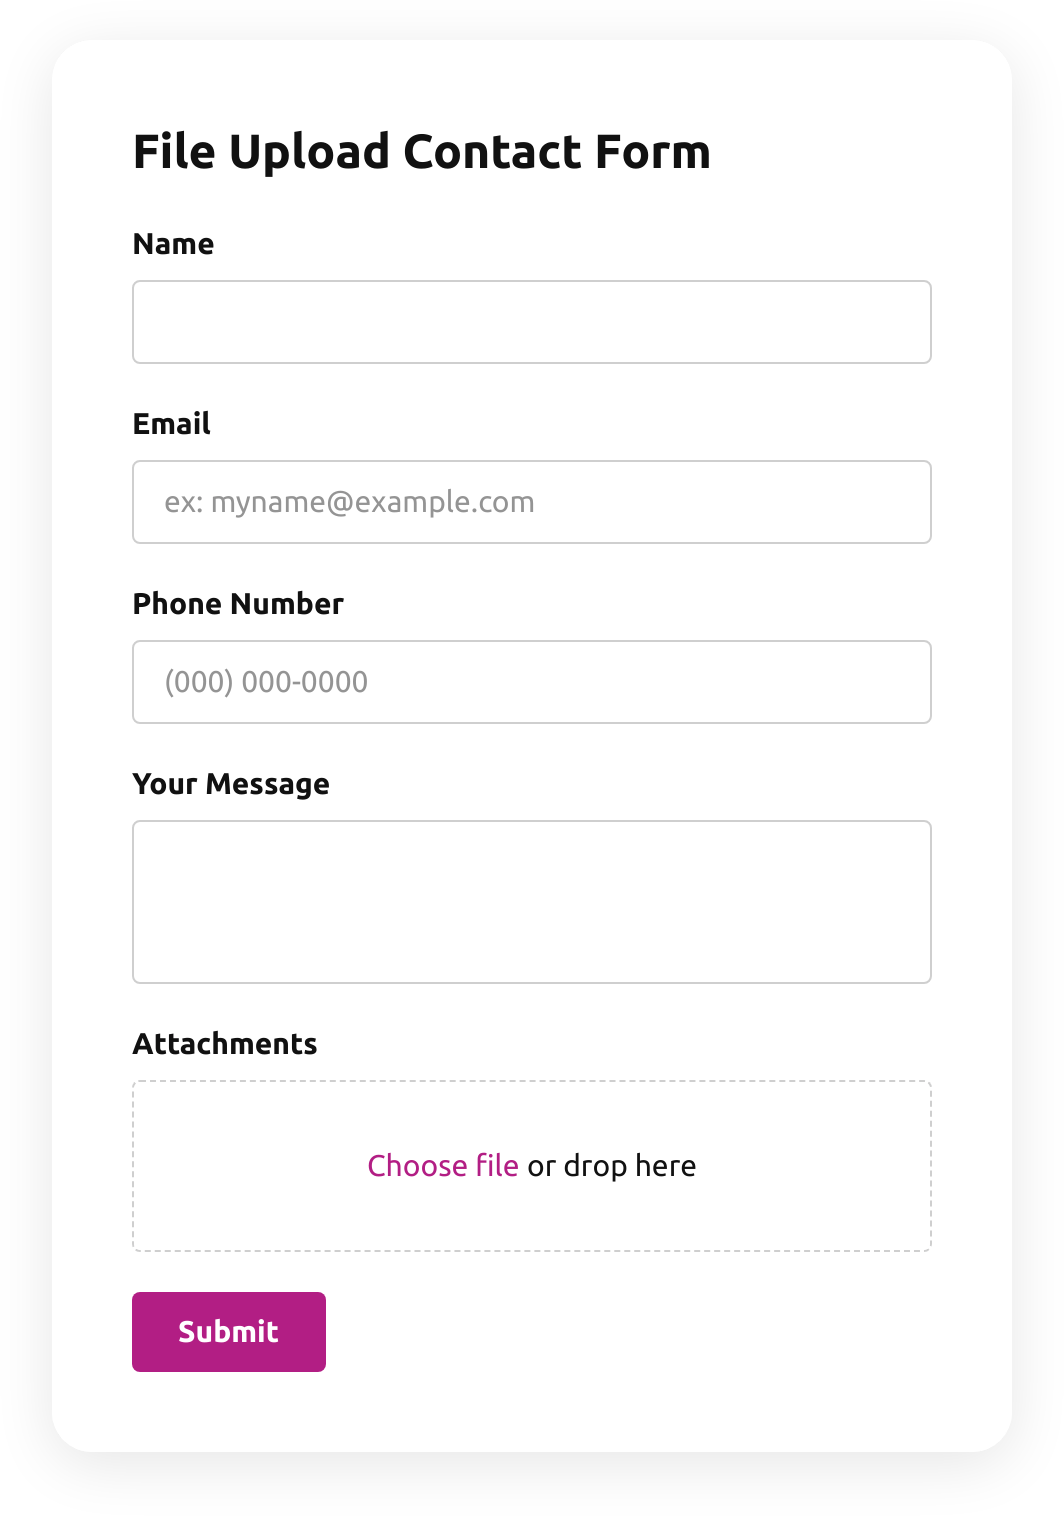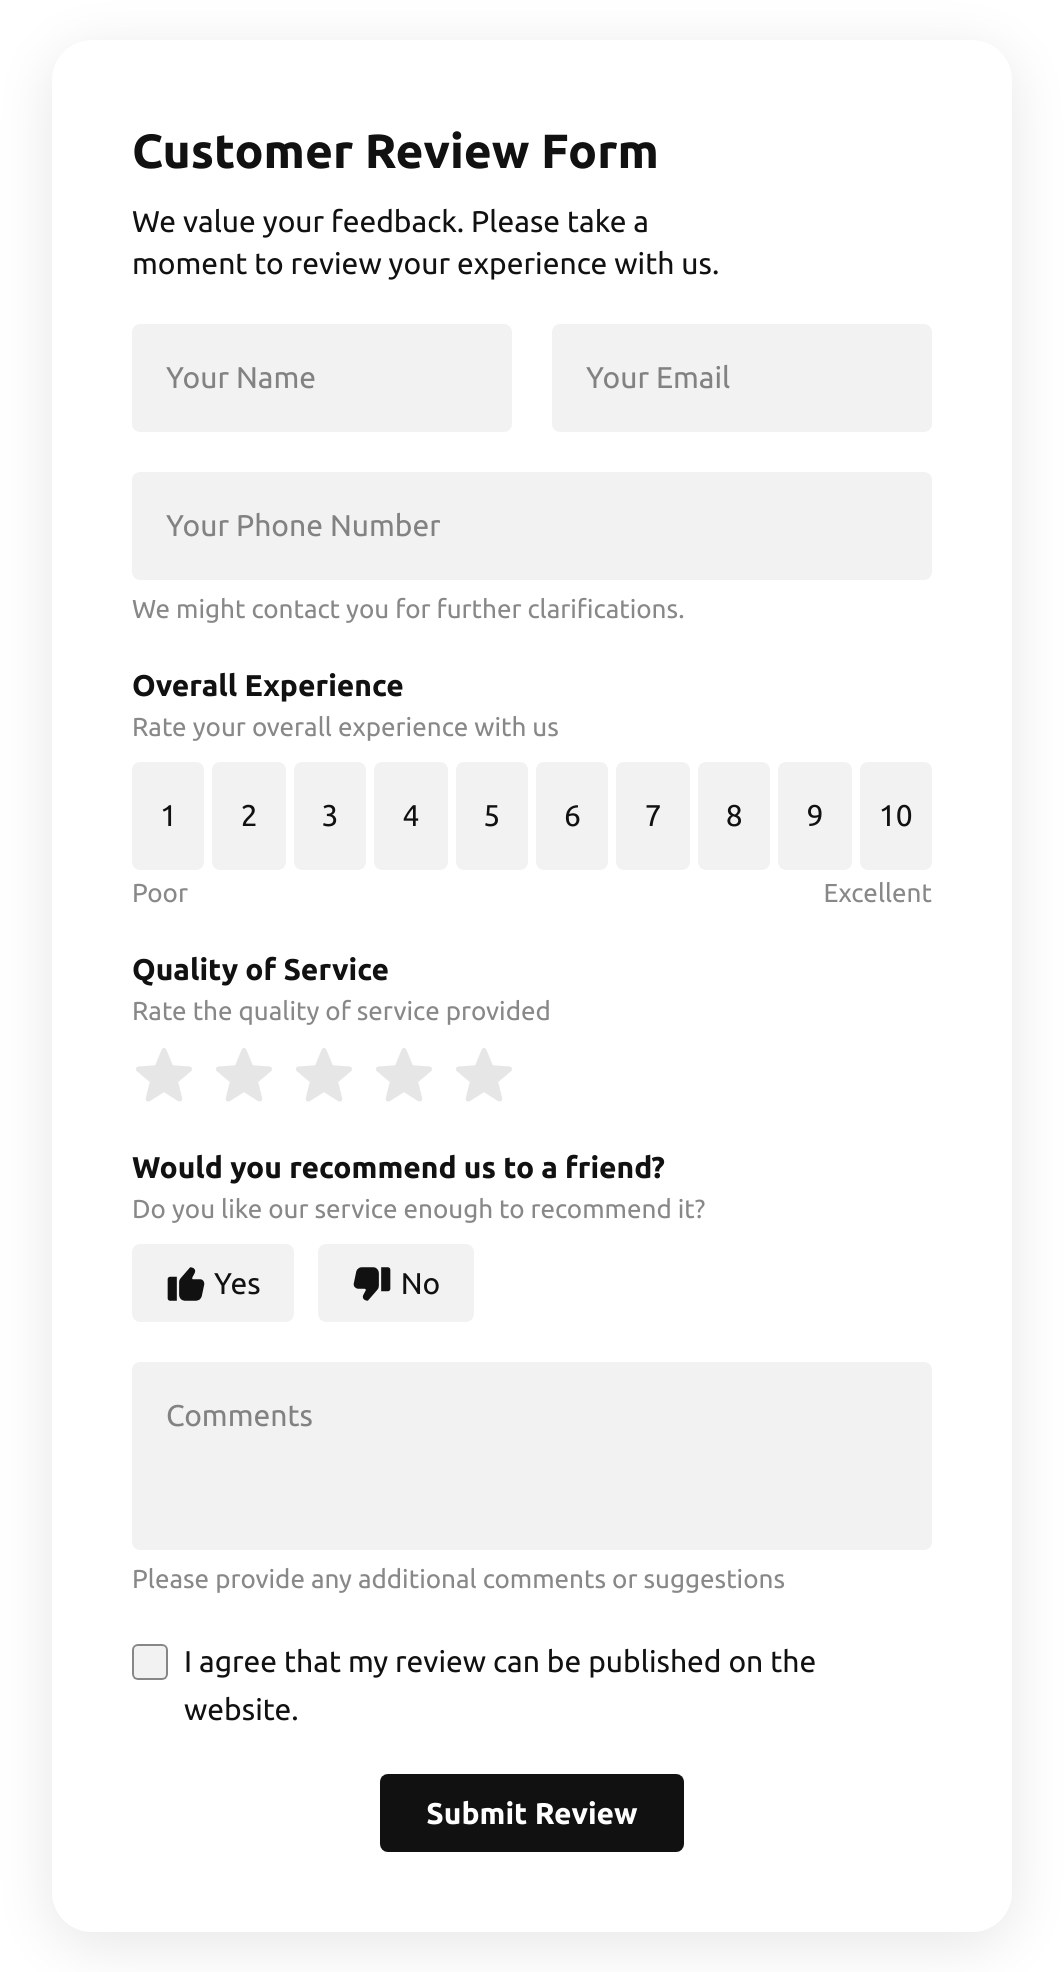











Screenshots
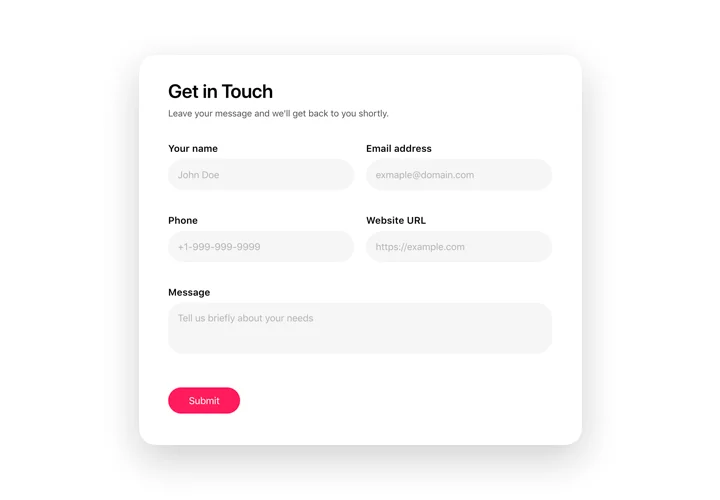
Create an inviting contact form with rounded style and compact fields grouping 
Make use of more than 20 diverse input elements and break them into manageable steps 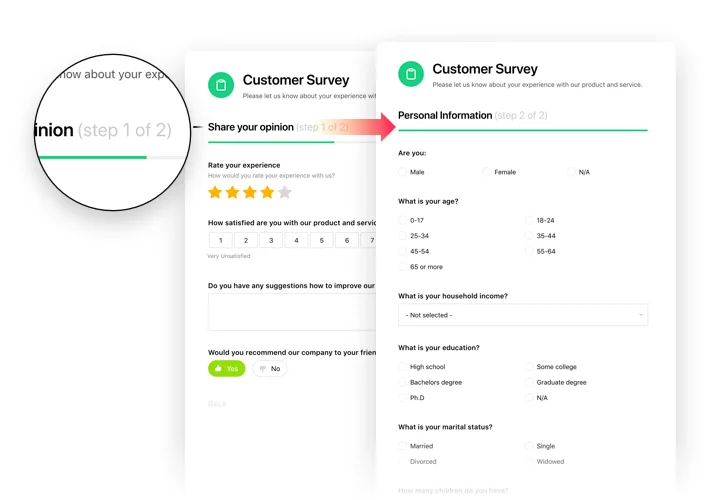
Add ratings and scales with comments fields to shape surveys and collect feedback 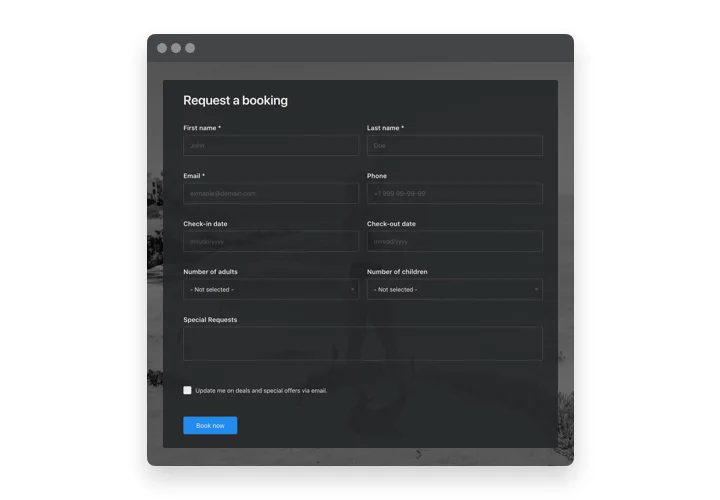
Arrange drop-down fields with placeholders and embedded calendars for easy and fast filling in 
Enjoy a flexible interface with styles and custom colors to fit into any website concept 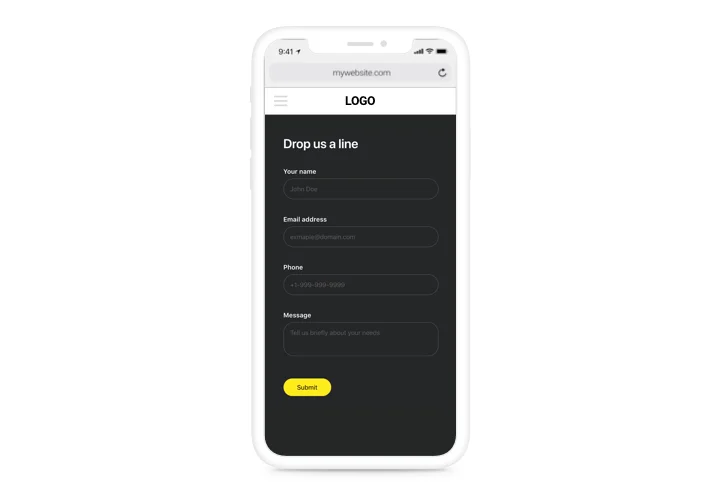
Allow your users smooth experience from any device
Custom forms for the questions a catalog can’t answer
Many buyers want to talk before they order: a price for 500 units, a custom size, a trade account, a sample first. A form gives those questions a structure – the right fields in the right order – so your team receives a request it can price instead of a vague message.
The forms are built and edited in Elfsight, outside your store’s code. Marketing can launch a new request form or change a question without opening a ticket for the developers.
Quote requests buyers actually finish
Contact details, product specs and delivery terms sit on separate screens, and conditional logic hides the trade-account questions from retail buyers, so no one faces a long wall of fields before sending.
Straight to the people who quote
New entries are saved in your Elfsight dashboard and can notify up to three addresses, with CC and BCC for the rest of the team. A Google Sheet or a Mailchimp list can collect them automatically, while Zapier, Make or a webhook pass them on to your CRM.
Paid samples and deposits in one step
Not everything fits the catalog: a sample pack, a deposit on a made-to-order item or a paid consultation.
Connect Stripe, and the form takes the money together with the details.
A working draft from one sentence
Describe the form you need – a trade account application with company name, VAT number and expected monthly volume, for example – and the AI Form Generator builds a draft for you to edit.
Key features of the Form Builder
Multi-step forms and conditional logic – long requests become short screens, and each buyer answers only what applies to them.
Entries where your team works – the Elfsight dashboard with CSV export, notifications to up to three addresses, Google Sheets, Mailchimp, and Zapier, Make or webhooks for your CRM.
AI Form Generator – one sentence about the purpose, fields and look turns into an editable form.
Stripe payments – charge for samples, deposits and made-to-order items inside the form.
24 field types – buyers attach a purchase order or drawing of up to 100 MB, sign off a quote with an e-signature, pick from images, leave ratings and enter addresses, while hidden fields carry details they never see.
Google Analytics events – Form Started and Form Submitted show how many buyers begin a request and how many send it.
Prefill from the link – URL parameters fill in fields and hidden fields keep the source, so you know which campaign brought each request.
Try them all in the live editor before anything goes into your Admin.
Content, not code: forms on Magento
Added by the content team – anyone with Content rights in the Admin can place the form; composer, setup:upgrade and a deploy never come into it.
No module to re-test after upgrades – the form runs from Elfsight’s servers rather than your store’s codebase, so a 2.4.x patch brings no form code to check.
A quote form under every product – one CMS block shows the form on all product pages or only in the categories you choose, with no per-product editing.
One form or one per language – the same form can cover every store view, or each store view can get its own form in its own language.
Edit once in Elfsight – new fields, recipients or texts reach the storefront with no change to the code in the Admin.
How to add the Form Builder to Magento
Build the form in the Elfsight editor, add the addresses that should get new requests and choose a layout: Inline sits inside a page, Floating Pane opens from a button. Then click Add to website for free and copy the installation code.
Good to know: Adobe Commerce 2.3.1+ and Magento Open Source 2.4.3+ edit CMS pages and blocks in Page Builder by default; stores that don’t use it can follow Method 4. The Admin doesn’t always run scripts, so judge the form on the storefront.
Method 1: Put the form on a CMS page
Sign in to the Admin, go to Content → Pages and click Select → Edit next to your contact or quote page.
In the Content section, pull an HTML Code element from the Elements group of the Page Builder panel onto the stage; a full-width row leaves space for a long form.
Open the element’s settings with the gear icon, insert the installation code and click Save.
Use Save & Close, refresh the cache if the Admin asks, then pick Actions → View in the pages grid.
Method 2: Add a quote form below every product description
Under Content → Blocks, click Add New Block, switch Enable Block to Yes and fill in a Block Title, an Identifier like quote_request_form and a Store View.
Put the code into the block through an HTML Code element, or through the Show / Hide Editor HTML view if Page Builder is disabled, and save it.
Now open Content → Widgets, click Add Widget, set Type to CMS Static Block, select the theme your storefront uses as the Design Theme and continue.
Give the widget a title and its store views, then under Layout Updates set Display on to All Product Types and choose a container below the product info.
Link your block in Widget Options → Select Block…, save, and refresh the cache.
Display on also offers Anchor Categories and Non-Anchor Categories for category pages; the containers you can choose depend on the theme.
Method 3: Show a floating form on every page
Open Content → Design → Configuration and edit the Global row for all store views, or a single store view’s row.
Under Other Settings, expand Footer and put the code into Miscellaneous HTML.
Save Configuration, then refresh the invalidated cache types from Cache Management in the System menu.
Reload the storefront: the form button appears where you placed it in the Elfsight editor – along an edge or in a corner of the screen.
In 2.4.7 and later, checkout runs third-party scripts only from domains listed in the Content Security Policy, so the floating form stays off that page until a developer allows Elfsight.
Method 4: Use the HTML view when Page Builder is off
Open the CMS page (Content → Pages) or the product (Catalog → Products) for editing.
Click Show / Hide Editor above the content field so you see the raw HTML.
Add the installation code on a new line at the point where the form should appear, then save.
View the page on the storefront; if nothing changed, refresh the cache and reload.
Stores on Magento Open Source earlier than 2.4.3, or with Enable Page Builder set to No, add the form this way.
Once the form is live, send a test request from the storefront and make sure it shows up in your Elfsight dashboard and your inbox. If you’d rather not edit the Admin yourself, our support team helps with installation.