










Screenshots

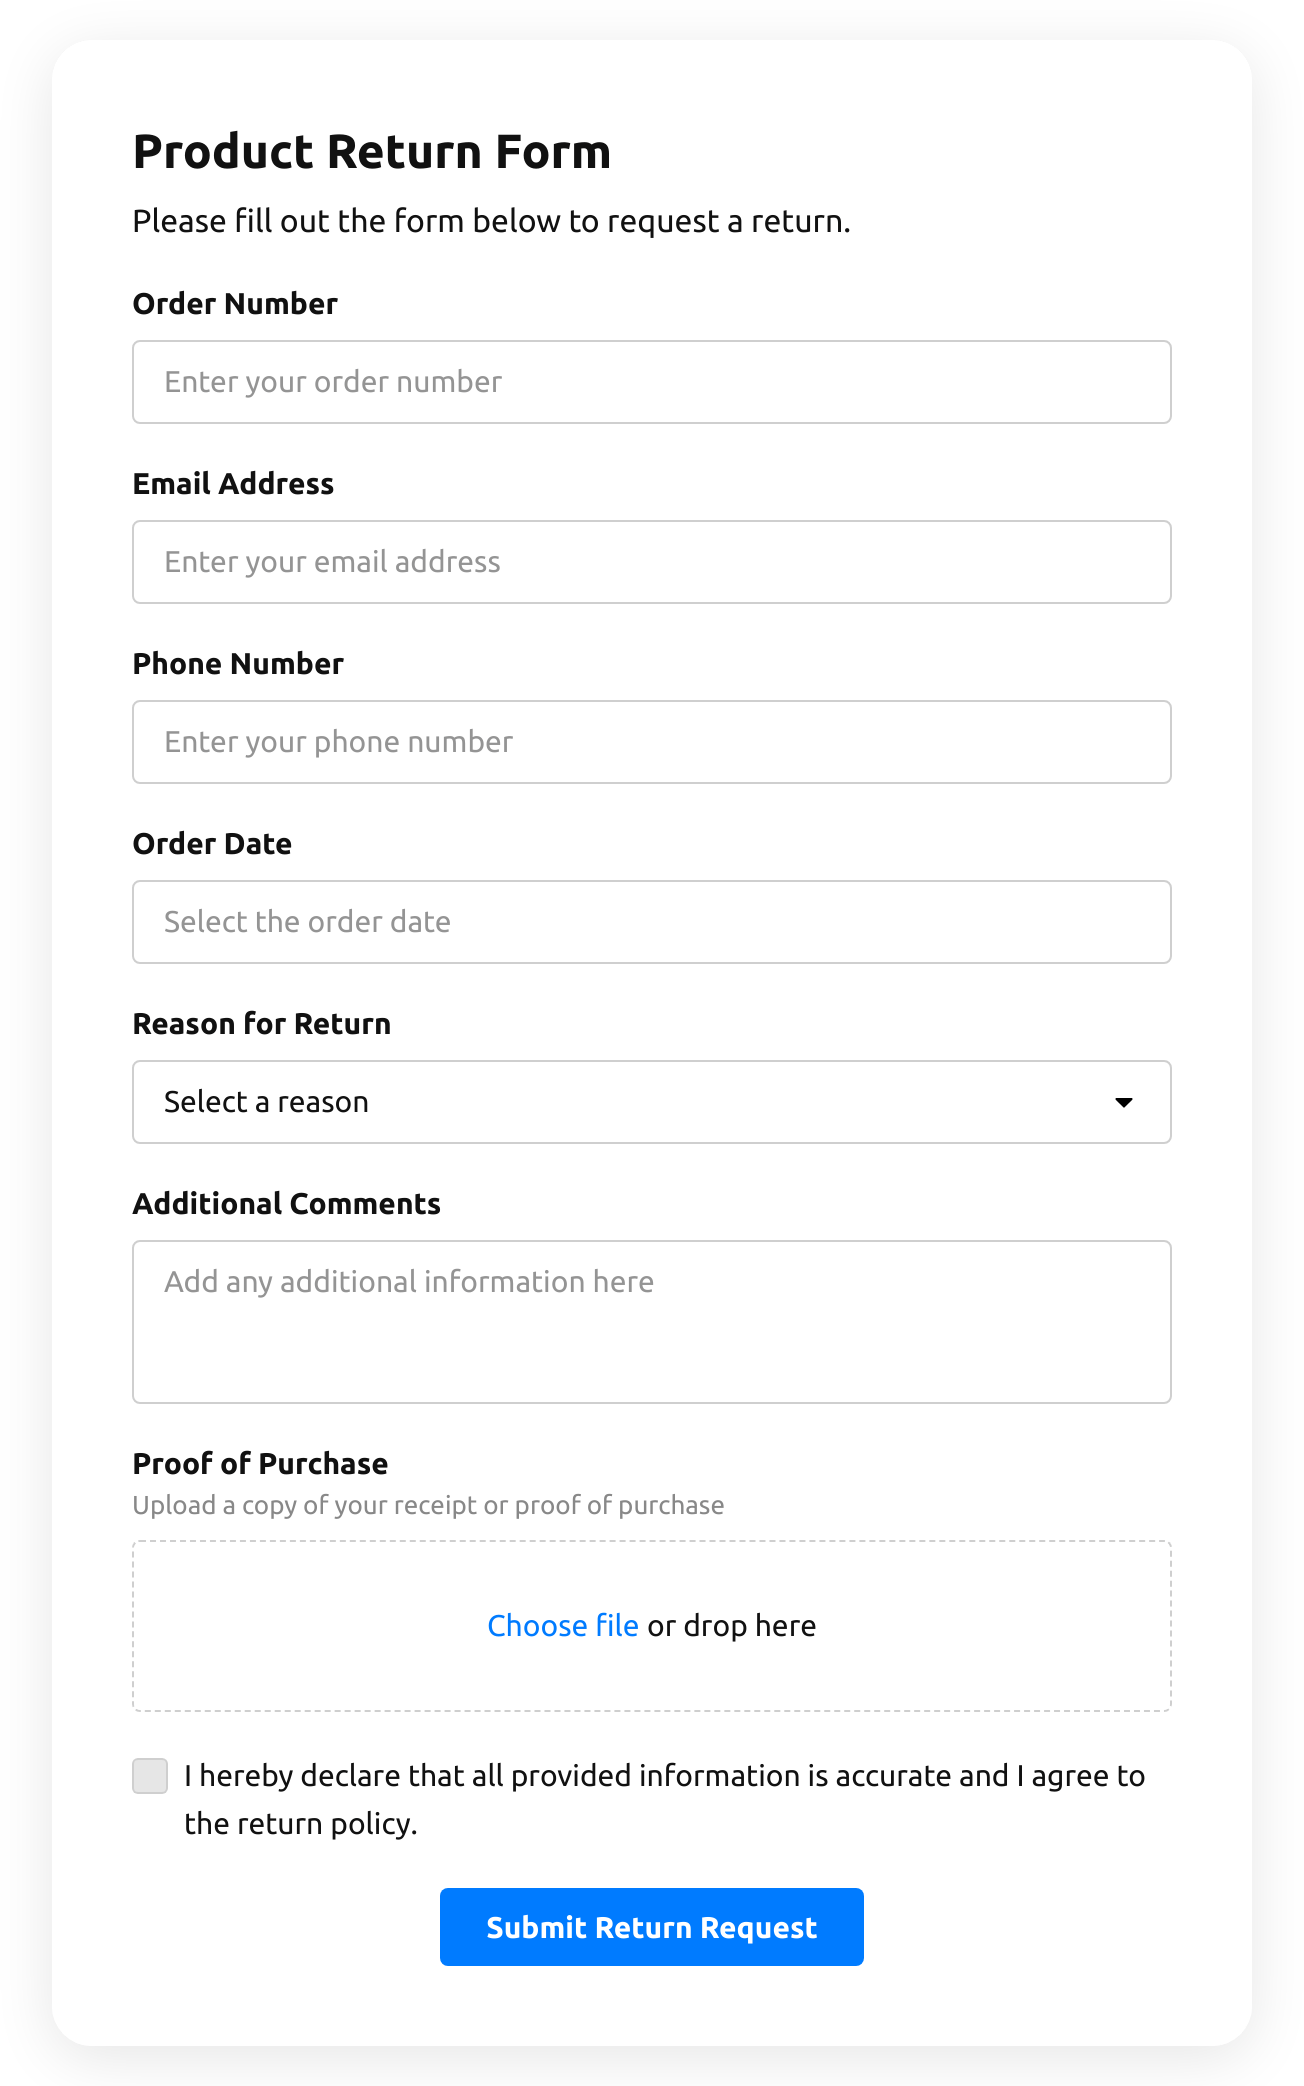
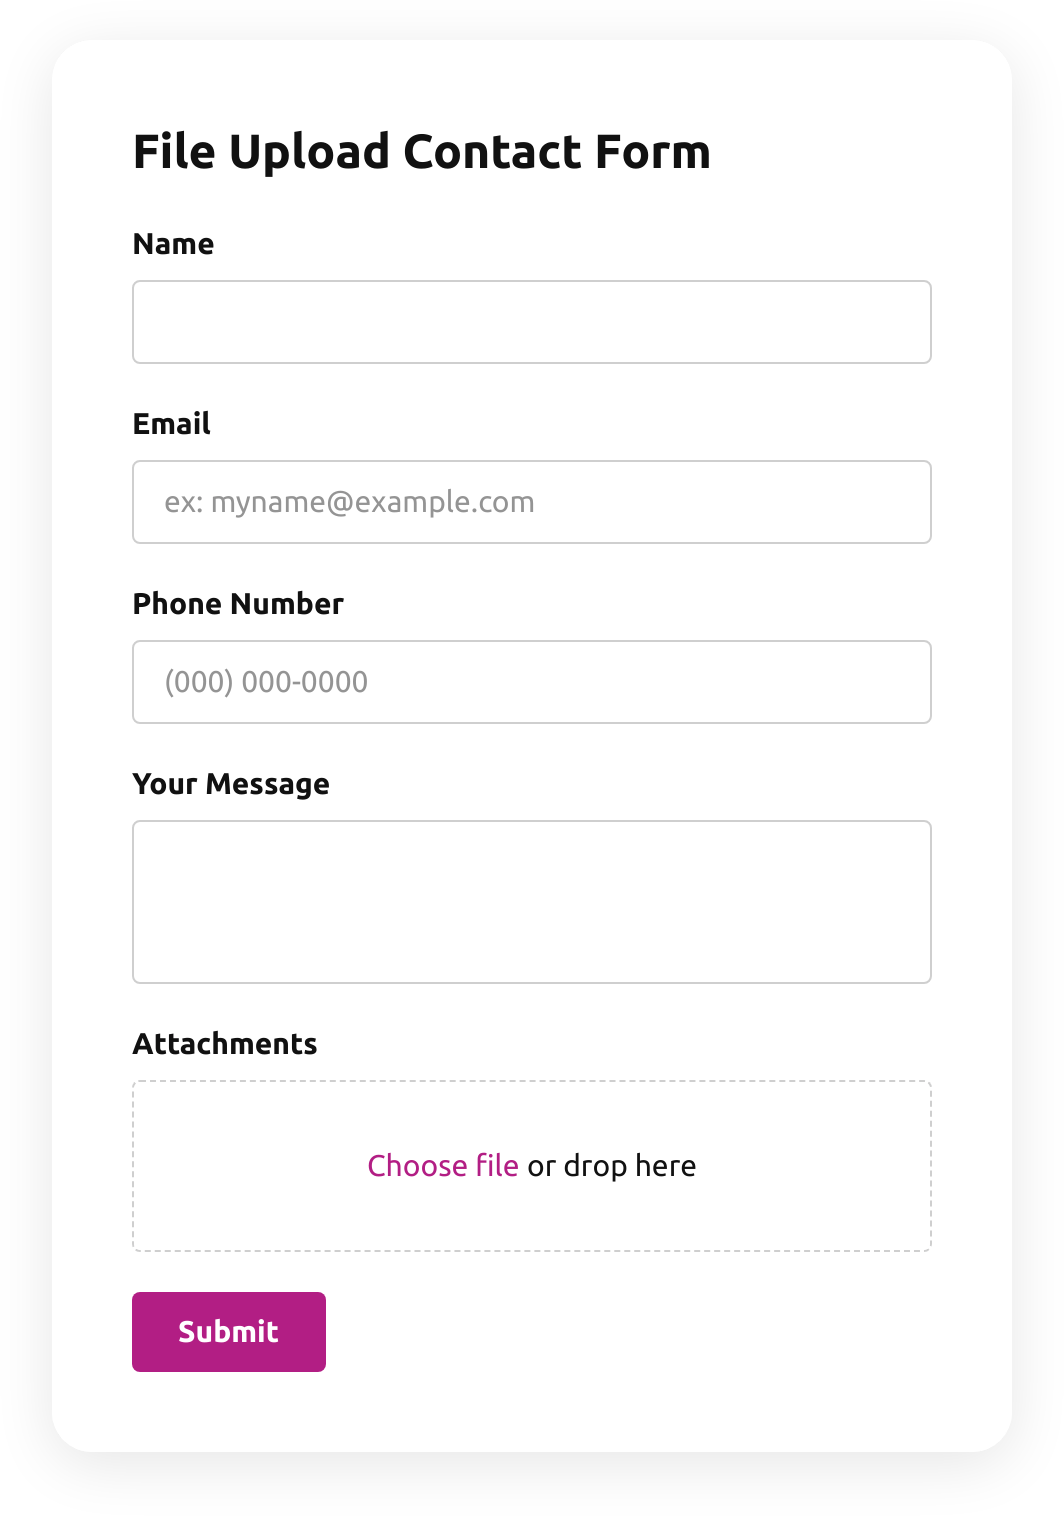
Create an inviting contact form with rounded style and compact fields grouping 
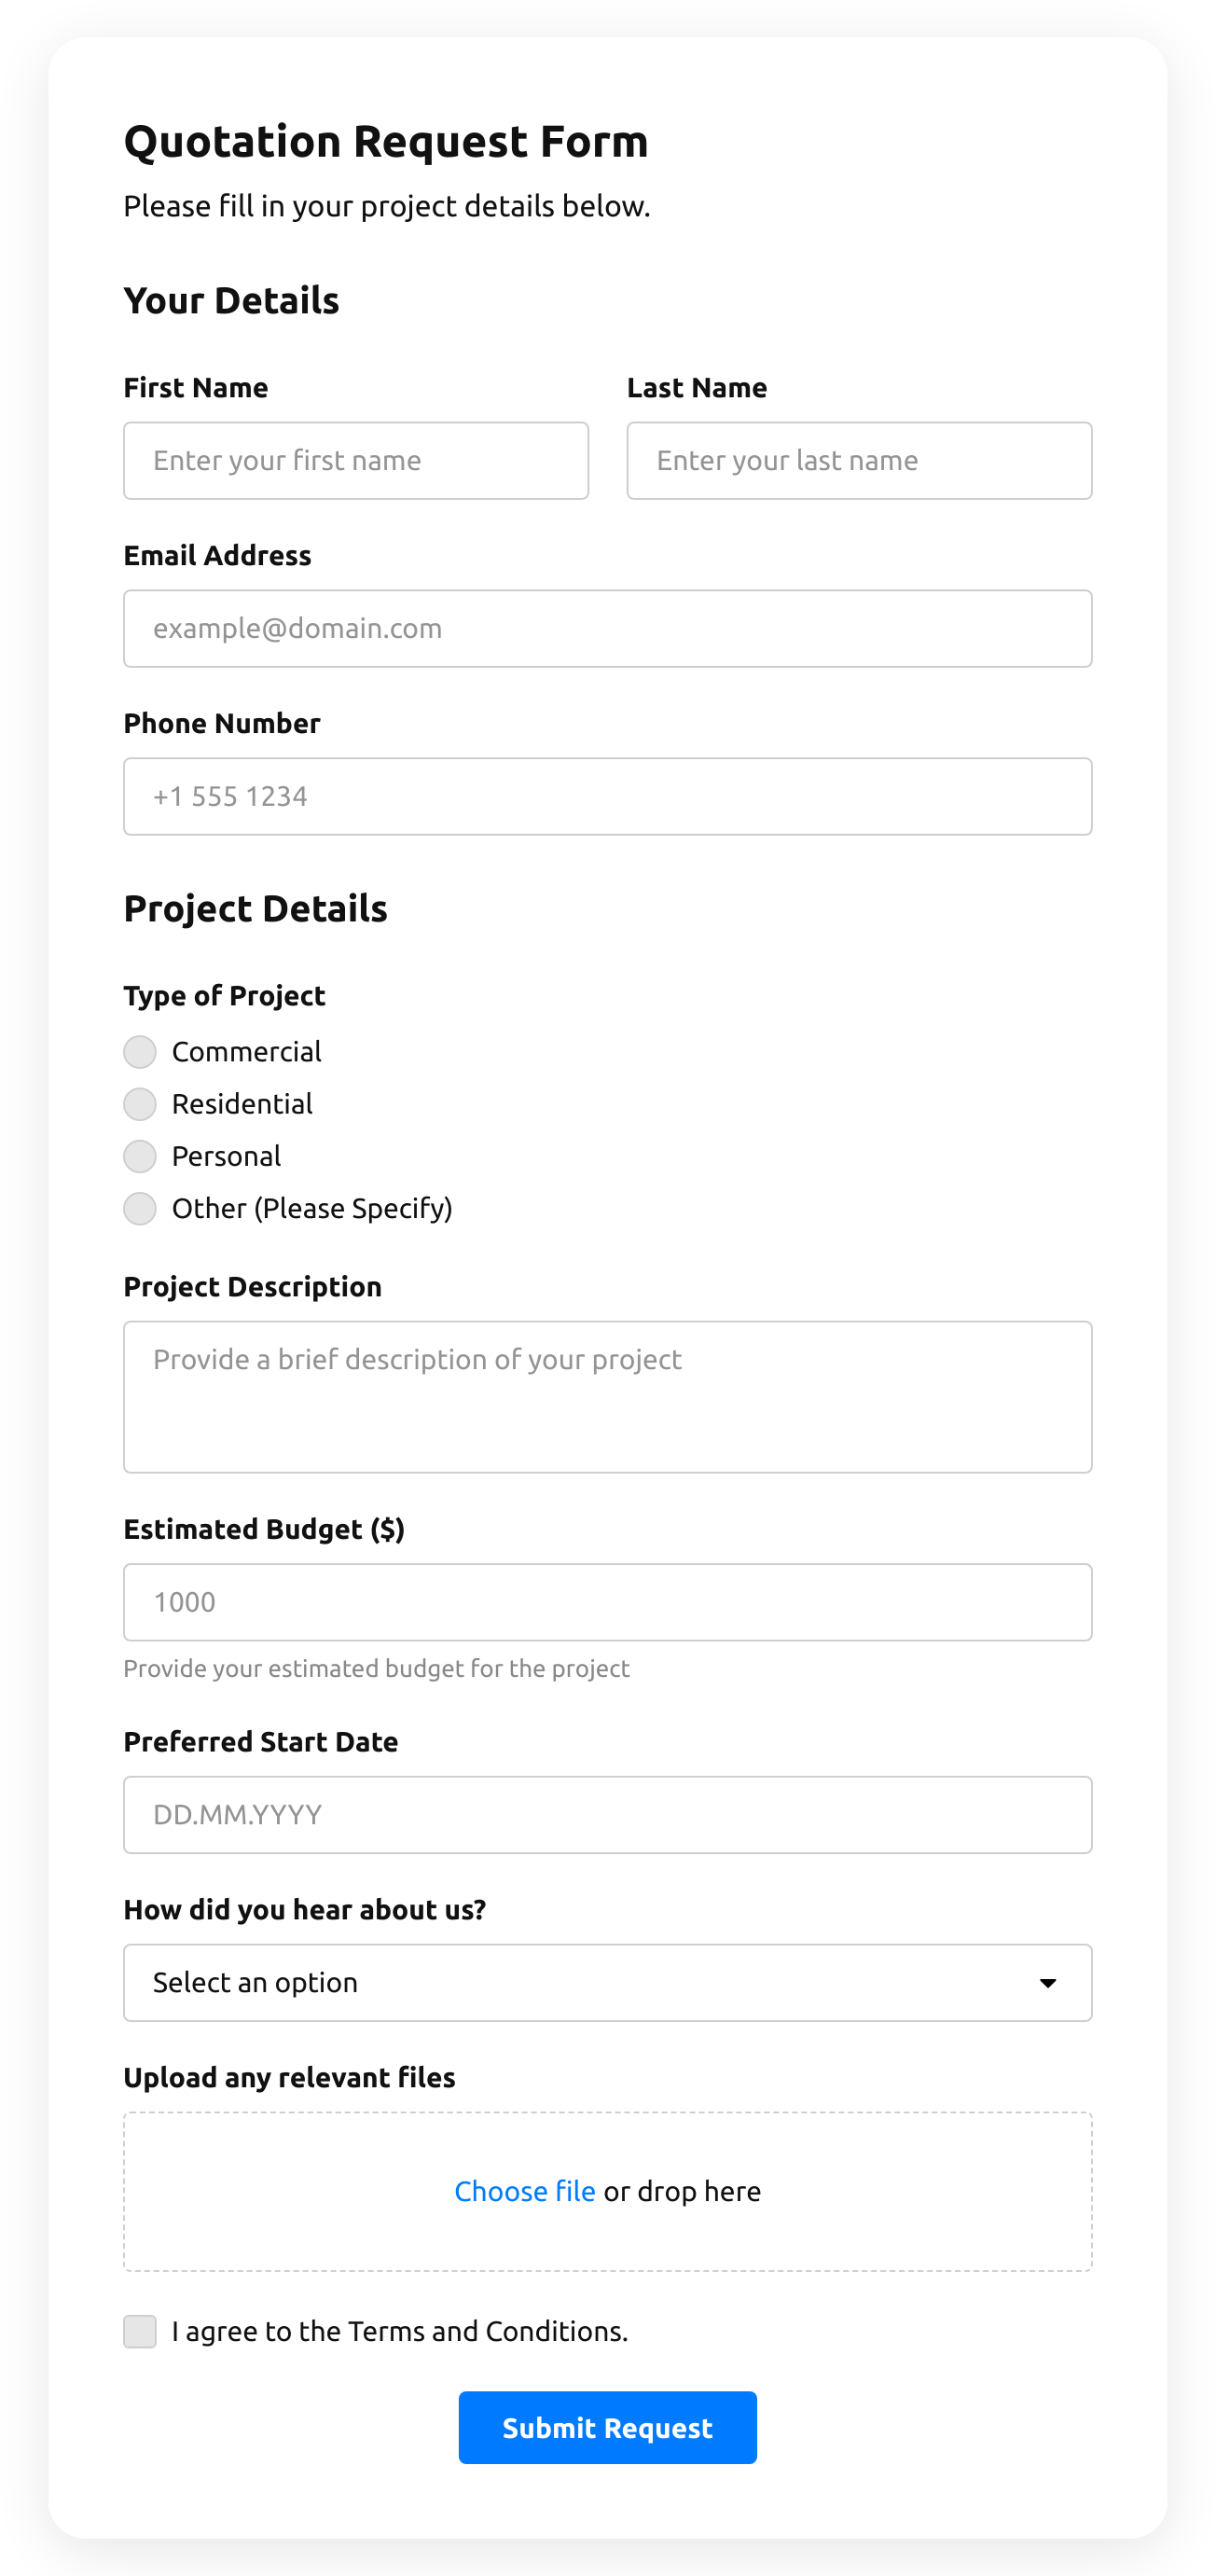
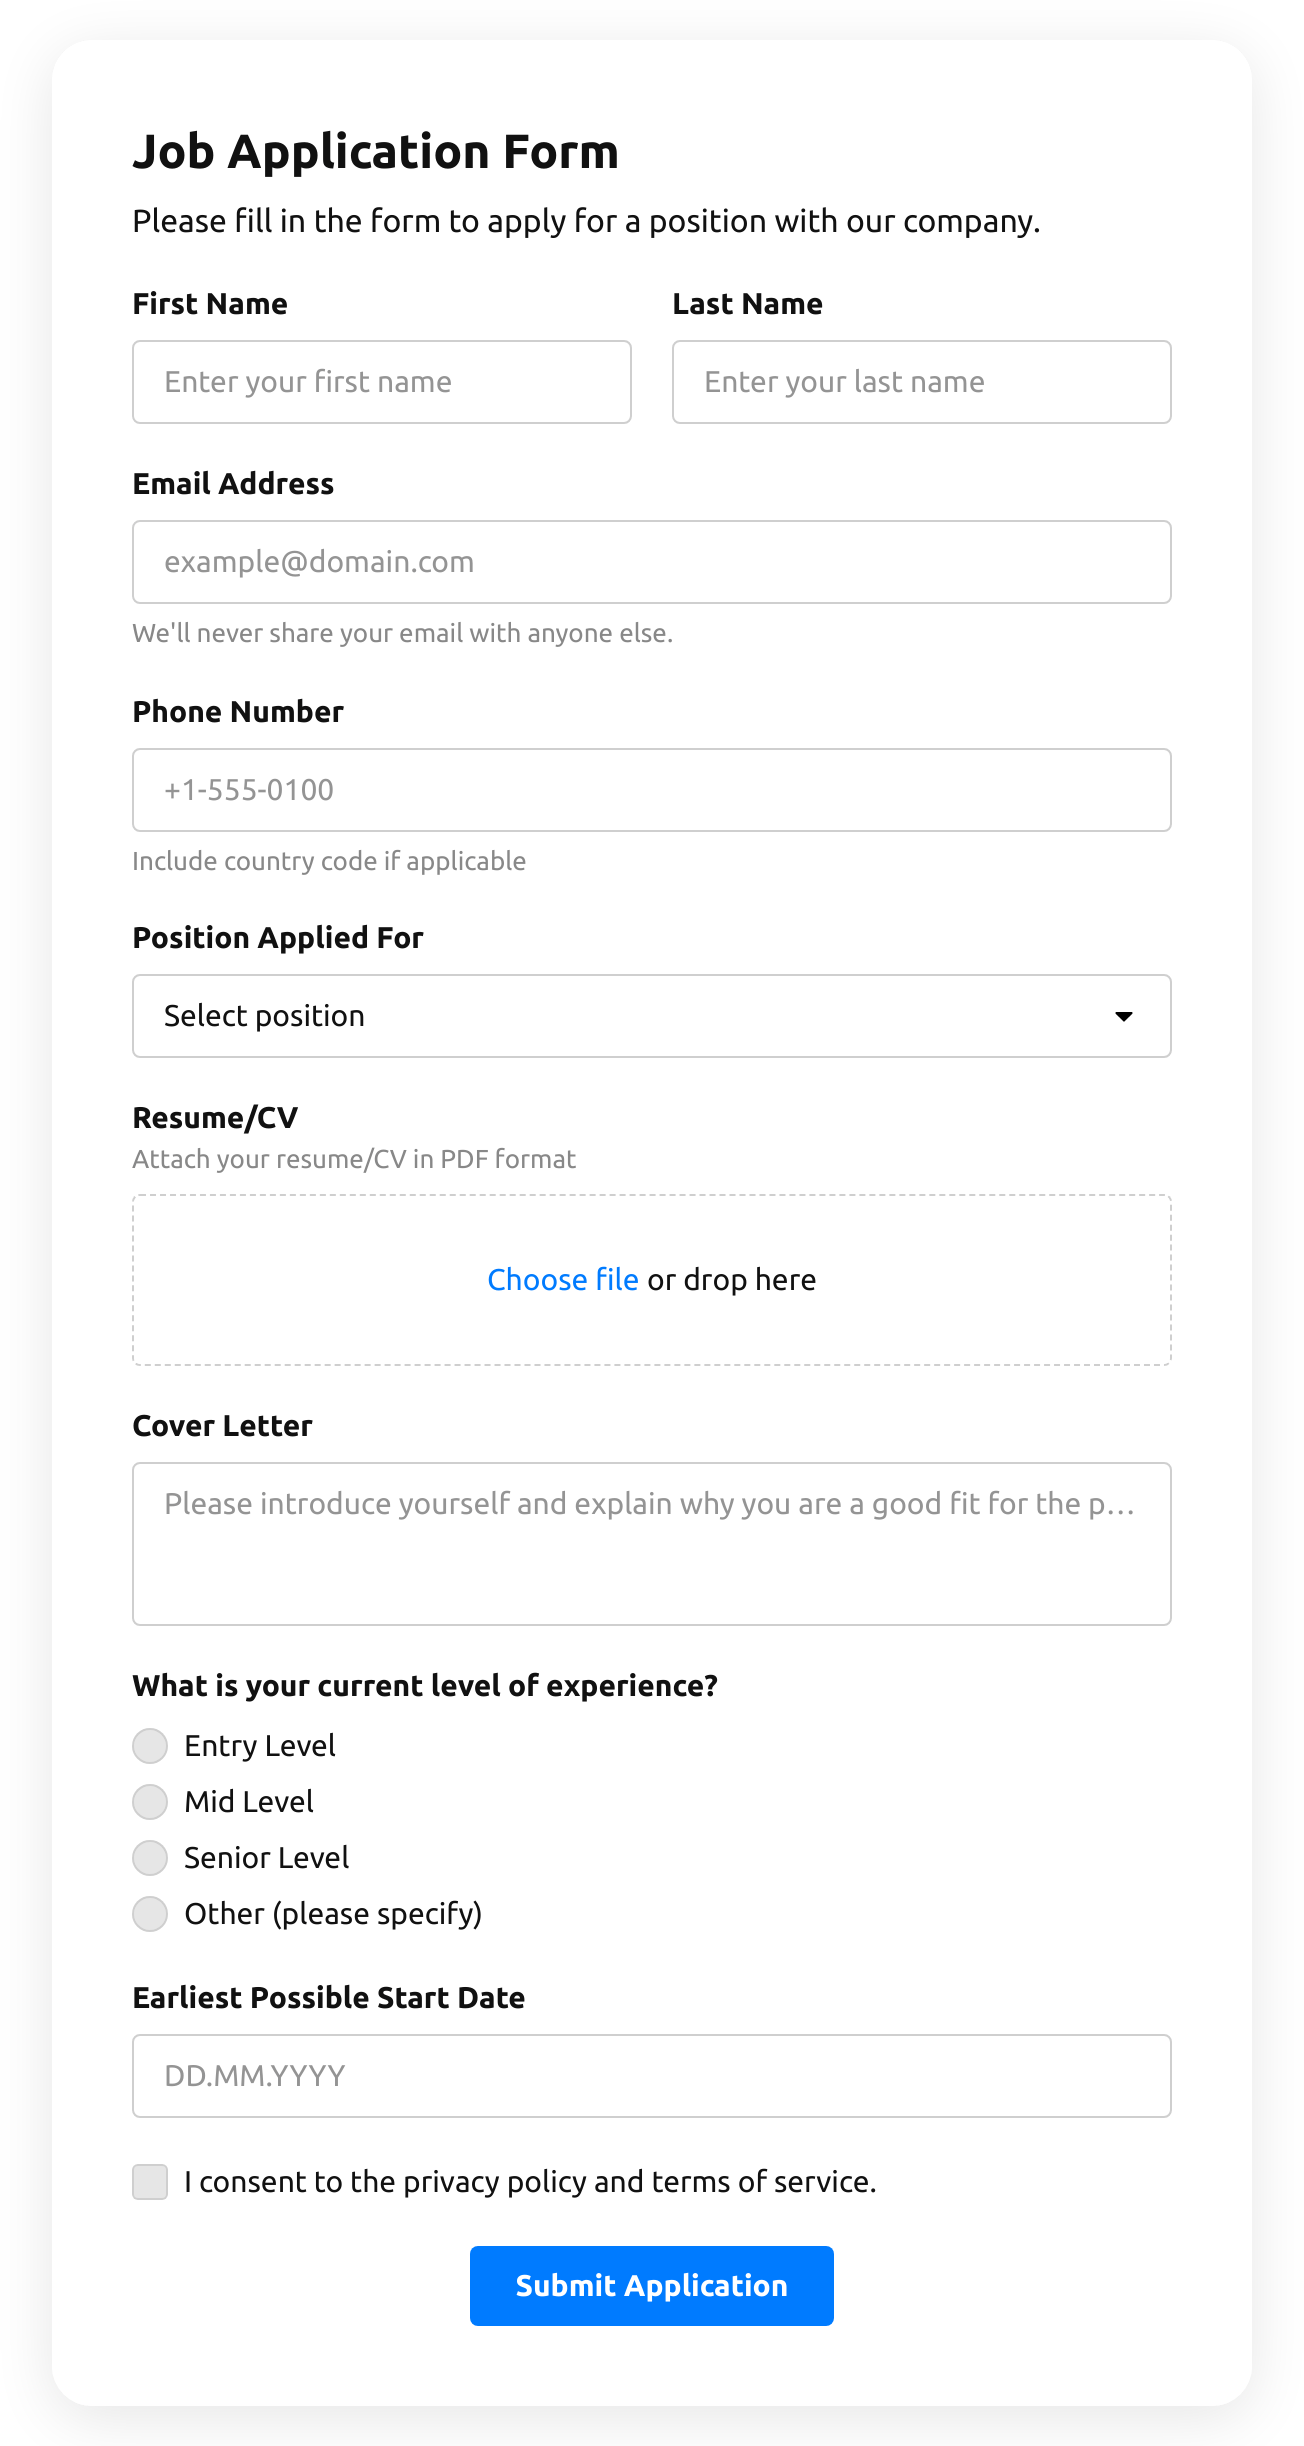
Make use of more than 20 diverse input elements and break them into manageable steps 
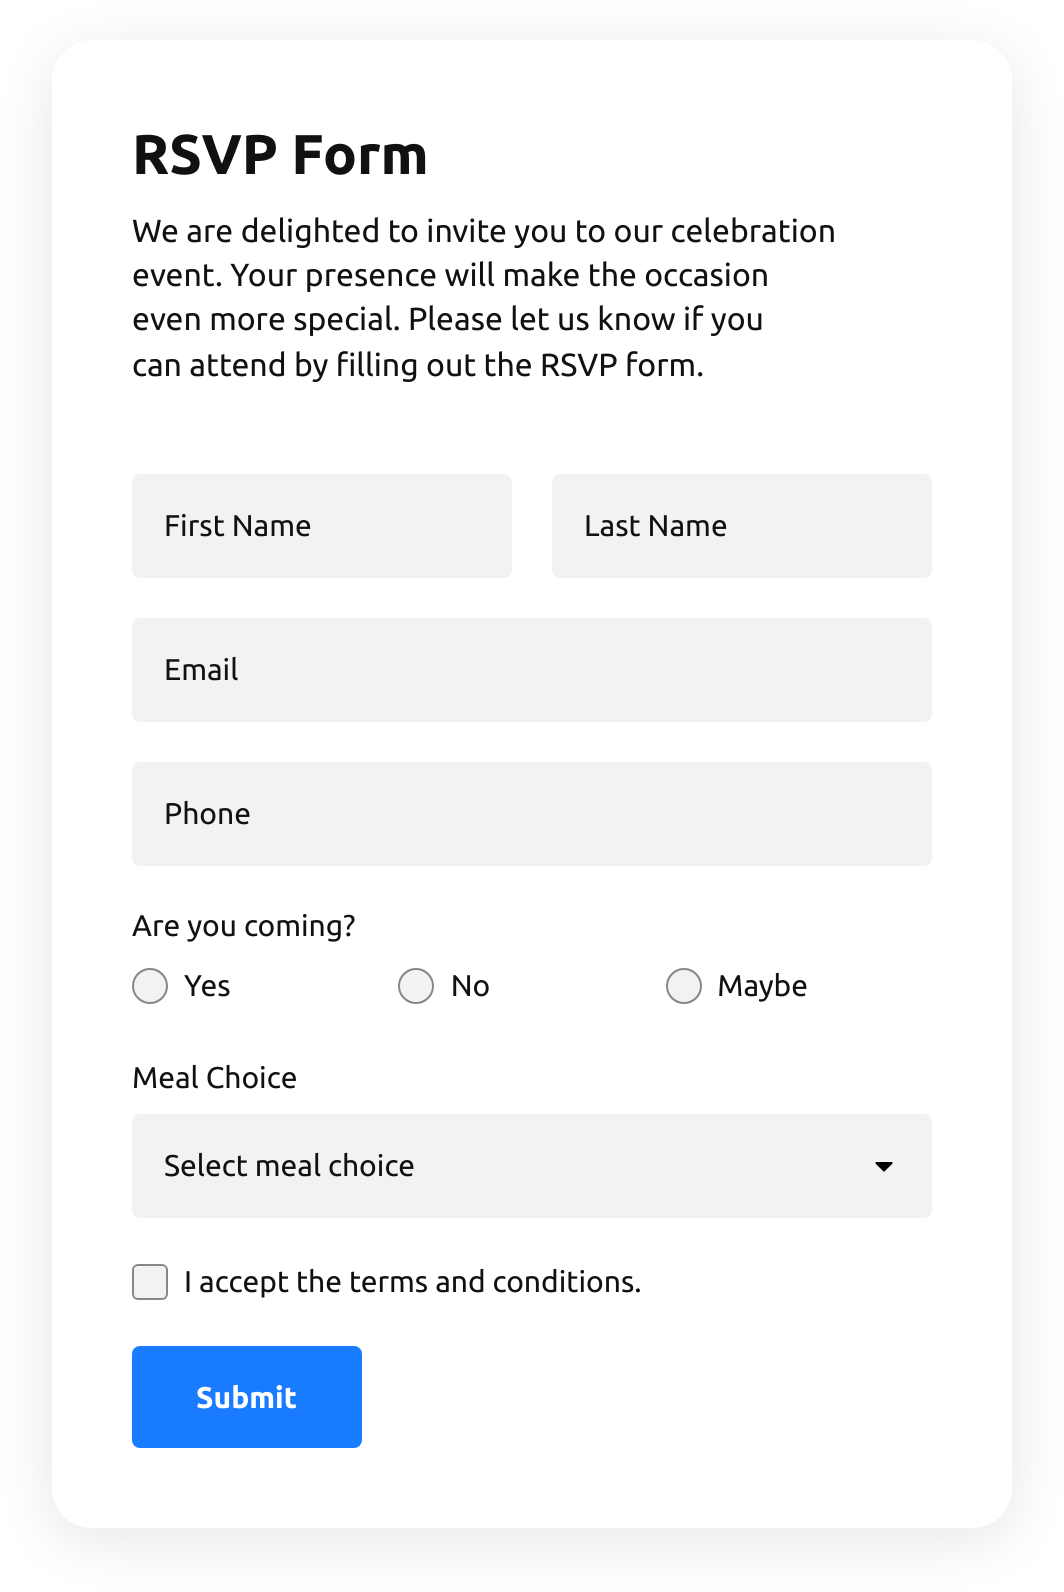
Add ratings and scales with comments fields to shape surveys and collect feedback 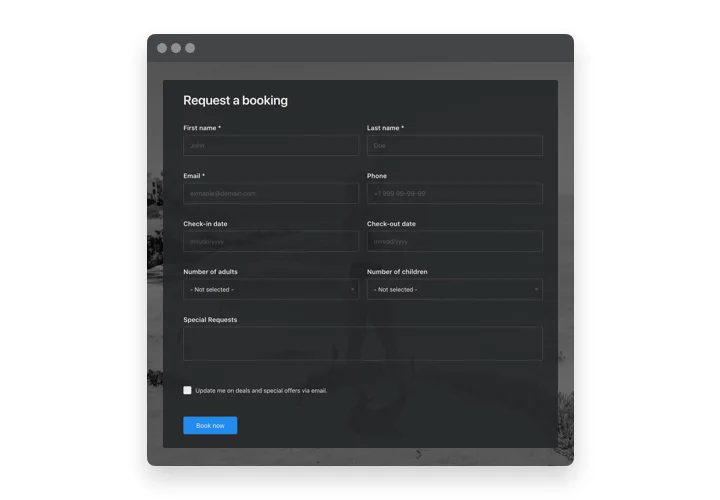
Arrange drop-down fields with placeholders and embedded calendars for easy and fast filling in 
Enjoy a flexible interface with styles and custom colors to fit into any website concept 
Allow your users smooth experience from any device
More than a pretty page
Your page builder takes care of how the pages look. The form decides whether they bring in business: quote requests, appointment bookings, job applications, paid orders and customer surveys all start with one.
For agencies there’s a bonus: the form lives in your Elfsight account rather than in the theme, so you can hand a project over and still adjust recipients or questions months later.
Skip the blank canvas
Write a sentence about the form you have in mind – say, a grooming salon booking with pet size, preferred date and a photo upload – and the AI Form Generator returns a draft with fields and styling in place. Then edit any label, option or color before it goes live.
Take payment in the same form
The form that collects the details can also charge for them through Stripe: a workshop seat, a deposit for a booking or a custom cake order.
Detailed forms without the overwhelm
Break a job application or a renovation quote into several steps, and conditional logic keeps each visitor on their own path. Someone renovating a kitchen never has to scroll past the bathroom questions.
Every entry reaches the right person
Each entry is stored in your Elfsight dashboard and can also go to up to three email addresses, a Google Sheet, a Mailchimp list or – through Zapier, Make or a webhook – your CRM.
Key features
AI Form Generator – one sentence about the purpose gives you an editable form with fields and design already set.
Stripe payments – charge for orders, deposits and paid registrations right inside the form.
Entries delivered – every entry is saved in the dashboard with CSV export, alerts up to three addresses and can go on to Google Sheets, Mailchimp, Zapier, Make or a webhook.
Multi-step forms with conditional logic – fewer questions per screen, and only the ones that apply.
24 field types – uploads of up to 100 MB per file, drawn signatures, star or smiley ratings, hidden fields and more.
Inline or floating – embed the form in a section, or open it from a button as a floating pane on the left or right edge.
After-submit actions – greet people with a confirmation note, send them to another page of your website, or let the form disappear once it’s sent.
Open the editor and try them on the free plan on your live page.
Built around Elementor
No Pro license needed – the standard HTML element from free Elementor is all the form requires.
Fits any part of the layout – place it in a section, a column or a saved template.
One edit, every copy – update the form in Elfsight once, and every page and template that shows it changes too, with no republishing.
Easy client handover – recipients, field labels and texts are managed in Elfsight, so changes never require opening a client’s page layout.
How to add the Form Builder to Elementor
Build and style the form in the Elfsight editor, then use the Add to website for free button to get the installation code you’ll paste into Elementor. Method 1 places the form inside a page and works on the free version; Methods 2 and 3 load a floating form across all pages.
Before you copy the code, choose the layout – Inline for a form inside a section, Floating Pane for a panel opened by a button – and add the addresses that should receive new entries. Elementor may not render the form while you edit, so judge the result in preview mode or on the live page.
Method 1: HTML element inside one section (free version)
In your WordPress dashboard, open Pages, hover over the page and click Edit with Elementor.
Type HTML into the search field of the widgets panel.
Drag the HTML element into the section or column where the form should sit.
Insert your Elfsight installation code into the HTML Code box of that element.
Click Publish, then view the page as a visitor to make sure the form loads.
Use the HTML element, not Custom HTML: with Custom HTML the form may not work correctly.
Method 2: Pro version with Custom Code on all pages
In the WordPress admin menu, go to Elementor and click Custom Code.
Click Add New Custom Code.
Name the snippet, insert the installation code in the code area and press Publish.
Set the display condition to all pages and save.
Custom Code is part of the Pro version. For an embedded form across every page rather than a floating one, ask our team: installation help costs nothing.
Method 3: Floating form via a widget area (free version, classic themes)
In WordPress, open Appearance → Customize → Widgets.
Choose a widget area that appears on every page, such as the footer.
Click the + icon, select Custom HTML and paste the installation code.
Click Publish.
This method needs a classic WordPress theme. On a block theme, request free installation help, and we’ll add the form for you.
Once the page is live, send a test entry and check that it reached your inbox and the Elfsight dashboard. If the form is missing, clear the cache of your caching plugin and reload. Installation help is free – just send us a request.