How to get Google Maps Api Key in 1 minute

What is Google Maps API key?
Google Maps API key is used to access Google Maps API. Some applications or plugins using the capabilities of Google Maps require getting and adding an individual token. If you have one of these plugins, you should register on the Google API Console and get your own key.
Google API key also allows for using capabilities offered by some services. Having an API key, you are given your individual free limit of user queries, according to your quota. This means your widget no longer has to share the usage limit with other widgets of the same origin and you may increase your limits if you need. Moreover, with Google Maps API key, you can monitor your queries and control them if necessary.
BONUS: Create your Google Maps widget in a couple of minutes!
Google also offers other types of APIs, which can be used, for example, to embed Google reviews.
How to get a Google Maps API key?
Getting an API key is not complicated and just requires a couple of minutes of your time. In the process, you will need to create a billing account or use credentials of already existing one, which will be used for payment, in case you exceed your limits. So be prepared to have your billing data with you. Following 3 steps, described below, you will get your API key.
Step 1 – Enable Billing
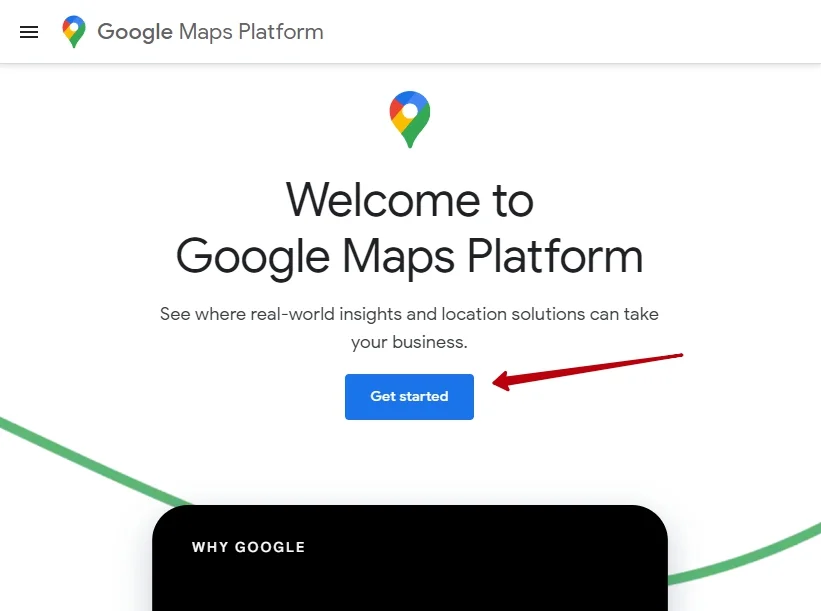
1. To start the procedure, go to Google Maps Platform, press “Get Started”.
2. First of all, you’ll need to enable billing. This is a required step, you won’t be able to start using Google Maps API key without it. Fill in the required personal information.
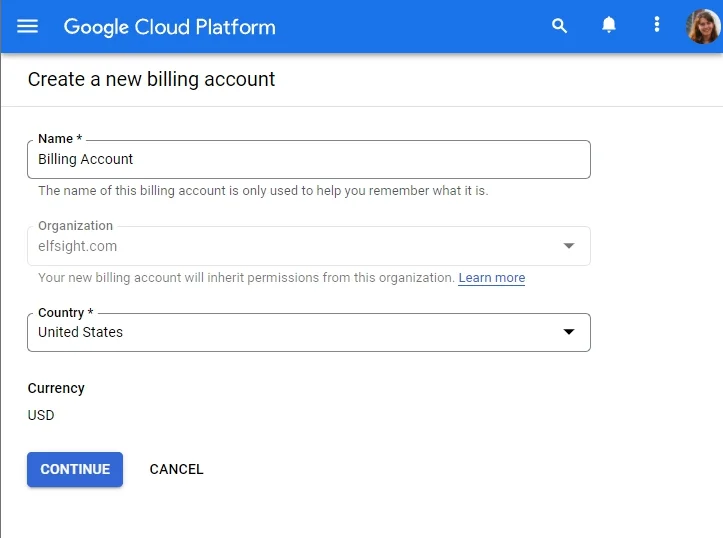
Choose the country, get a verification code via SMS. Fill in personal information: the name of your company, address, and details of your credit card. After you’re done, click Start my Free Trial.
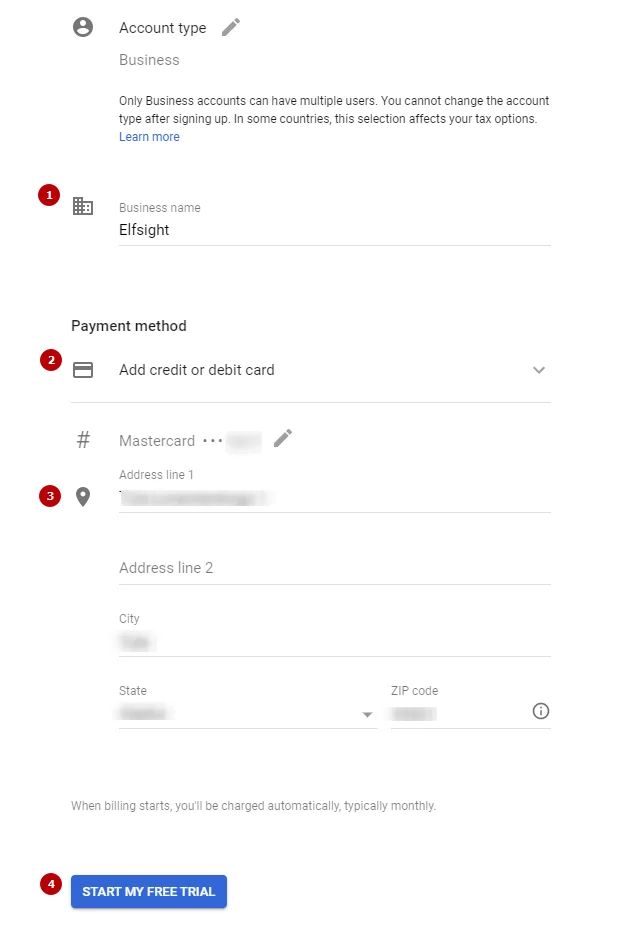
Continue to billing verification and afterwards start your free trial.
If you are already using Google Cloud Platform, you’ll be automatically redirected to this page. To add your billing information, click Create Account.
Step 2 – Create an API key
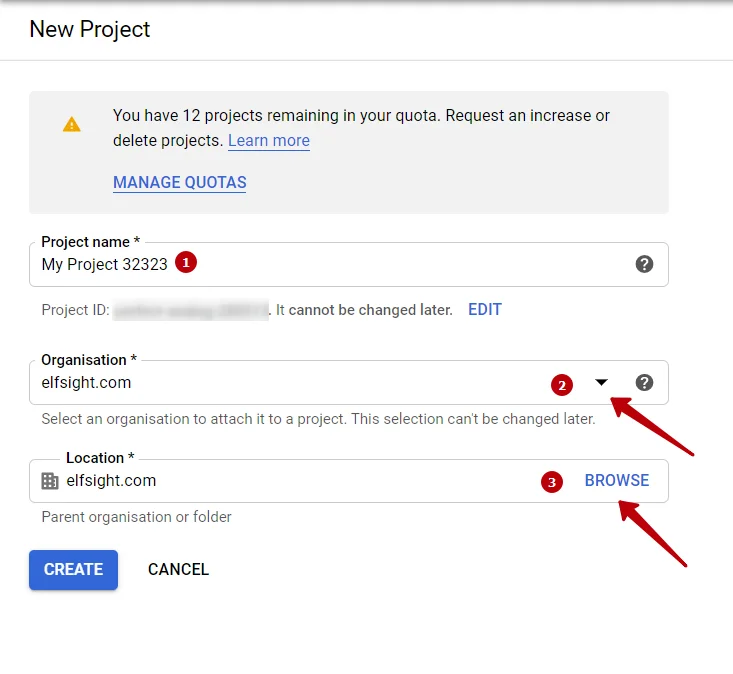
Create a new project or choose an existing one.
If making a new project, enter its name, organization, and location.
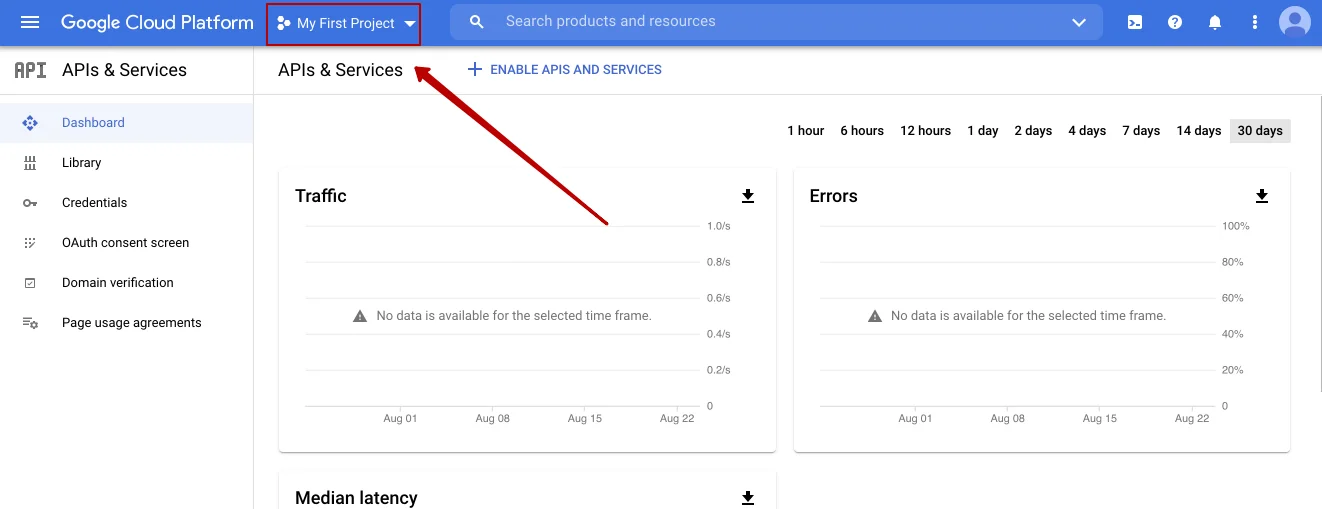
All your API keys will be stored on a single page. To reach it, you need to go to APIs and Services, and afterwards to Credentials.
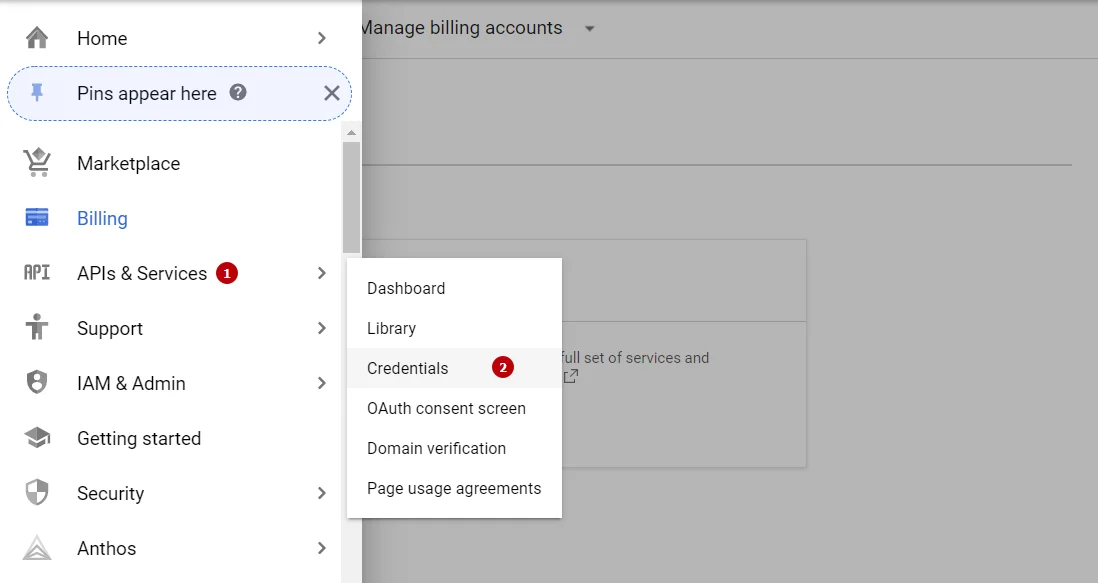
Go to Create Credentials, and then – API key.
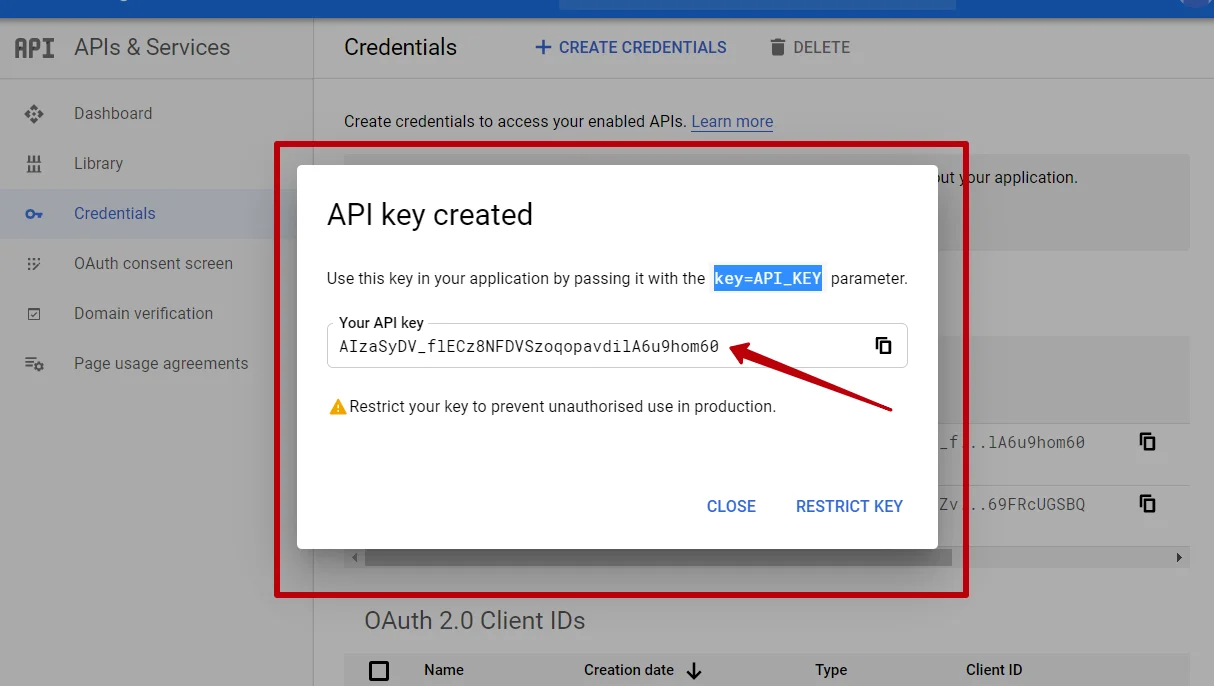
Your API key will be created, and as soon as this, you’ll see it in a popup window.
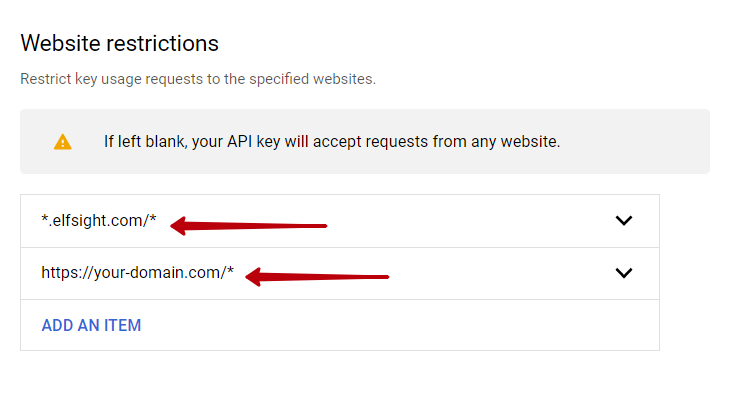
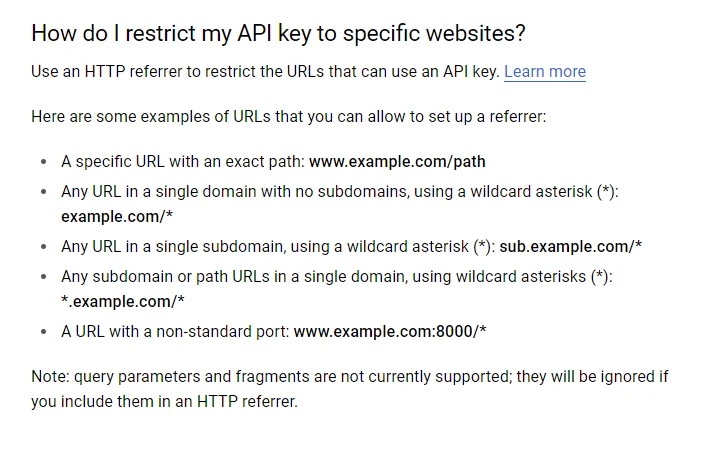
Restrict your API key
After your key is created, it’s recommended to restrict it to prevent unauthorized usage. What you can do restrict are websites (or HTTP referrers), apps, web servers (IP addresses) in which can use your API key. You should make your API key accessible to your own domain and Elfsight. Fill in the restrictions fields with two values: https://your_domain_name/* and *.elfsight.com/*
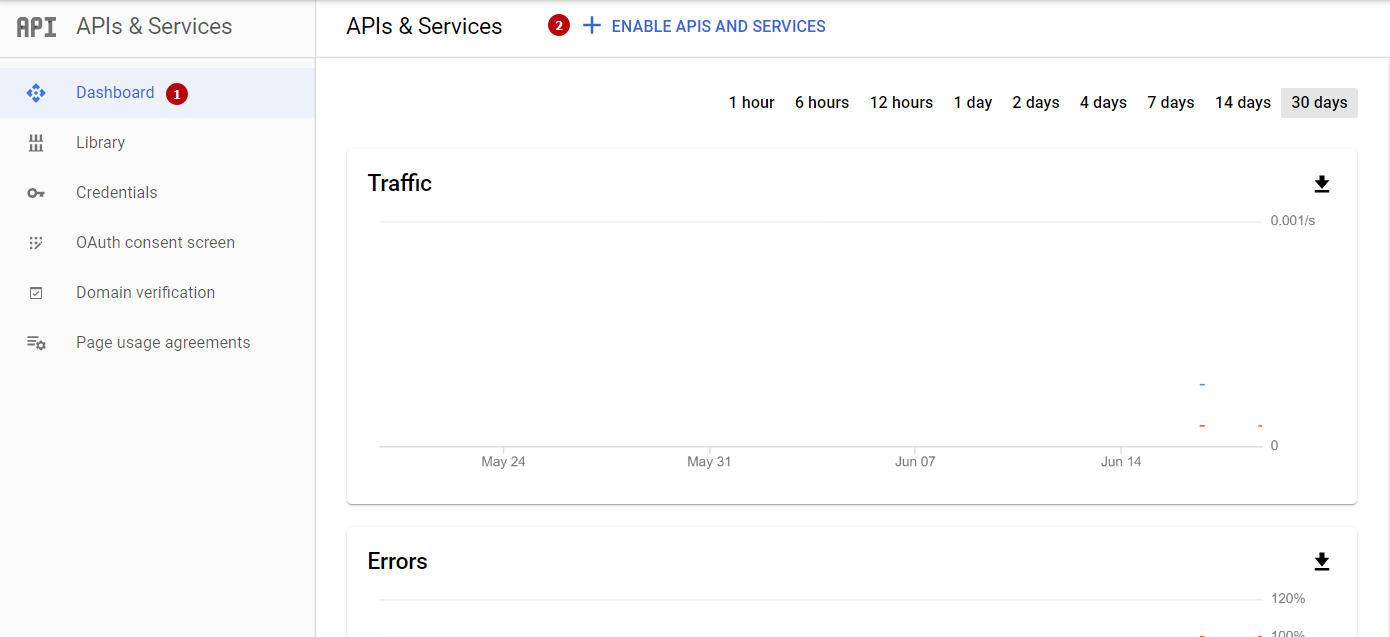
Step 3 – Enable required APIs
Before using Elfsight Google Maps, you’ll need to enable three API: Directions API, Geocoding API, Maps JavaScript API. To do it, go to Dashboard-> Enable APIs and Services.
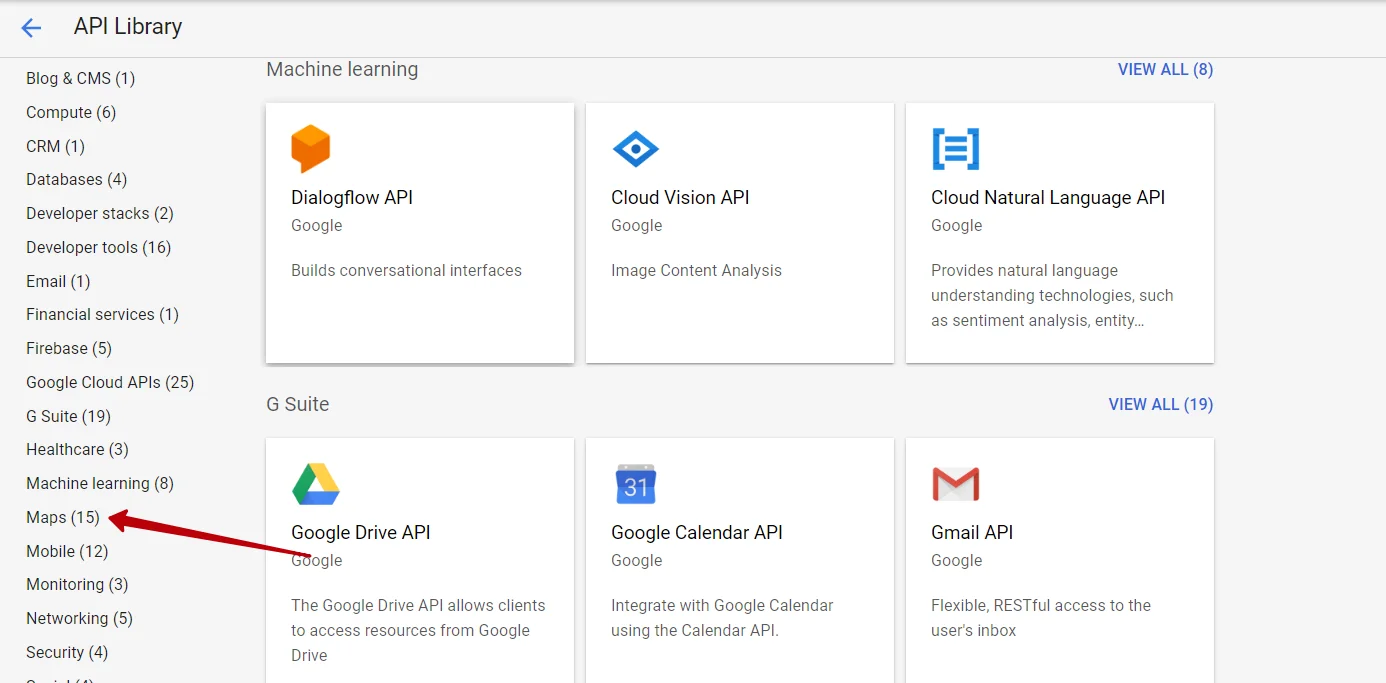
Then go to the Map section which you can find in the left-hand menu.
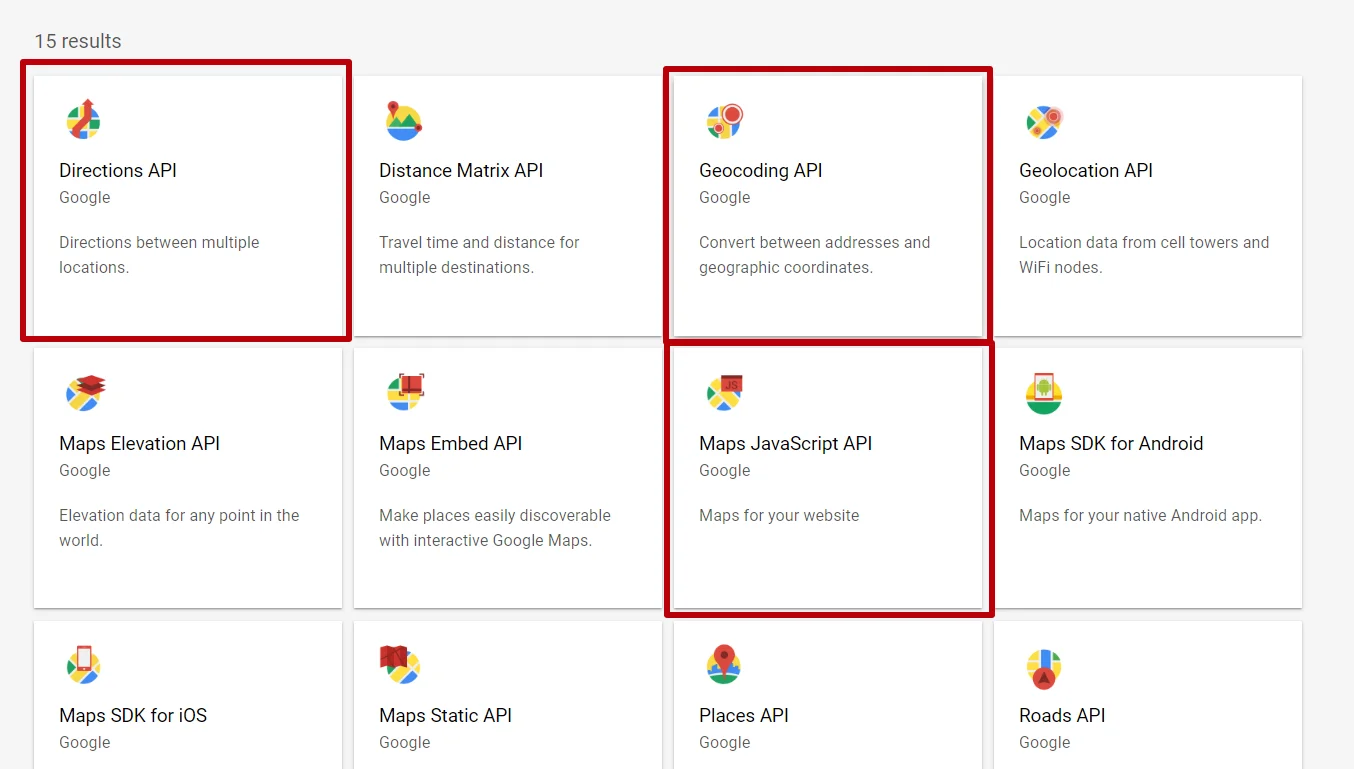
Enable APIs needed for using your API key.
That’s it! Your widget is ready to be used in Google Maps widget. You can now copy and paste it to the needed field in your widget!
We also offer a highly adaptable Google Reviews widget for your business website.
How do I handle my Google Maps usage limits?
When you get your Google Maps API key, you can set your daily quota for queries in the Google API console. Google Maps web APIs have 25,000 free requests per day, which means the service stays free during the day until you reach this number. If it is exceeded, you need to enable billing or buy a Premium Plan license to have a higher daily quota and allow for more queries.
You can have more information concerning usage limits, higher quotas, billing and applying for increased limits on Google Maps API documentation page.
Using your key
So, getting your API key isn’t as difficult as it may sound, you need a couple of minutes and the work is done! We hope that our tutorial was helpful and now you can easily handle the task of having an API key. You can use your key in any Google Maps plugin, for example, Elfsight Google Maps widget is a perfect choice if you need a customizable map with various locations and option to create location lists. It allows to show maximum info about your business and has an automatic route calculation to attract more real-life visitors.
*An important note for Elfsight Google Maps users: make sure to add “apps.elfsight.com” and the name of the domain, where you are going to use the widget, to the domain field. The field can be found by choosing HTTP reference option in the Application Restrictions menu.