Widget Details
Elfsight Testimonials permits you to export reviews and use them as your customers’ feedback on your goods or services. Real-life posts that allow to check out the rating’s author are the most powerful means of increasing customer loyalty and increasing website conversion.
Widget features and basic characteristics:
- Totally responsive layout;
- A number of attractive preset appearance templates to choose from;
- URL, logo, company name and other conversion features embedding;
- Help for all users.
Learn more about the Testimonials widget.
Actively developing Instagram profile of your company? Make the most of Instagram content, demonstrate Instagram testimonials of your subscribers on the website and uplift your sales.
Widget Installation
If any issues come up during the recommendations execution, message our technical support and our support team will be happy to help.
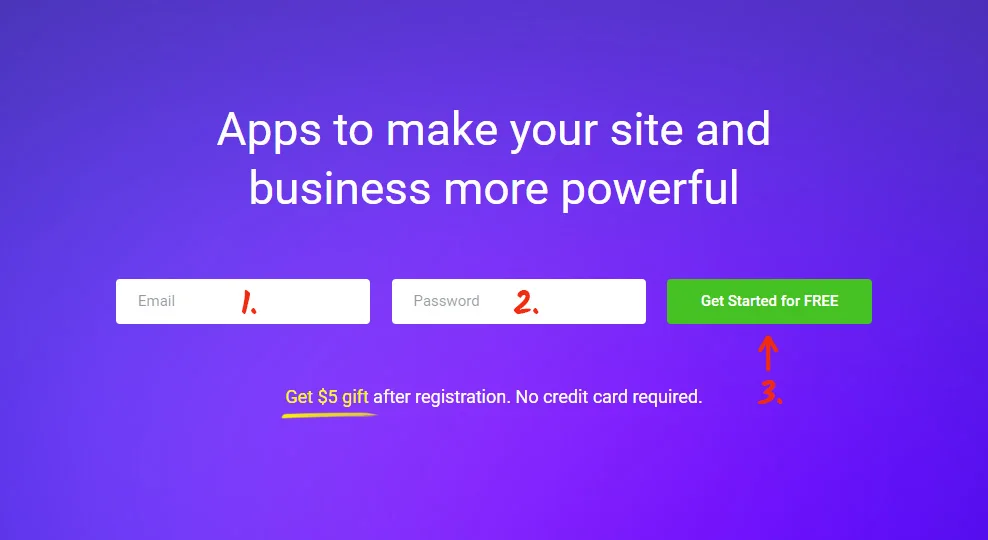
Step 1: Creating the plugin
Create your individual account or authorize in
Submit your valid email address and create a password. If you have already checked out the service before, you will only have to log in at Elfsight Apps.
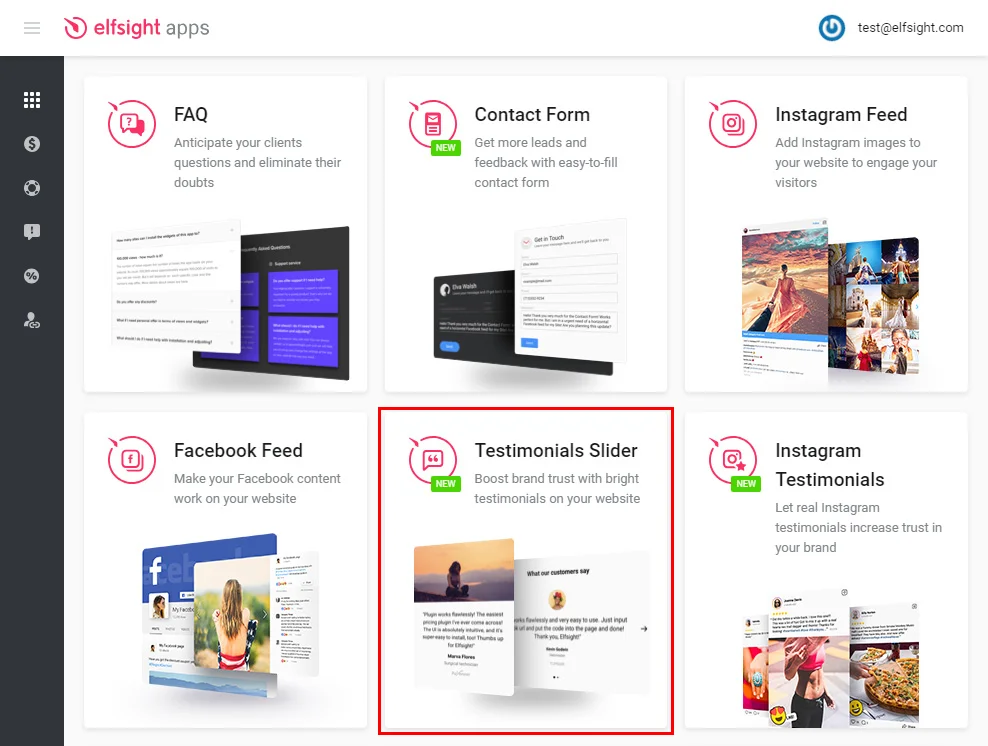
Choose a plugin
Select Testimonials Slider in the list and click on it to go to the plugin page.
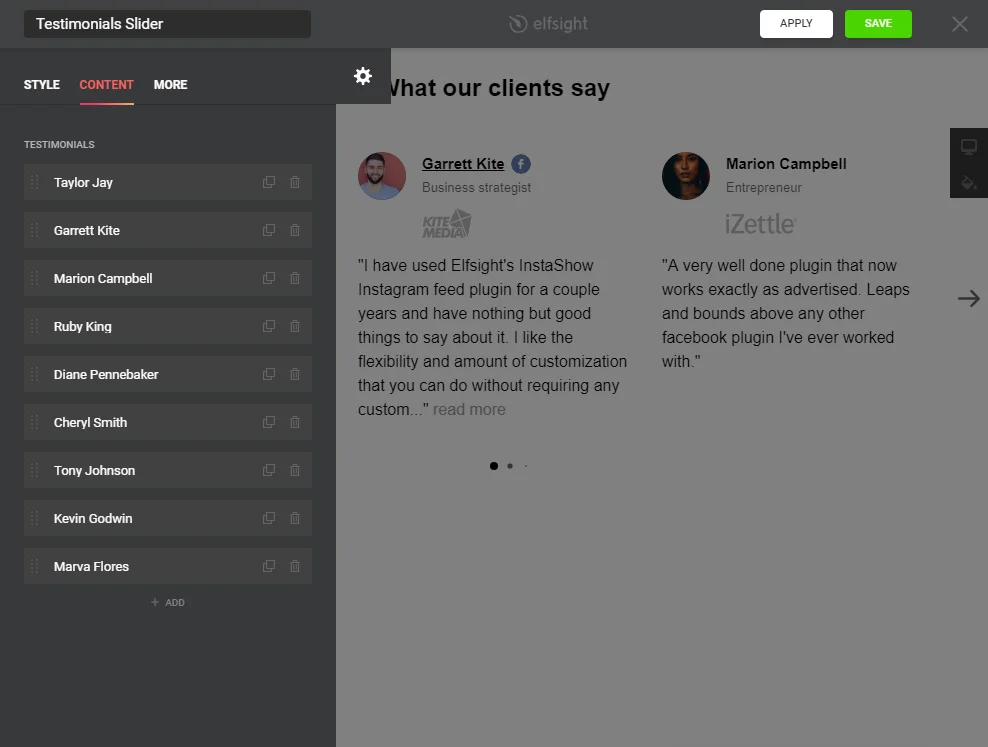
Setting up the appearance
Choose a design you like or build your plugin to your taste. You can read details on all the functionality at the testimonials plugin’s page.
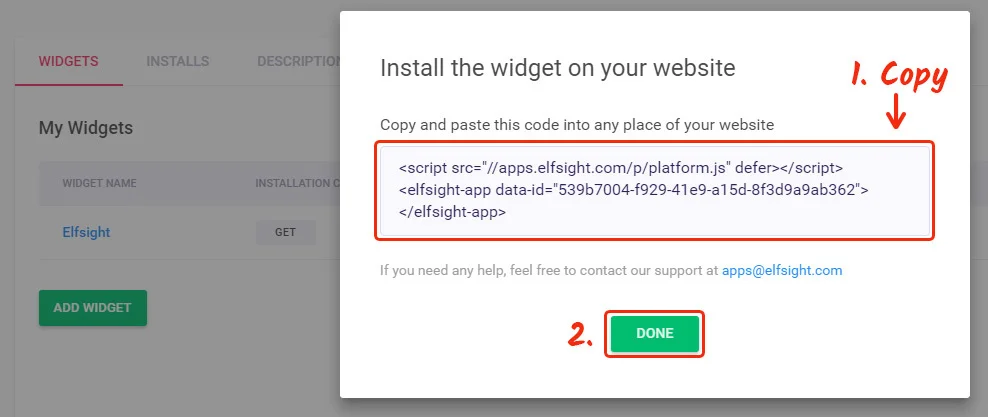
Get the plugin’s code
To complete the of the guide, you need to get the plugin’s script that you should install to the required website.
Step 2: Adding Testimonials to a Muse website
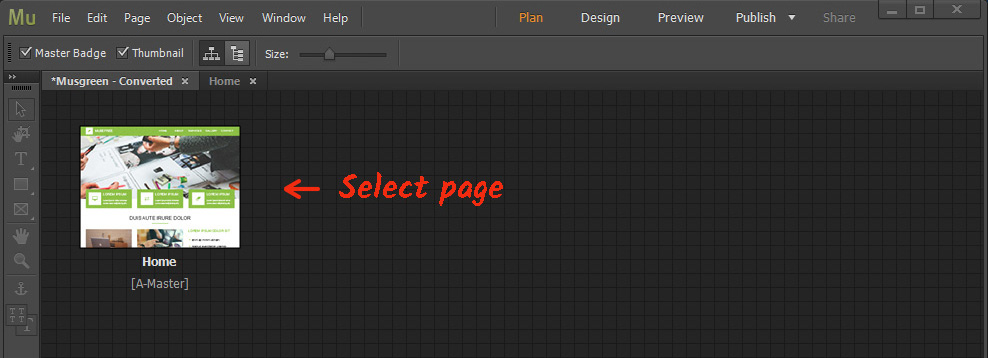
Login to Adobe Muse backend
Go to the website you need.
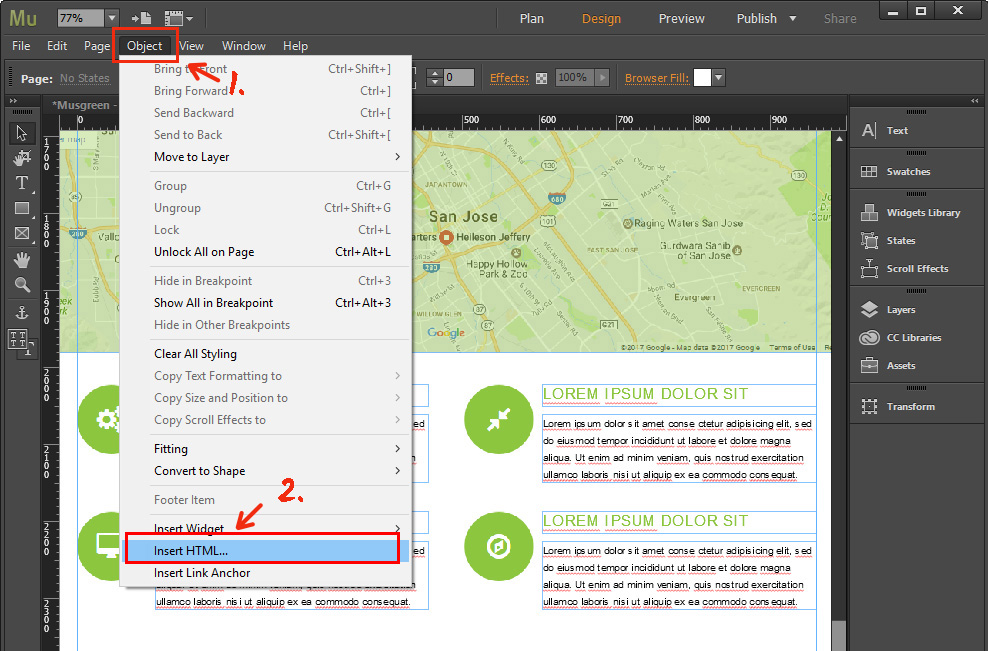
Add HTML to the plugin page area
Open the Object tab in the upper menu, and select Insert HTML.
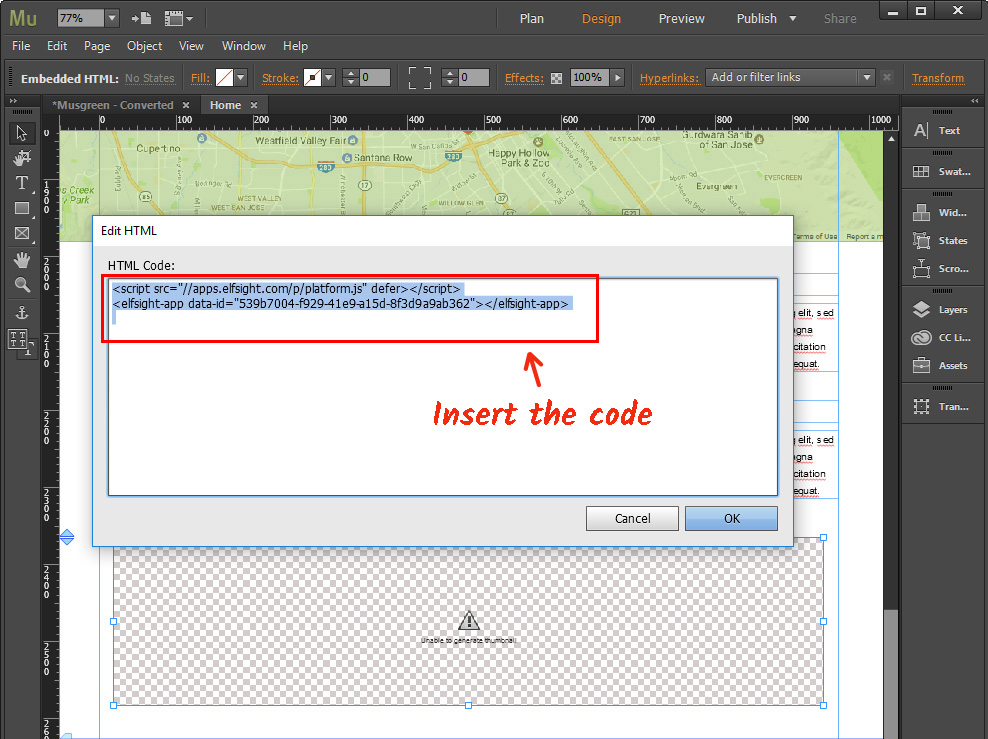
Paste the testimonials code
Paste the code from Elfsight Apps to the HTML element and press OK.
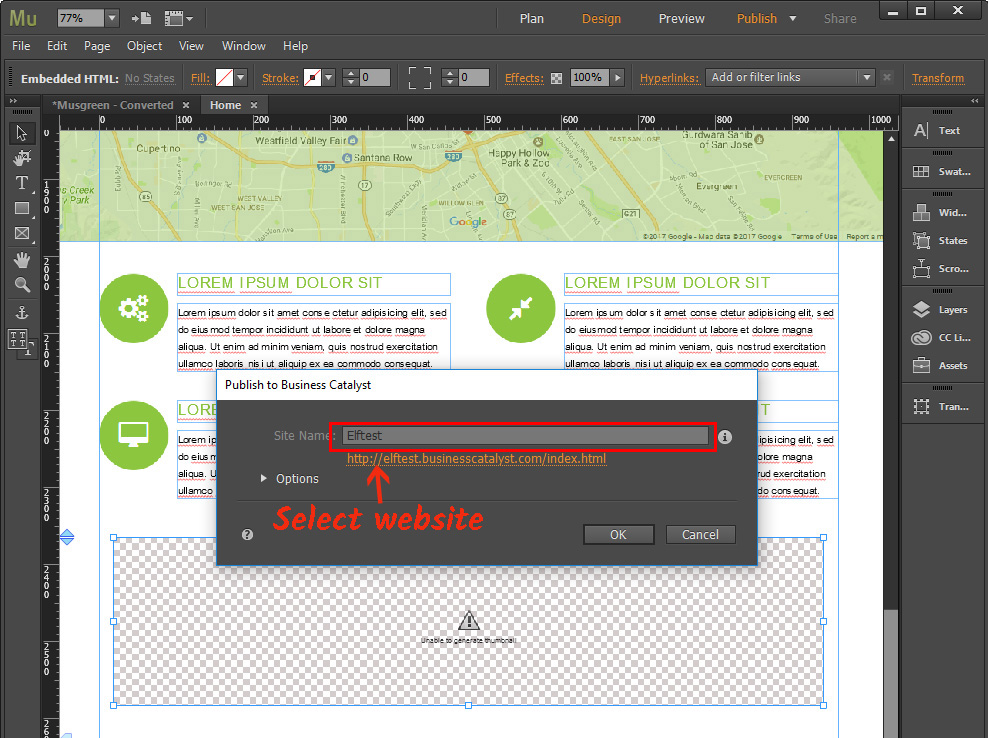
Publish the changes
Publish the changes to save the edits you’ve made.
Done!
You’ve successfully added the Testimonials plugin to your website.

How to change widget parameters?
After placing the code to the site, you can introduce the changes in your account at Elfsight. You can carry out the changes via your Elfsight Apps profile in our simple editor and apply them.
The edits are automatically applied and you don’t need to update the code once again.
What is Elfsight Apps?
It is a cloud service to upgrade your Internet platform with the help of widget. Install efficient functions and integrate your internet platform with social media to acquire more users and clients.