How to add custom Tab to Facebook Page

A very quick guide on adding your custom Facebook tab
For those who don’t need to be spoon-fed and prefer concise instructions, we have made this one. Follow the steps below and enjoy your Facebook Tab up and running:
- Choose a service for tab creation, for example, Woobox.com.
- Get registered in the service via your Facebook credentials.
- Open the dropdown menu in the upper right corner and choose your page.
- Click Static Tabs in the menu, press Create a New Tab. Choose HTML Tab.
- In the appeared editor, add your content or enter the code.
- Press Save Settings. You are done!
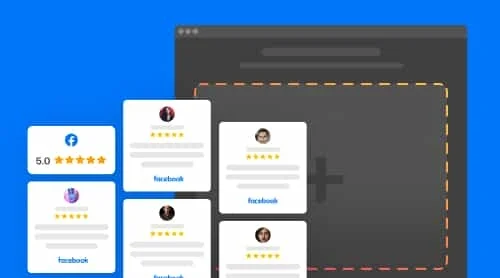
Now you can use Facebook Tab to increase engagement on your page, enliven its content, collect registrations, and whatnot.
A comprehensive instruction on how to add custom tab to your Facebook page
This guide was created with the aim to make it maximum clear and simple for everyone to add a custom tab to Facebook page. Though the process may seem tricky, if you carefully follow the guide step after step, you will enjoy your custom tab in no time.
Step 1. Choose a service for tab creation and get authorized
The easiest way to create your custom Facebook Tab is to use one of the special services. For example, we choose Woobox. Using Facebook credentials, get authorized or log in to the service as an admin. If you choose Woobox, go here.
Due to Facebook API restrictions, to create tabs you should have at least 2000 likes on your page.
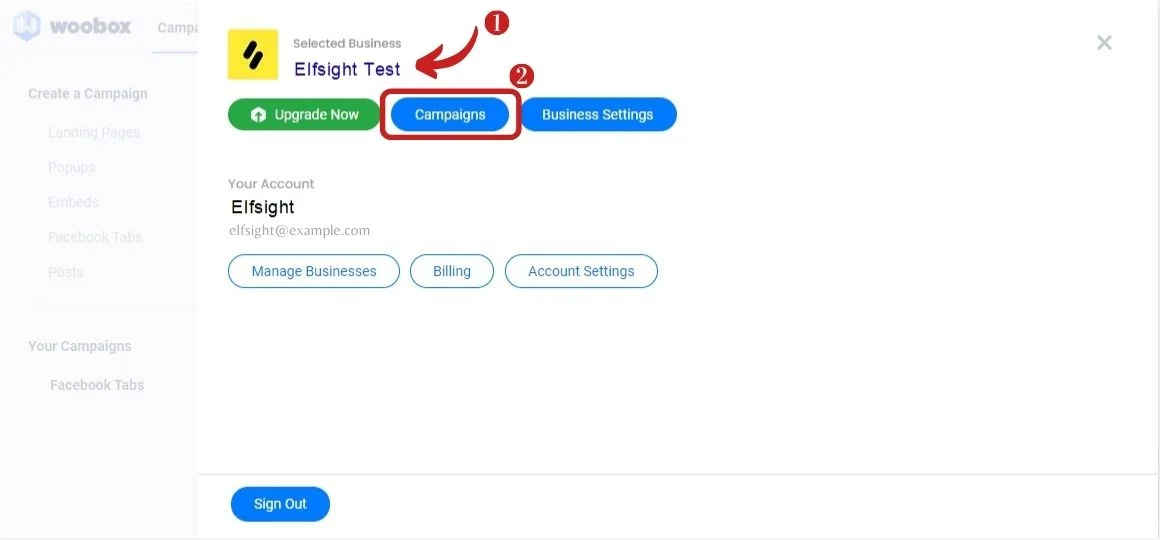
Step 2. Select your business page
Click the menu icon in the upper right corner of the page and click “campaigns”. Now you will see a list of your business pages. Choose the one you need.
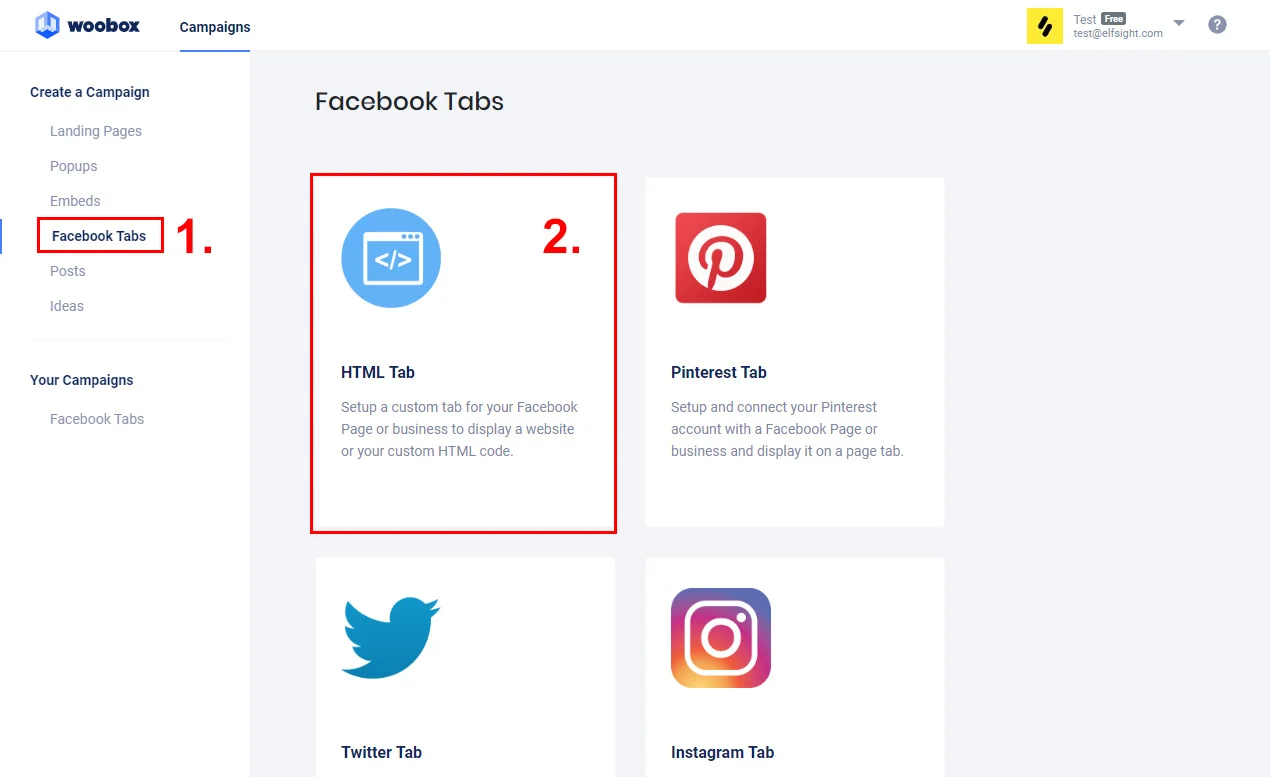
Step 3. Create a new HTML tab
Take a look at the top bar menu of the Woobox page, find and click Static Tabs. On the new page, press Create a New Tab. Now in the dropdown menu, choose HTML Tab. A new page with the editor will open.
Step 4. Add your content
Now you are free to enter the code or add any content to the tab. For content, press the Source button in the editor to change the mode. You can embed videos, photos, the most successful customer testimonials, or widgets. For example, if you use an Elfsight widget, you only need to add your unique installation code to the tab. Check all the widgets here.
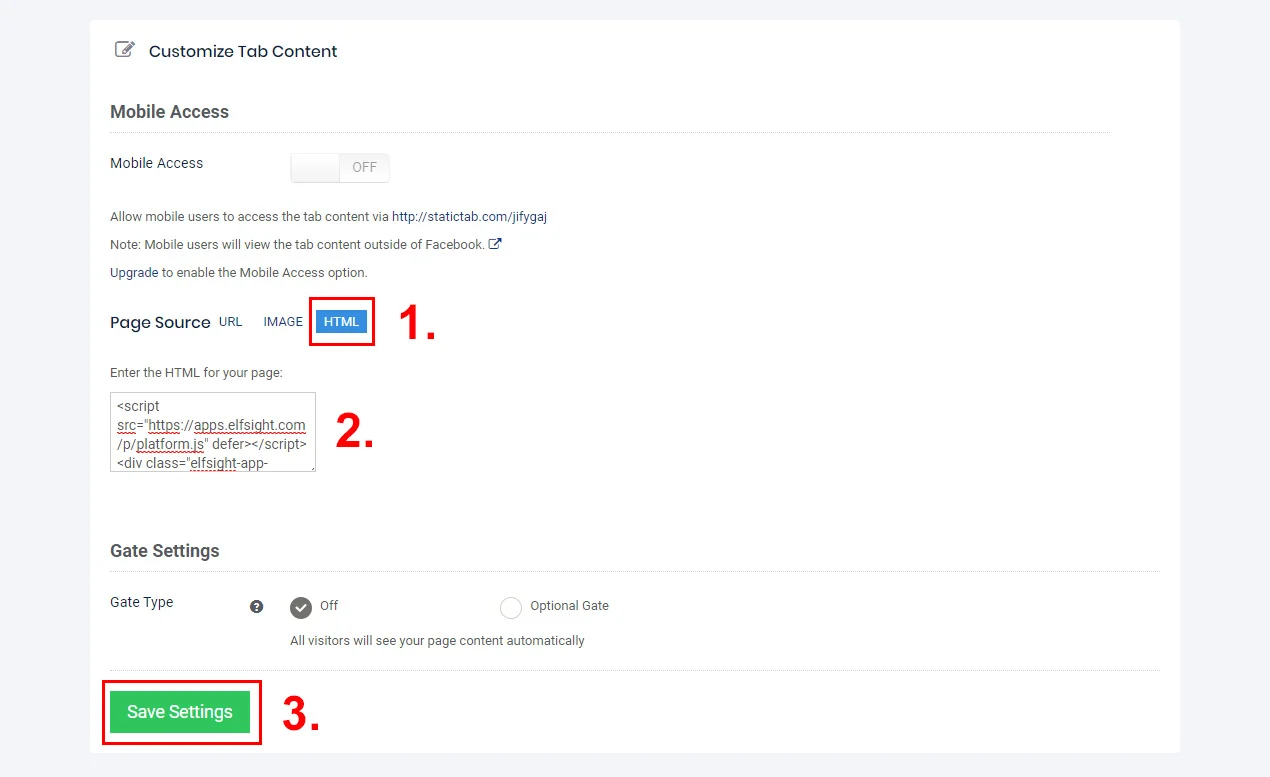
Step 5. Save the changes and check your work
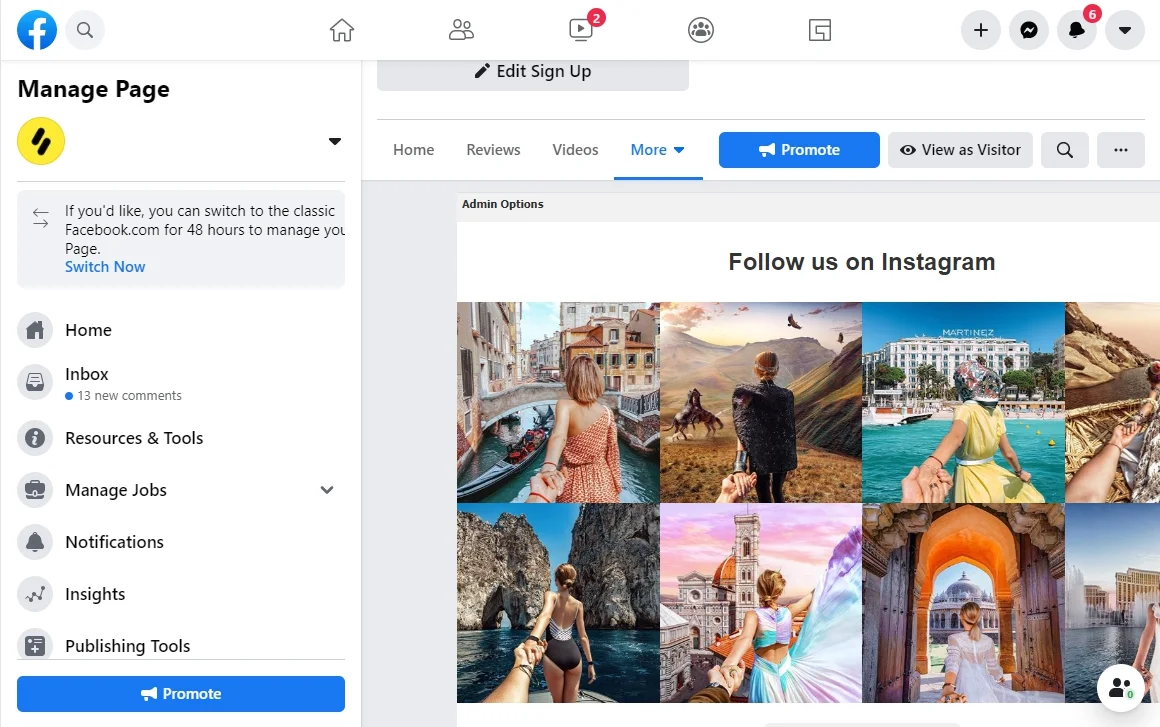
As soon as you finish adding your content, press the Save Settings button and you are done! Now go to your Facebook page and check your work. We are sure you will like it! And if you ever want to change something in the tab, do it the same way in the Woobox editor.
As you can see, the process doesn’t take long and it is absolutely manageable for everyone, regardless of the skills.
Take your chance and create your custom Facebook tab in no time! It will surely add a touch of personalization and unique style to your Facebook page.
And if you need to add awesome reviews on your website, here’s the guide on how you can embed google business reviews on your website.
Useful documentation
If you feel skillful enough to create your custom Facebook tab yourself, then you can follow the Facebook guide. This way, the process will be more complicated, but you can avoid using side services.